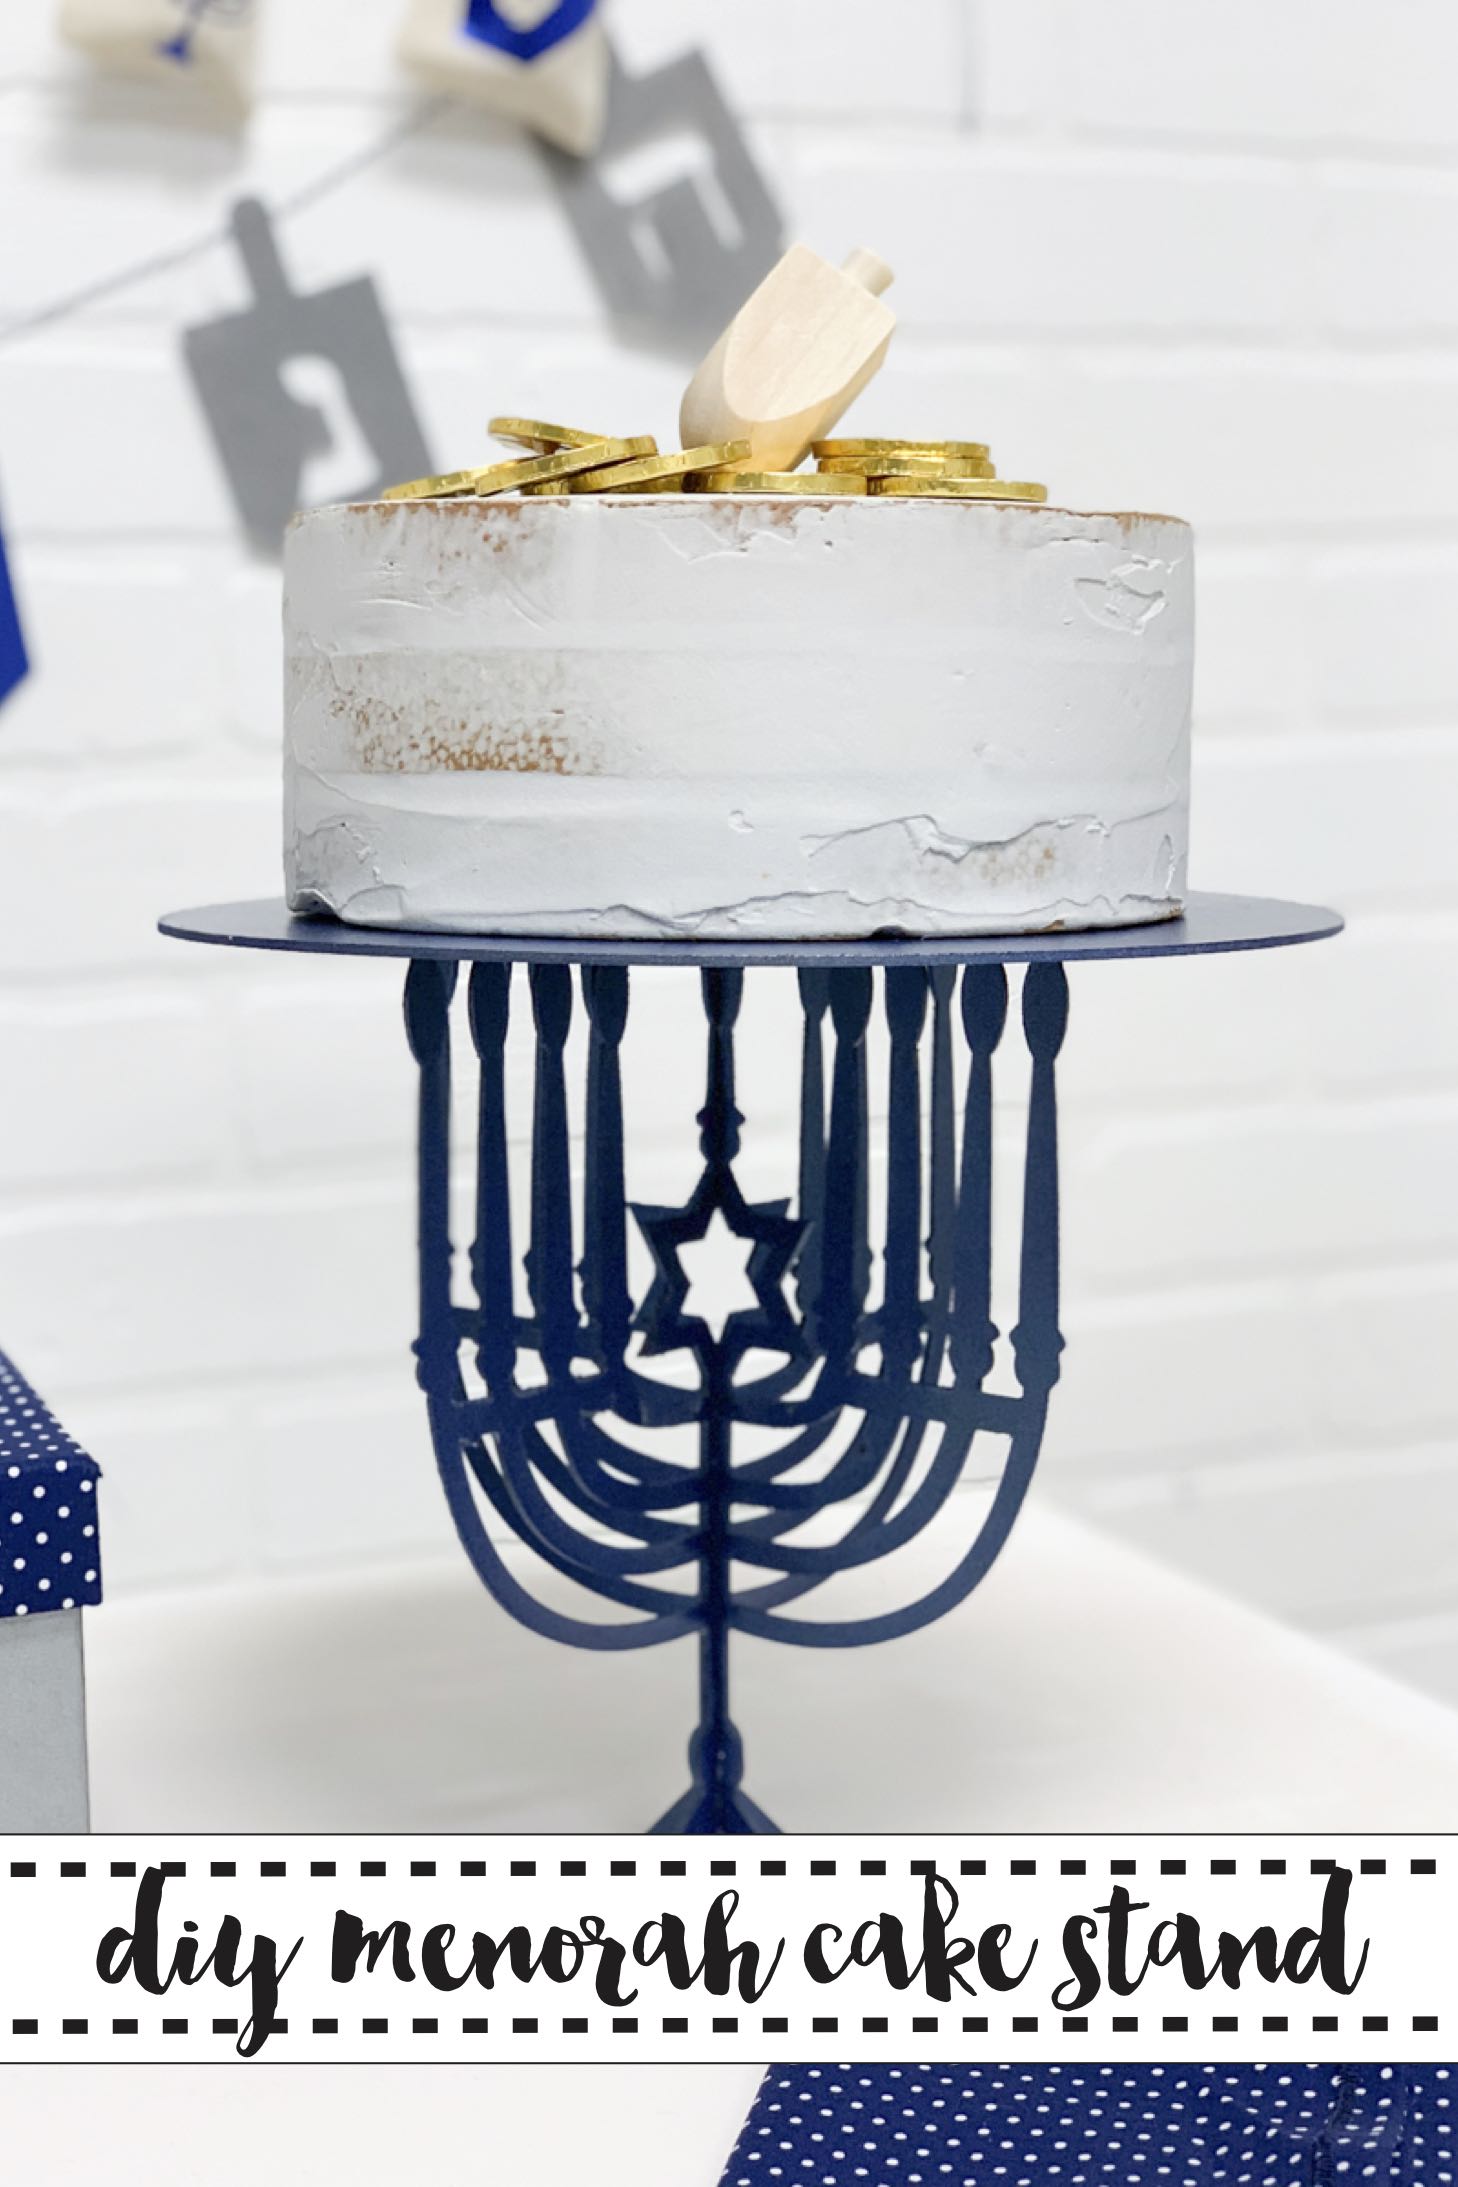
DIY Menorah Cake Stand
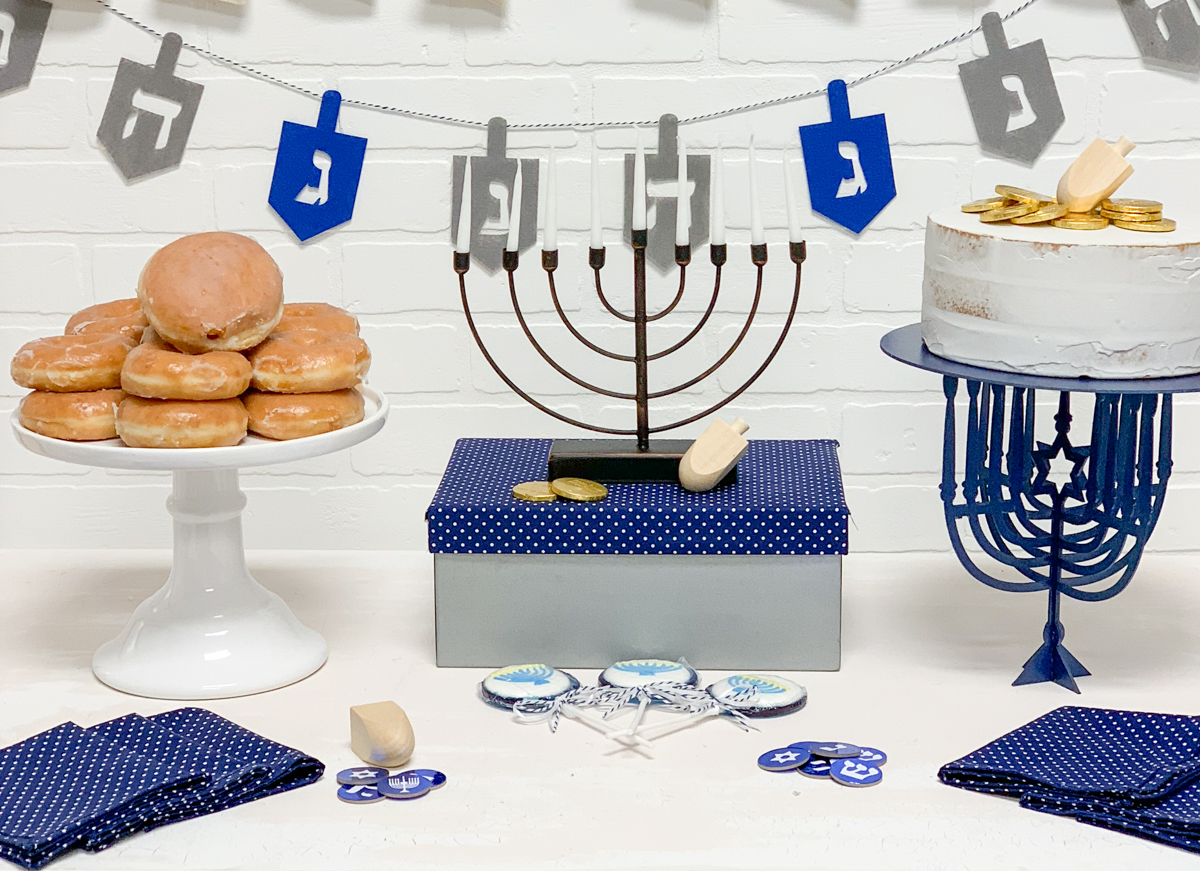
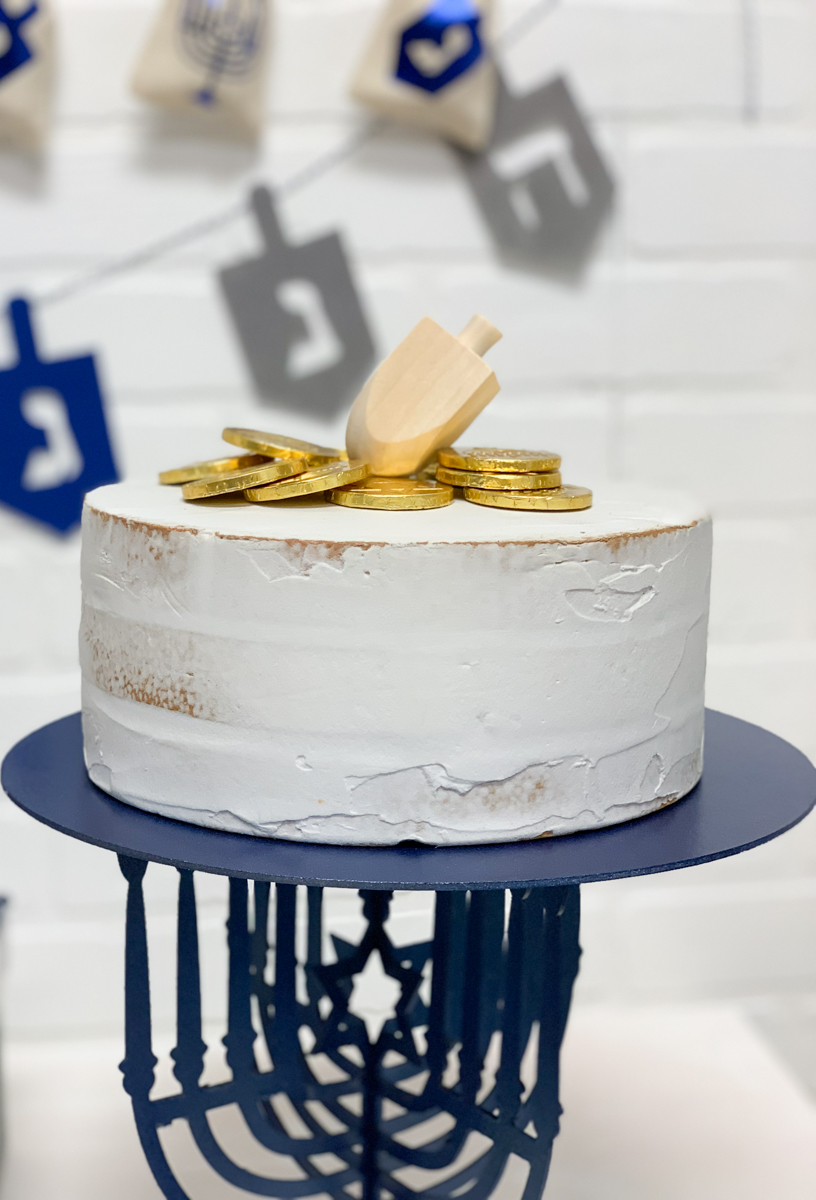
A few weeks ago I shared my Hanukkah celebration. One of my favorite elements from this party was the DIY Menorah Cake Stand. The stand I made for the party was perfect for my needs, but, realistically, it wouldn’t work for a party with a lot of guests.
I have made several cake and cupcake stands with Cricut Chipboard and my Maker, and I really love making them! They are simple, and they can easily be taken apart and stored for later, or even thrown out after the party because they are simple and affordable to make!
This Menorah is ready for cake in less than 5 simple DIY steps!
To make your own Menorah Cake Stand, you will need just a few things:
Step 1:
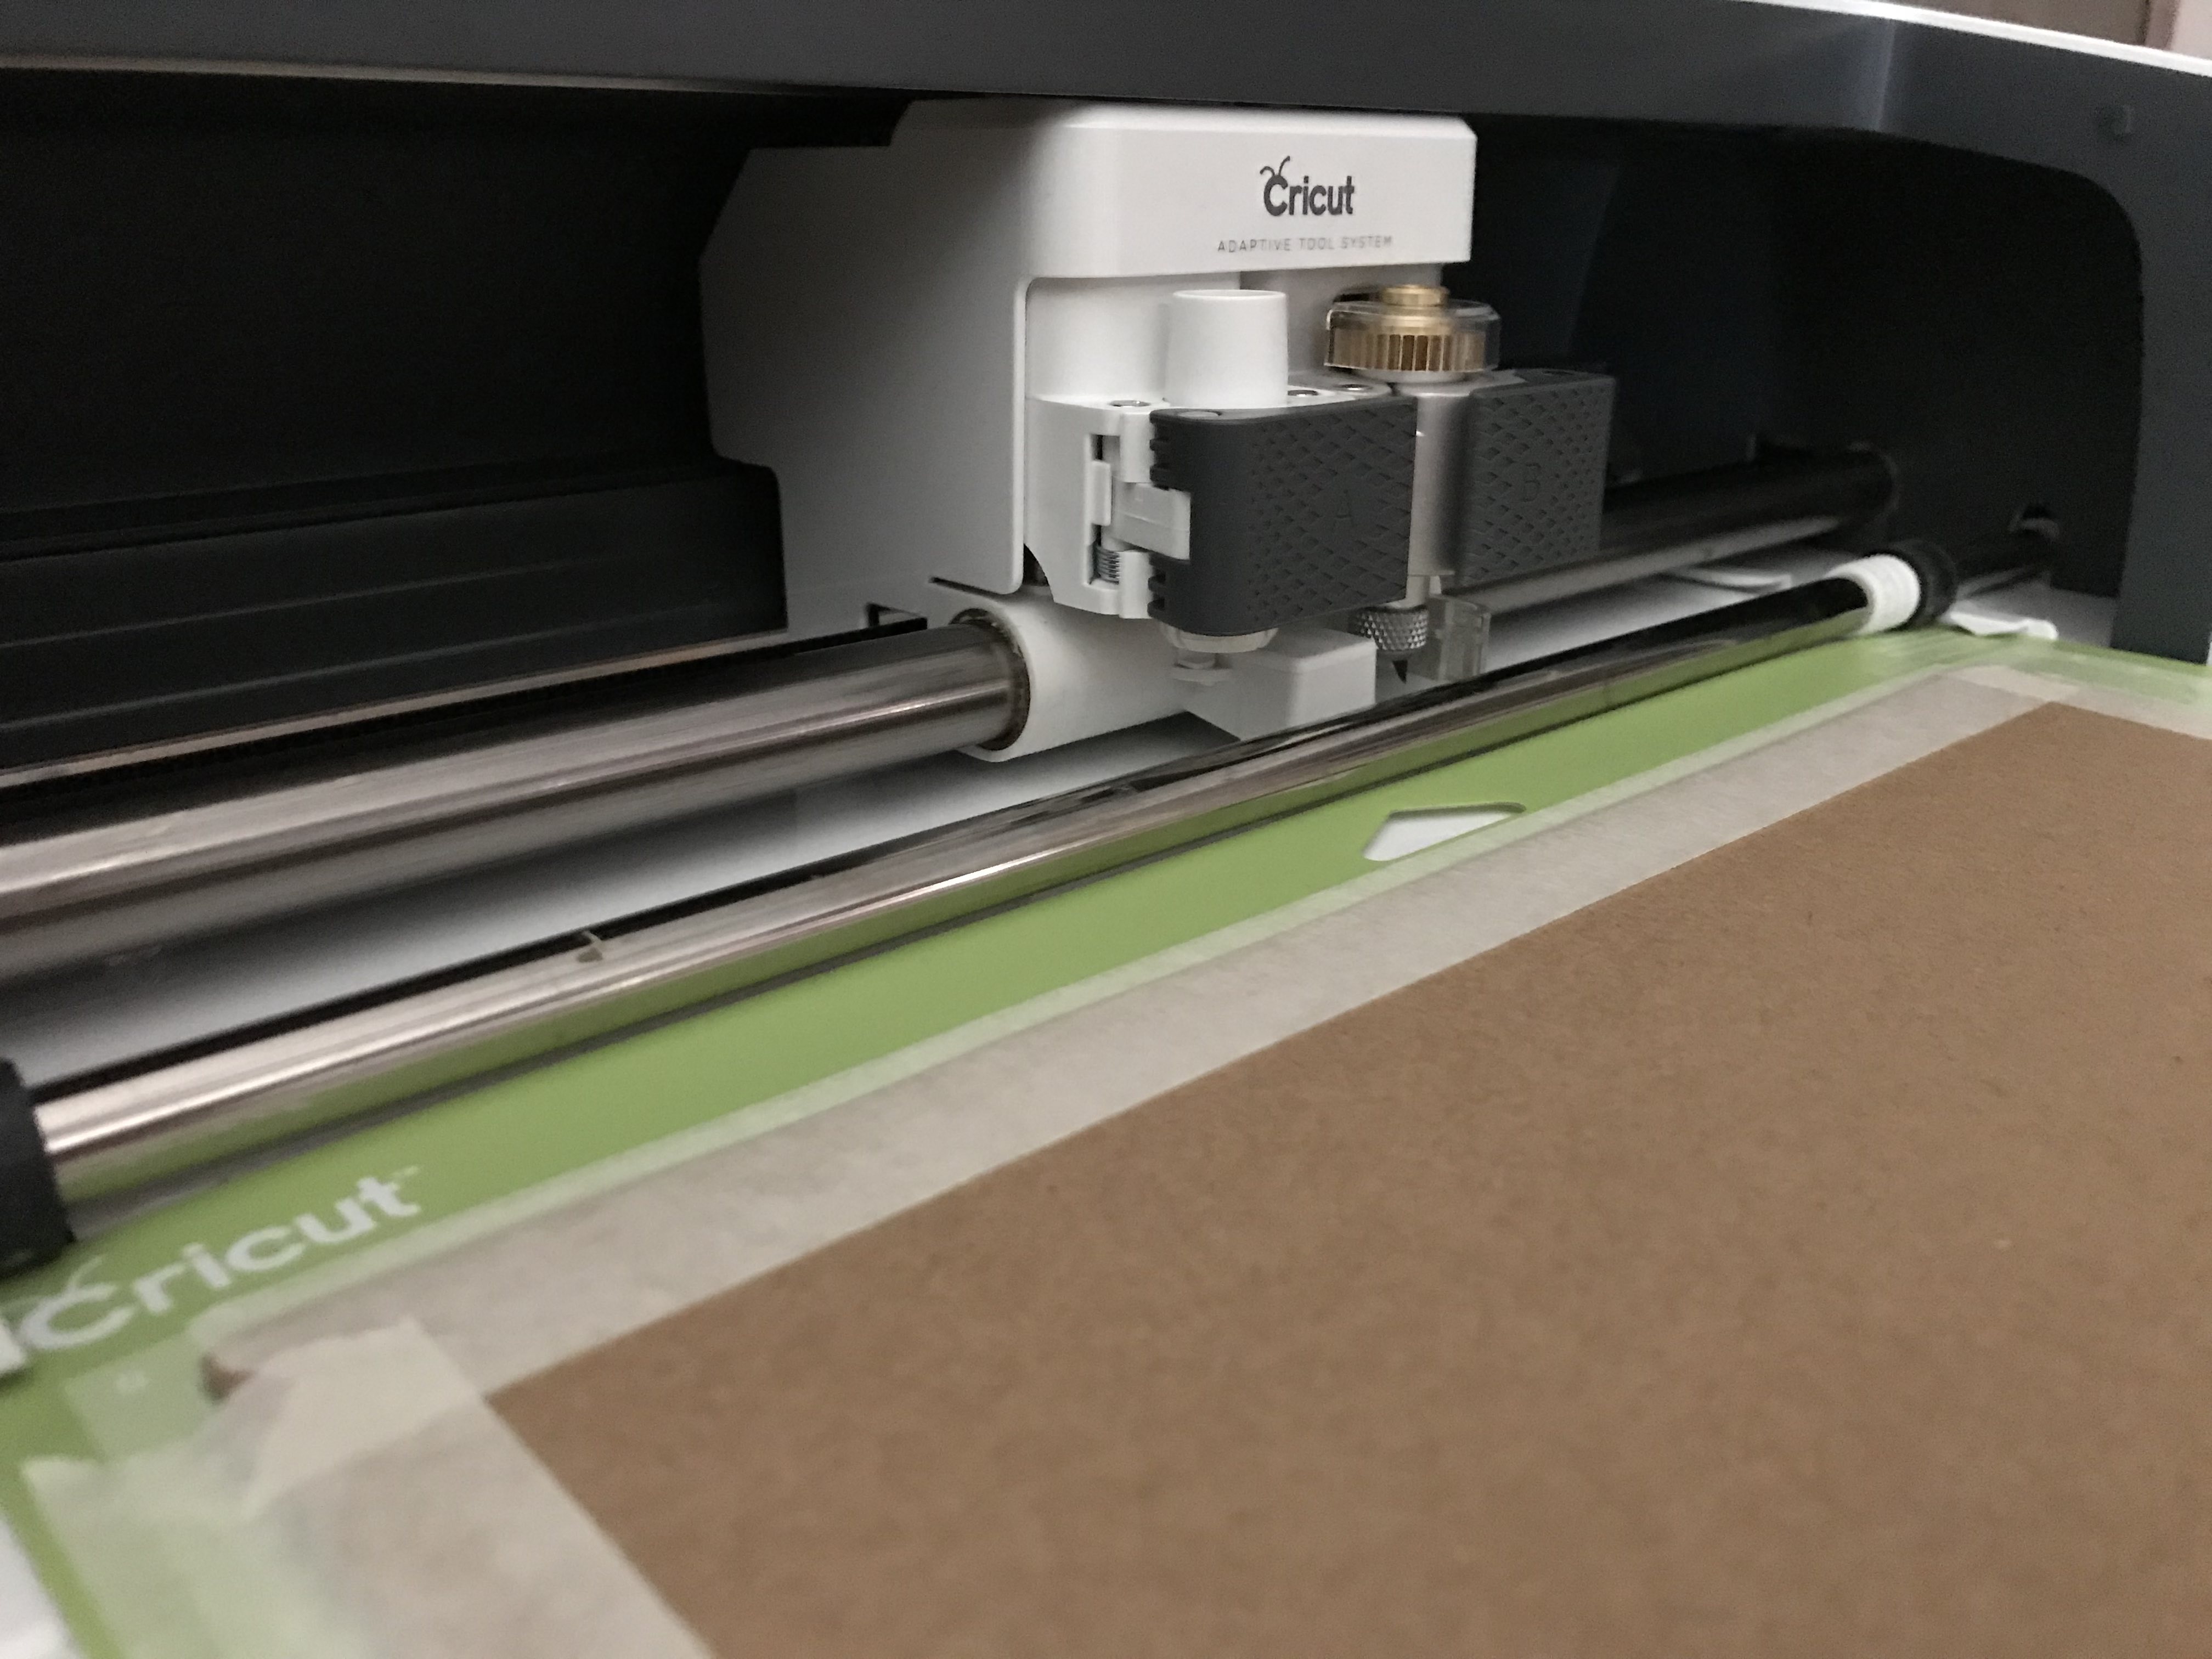
Prepare the Chipboard by allowing it to acclimate to the temperature and humidity for 24 hours. {I actually leave mine open all the time} Place the chipboard on a strong grip cutting mat and tape the edges down. {Standard grip mats will work in a pinch, if necessary}
Step 2:
Open this cut file and send it to cut. It will take several hours. It is very intricate, and it has to be cut about 20 times for each piece.
Step 3:
After the menorahs and base have been cut, you can paint it. I chose to use spray paint. It’s fast, easy, and covers evenly. {You need to cover the topper foil or a doily. Generally, paint is not considered food safe}
Step 4:
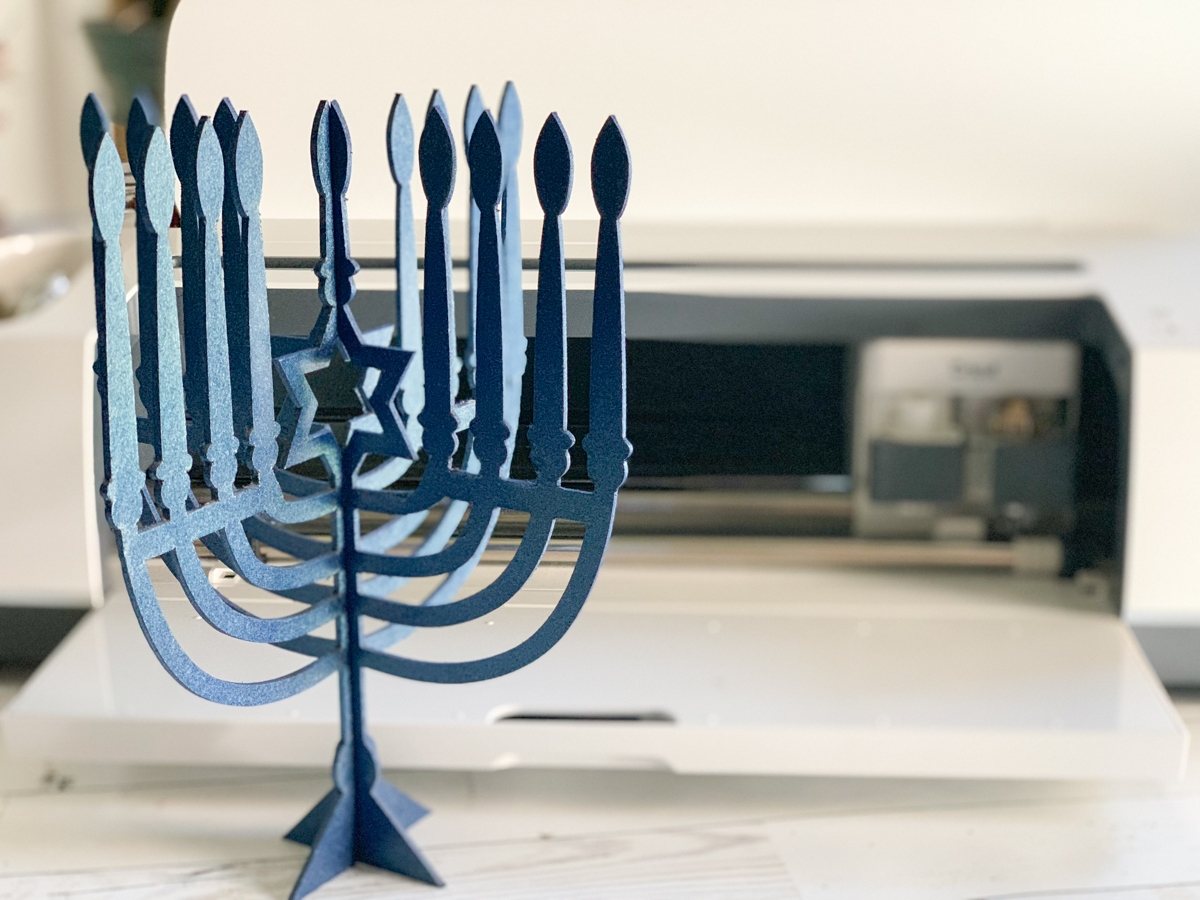
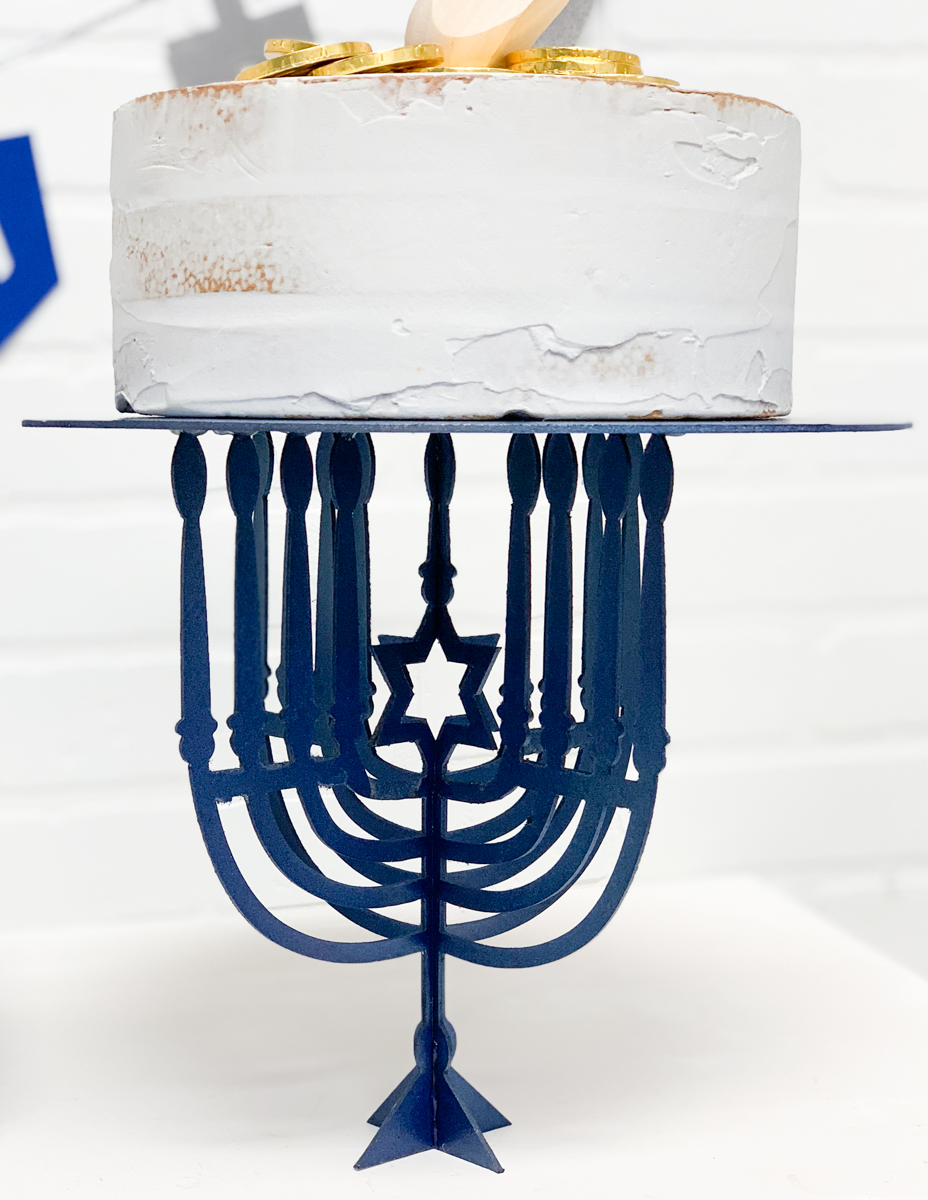
After the paint has dried, assemble the menorah. It will slide together like an X. I chose to hot glue the menorah together and I glued the circle on top of each of the menorah flames. This definitely made it a lot more stable.
My menorah’s foot print was too small to really be stable, so I edited the cut file. Your menorah will look slightly different than the one in the photos.
Be sure to check out more Hanukkah inspiration on the blog:
Tags : Cake plate, Cricut Blogger, Cricut Made, Cricut Maker, DIY, DIY Cake Plate, Hanukkah, Hanukkah Celebration, Holiday Party, Menorah, Winter Holiday

