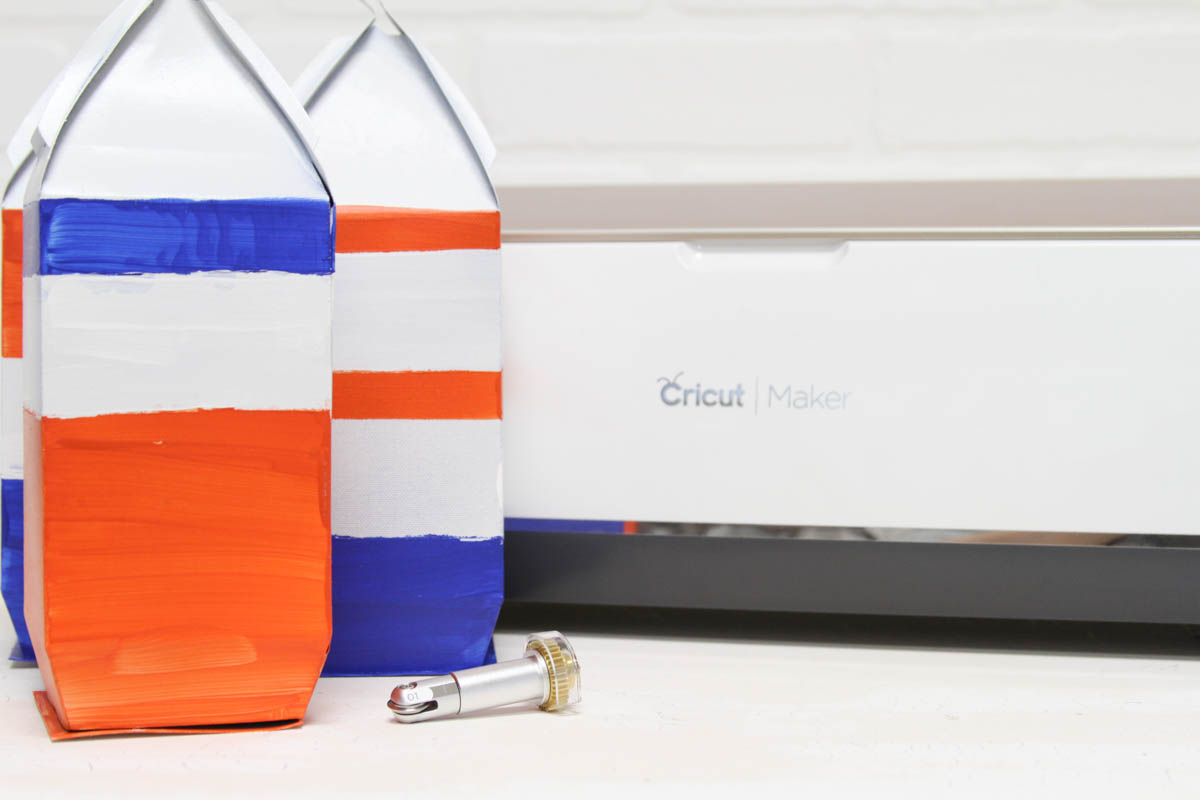
Simple Paper Buoys with the Cricut Scoring Wheel
Simple Paper Buoys with the Cricut Scoring Wheel. It’s my second week of sharing some of the awesomeness of the Cricut Scoring Wheel. I have used the scoring wheels on card stock, glitter card stock, foil acetate, and even kraft board. Each time I have been jaw dropped impressed with the crisp lines the Scoring Wheel makes, no matter what the material is!
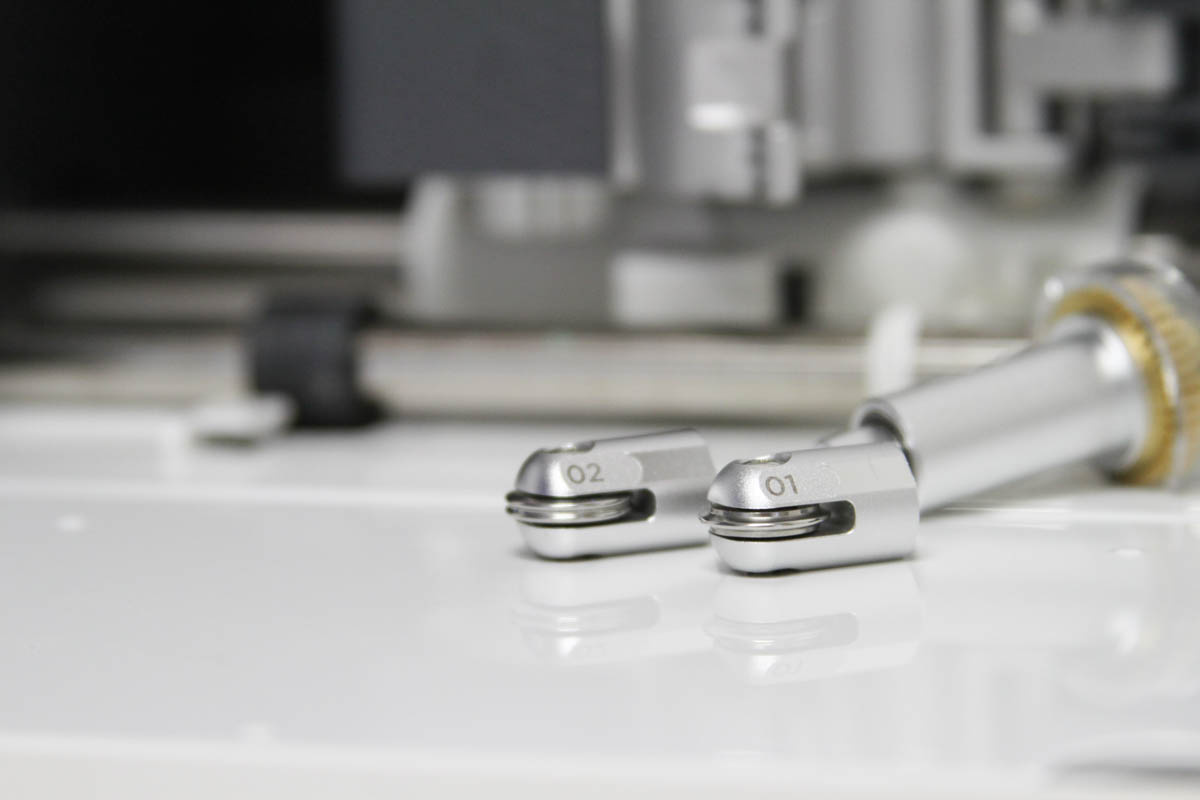
The Scoring Wheel was available on HSN last week, did you get one? If not, don’t worry, it will be available online and in stores SOON! As part of the Maker’s exclusive Adaptive Tool System, the Scoring Wheels make the most clean, crisp creases; with up to 10x the pressure of the traditional scoring stylus. This makes every fold perfect, and truly effortless. The single wheel was engineered to score thin materials, while the double wheel tip was engineered to score thicker and even coated materials without damaging the material! With the ability to score perfect lines, you can create 3D home decor, sculptures, and art effortlessly!
Design Space will recommend the single wheel or the double wheel depending on the material setting you select. Scoring Wheels create extra-deep score lines on your materials, so you can get perfect folds with flawless finishes.
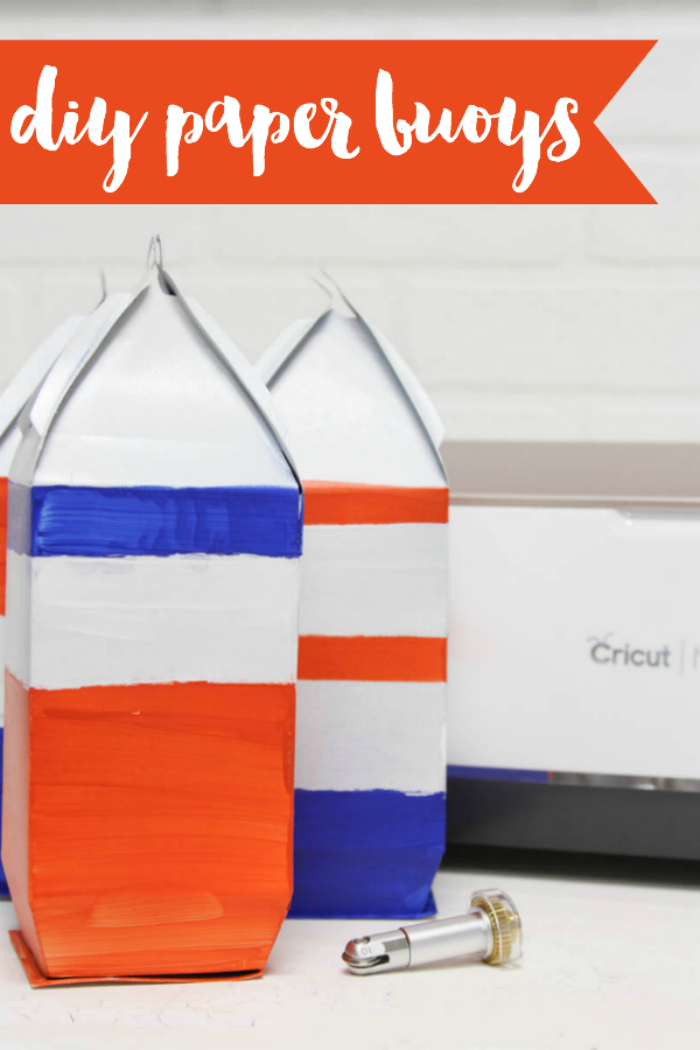
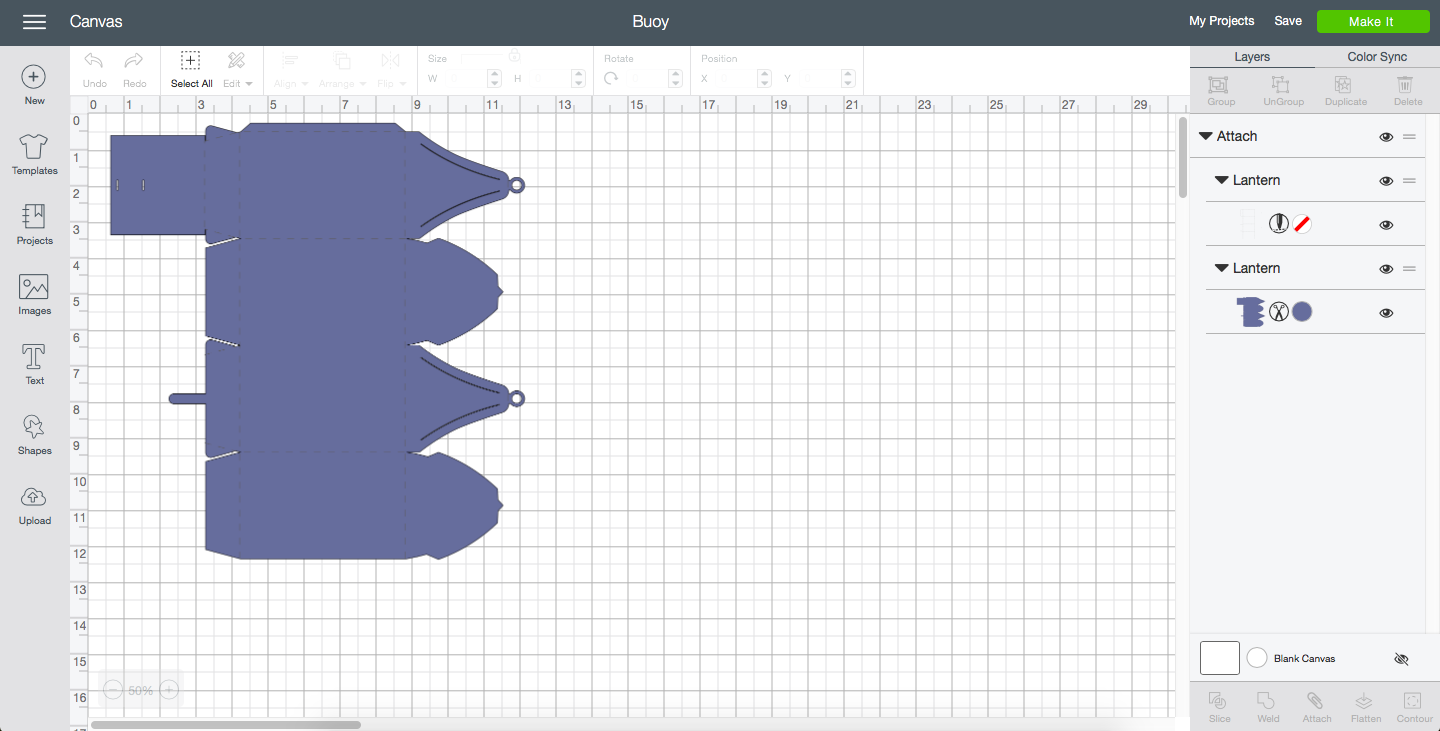
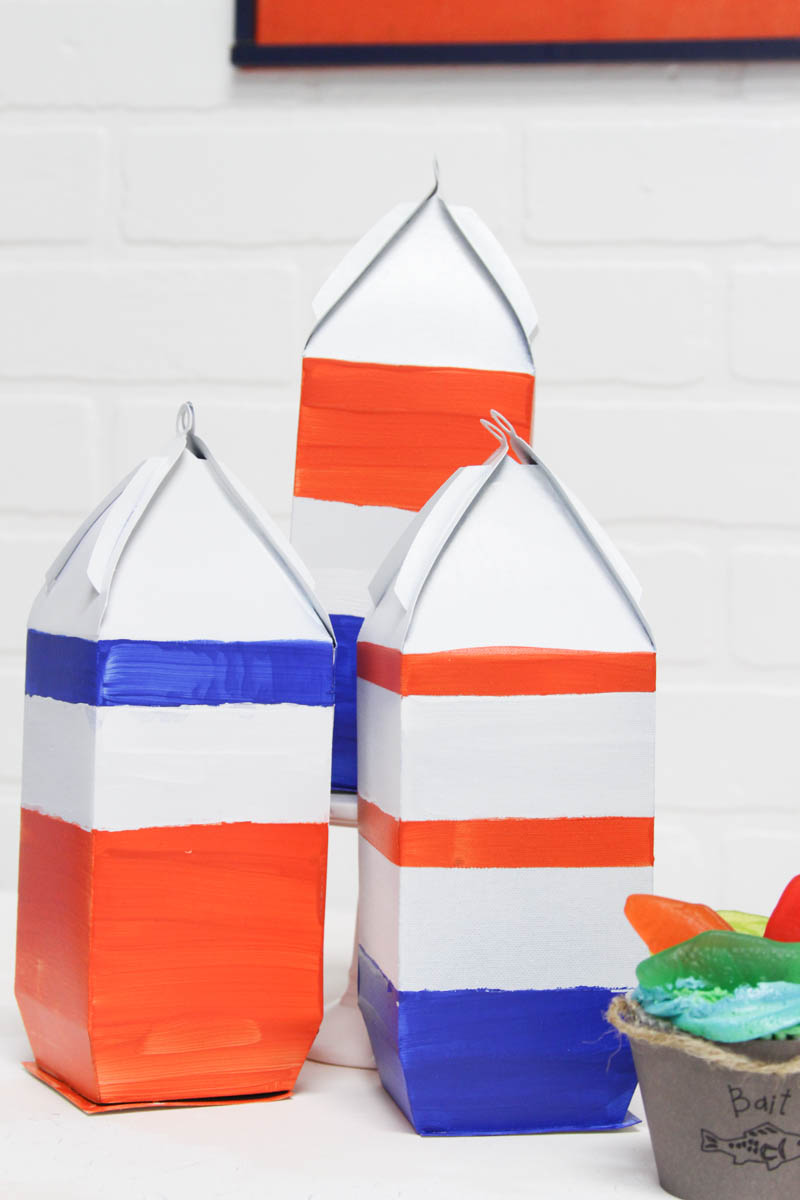
We recently hosted our annual Shark Week Party, and I have always loved the look of old wooden buoys…but I cannot seem to find any I love and or can afford…and I really wanted something like a buoy to use for our party. So, I browsed through Design Space, and found these lanterns. I thought I could hide the contours, and paint them to resemble a buoy, and I TRULY LOVE the way they turned out!
Supplies to make faux paper buoys:
Cricut Design Space Access and Cut File
Paint, Painter’s Tape, and Paint Brushes
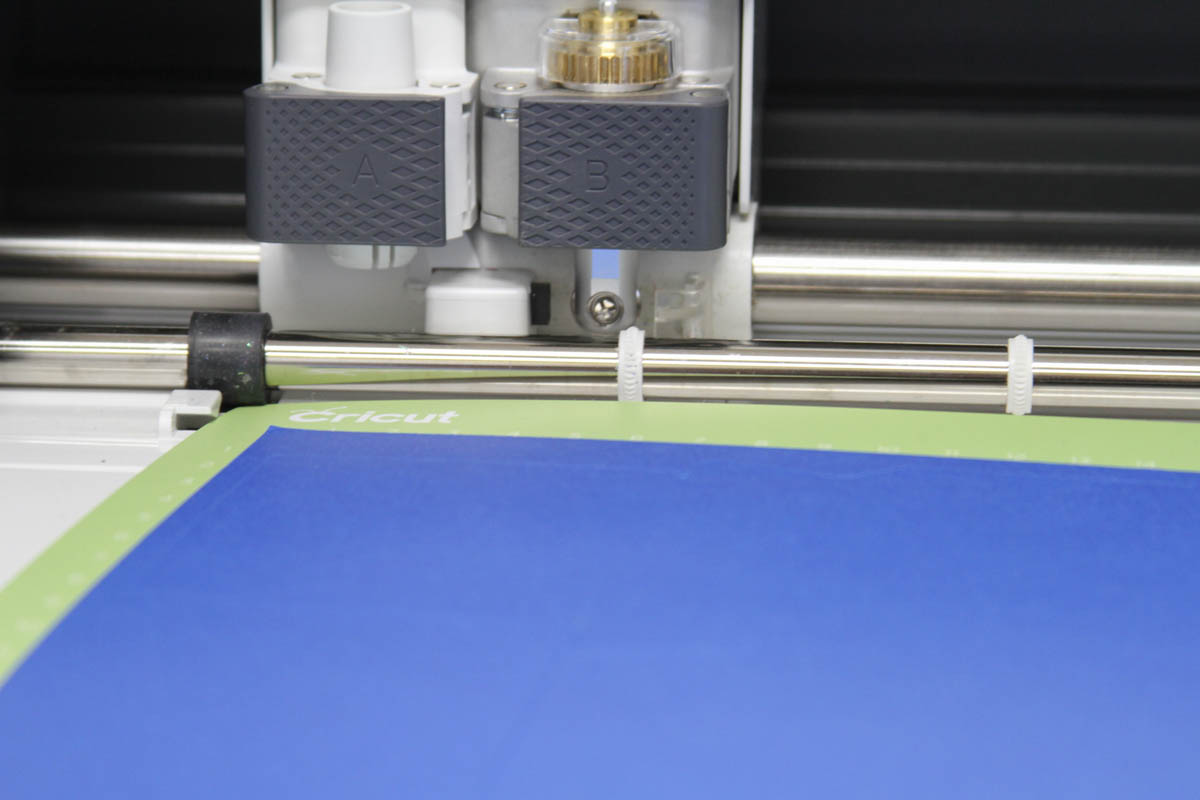
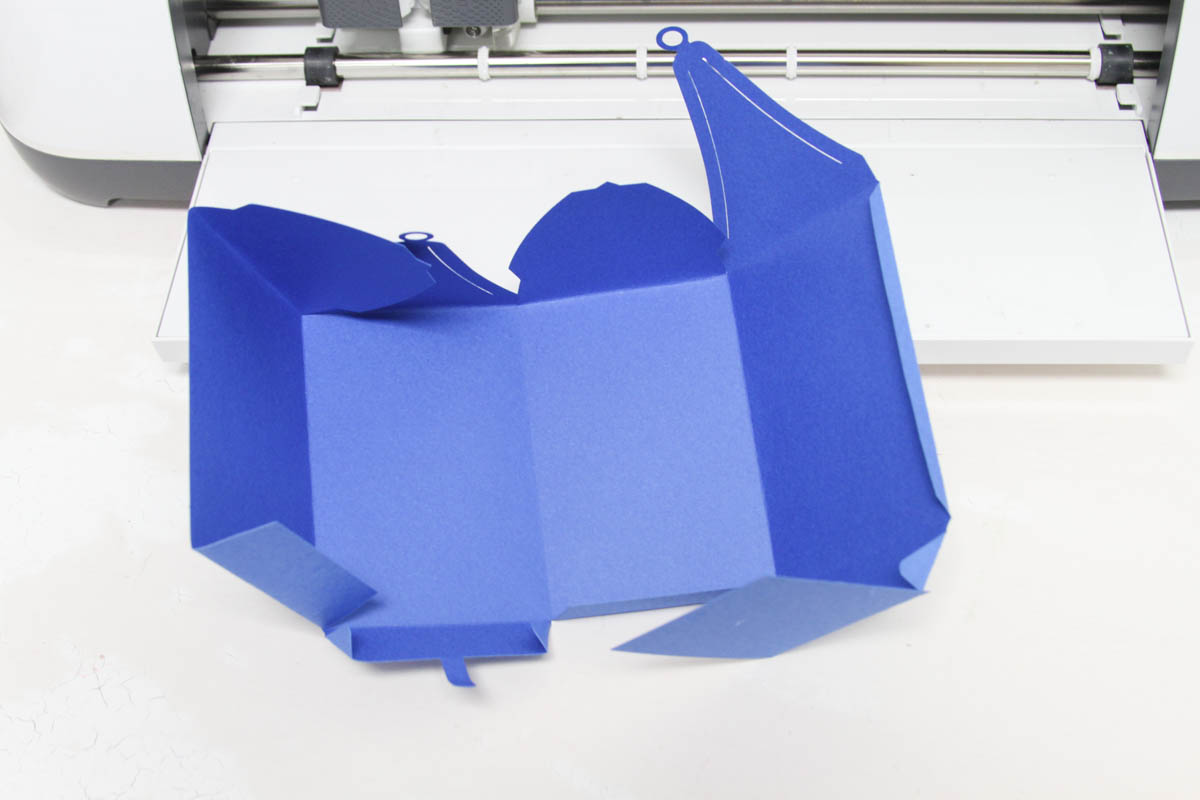
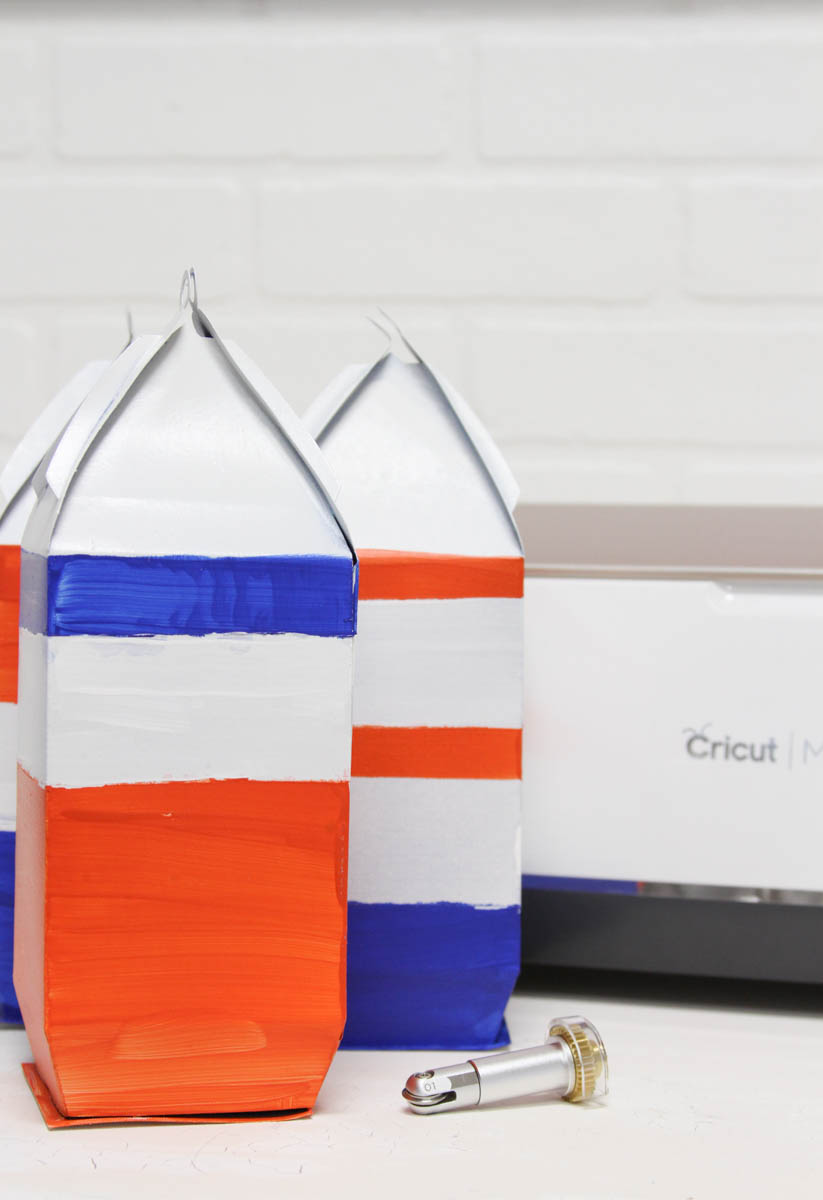
Adjust the image to be the appropriate size. I wanted mine to be fairly large, so I used 12″x24″ Card Stock. The Single Wheel Scoring Wheel scored perfect lines in the paper, and the Maker and Fine Point Blade cut the paper perfectly!
I removed the paper from the cutting mat, and pre-folded all of the scored lines.
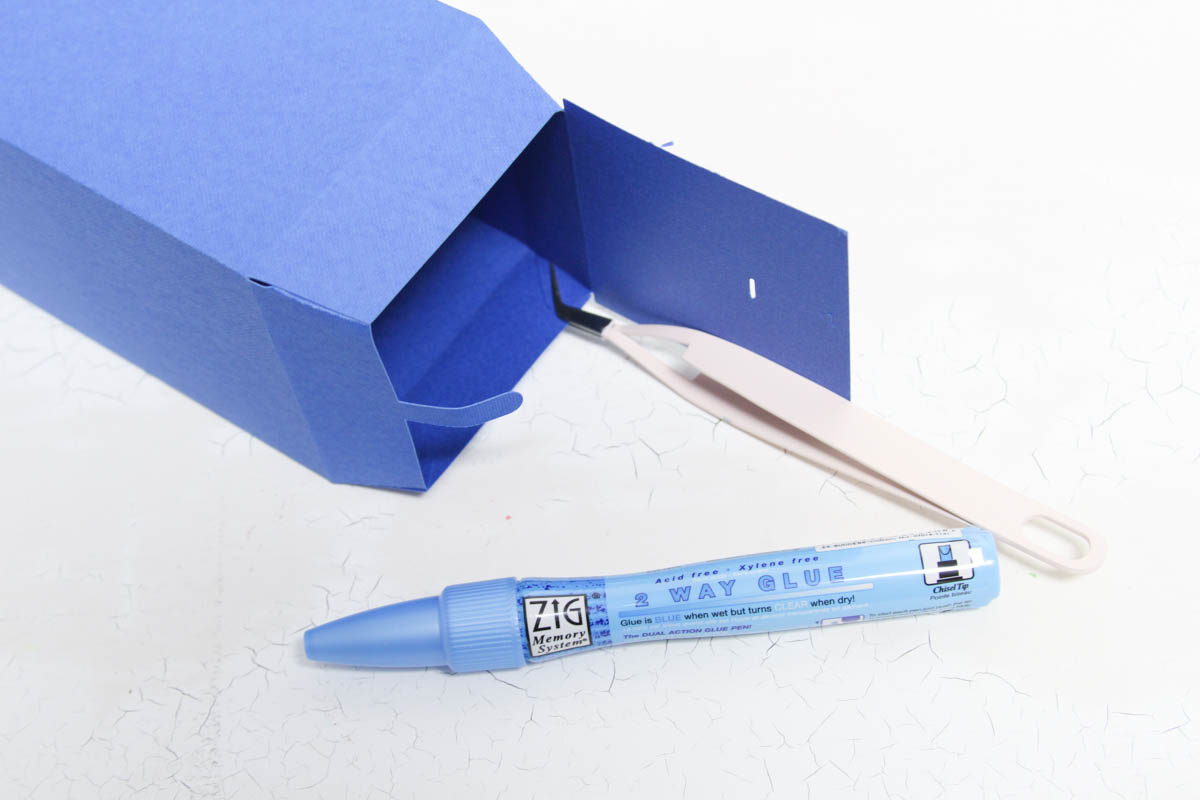
Next, I glued the lantern together, and used some of my Cricut Tools to pinch the tabs together while the glue dried.
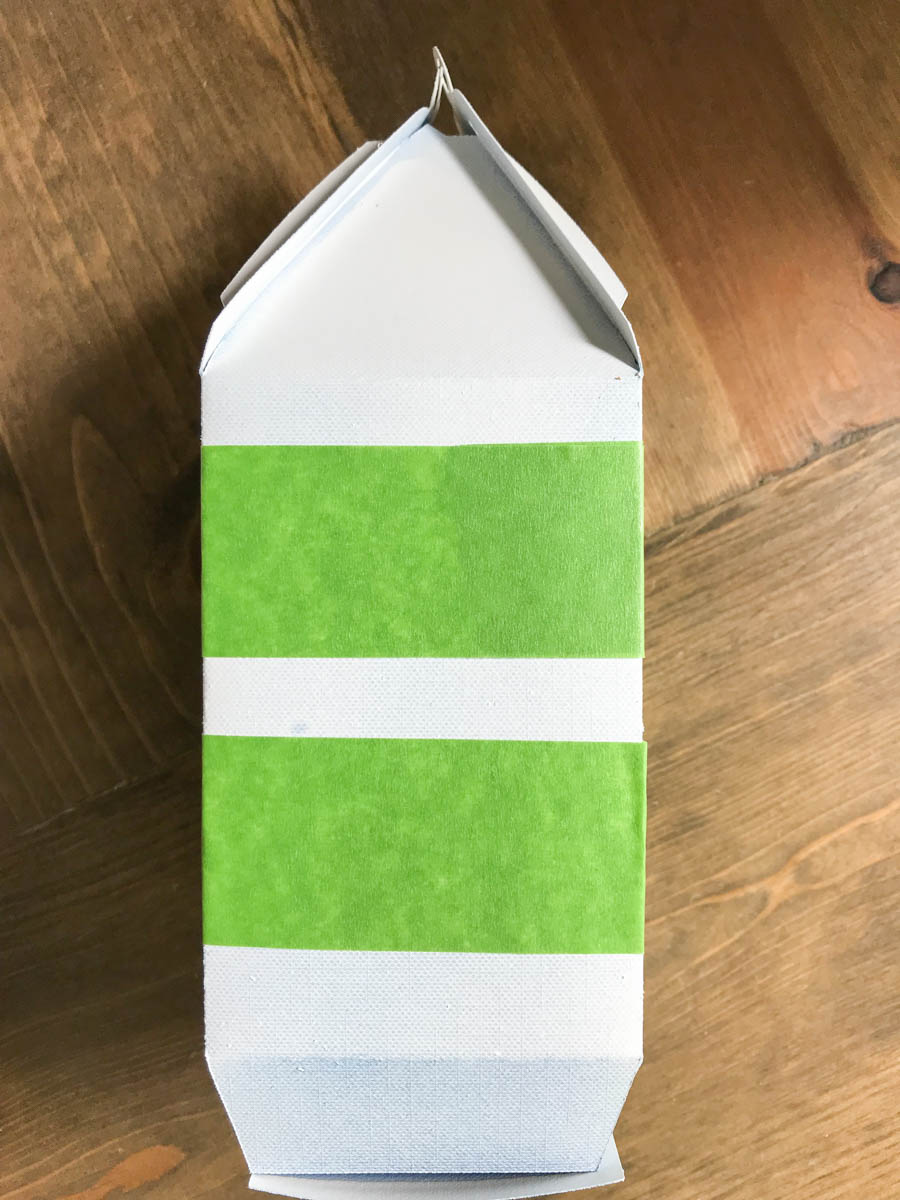
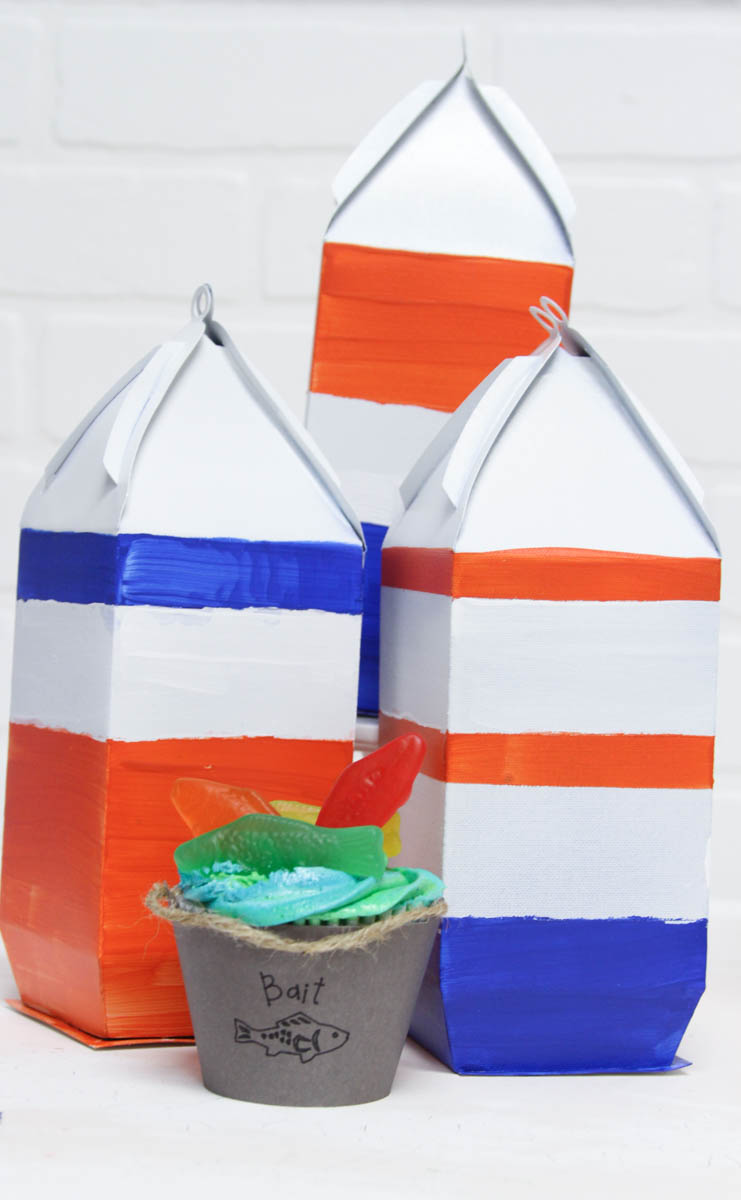
Then, I painted the entire lantern white {I painted it so that it would be slightly more rigid}, and then taped them off to add blue and orange paint stripes to each one.
I added them to the dessert table for a bold pop of color against my crisp white walls.
The Scoring Wheel made this project SO much easier, and I cannot wait to continue to use it!
This is a sponsored conversation written by me on behalf of Cricut. The opinions and text are all mine.
Tags : Cricut, Cricut Maker, Cricut Scoring Wheel, DIY, DIY Paper Crafting, Paper Craft, Shark Week

