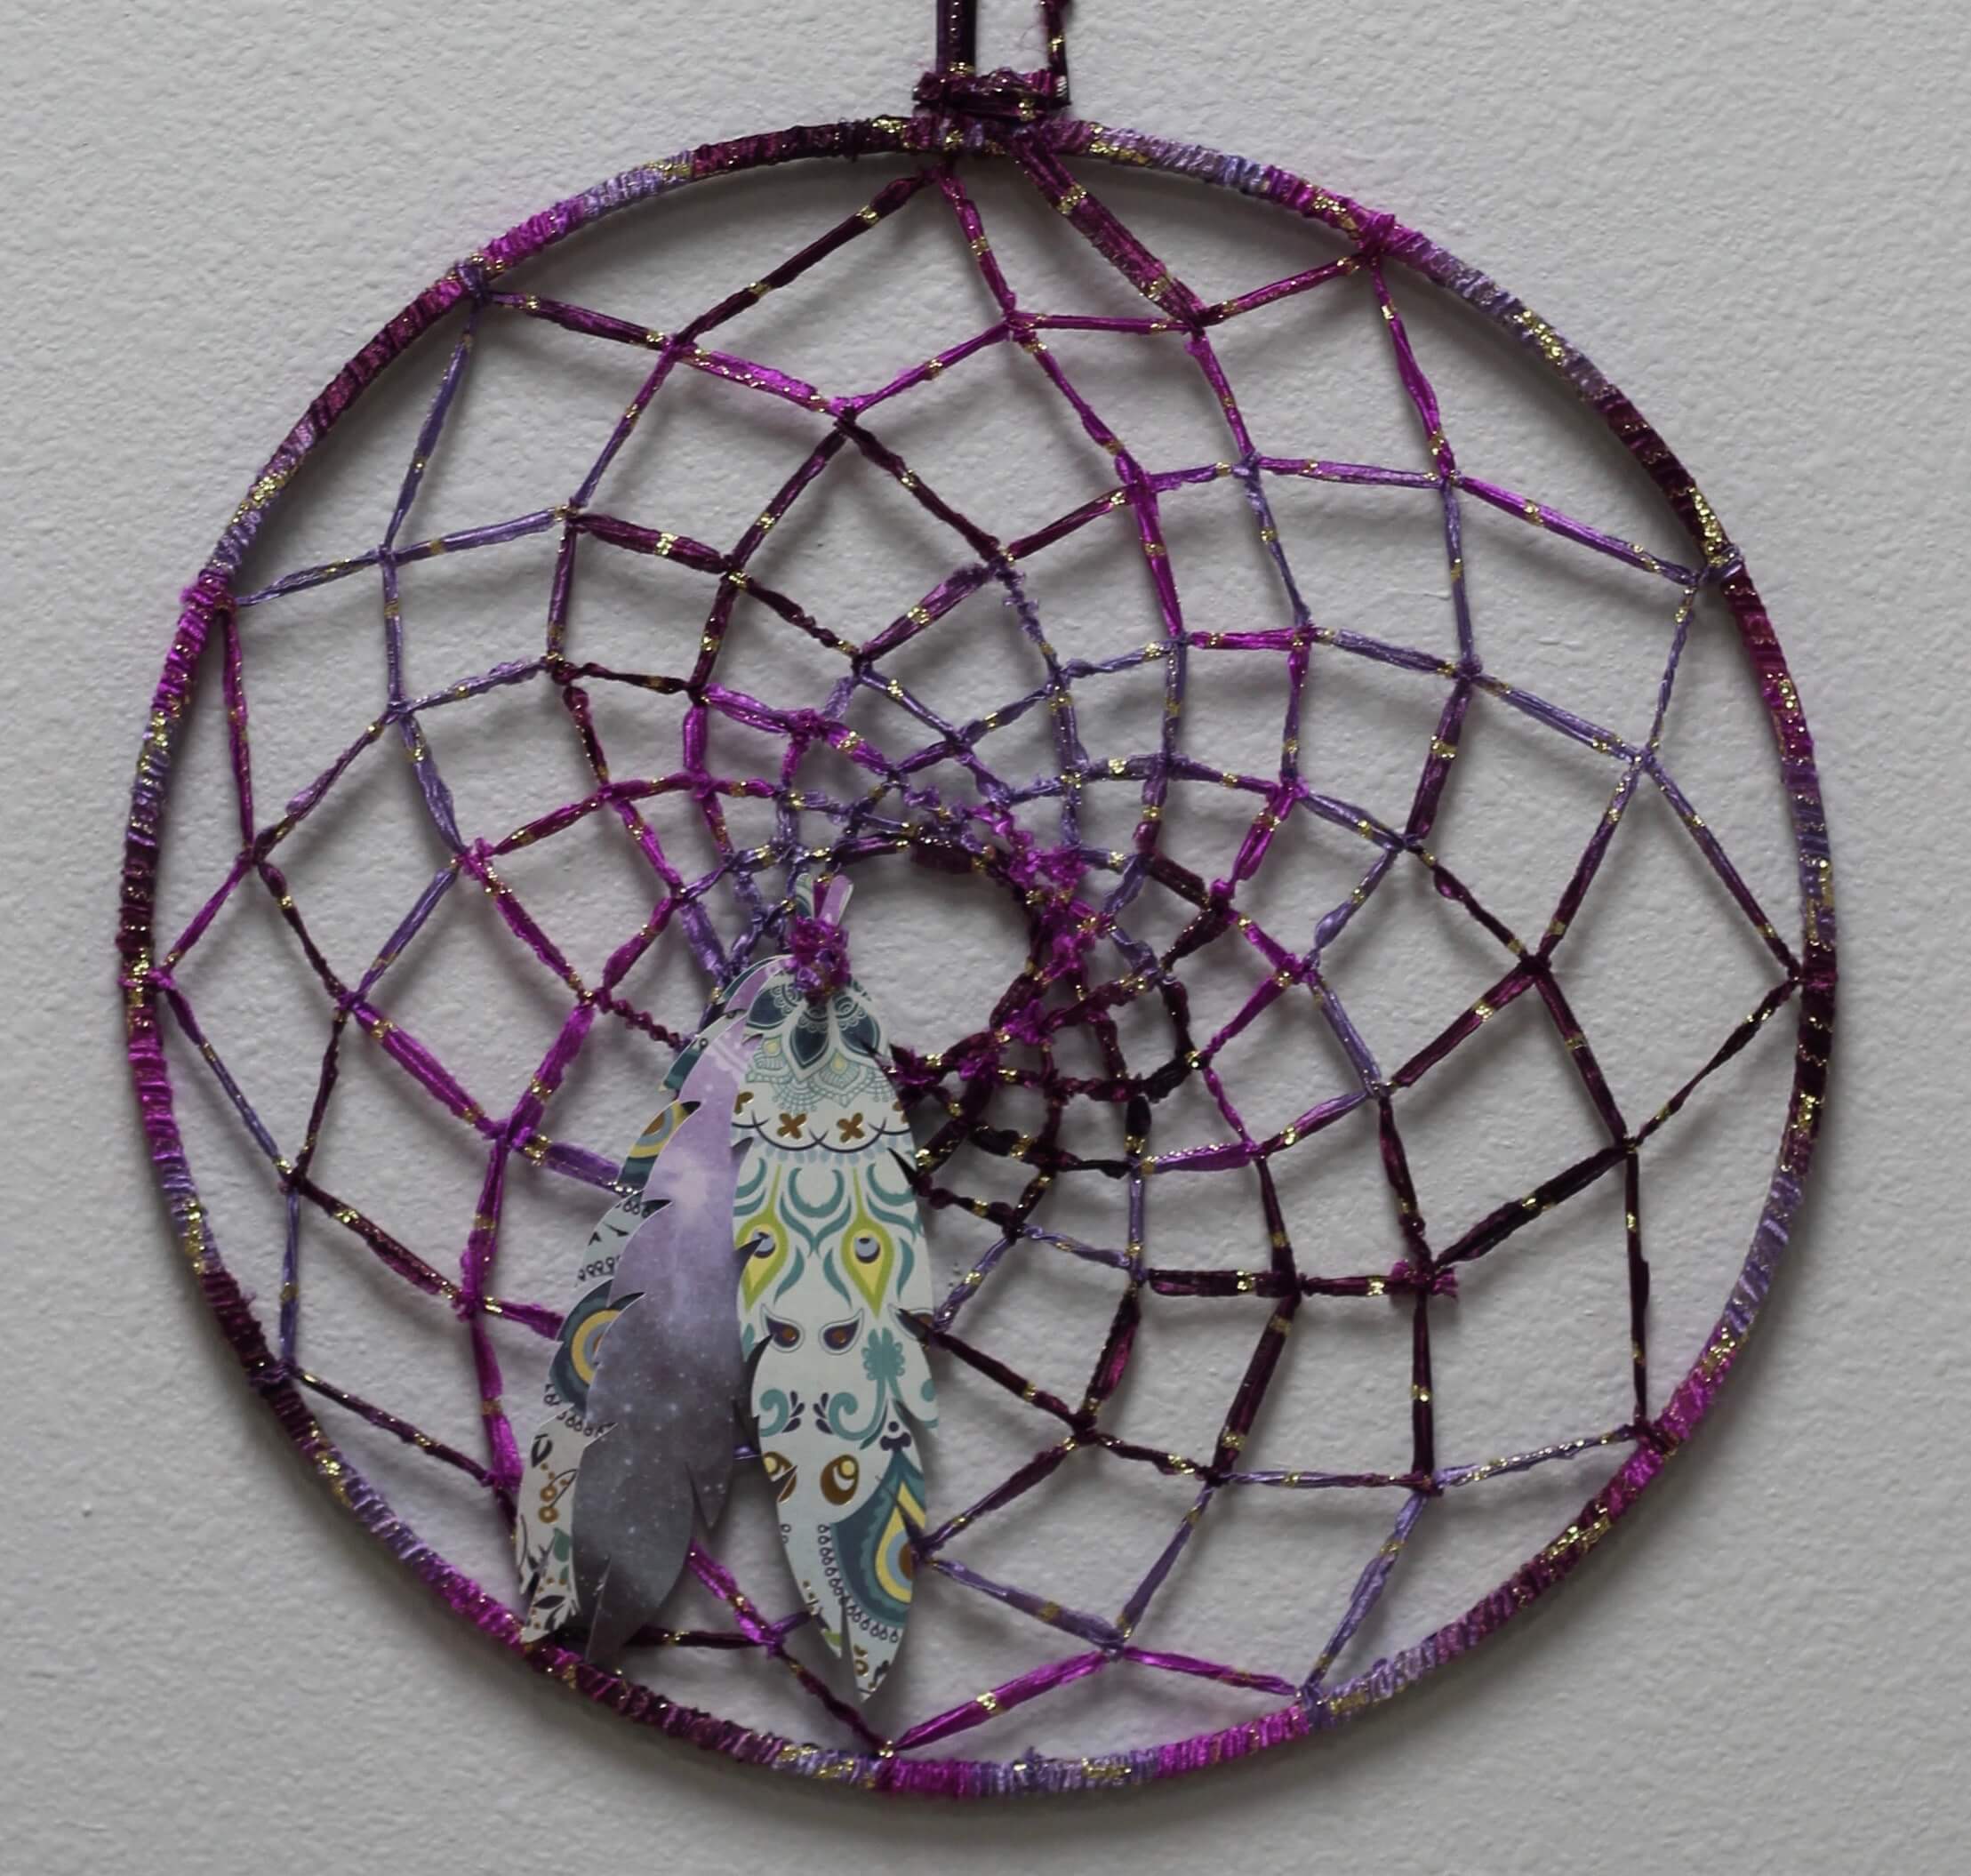
DIY Dream Catcher Party Backdrop
This review is based strictly on my opinion. Others may have a different opinion or experience with the product listed above. I was provided the sample free of charge by the company or PR agency and I have given my honest opinion. No other type of compensation was received for this review.
If you decide to make a purchase through my links, I will be paid a small commission for it. This doesn’t cost you anything additional. These commissions help to keep the rest of my content free, so thank you!
DIY Dream Catcher Party Backdrop. I love dream catchers, I remember making them when I was a little girl with branches and yarn or string, or whatever I could find in the junk drawers. I even had what I believed to be a true Native American made on…now, if it truly was, or I just believed it was, I don’t know.  When the opportunity arose for me to host a Social Artworking Party in late January, my friends and I chose the Be Brave design. The party wound up being so appropriately meaningful for me, you can read about it here. Since the design had a boho vibe to it, I wanted to make a boho feeling backdrop. The first thing that came to mind was dream catchers.
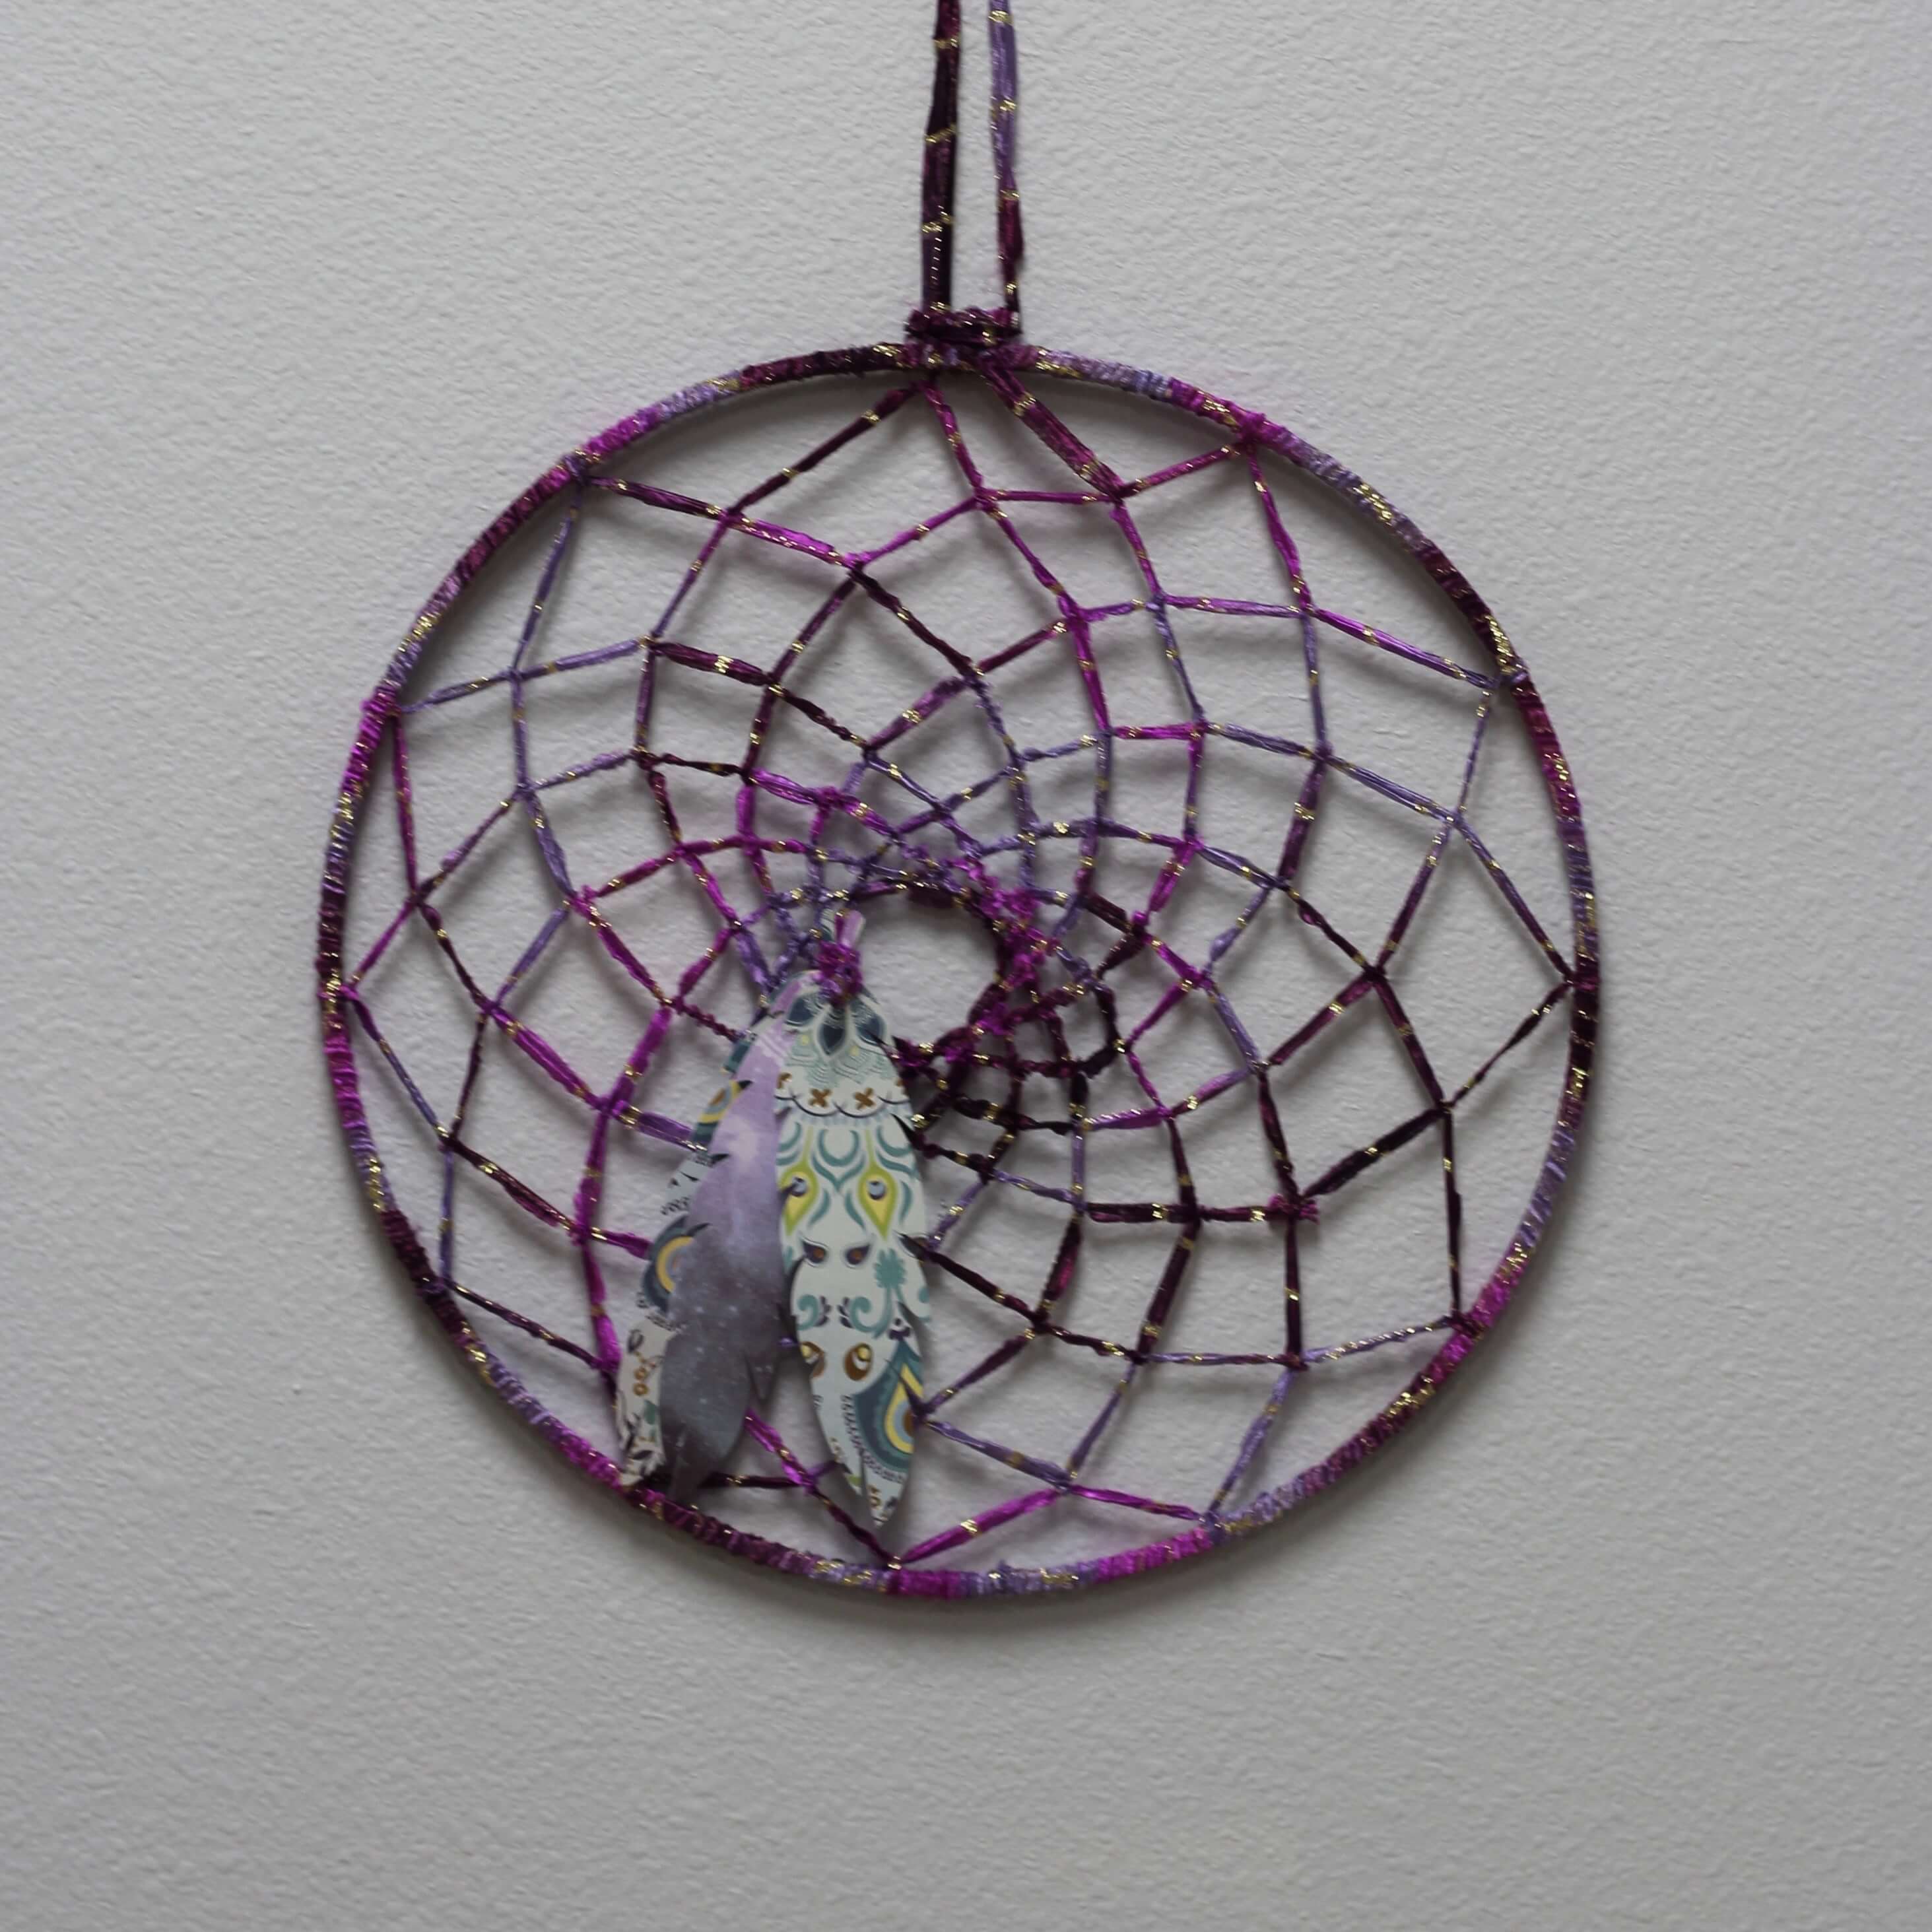
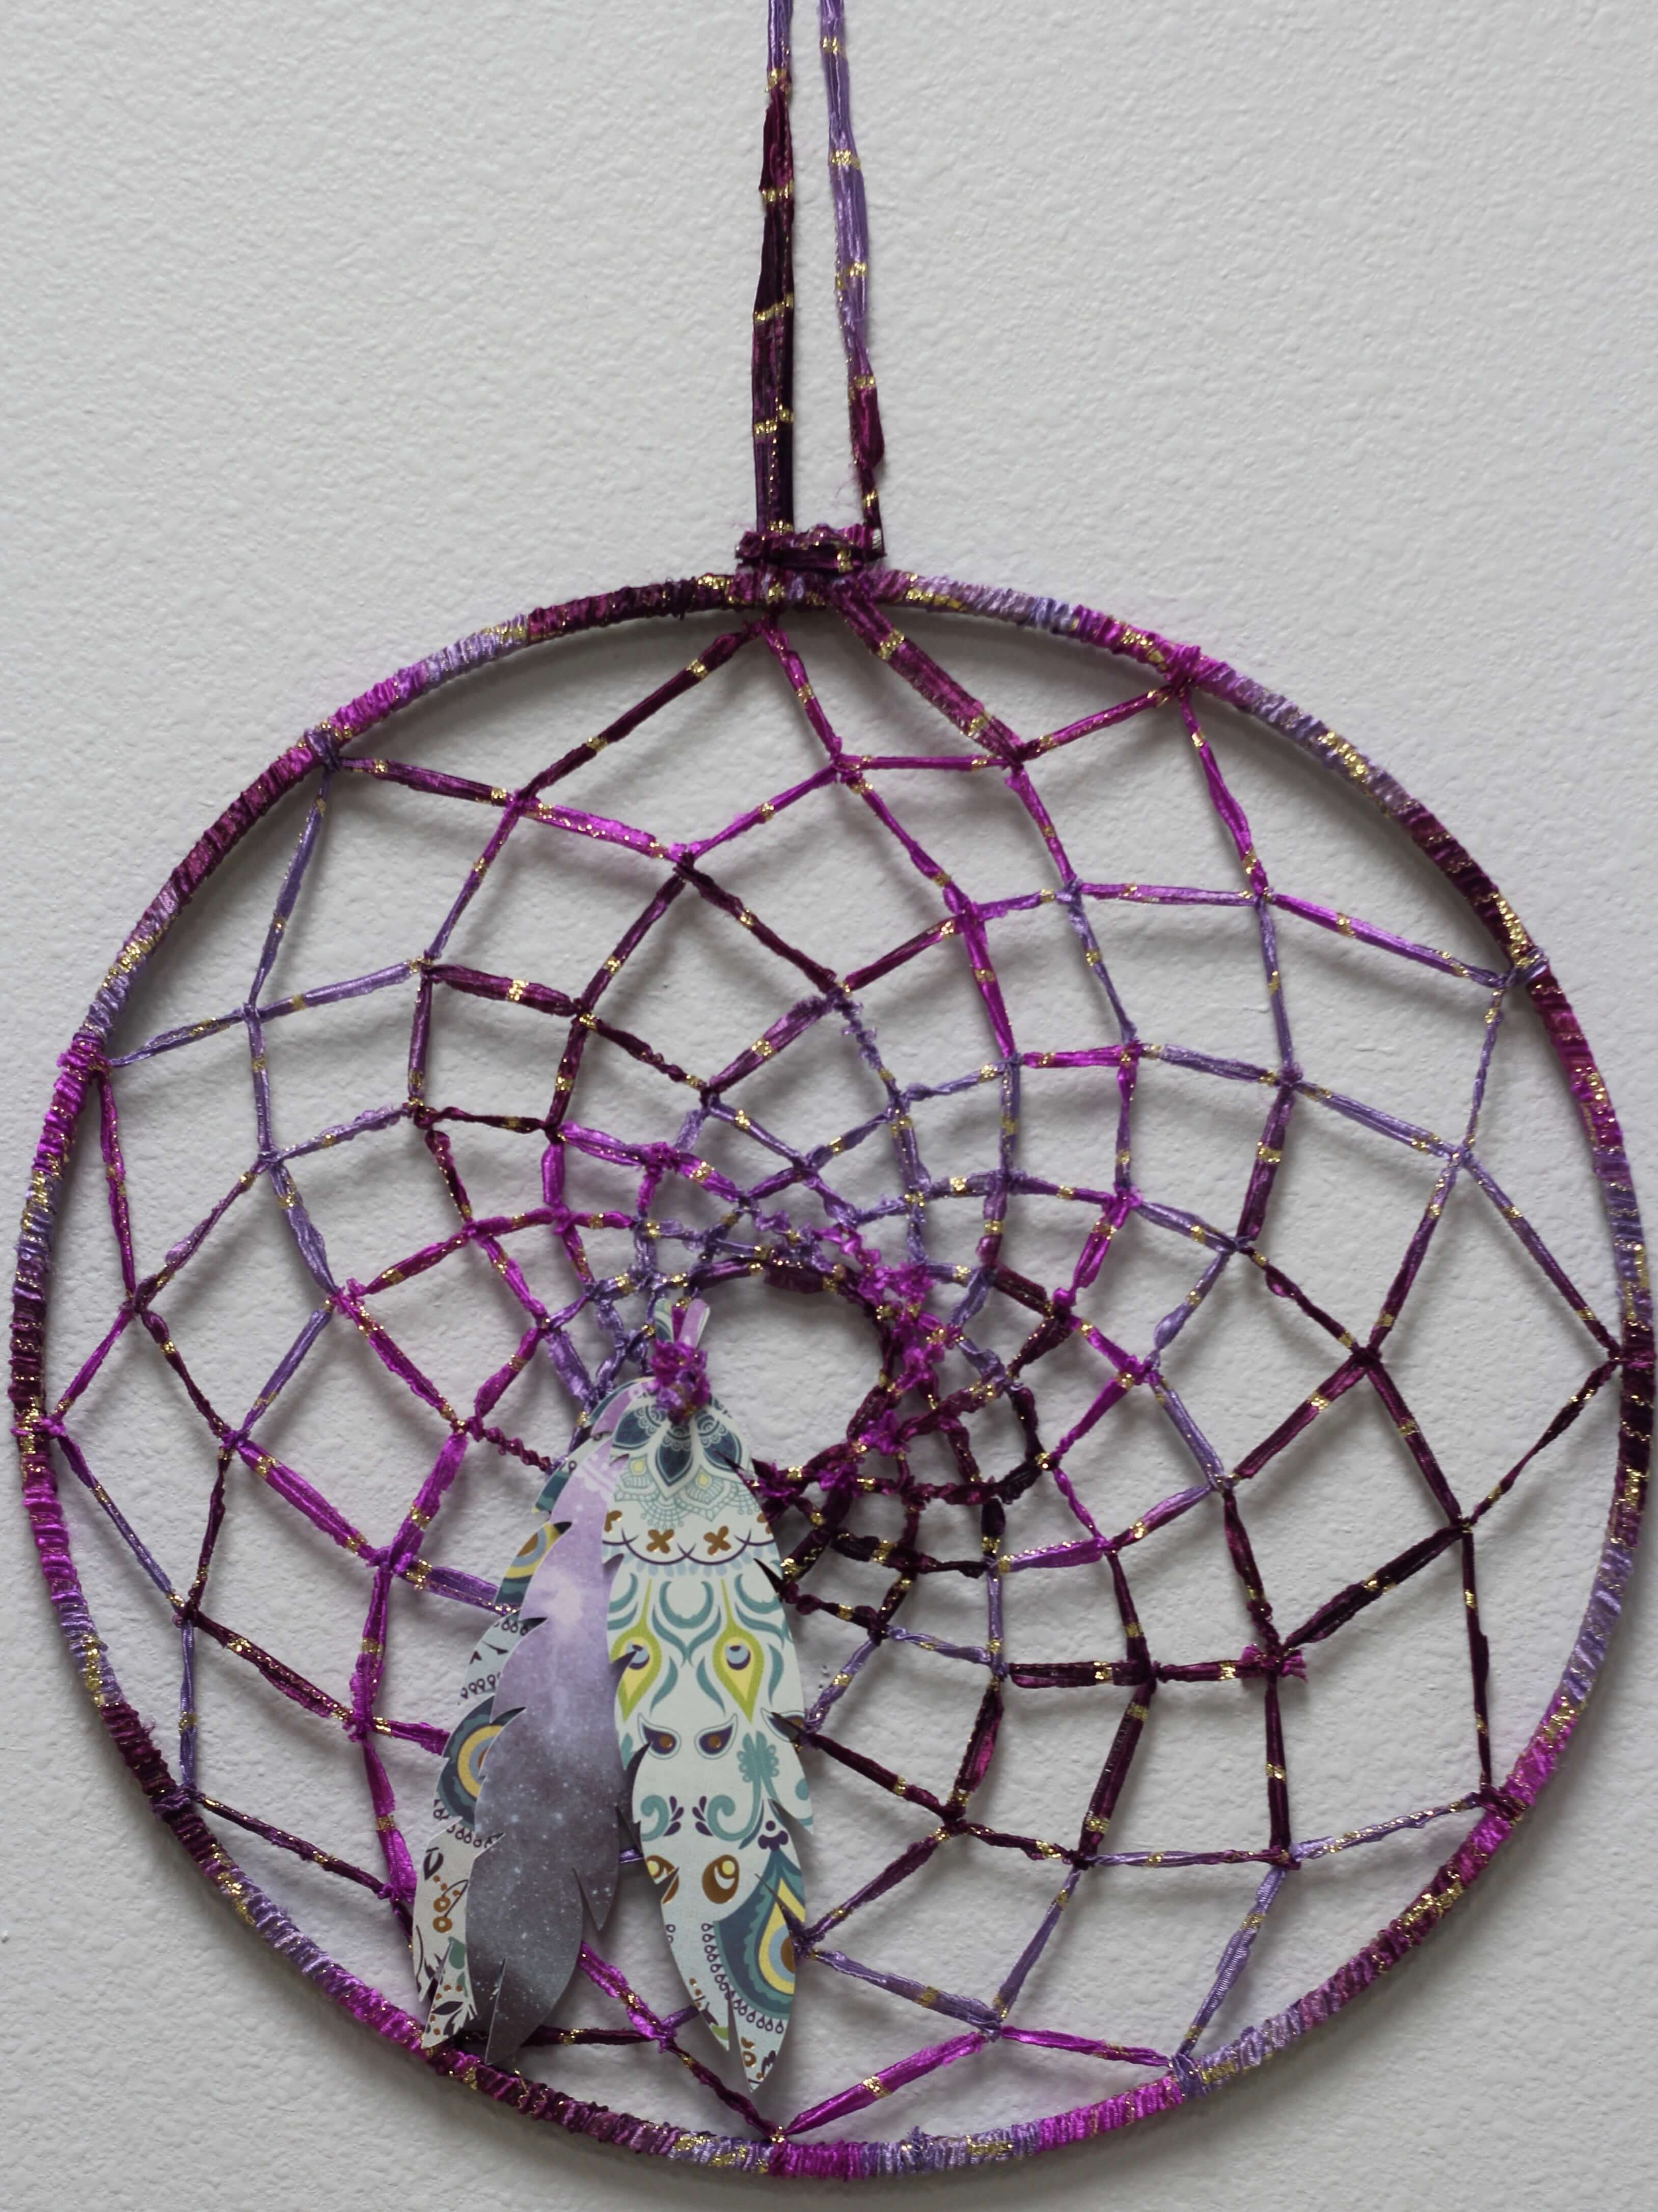
 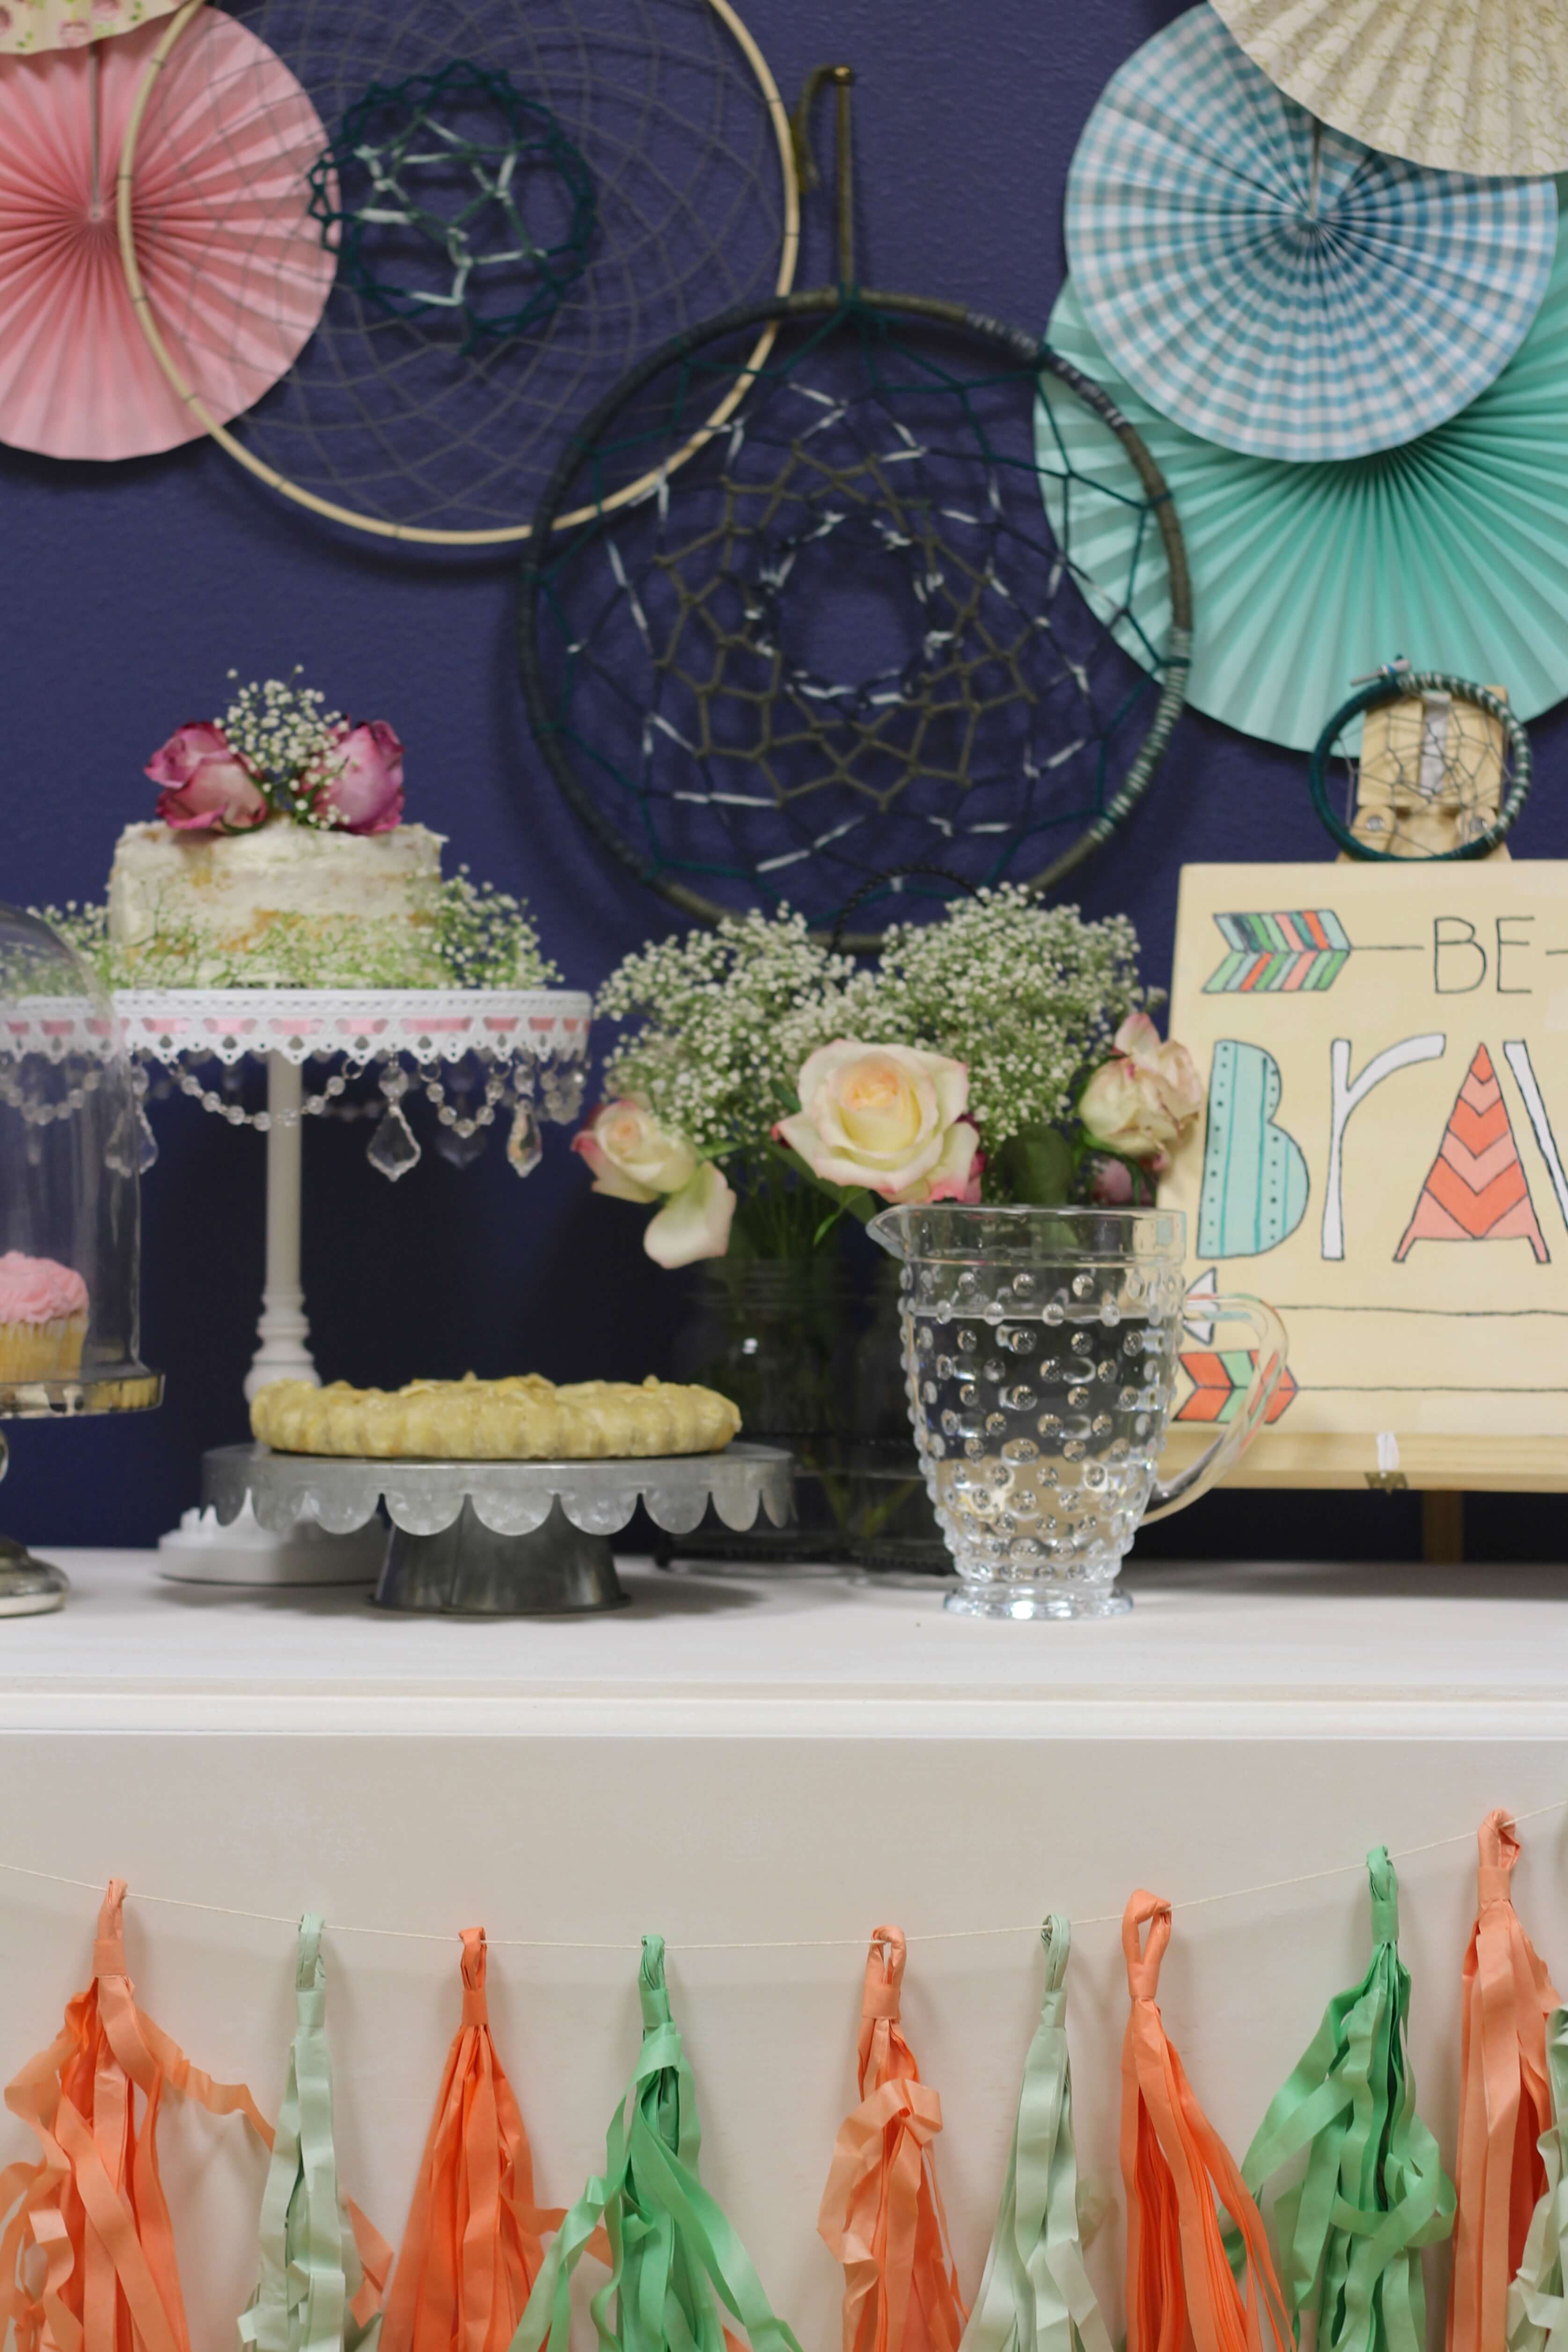 I gathered up some supplies, and got busy. The dream catchers were a huge hit at the party, and they all ended up going home with my friends. But, I had a special request from one of my friend’s daughters for a purple and gold dream catcher after the party. Of course, I had to make hers a little more special than the rest.
I was sent two skeins of gorgeous yarn from Premier yarns to craft with, and I knew exactly what I was going to make with one skein, a dream catcher for my friend’s daughter. I wanted to add a little more to the dream catcher, so I cut out some feathers with my Cricut.
Embroidery Hoop
Paper
I wrapped an embroidery hoop in the yarn, and began making the dream catcher.  Tie the beginning of the yarn at the top, and loop over the top, and through the loop you just made, pulling it taught. Repeat over and over, occasionally tying a knot into the loops to keep them stable.
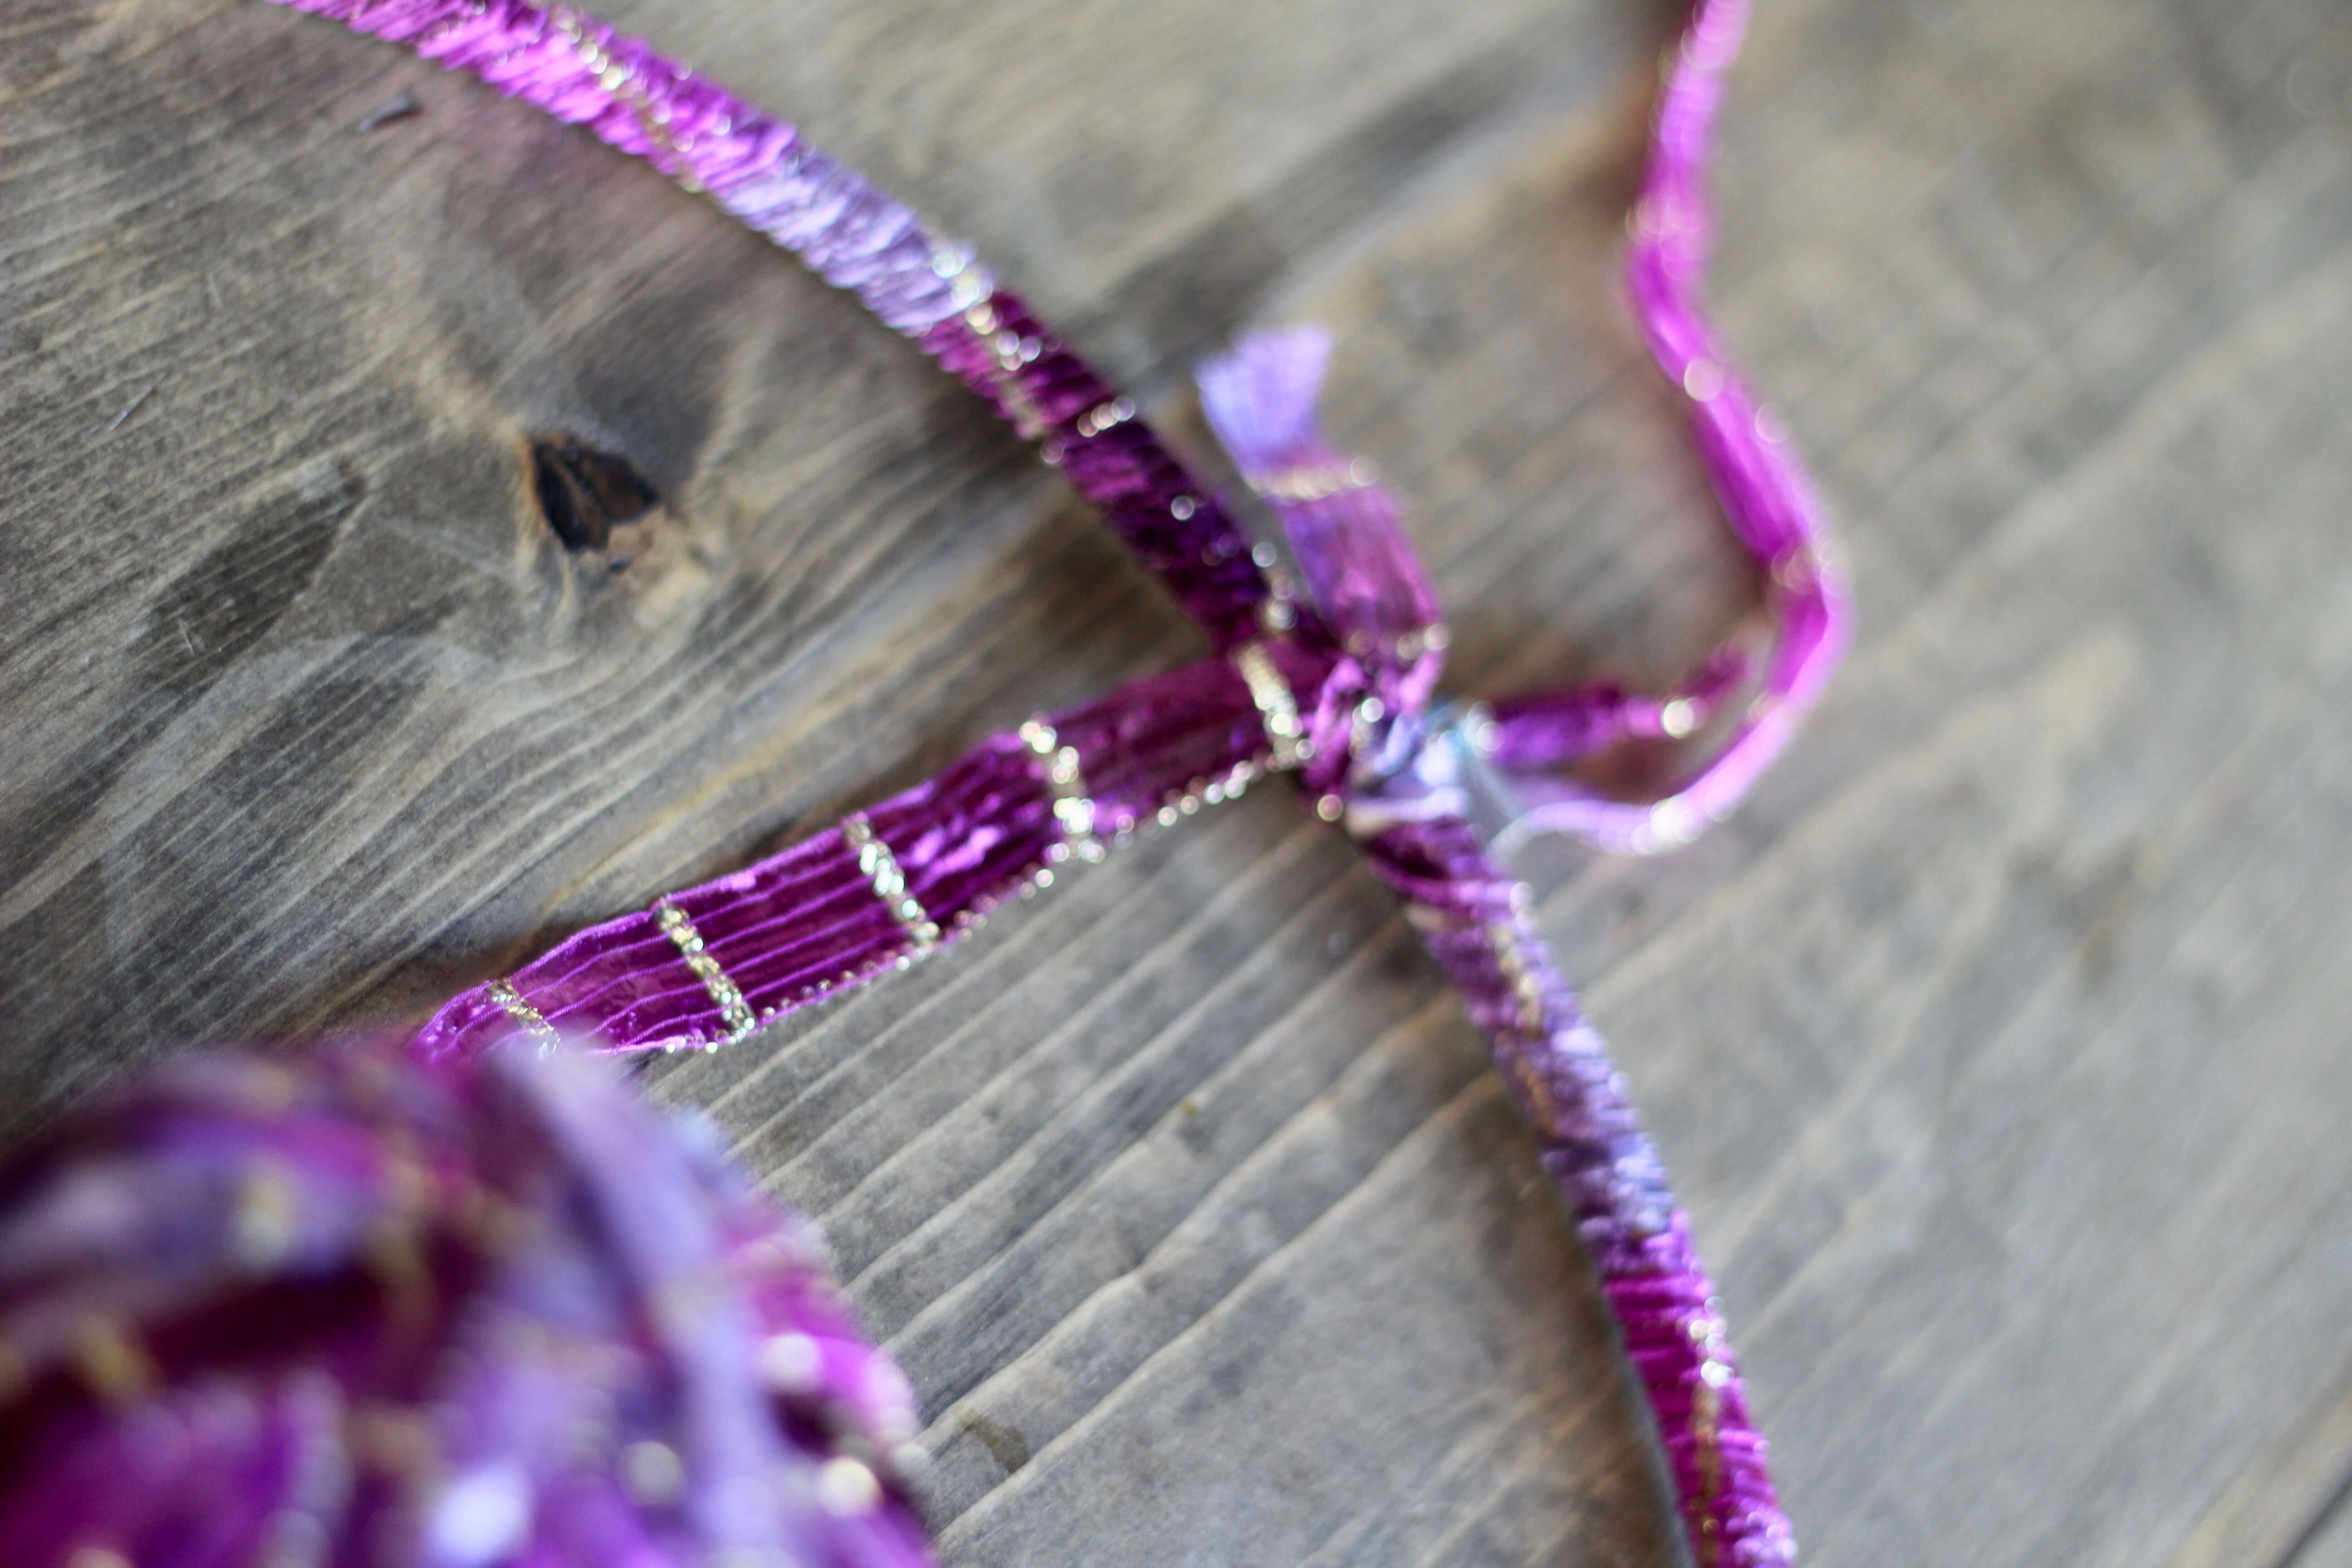
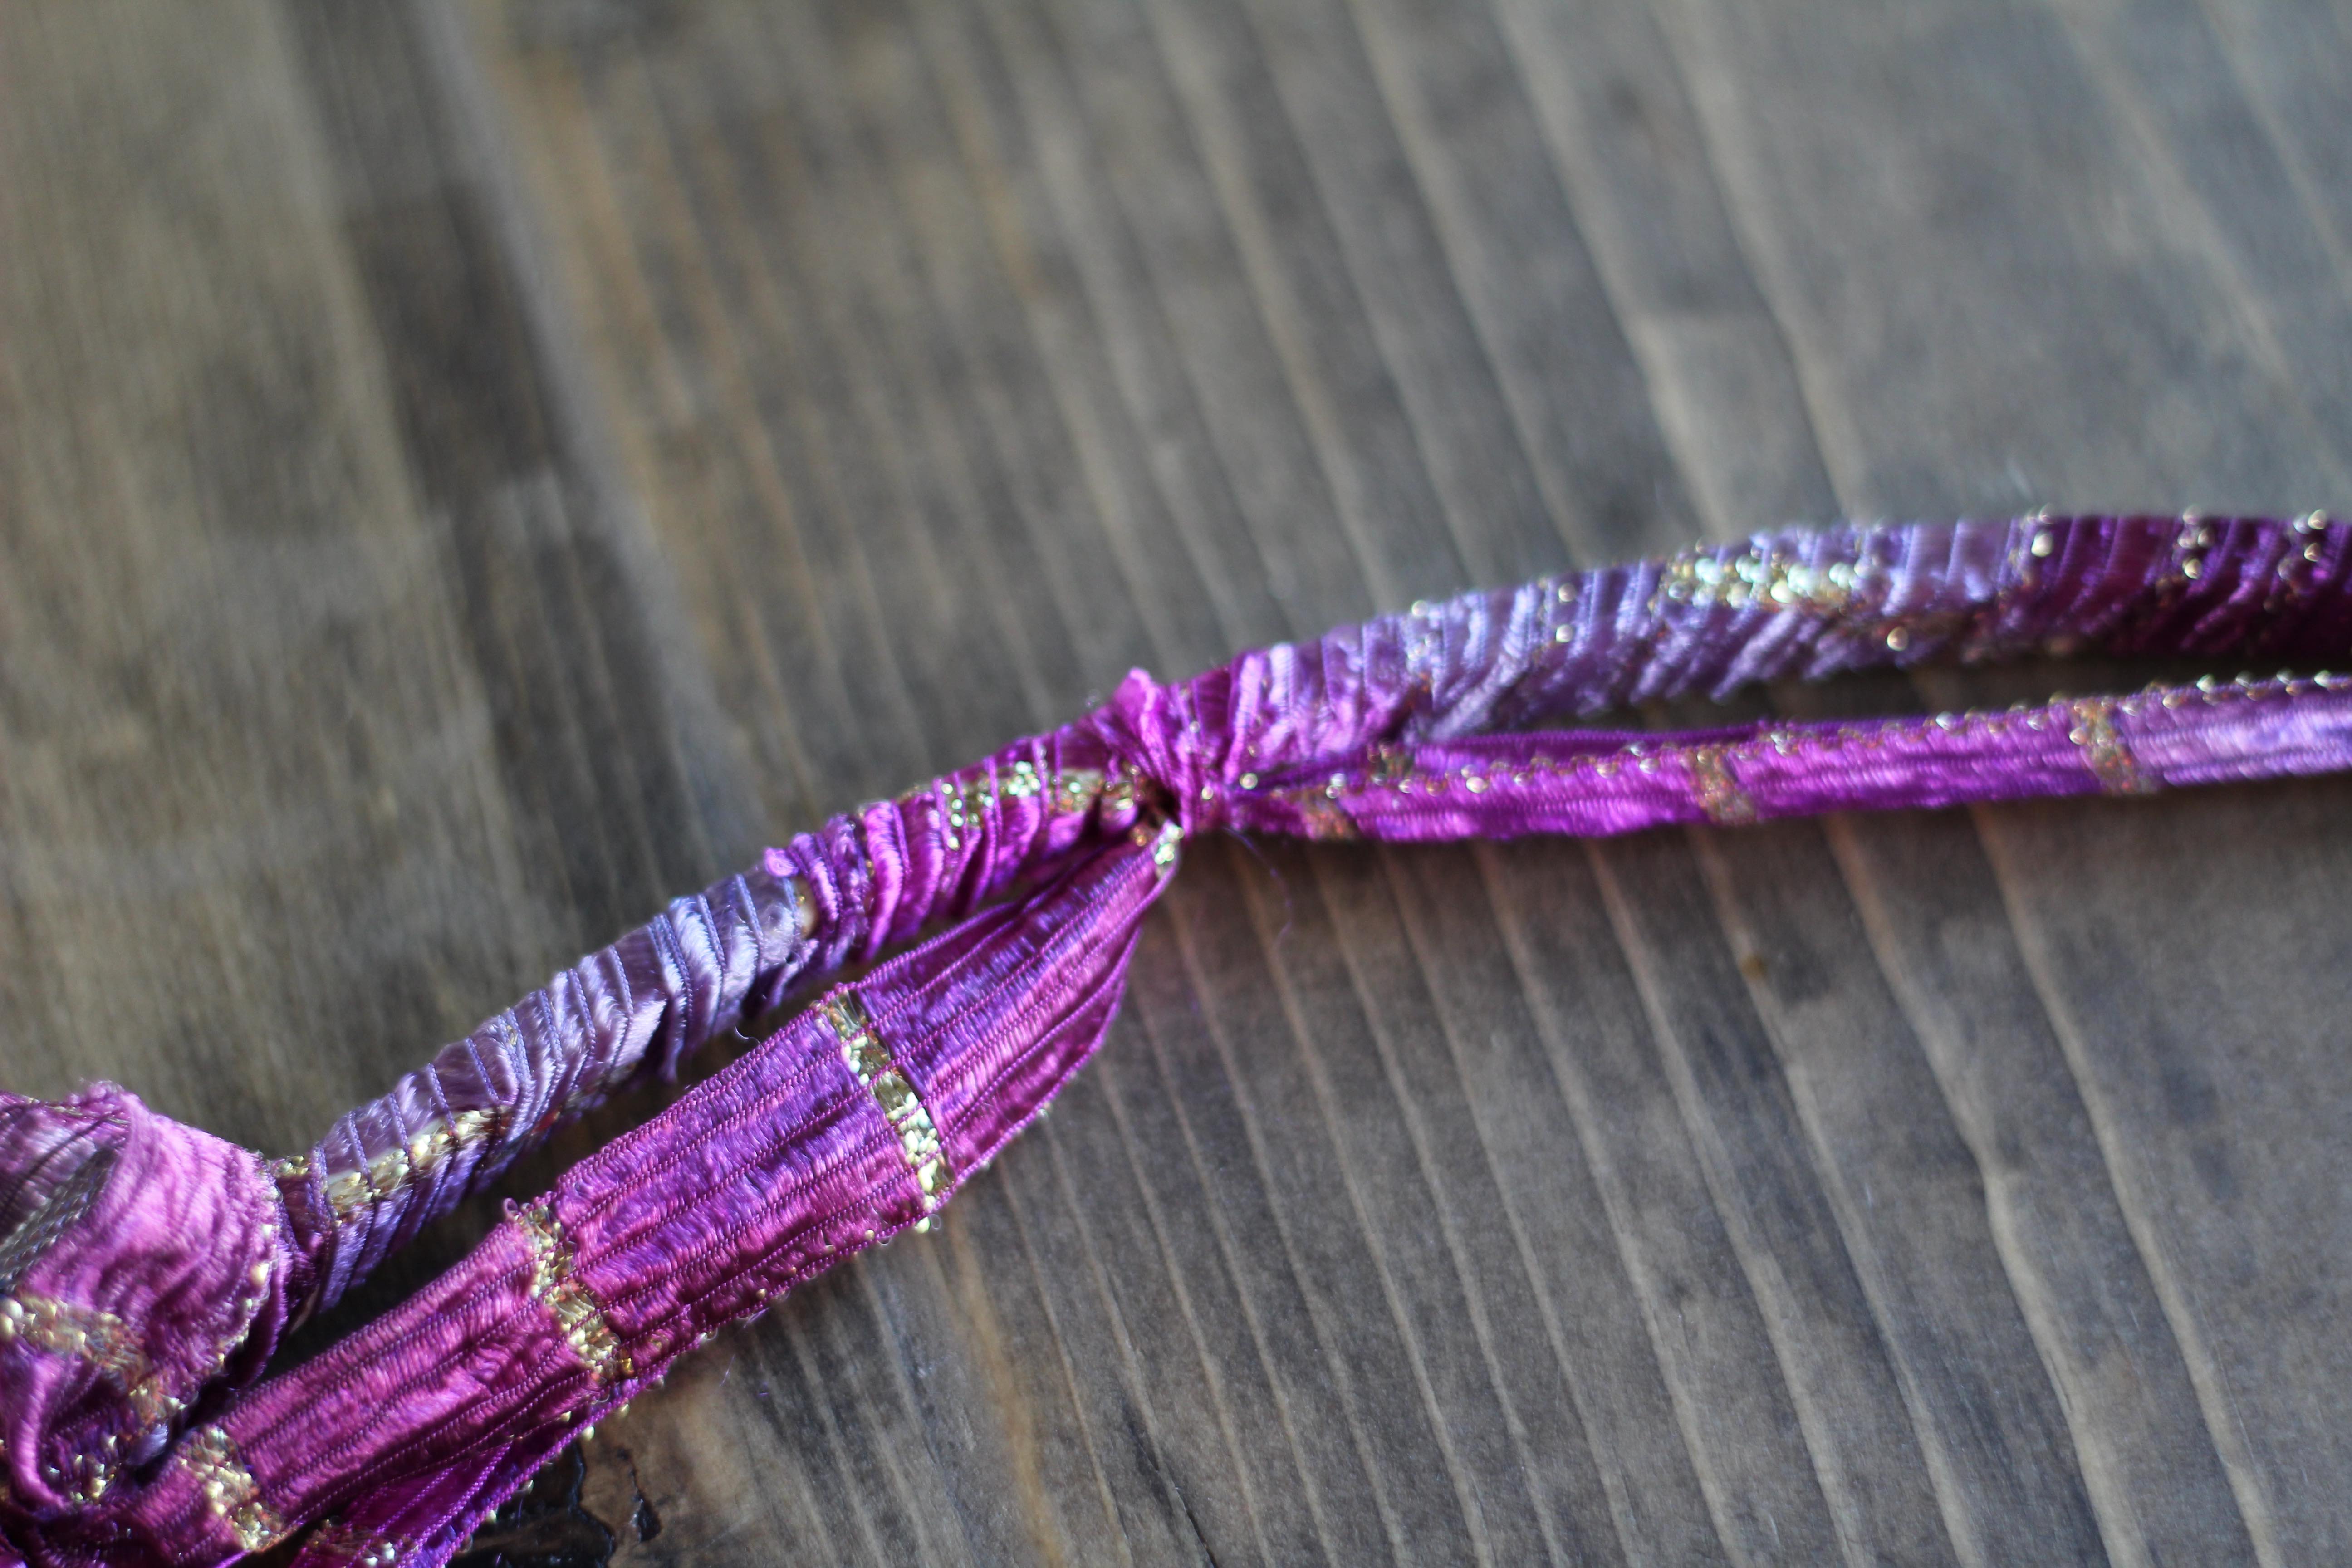 Do the same as you go inside the dream catcher, looping in the middle of the outer loop.
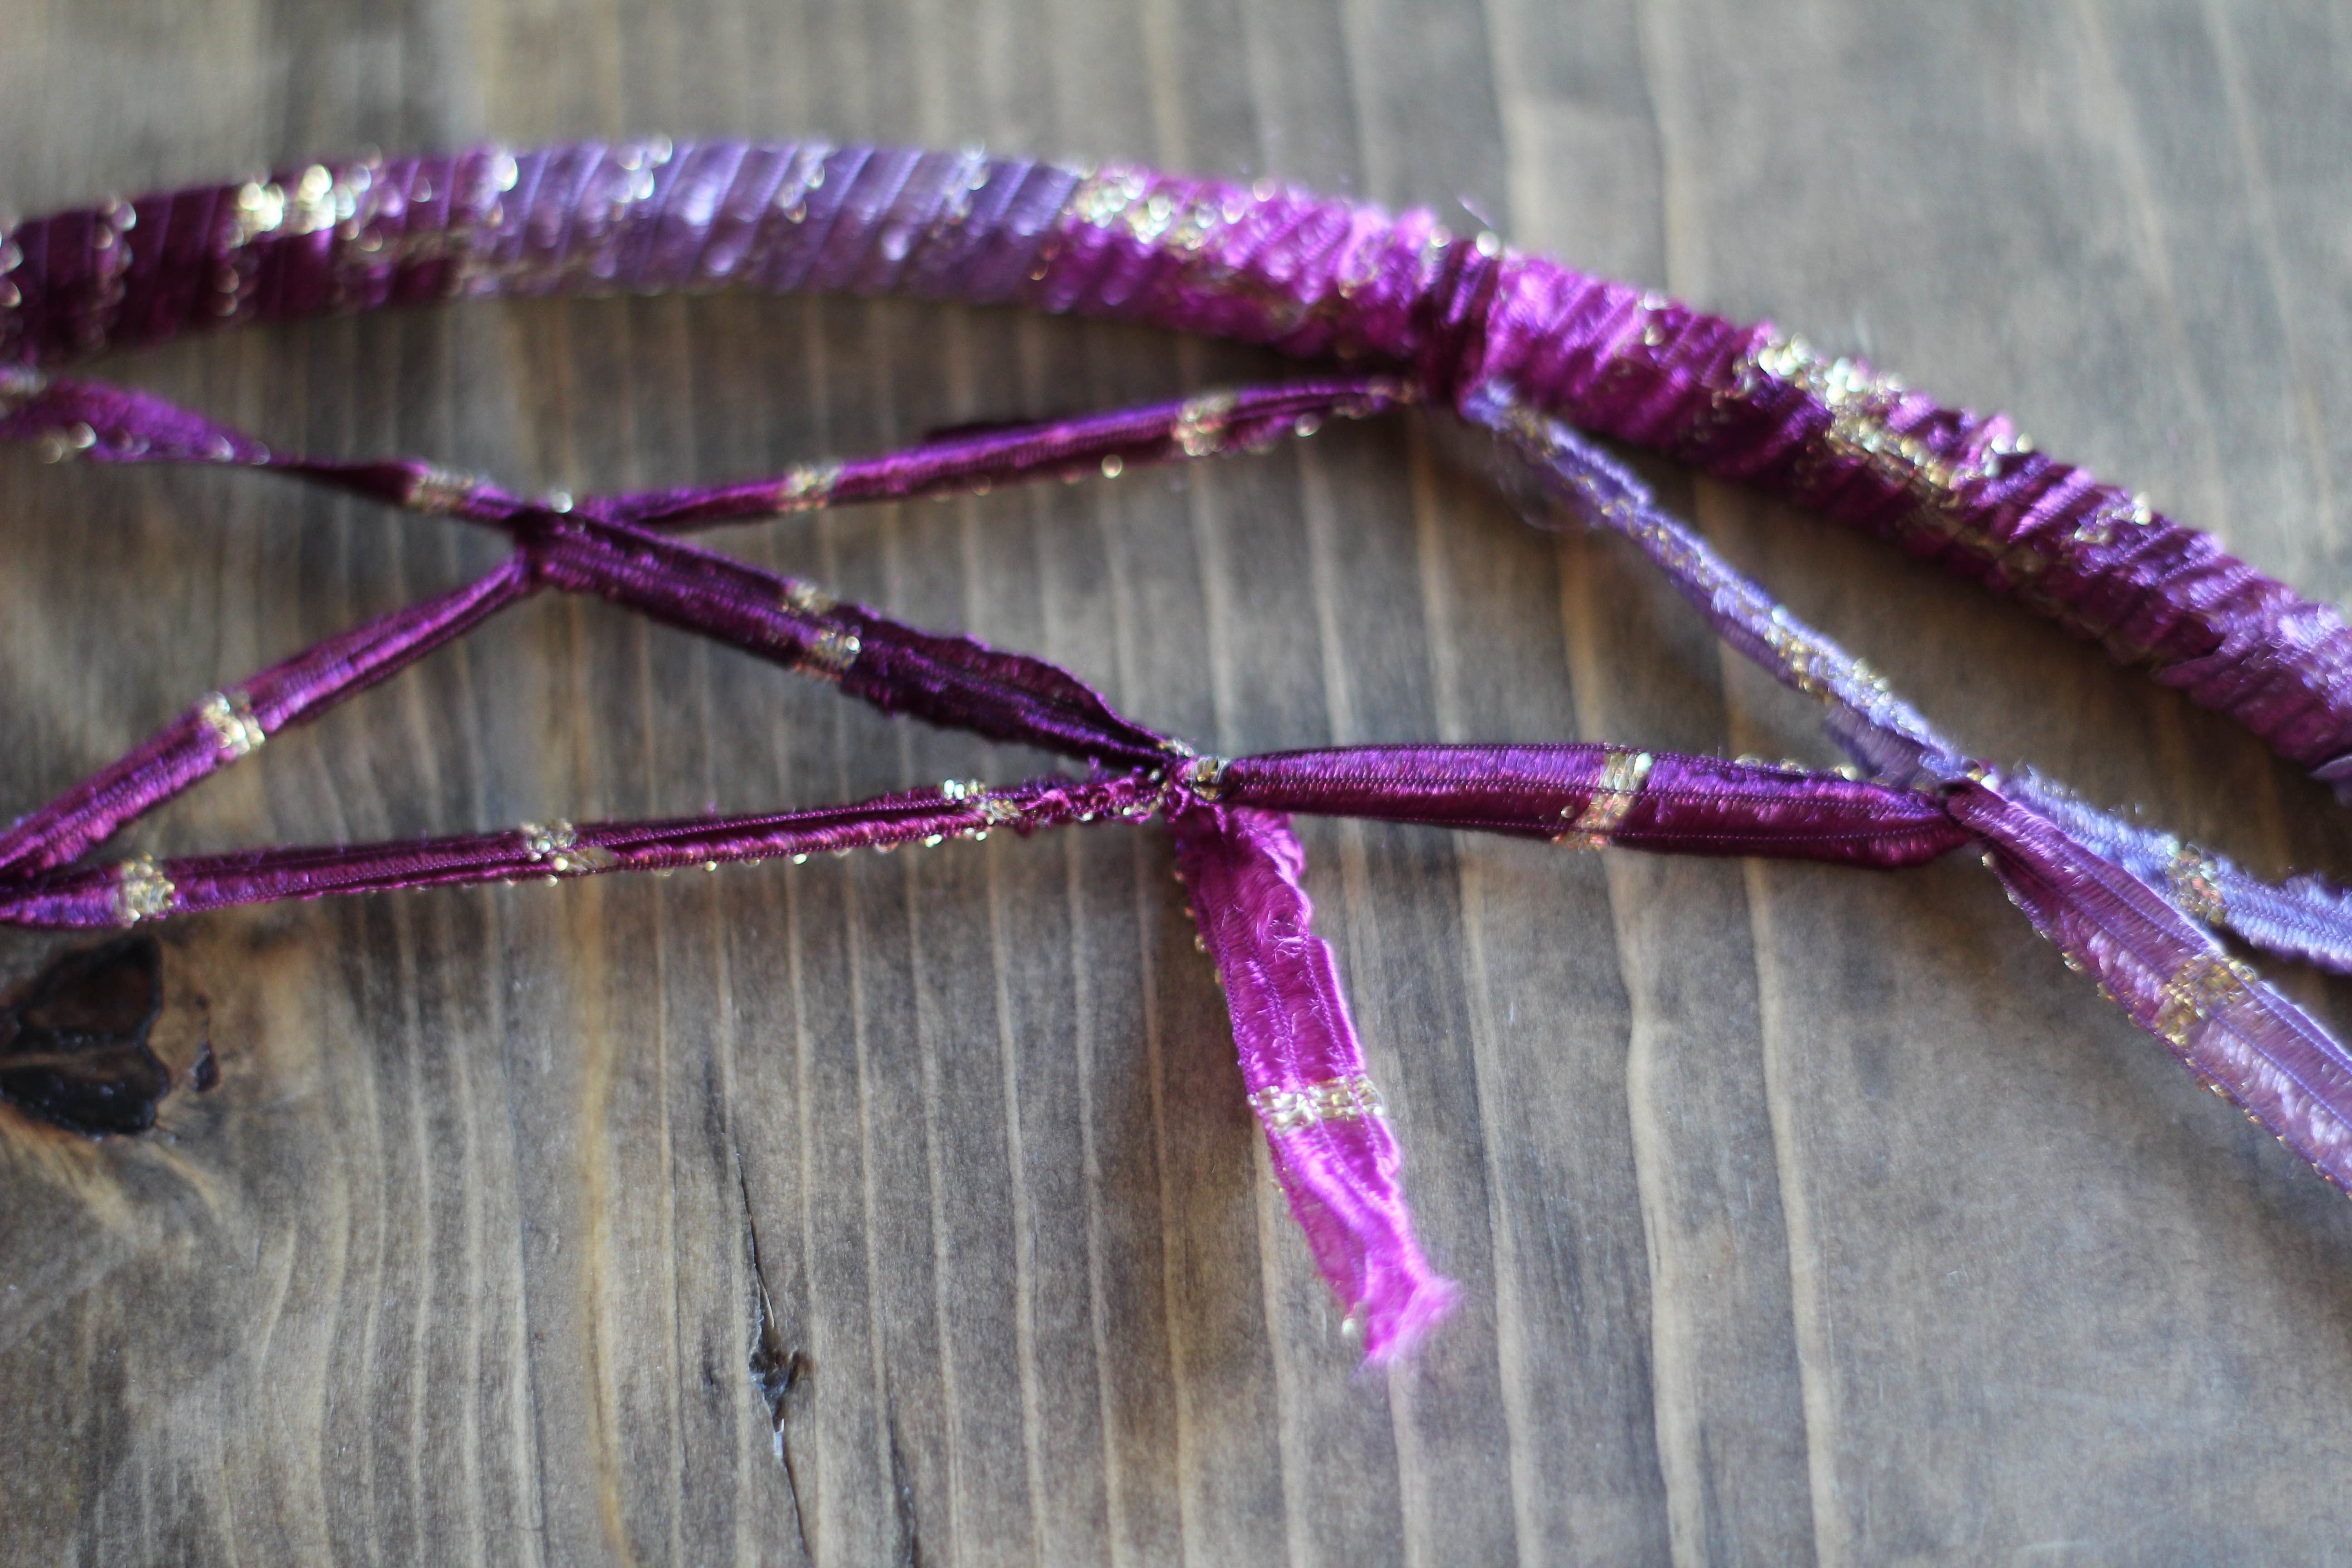
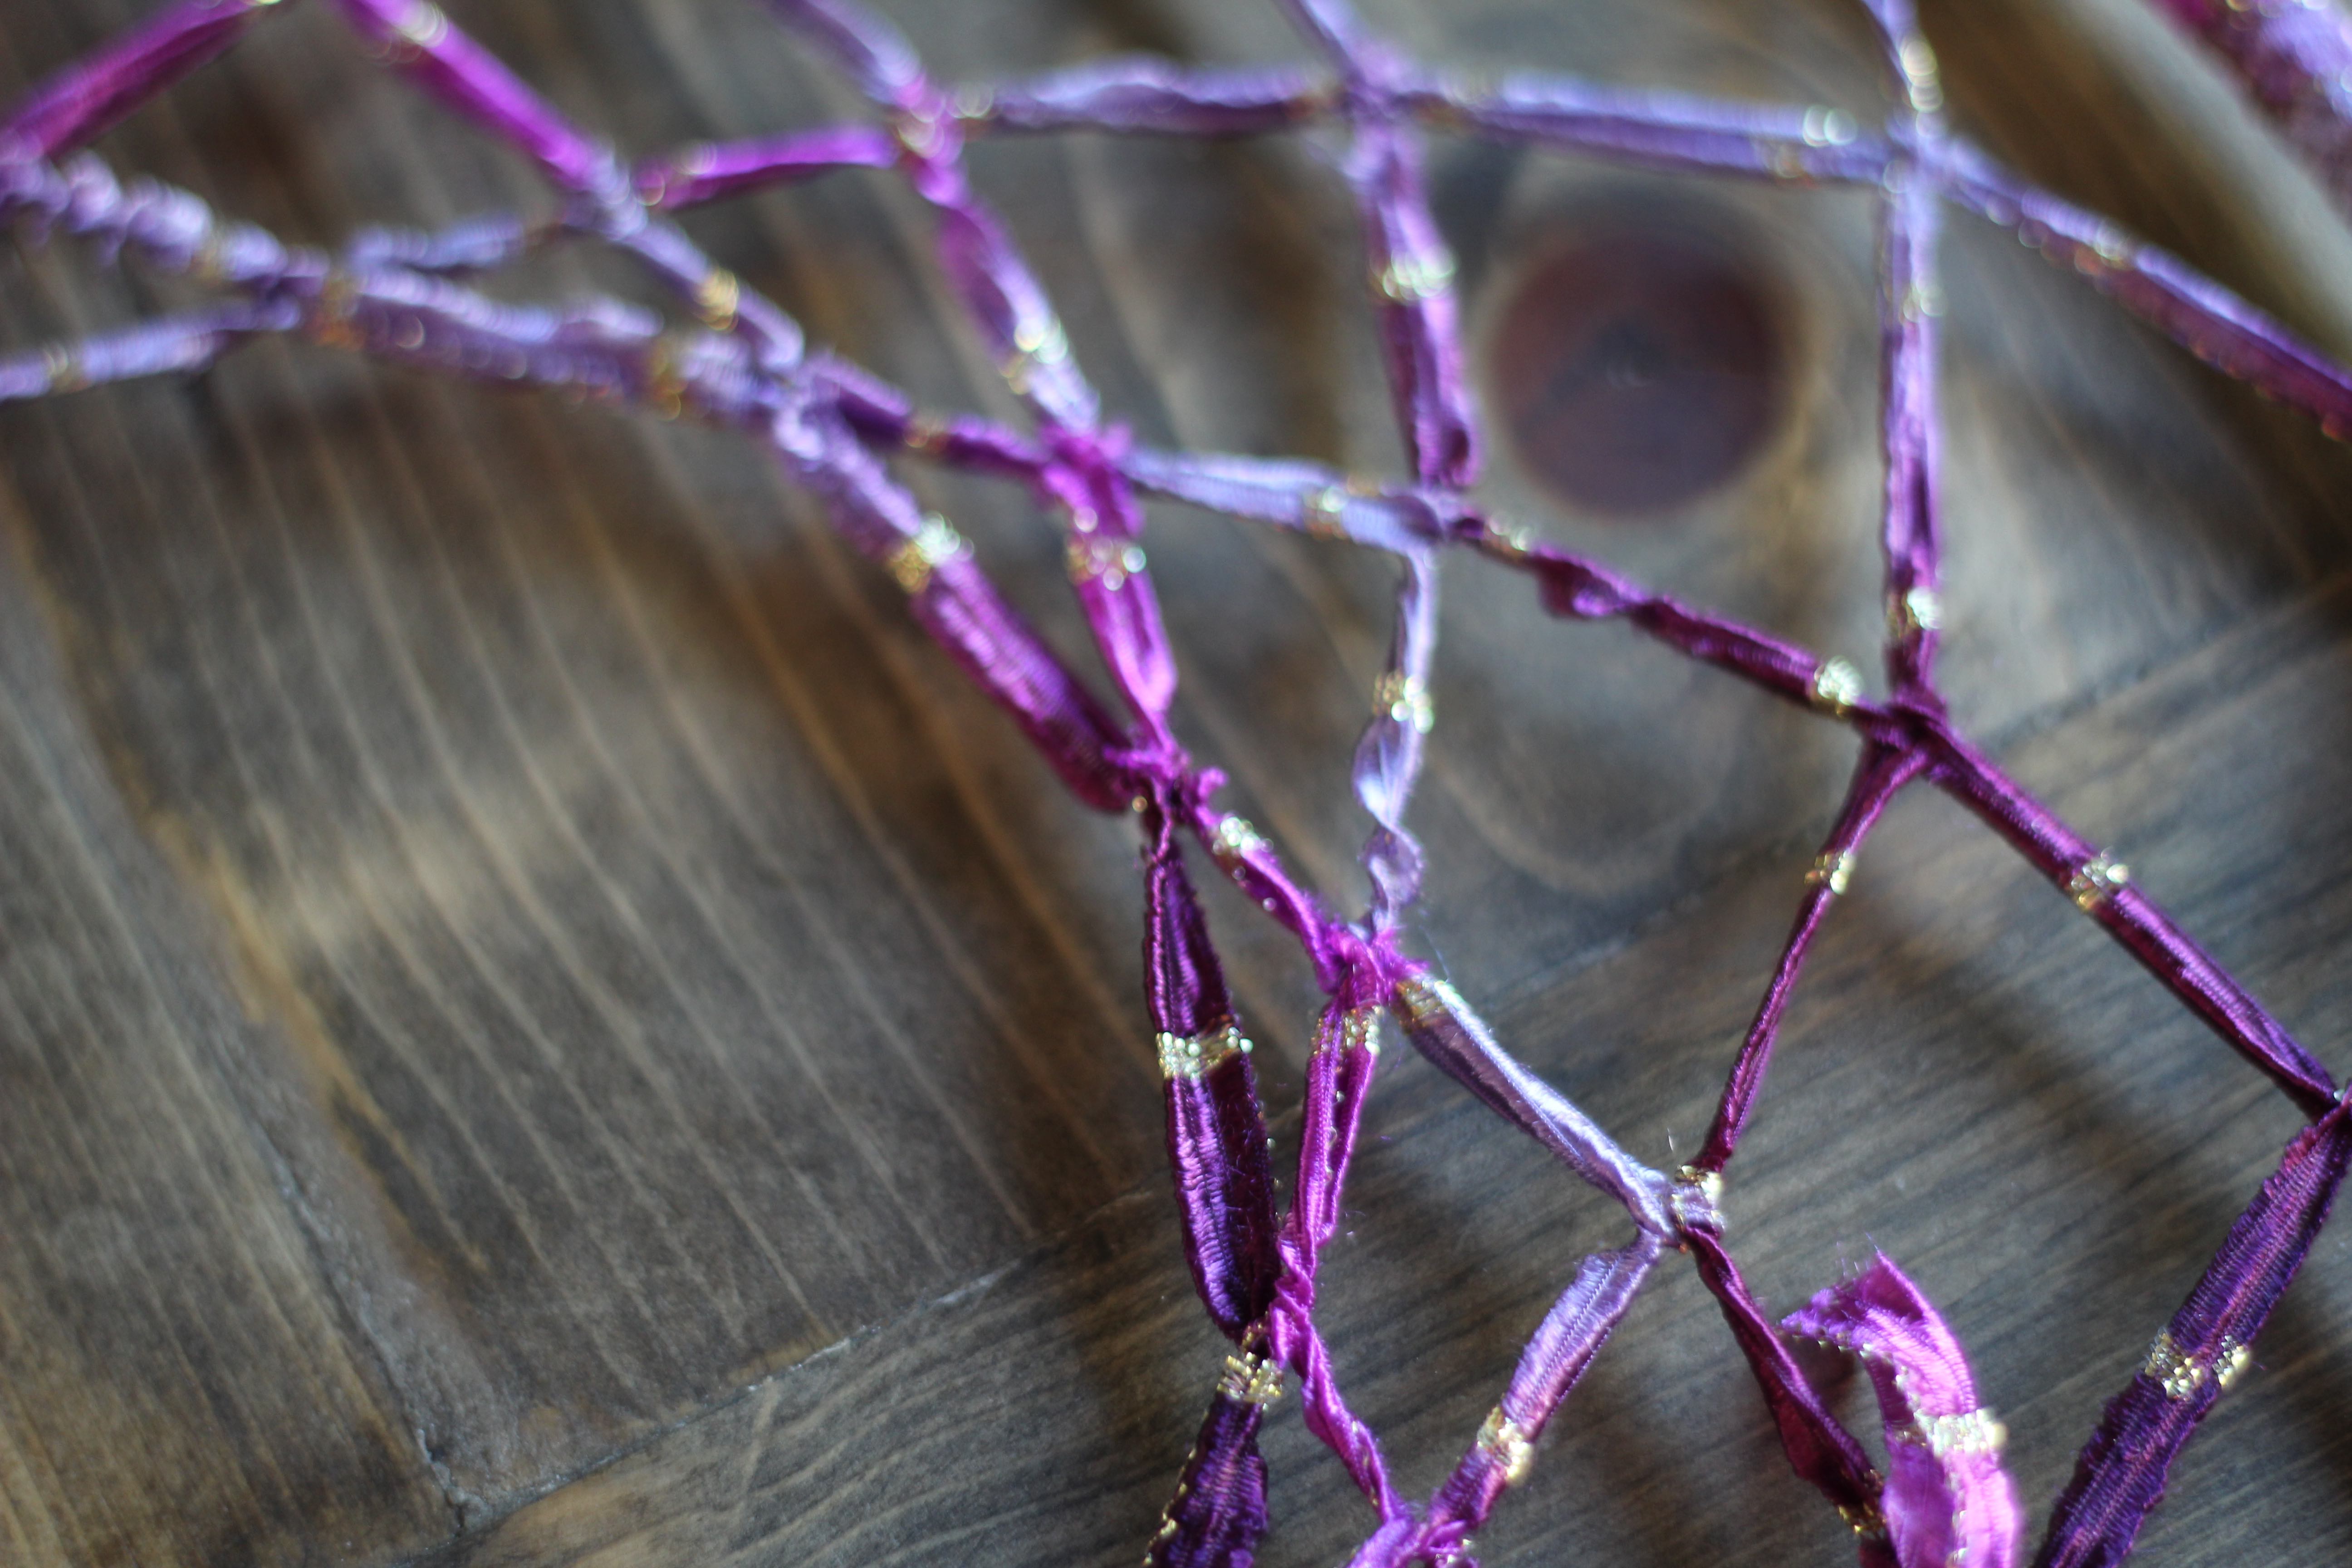 Continue doing this until you have filled in most of the embroidery hoop. Tie the last section in a knot. You can leave it as is, or you can embellish it with feathers, shells, or whatever makes your heart happy.
Here’s a link to another fantastic maker project using Premier Yarns, by the talented Donna J Designs.
Don’t miss the next Midge and Madge Mingle, on Monday, April 2, the crafty duo will be showing you more ways to use Premier Yarns on Facebook Live at Midge and Madge Mingle!
Use code JRE001.
Tags : Blog Hop, Cricut, Cricut Blogger, Designers Collective, DIY, Dream Catcher, Premier Yarns, Social Artworking


So so pretty! Love those colors!
I just love this! It’s so whimsical!
Thank you!