Simple Spider Treat Cup DIY
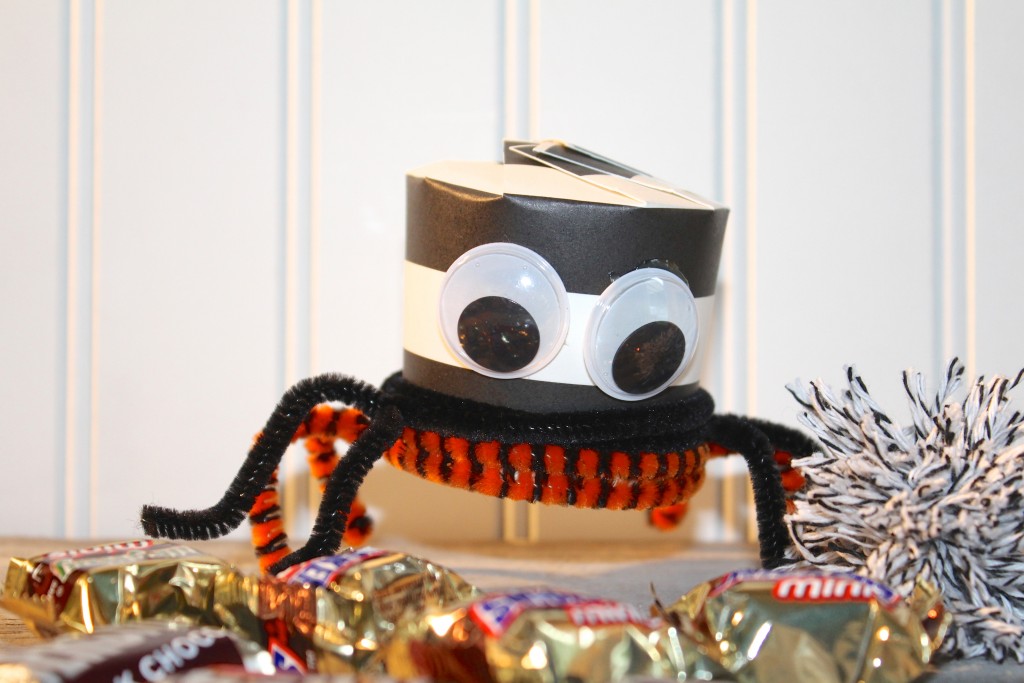
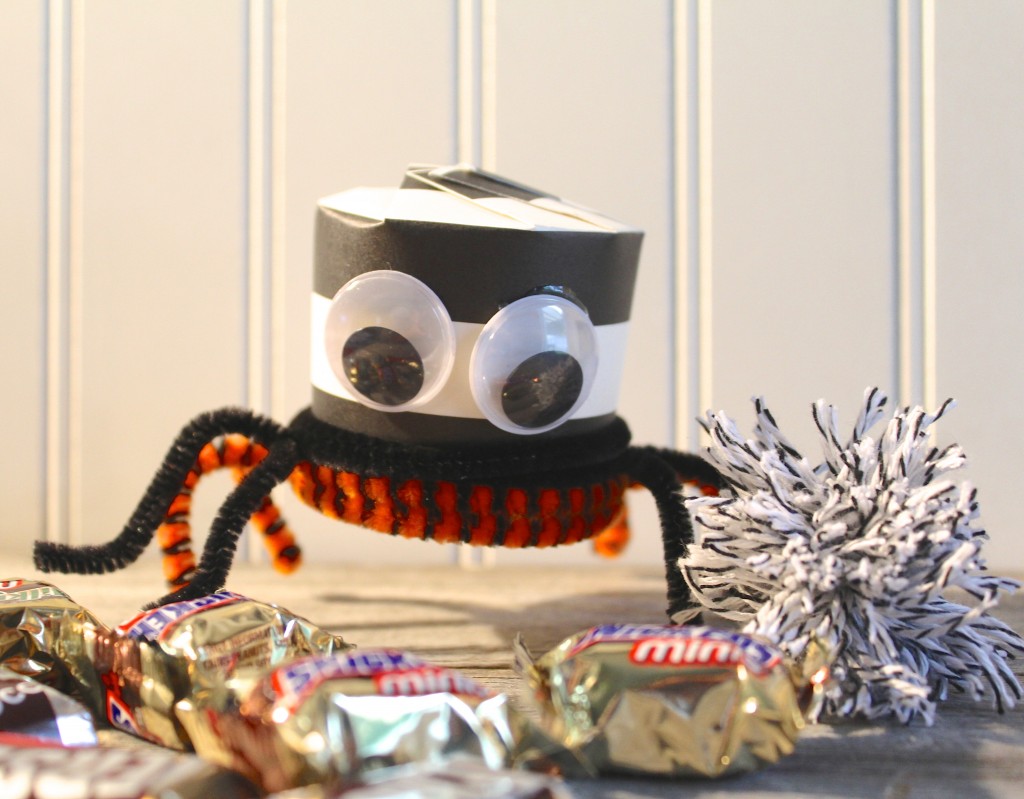
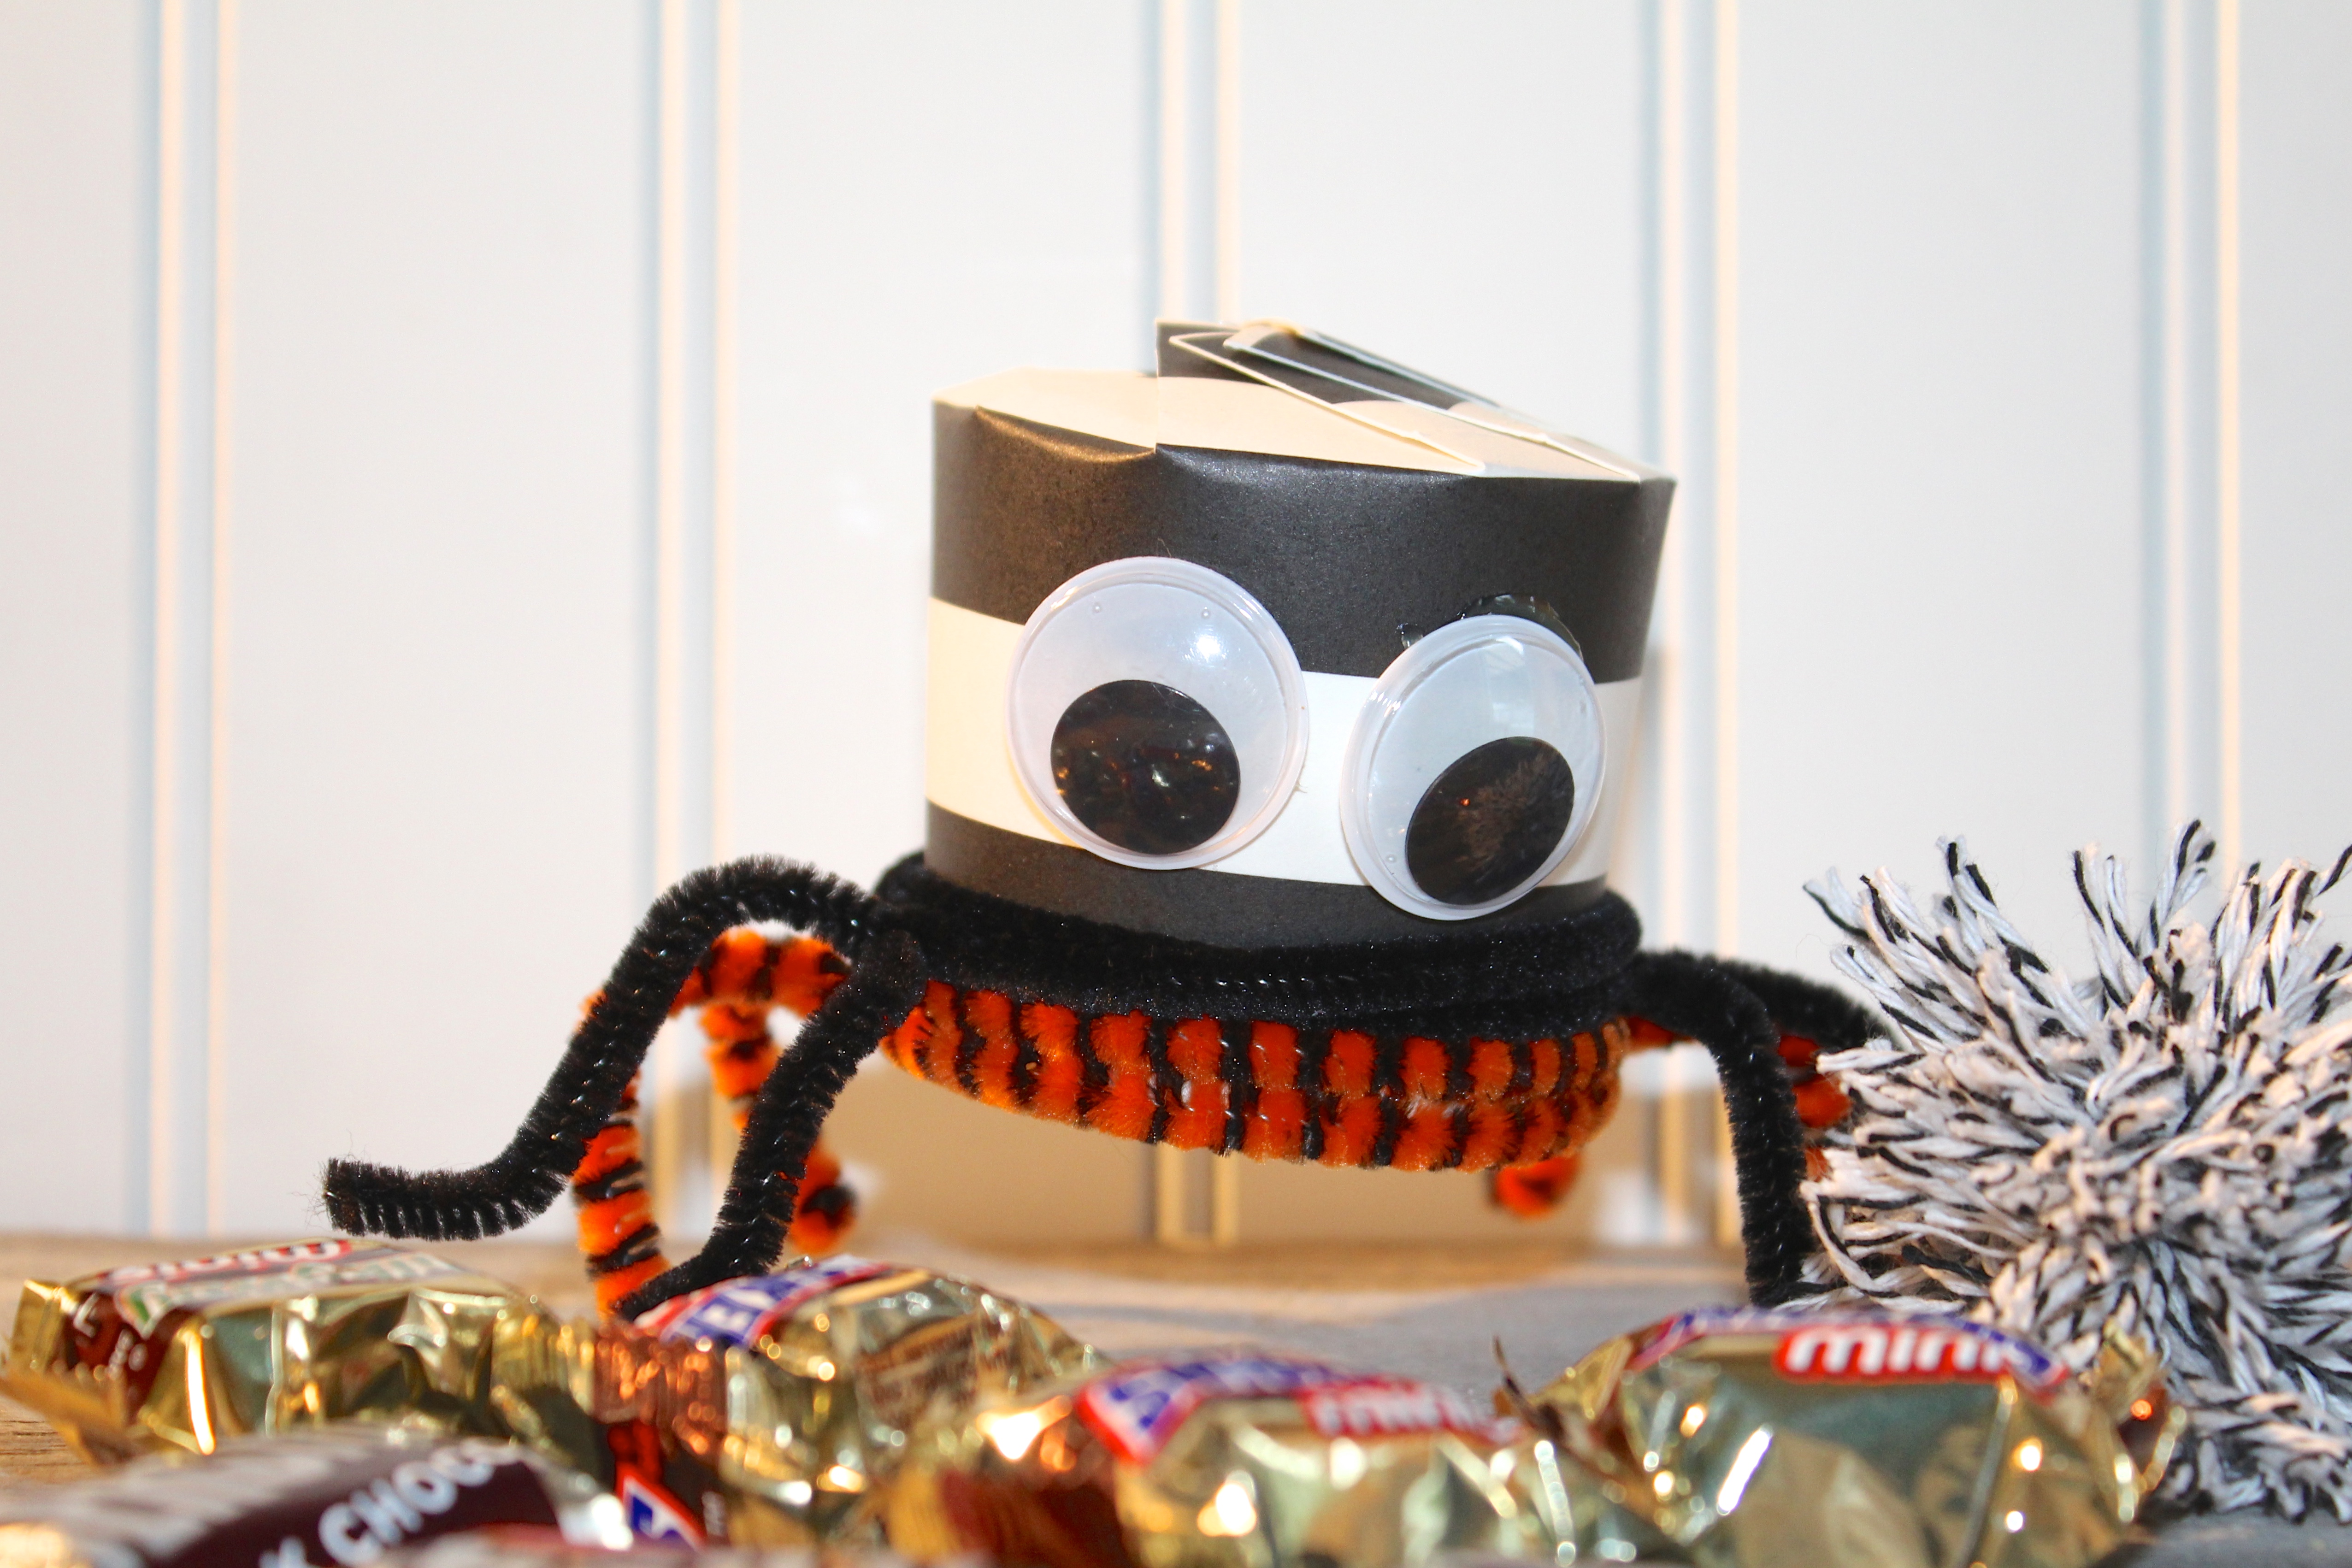
Simple Spider Treat Cup DIY. Have you seen the favor cup DIY on Pinterest? The one where you cut the rim off a paper cup and then cut slits in the top, and fold it down to create a favor or treat cup? I have seen it a few times recently, and I love the simplicity of it. Then, I thought, I bet I could make this into a fun little spider.
This project is so simple, I was able to pass all the supplies off to my elementary school boys and let them make their own!
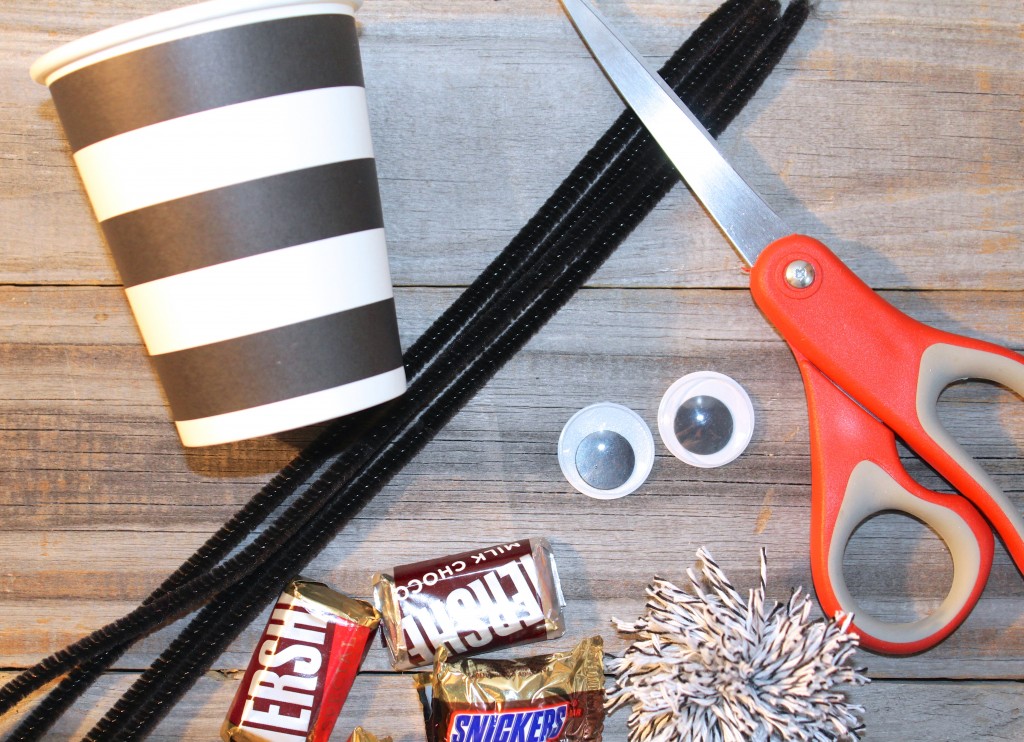
Supplies:
Paper cups
Pipe cleaner
Googley eyes
Glue/glue gun
Scissors
Candy or treats
Optional Baker’s Twine to make a pom pom for the top. ( I liked it with one, the boys liked it without, and since it was their project, I left it without)
Cut the rim off the top of the paper cup, and cut slits around the cup about an inch down. I cut about 8 slits to the top of the second black line. Fold the slits in towards the center of the cup.
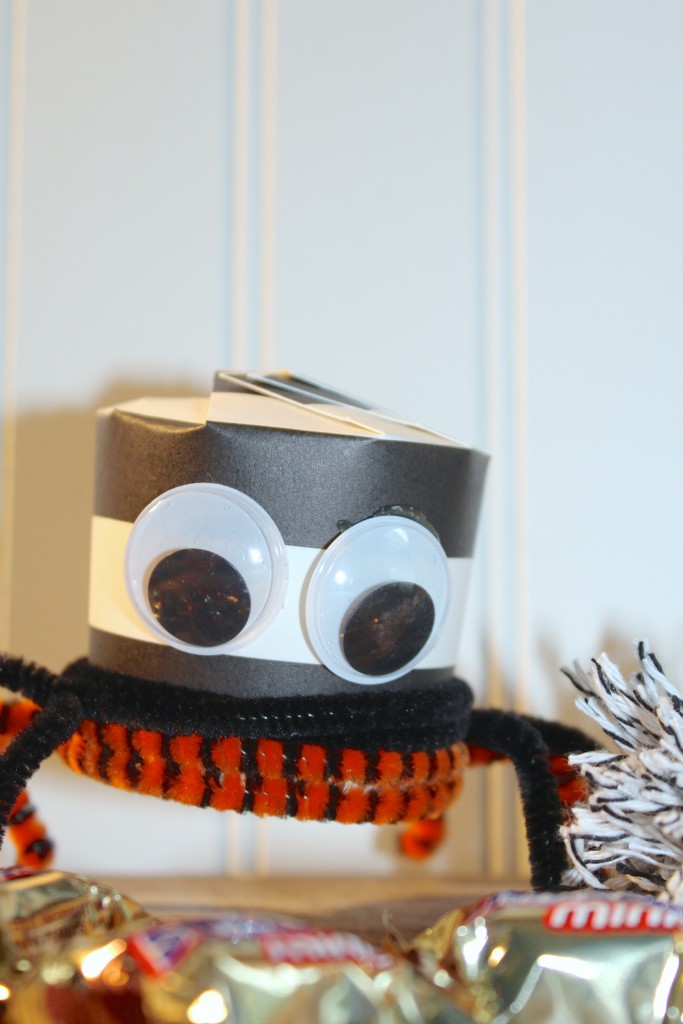
Wrap two pipe cleaners around the bottom of the cup and twist to secure. (I added a little hot glue to keep them from sliding) Then, bend excess into legs and feet.
Glue eyes onto the cup.
Fill with candies or treats, and hot glue the top flap closed. Add pom pom or a mouth. That’s it! Such a fun a simple Halloween Treat box!
Tags : Craft, DIY, Halloween, Party Favor, Simple DIY, Spider

