Simple Custom Camp Chairs with Cricut
Simple Custom Camp Chairs with Cricut. It’s officially camping season! My mom takes my kids camping every summer, and by the end of the trip we are always questioning what belongs to who. I know we can’t be the only ones, so I decided to help the kids be more able to be accountable for their things by adding vinyl and iron on to everything! But my favorite project was the outdoor camp chairs!
This review is based strictly on my opinion. Others may have a different opinion or experience with the product listed above. I was provided the sample free of charge by the company or PR agency and I provided my honest opinion. No other type of compensation was received for this review.
If you decide to make a purchase through my links, I will be paid a small commission for it. This doesn’t cost you anything additional. These commissions help to keep the rest of my content free, so thank you!
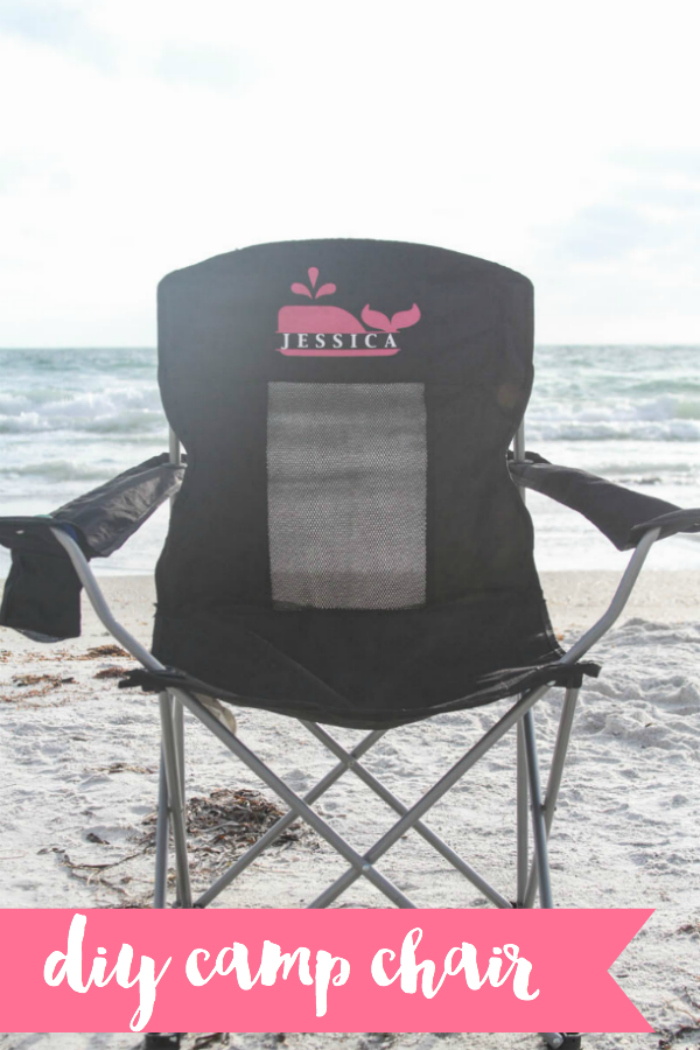
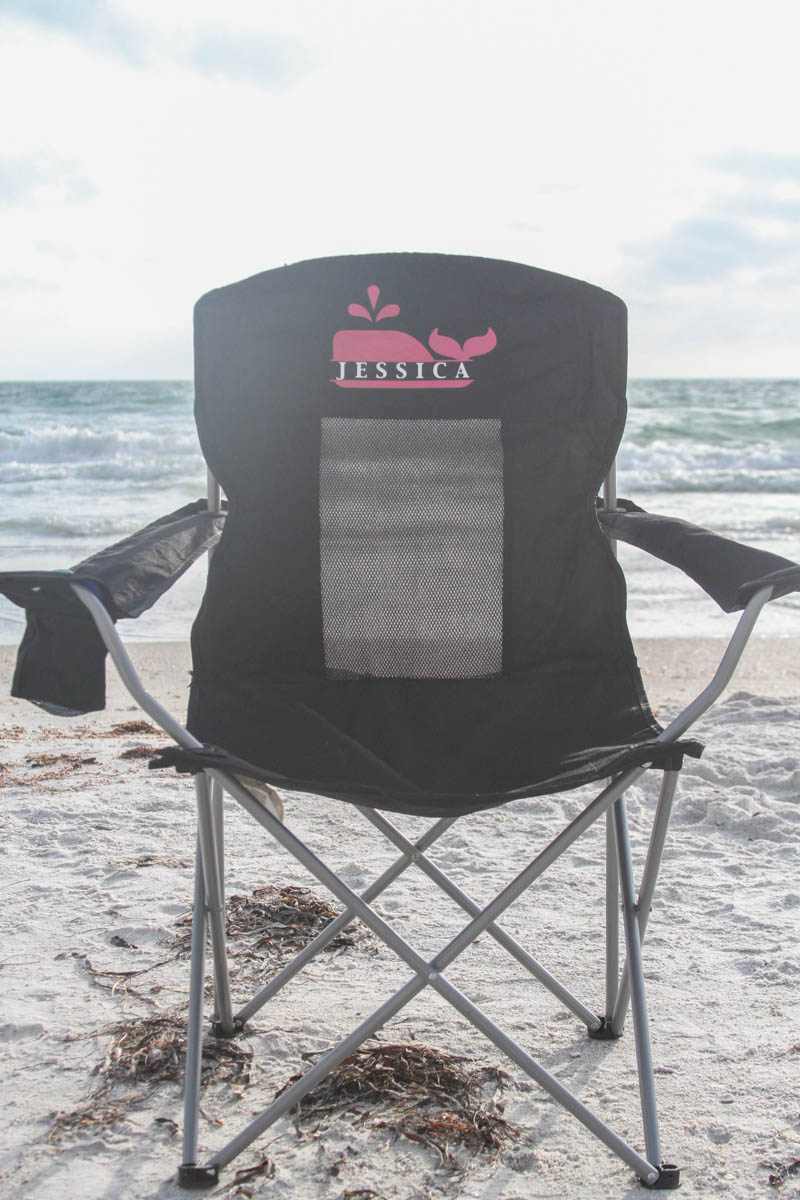
Look at how fabulous this camping chair looks! And they are a cinch to make.
Supplies:
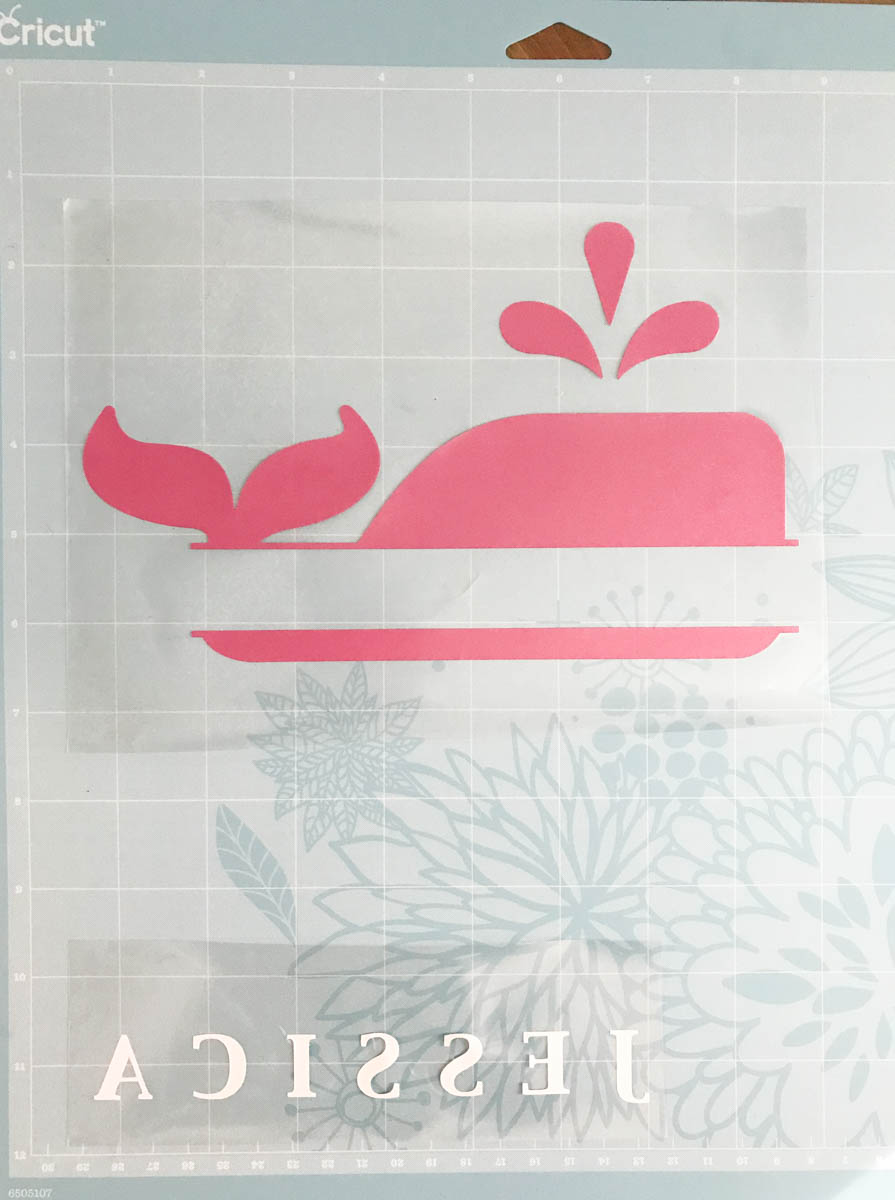
Design your monogram, or image in Design Space or other design program and scale it to fit the back of your camp chair.
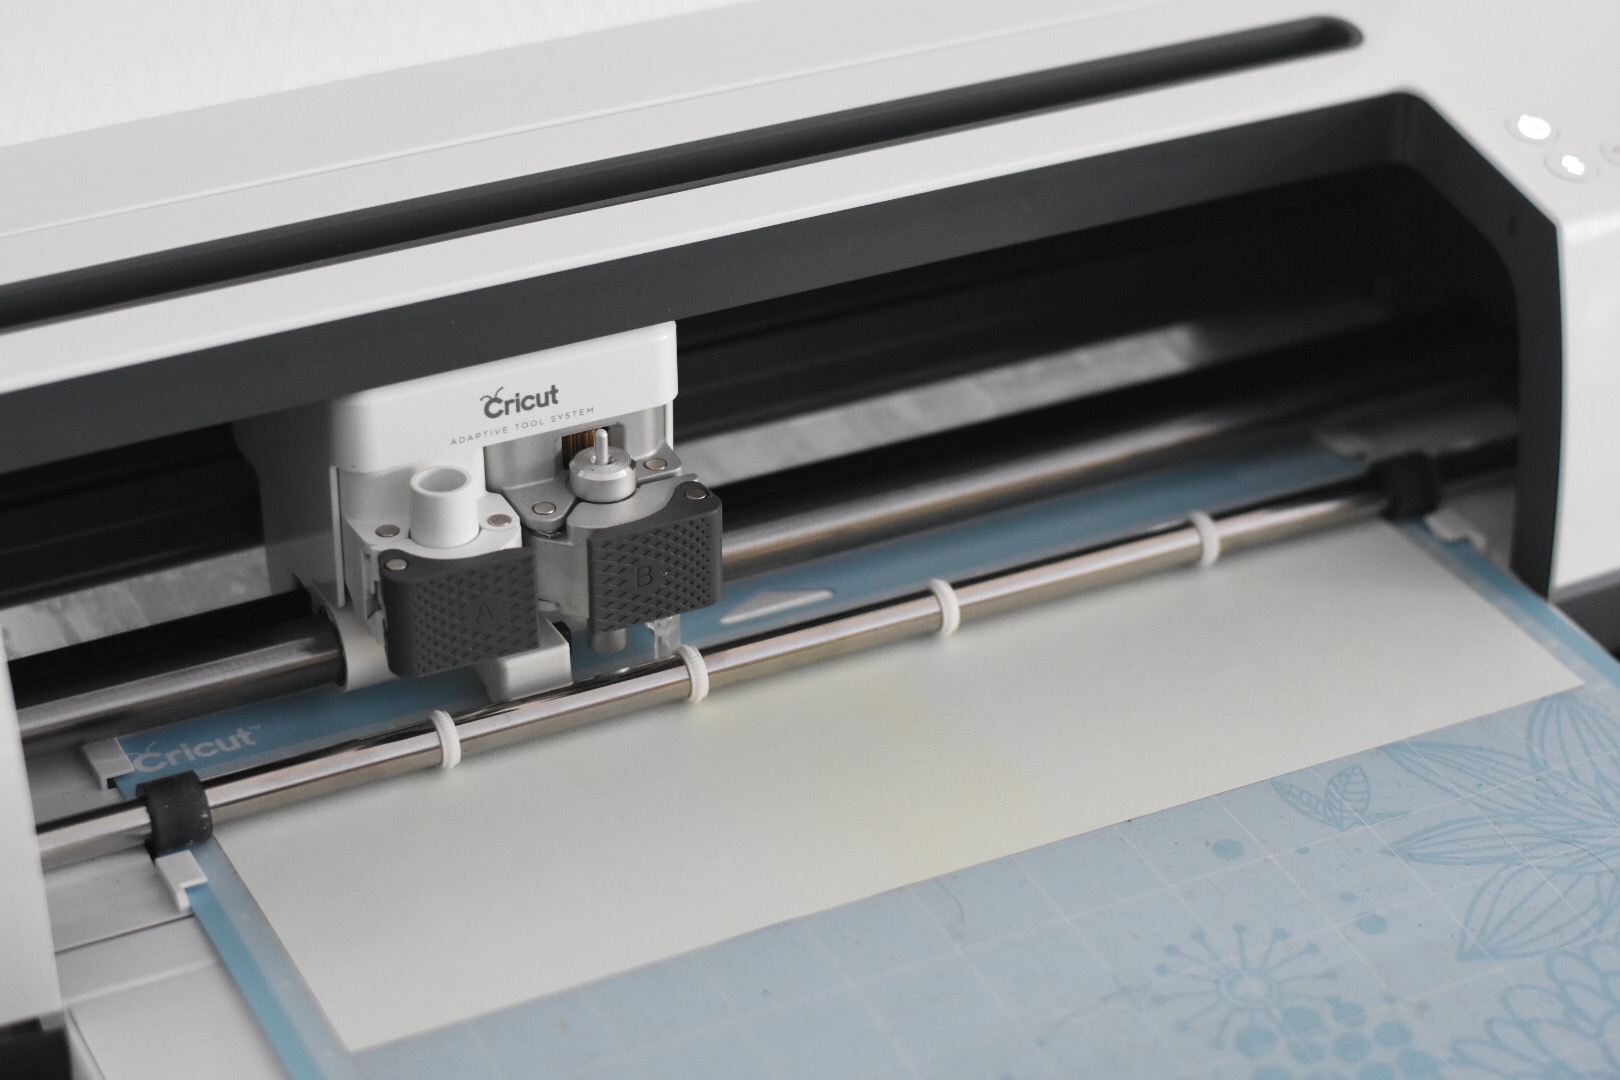
Send the file to cut. {remember to cut iron on shiny side down and mirror the cut}
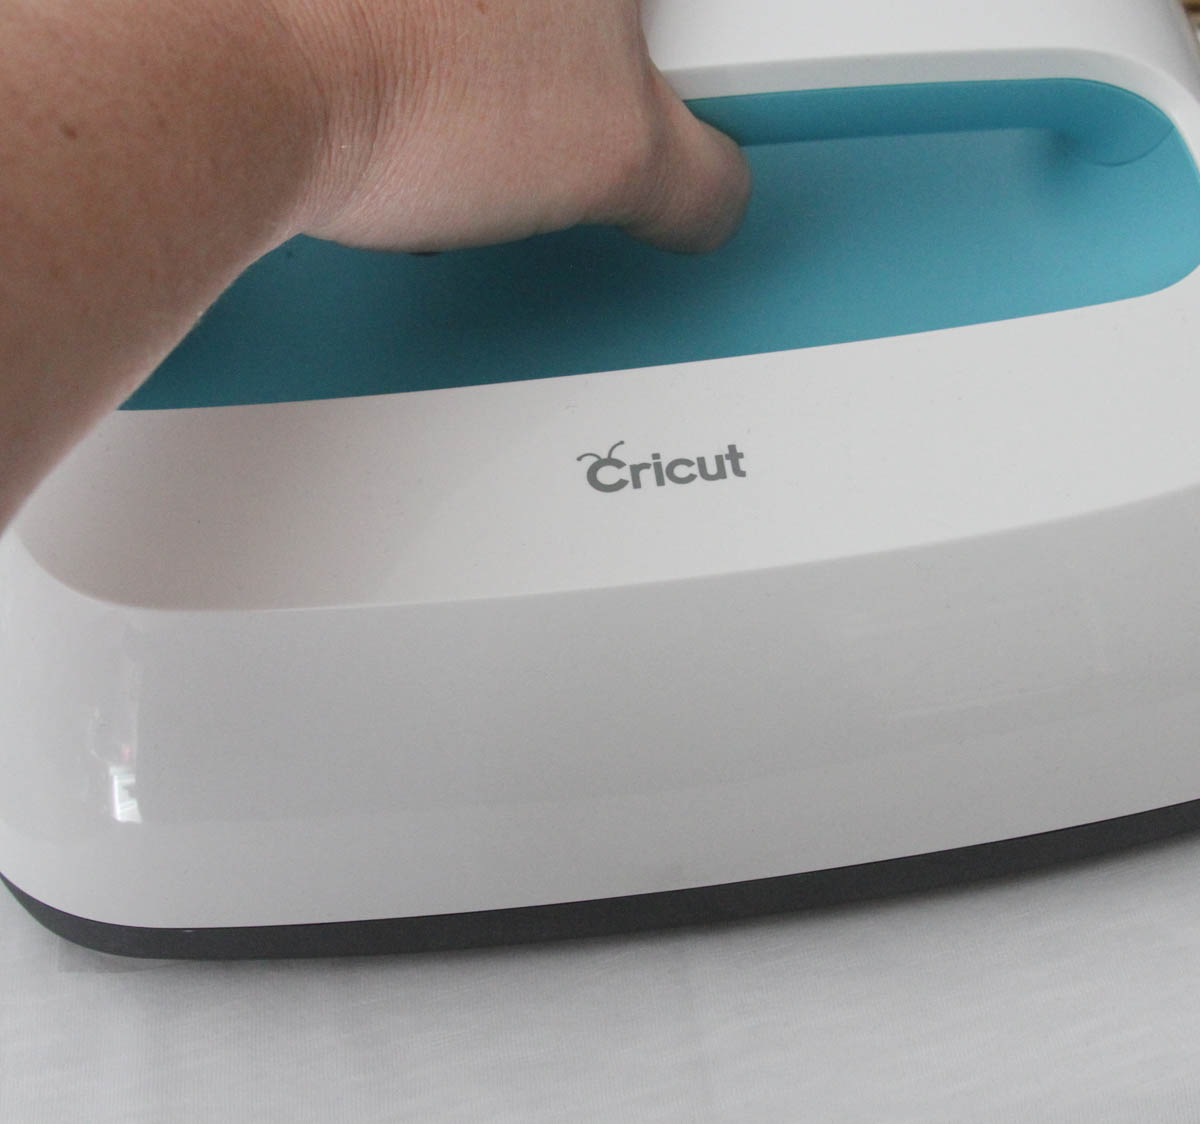
Place the back of the open chair on the EasyPress Mat and preheat your EasyPress. Weed your image while the EasyPress preheats.
Warm the chair back with the EasyPress use the protective sheet so the chair fabric doesn’t melt.
Apply the image to the back of the chair, and cover with the protective sheet.
Press the image on the chair {start with less time, and check to make sure the chair can handle being being pressed}
You can even add a little iron on to the bags too!
Now your camp chairs will be easily identifiable and adorable!
Tags : Camp, Camp Chair, Camping, Camping Party, Cricut Blogger, Cricut Made, Cricut Maker, DIY, EasyPress, Vineyard Vines Style
In DIY

