New Year’s Eve Celebration
This New Years Eve, my hubby and I will be celebrating with just adults. We haven’t celebrated without the kids in about 18 years, and while it will be a little strange, we are both excited.
This review is based strictly on my opinion. Others may have a different opinion or experience with the product listed. I was provided the sample free of charge and paid a small fee by the company or PR agency and I provided my honest opinion.
If you decide to make a purchase through my links, I will be paid a small commission for it. This doesn’t cost you anything additional. These commissions help to keep the rest of my content free, so thank you!
However, we don’t want to spend all day working on party prep. Thankfully, I have a Cricut and a blank wall ready for decor.
I got started on the prep this week while I had a few minutes to spare. Obviously, I wanted something simple to make, and I wanted it to make a big impact.
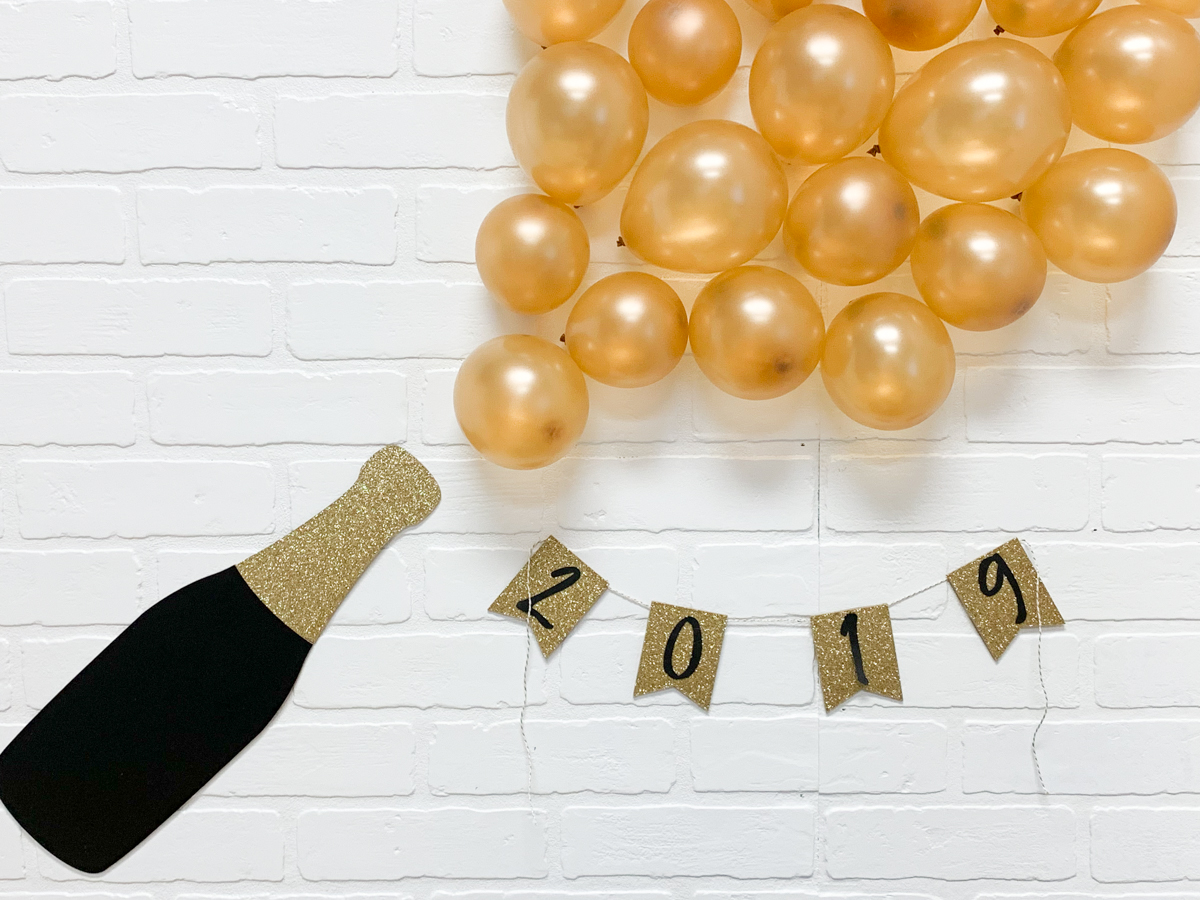
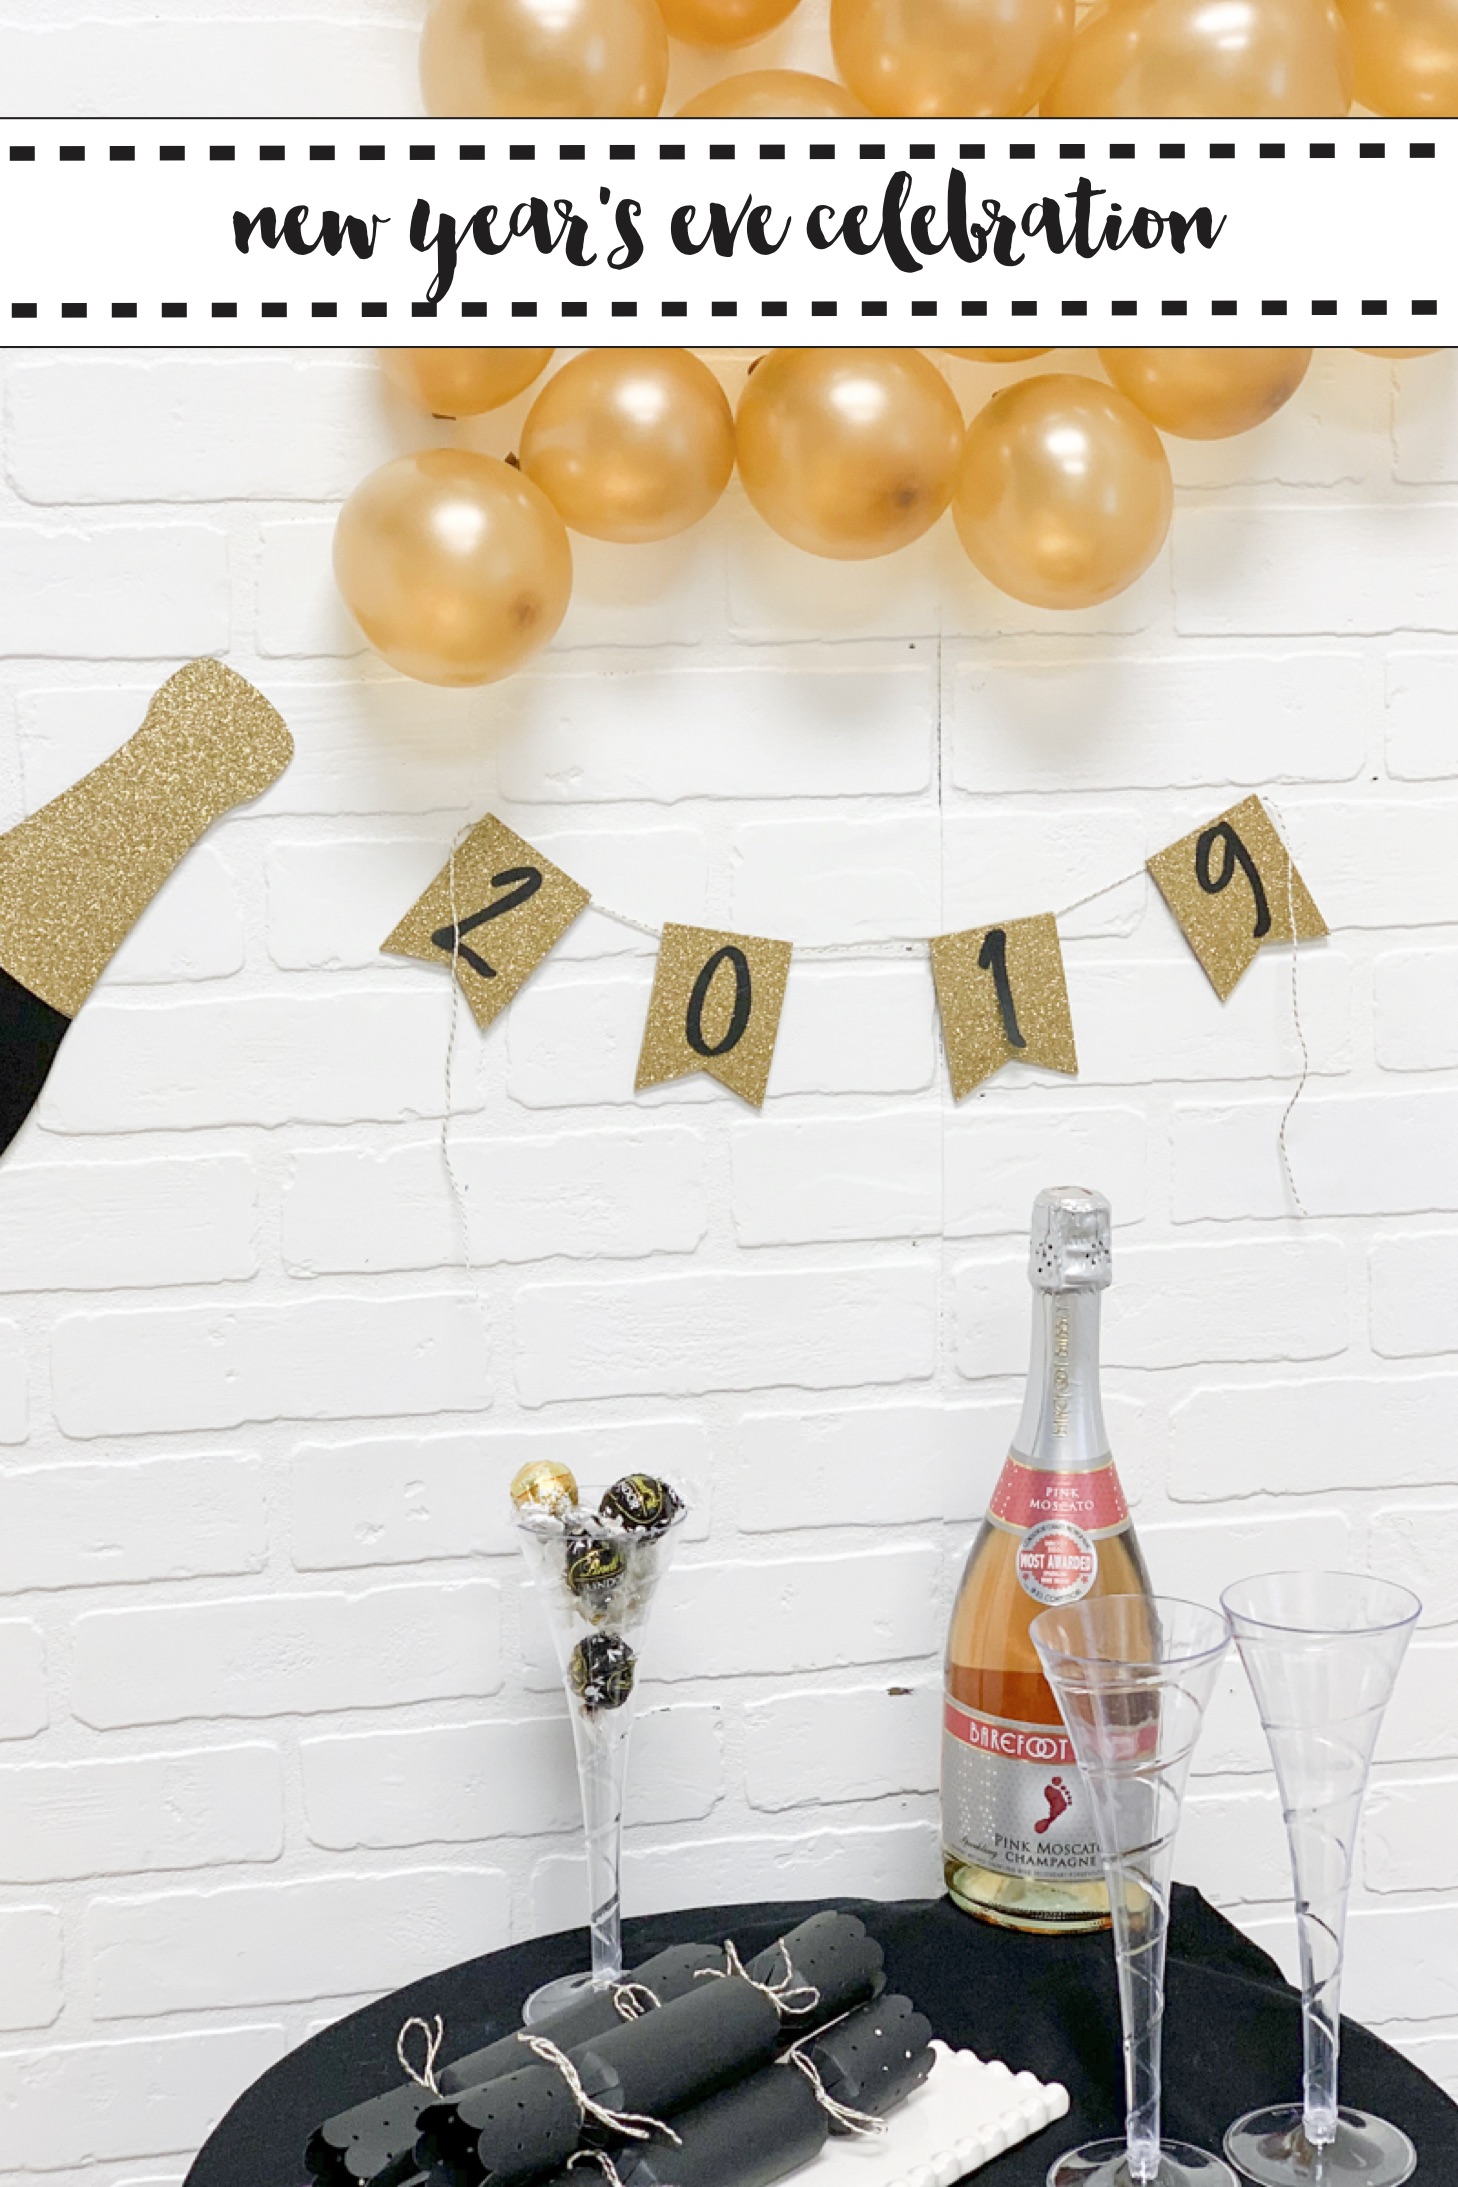
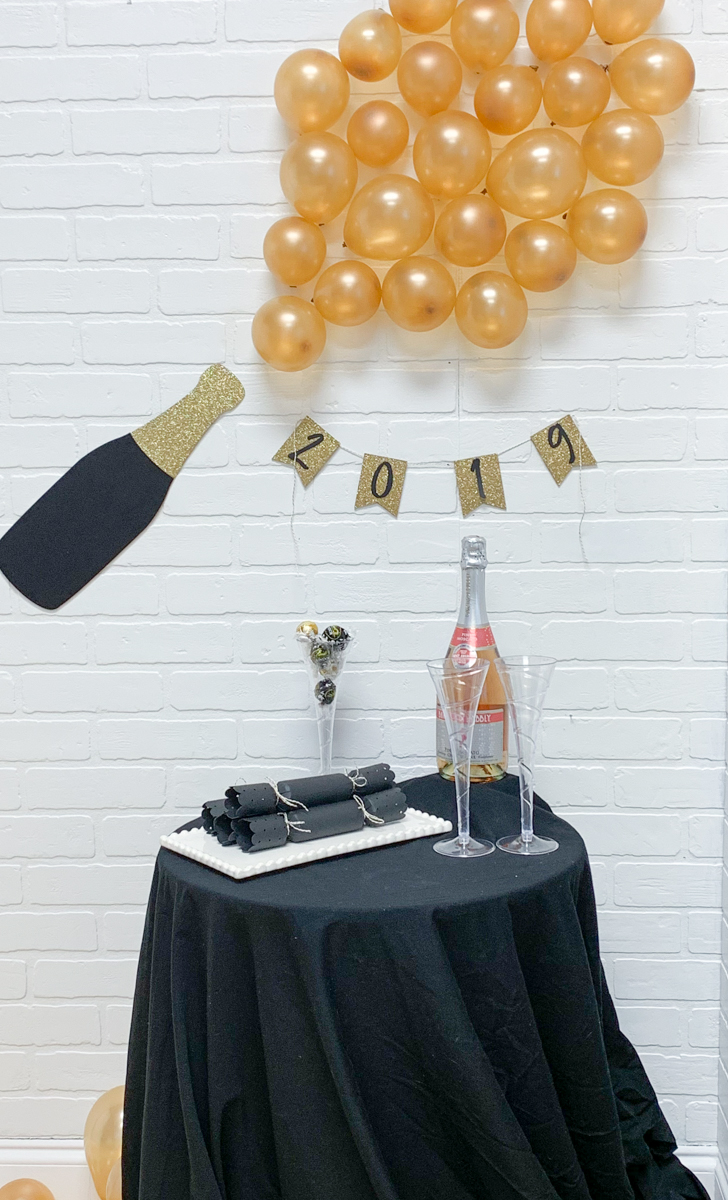
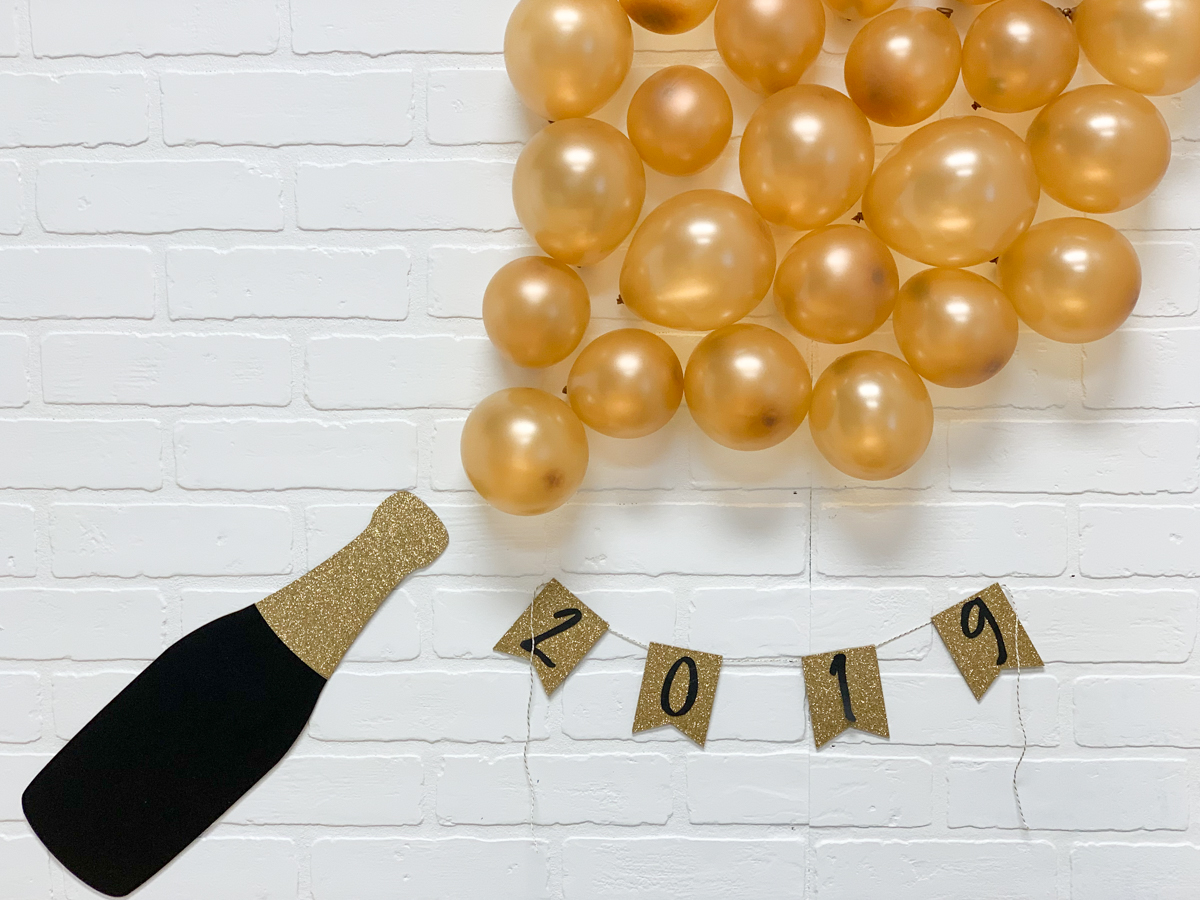
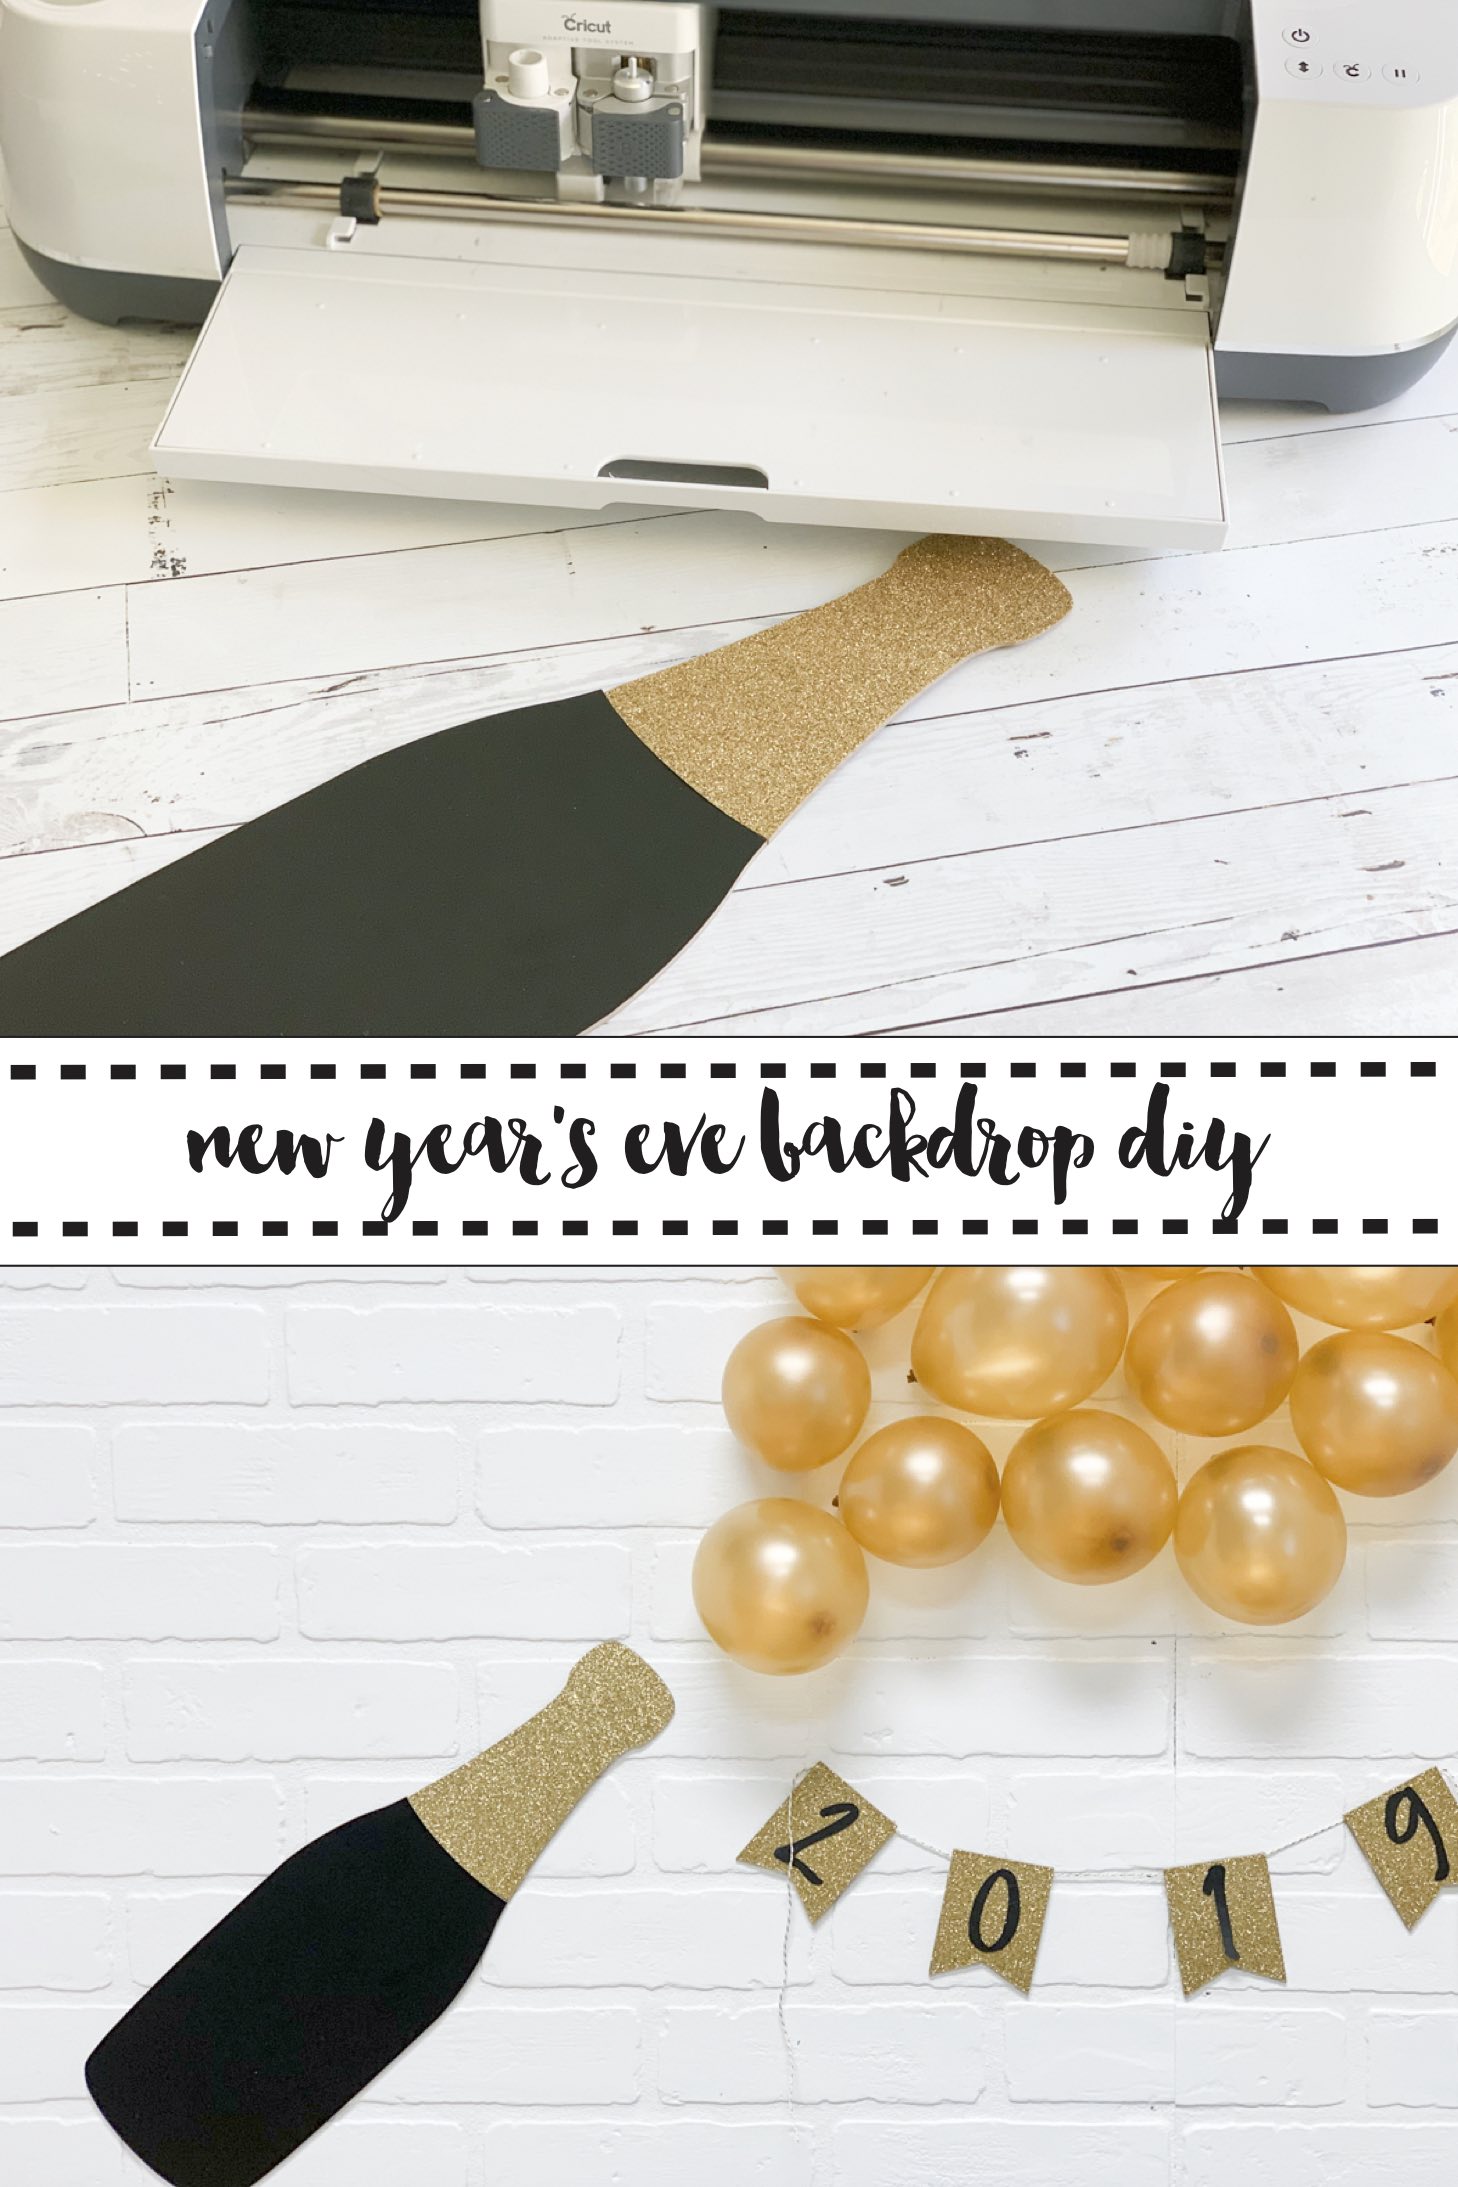
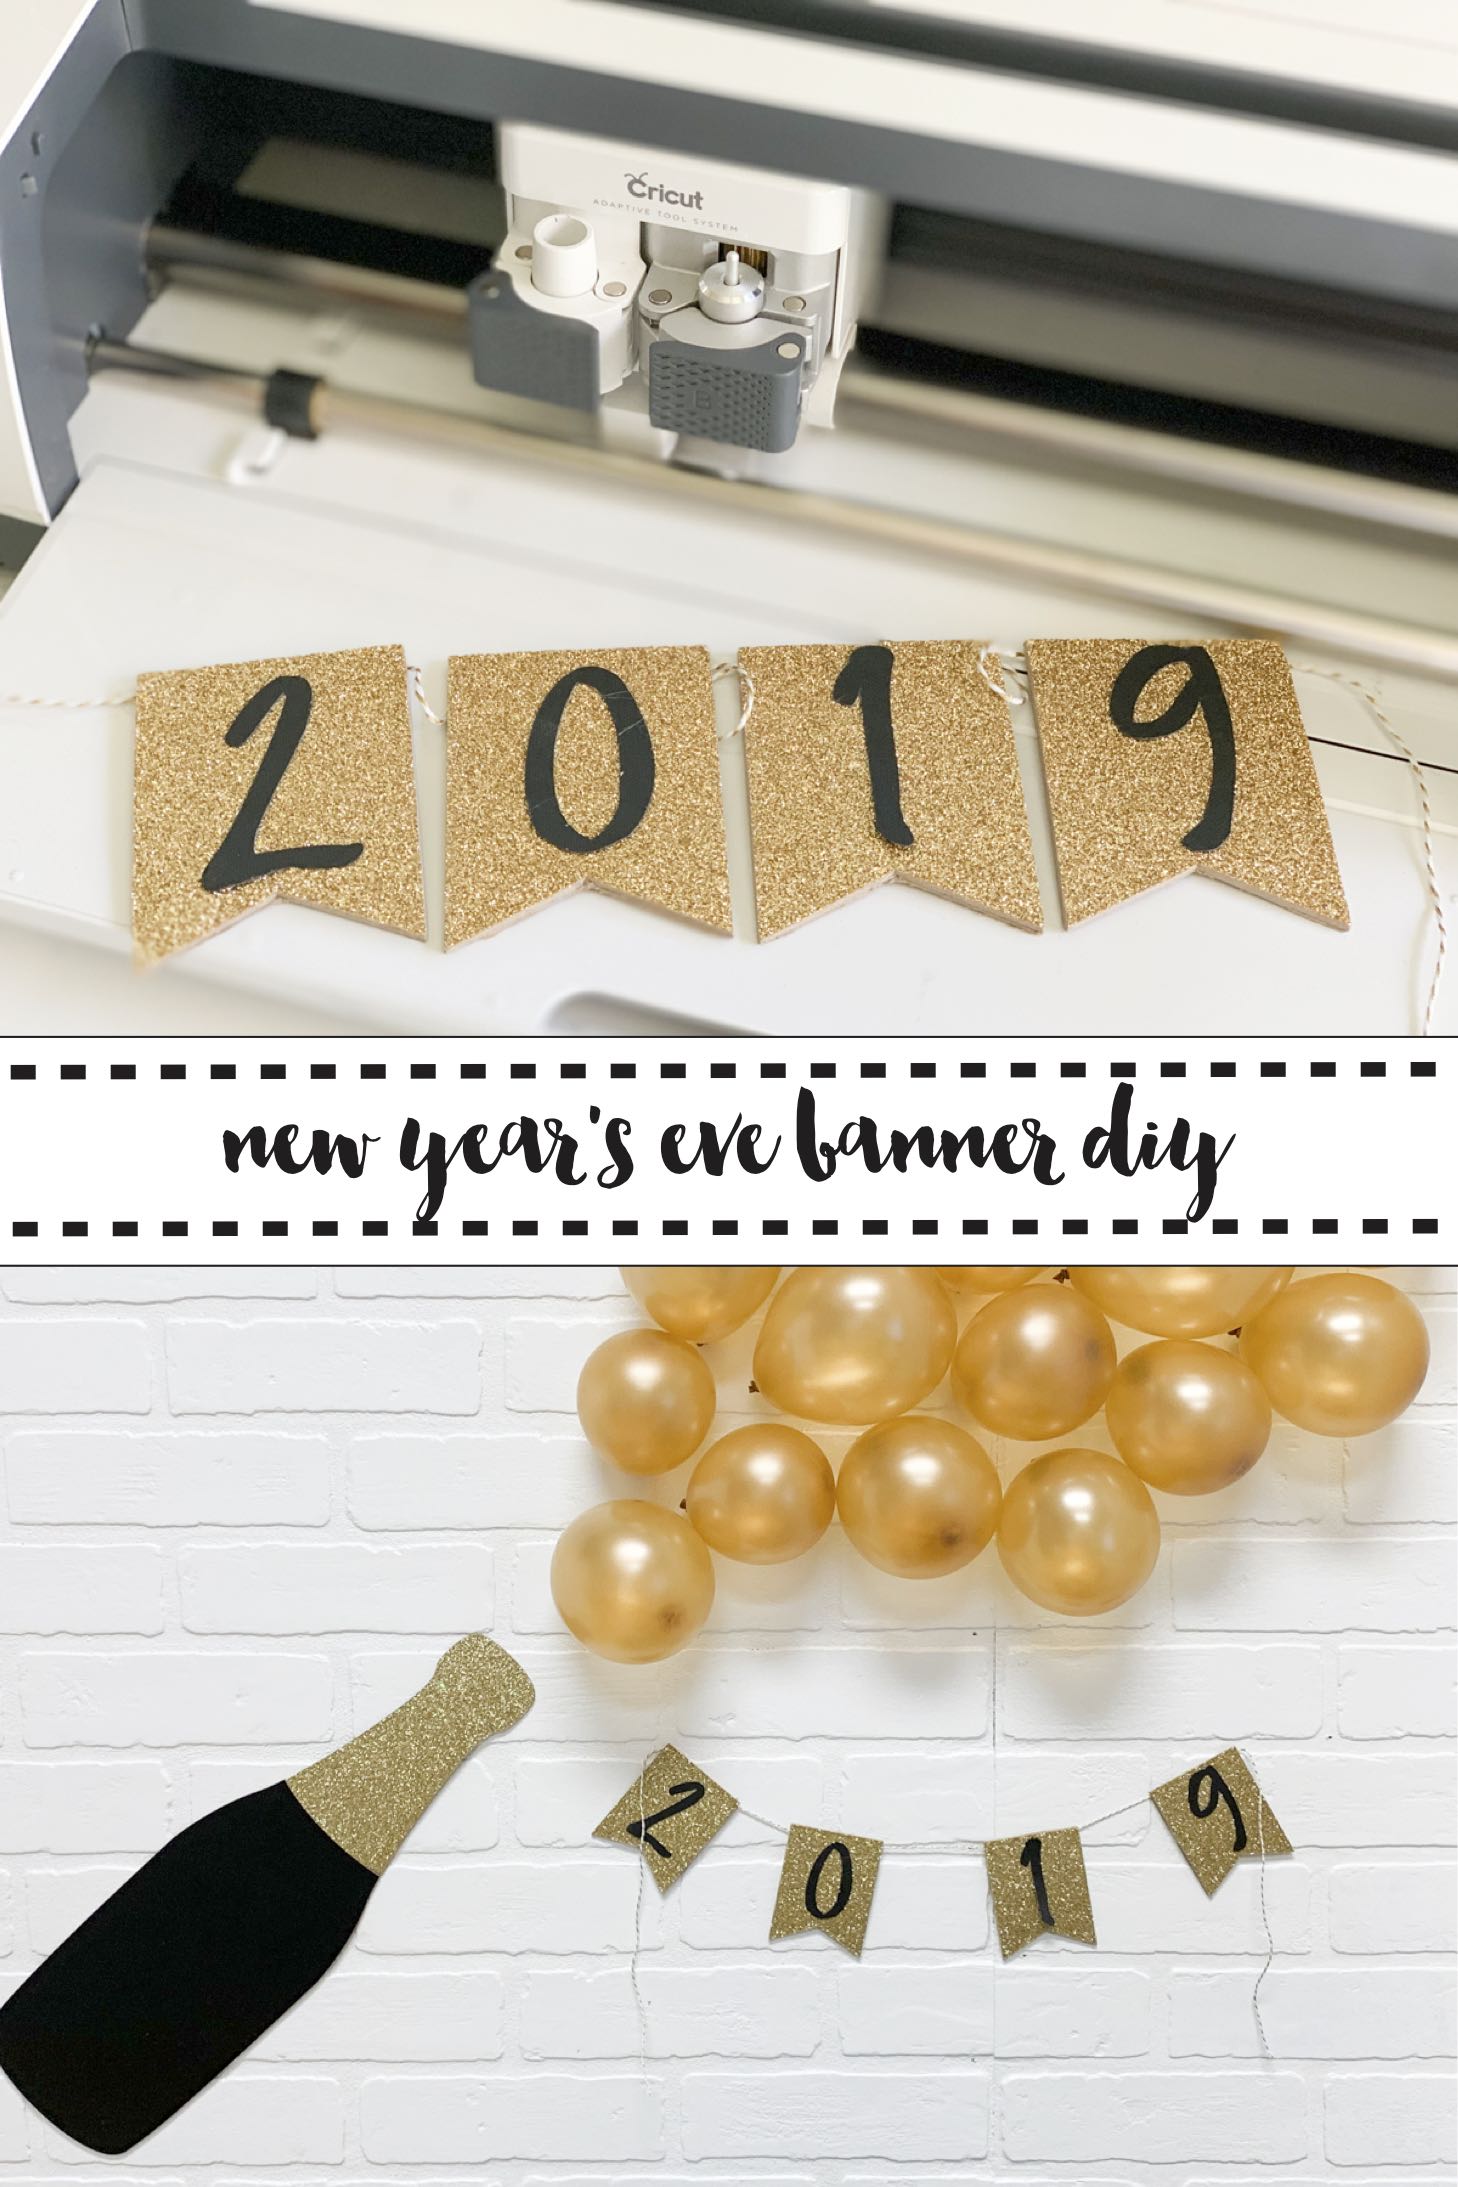
I started with a chipboard champagne bottle on the wall, then I added about two dozen five inch balloons to the wall with tape. Under the balloons, I hung a small 2019 glittered chipboard banner. I loved the wall, and it only took a few minutes to put together.
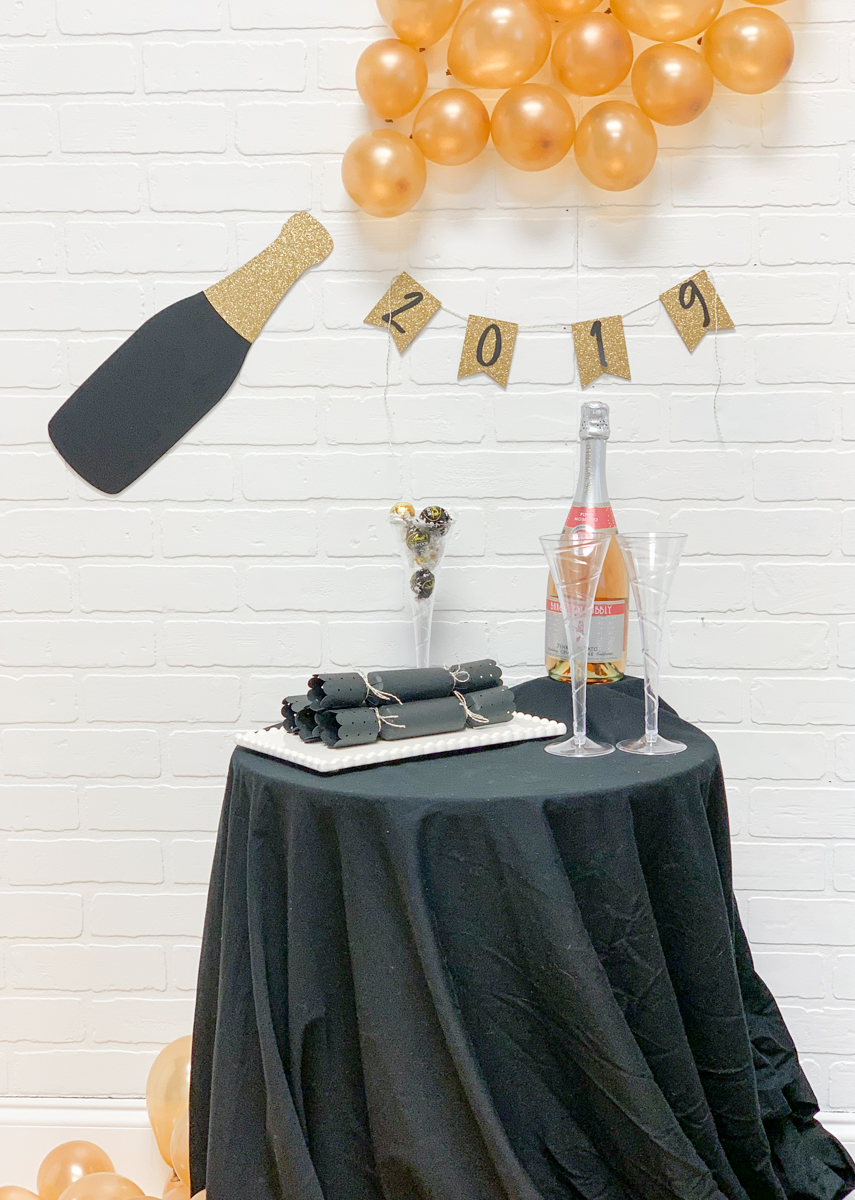
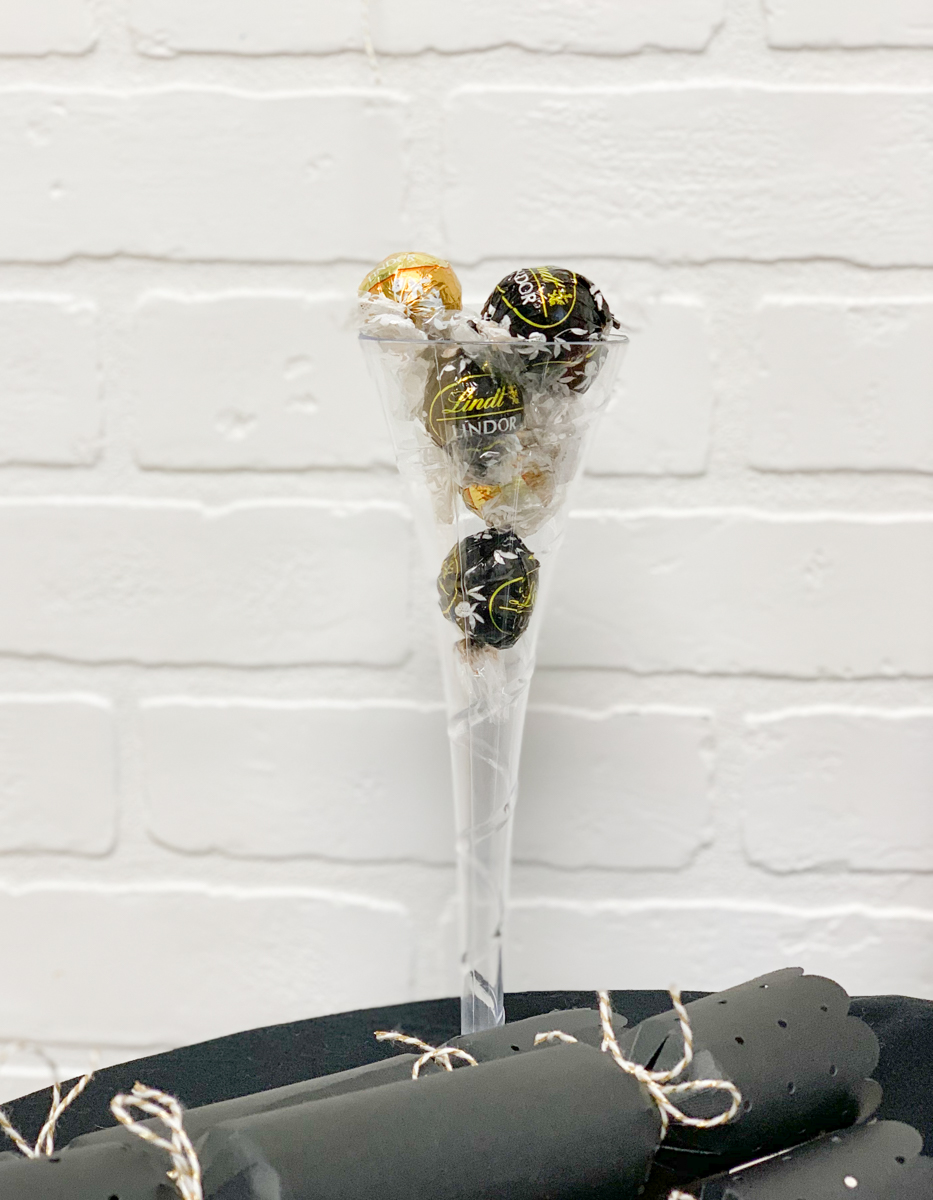
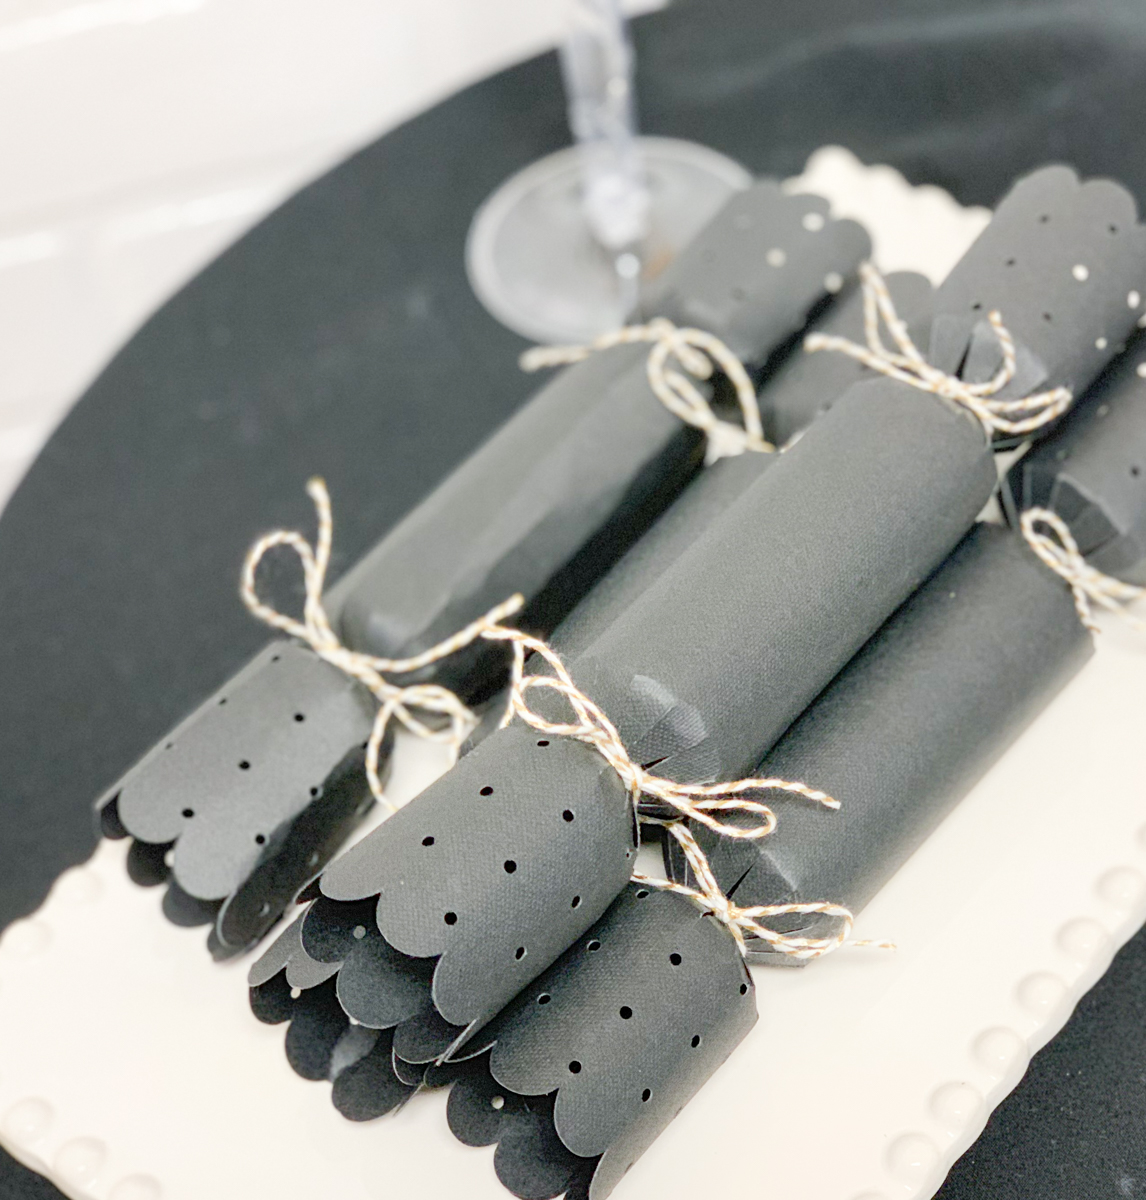
Next, I worked on the table. I thought about styling a bar cart, but it seemed like overkill because I will only be serving champagne at that spot. I used a small accent table draped in a black table cloth. {The big EasyPress 2 makes quick work of pressing out any wrinkles} the table was topped with a few DIY paper crackers, some of my favorite Lindt candies, and champagne. The table allows for a small drink bucket to be stored away underneath it, so refills are easy.
The floor around the table was a little plain, so I used the left over small balloons around the table for a little pop of color.
This party table and backdrop was so easy to set up, but it looks amazing!
Make the Champagne Bottle:
Supplies:
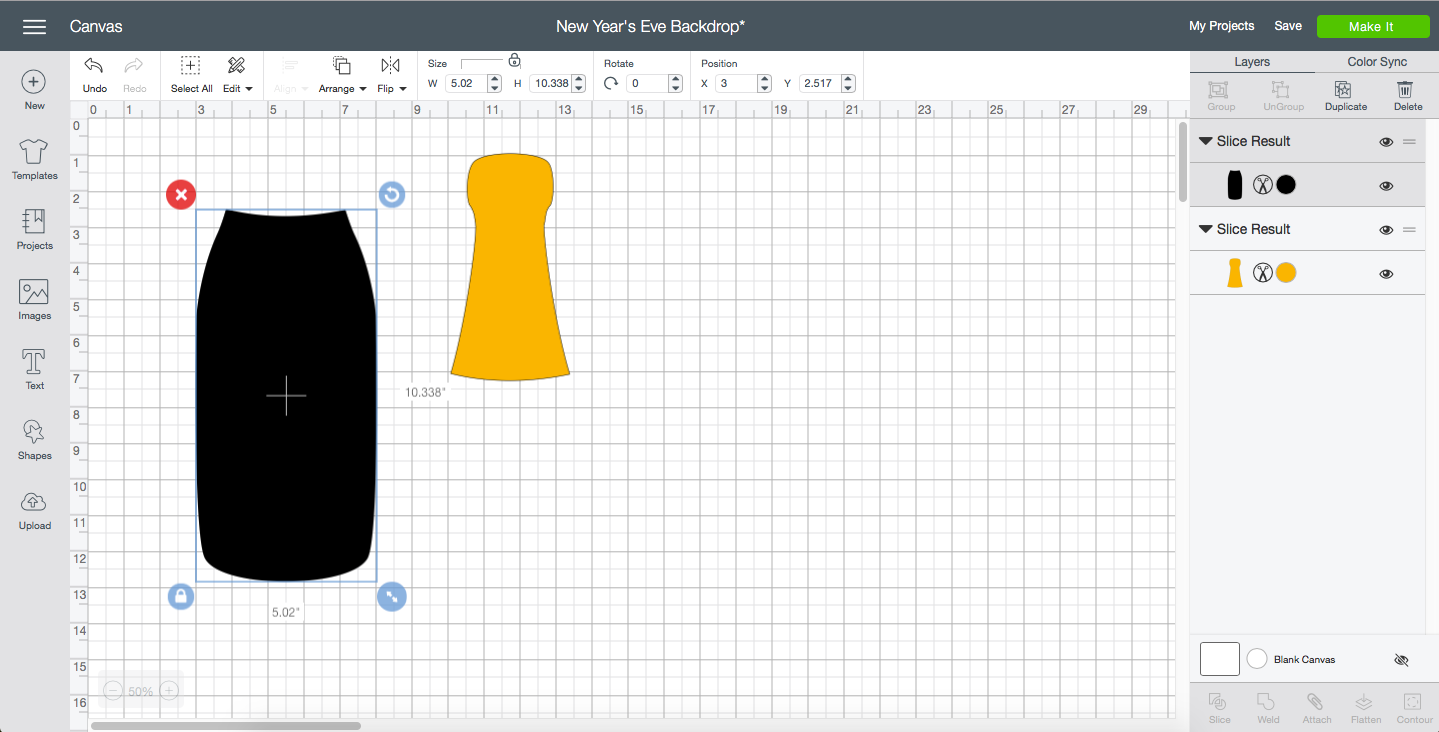
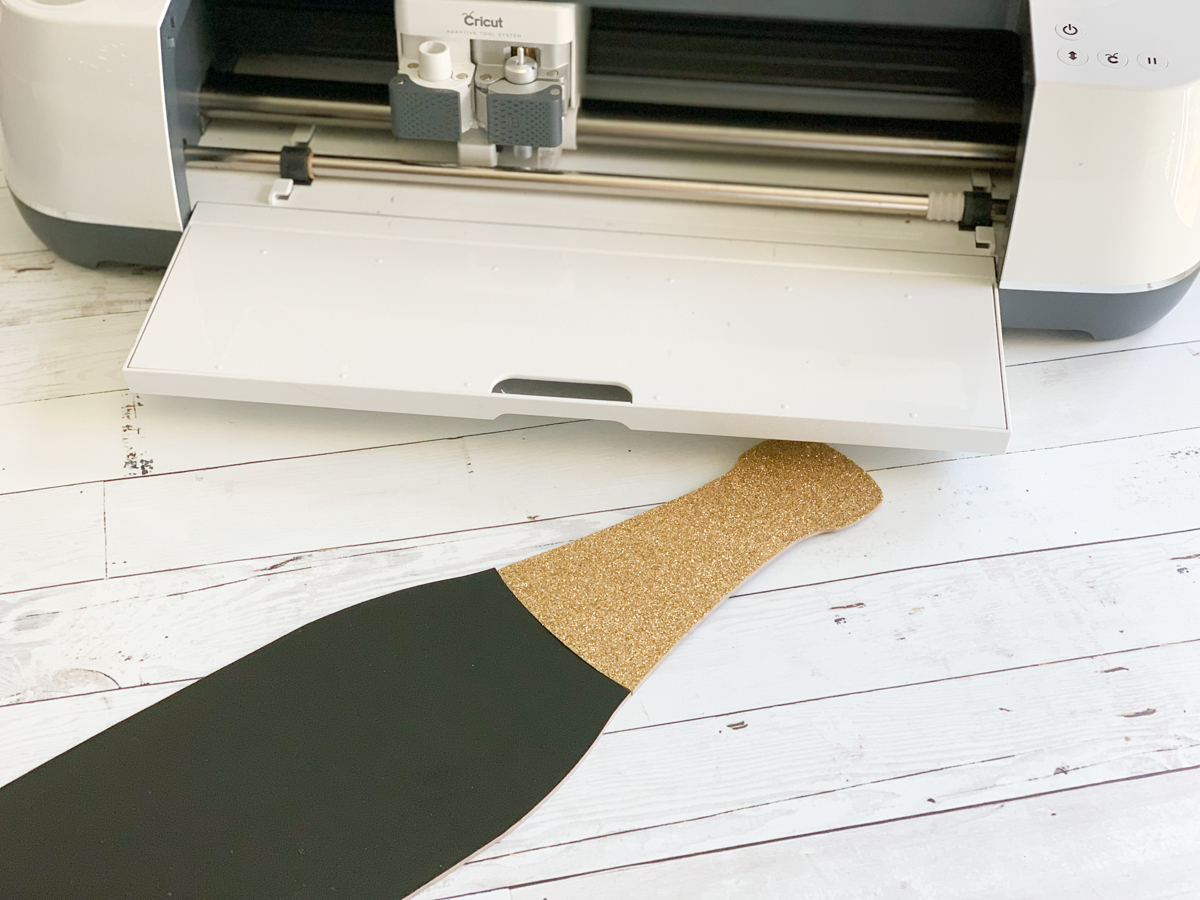
I love the chipboard champagne bottle! The bottom of the bottle is covered in Cricut Chalkboard Vinyl, so it can be used as a guest book or written on. I covered half a sheet of Cricut chipboard with Cricut Chalkboard vinyl, and cut out the bottom of the champagne bottle. Next, I used the EasyPress 2 to apply gold glitter Iron On to a sheet of chipboard. I cut out the top of the champagne bottle and set aside the extra chipboard. {You can get the cut file here}
When I was ready to hang the champagne bottle I blew up about 2 dozen small gold balloons and hung them on the wall to look like they were coming out of this champagne bottle. I taped the balloon “tails” to the balloons and stuck them to the wall with double sided tape. I know I will need to rehang all the balloons before the party, but for less than $5 for 50 balloons, it’s super affordable.
Make the banner:
Supplies:
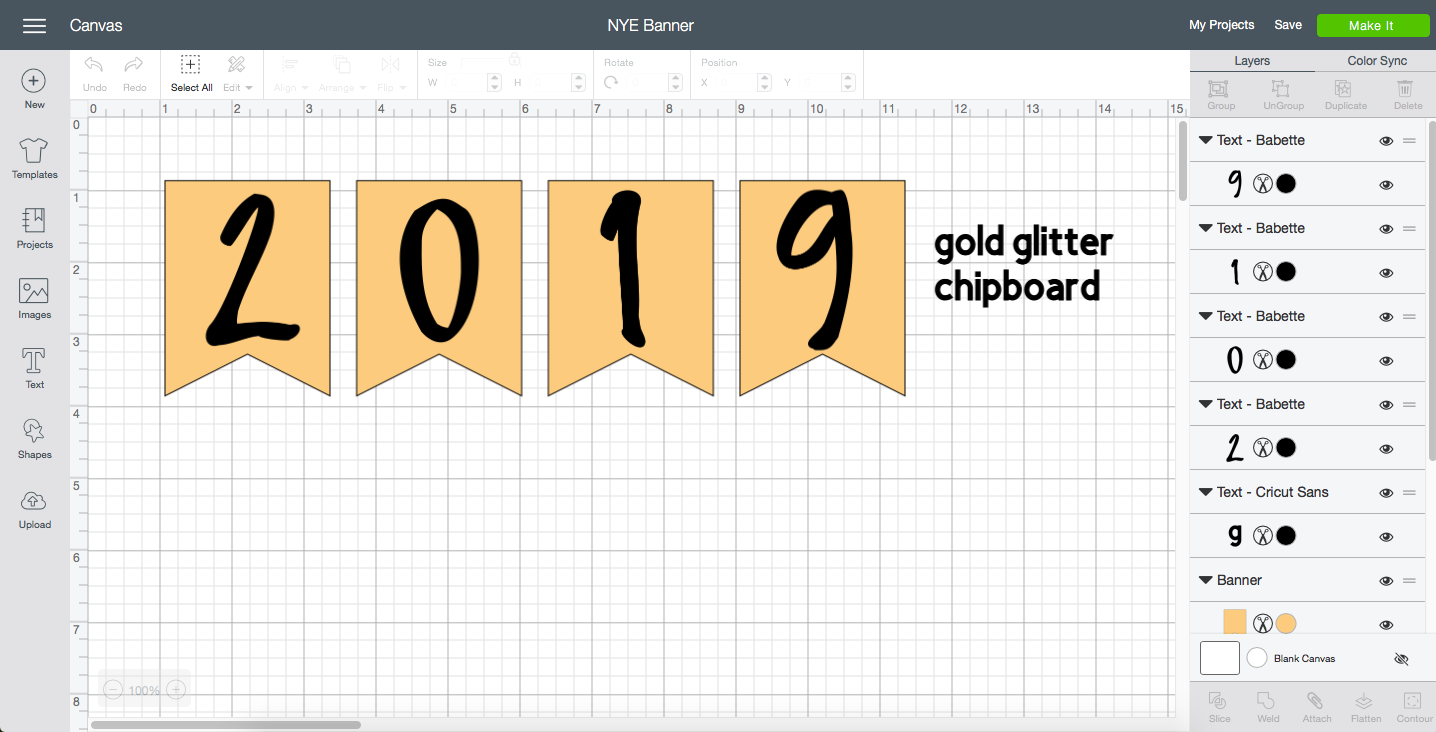
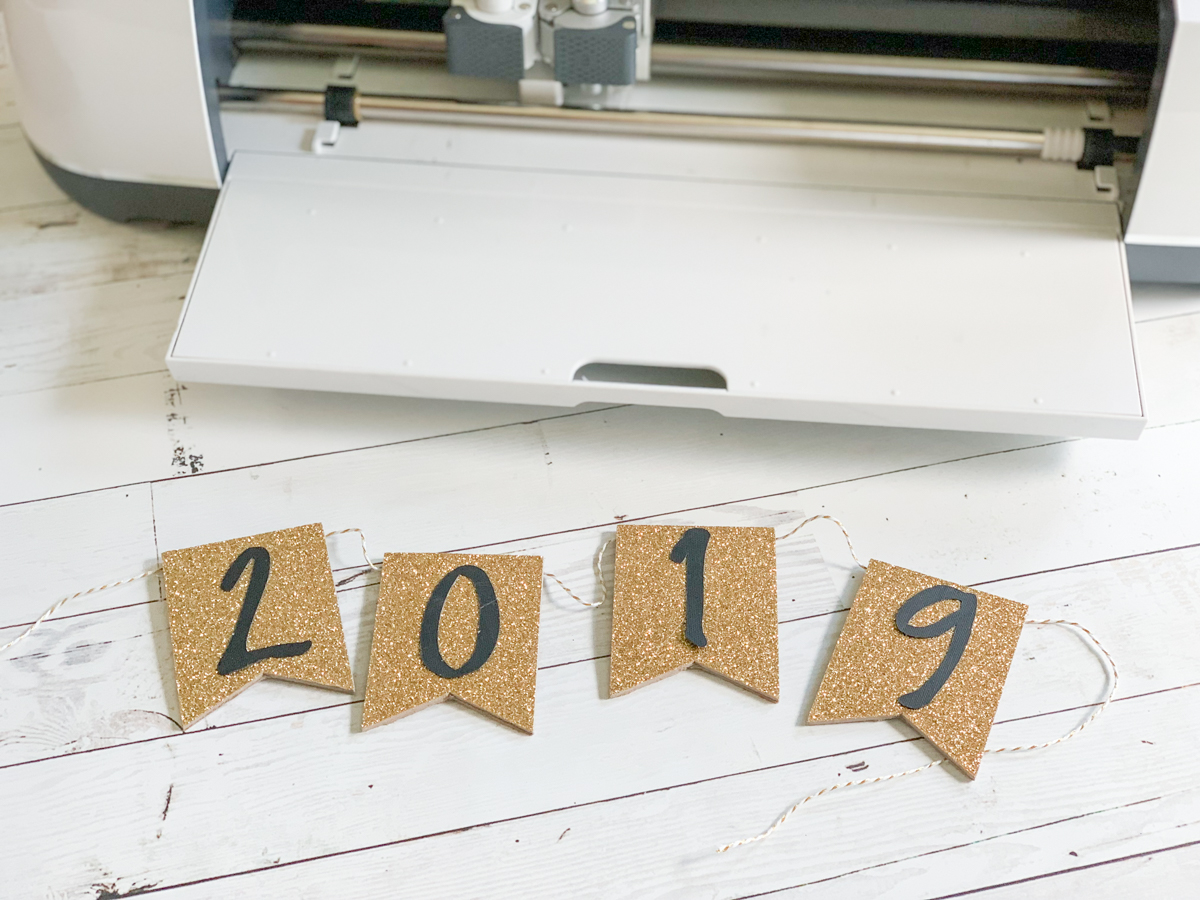
Pull out the excess gold glitter iron on chipboard and a sheet of black card stock. Open this cut file and send the banner to cut. I cut it one extra time because there is a layer of glitter iron on on top of the chipboard.
Next cut the text and use a tape runner to apply adhesive to the backside, and stick the numbers on to the banner.
I hot glued gold twin to the backs of the banner and hung it on the wall with a little ticky tack.
Make the party favor crackers:
Supplies:
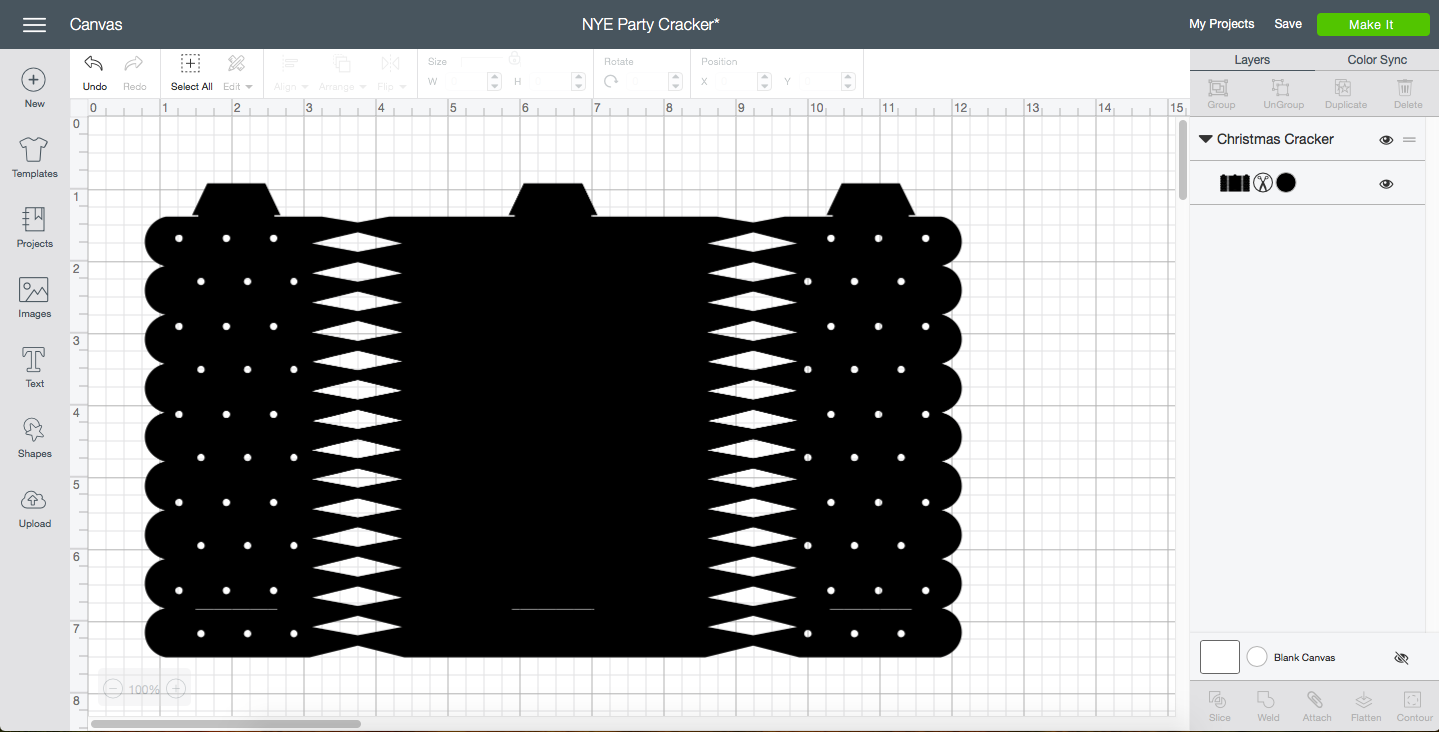
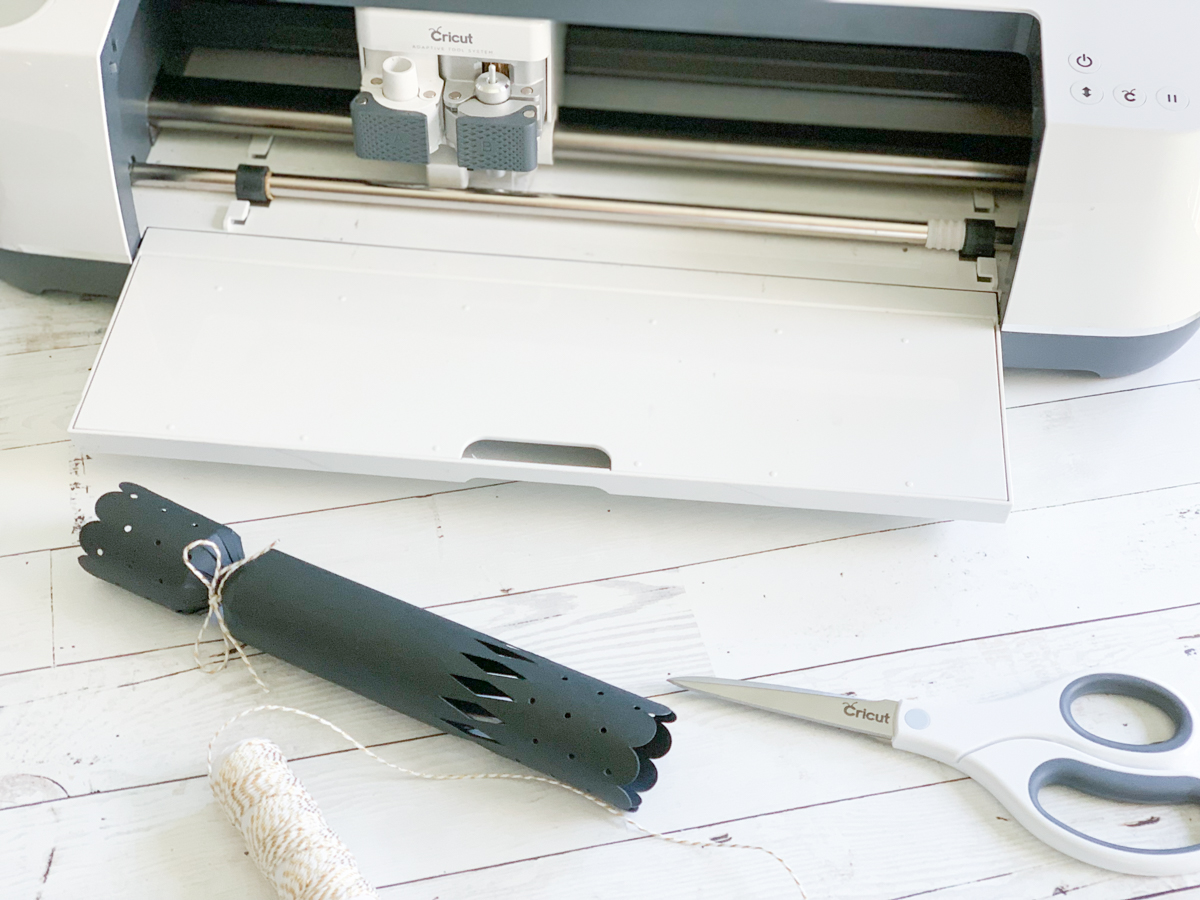
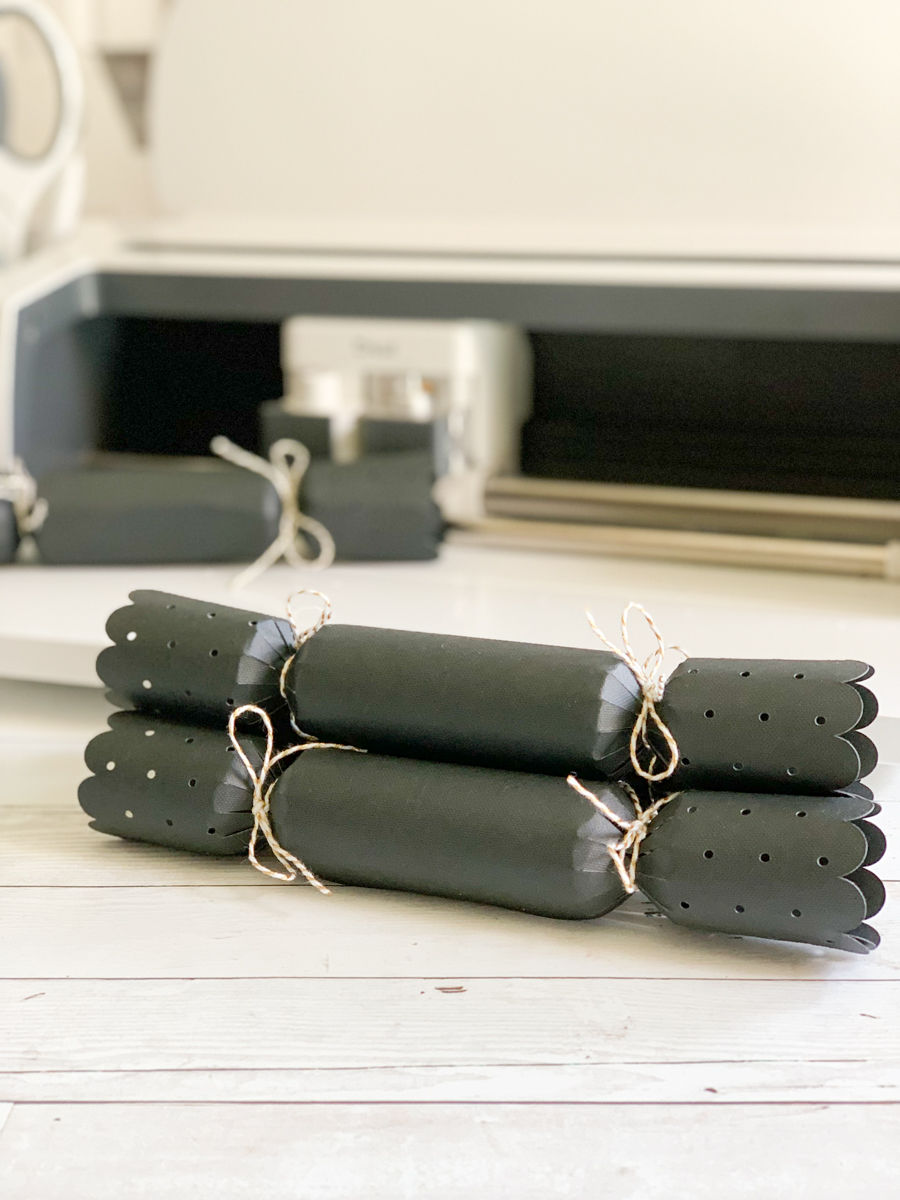
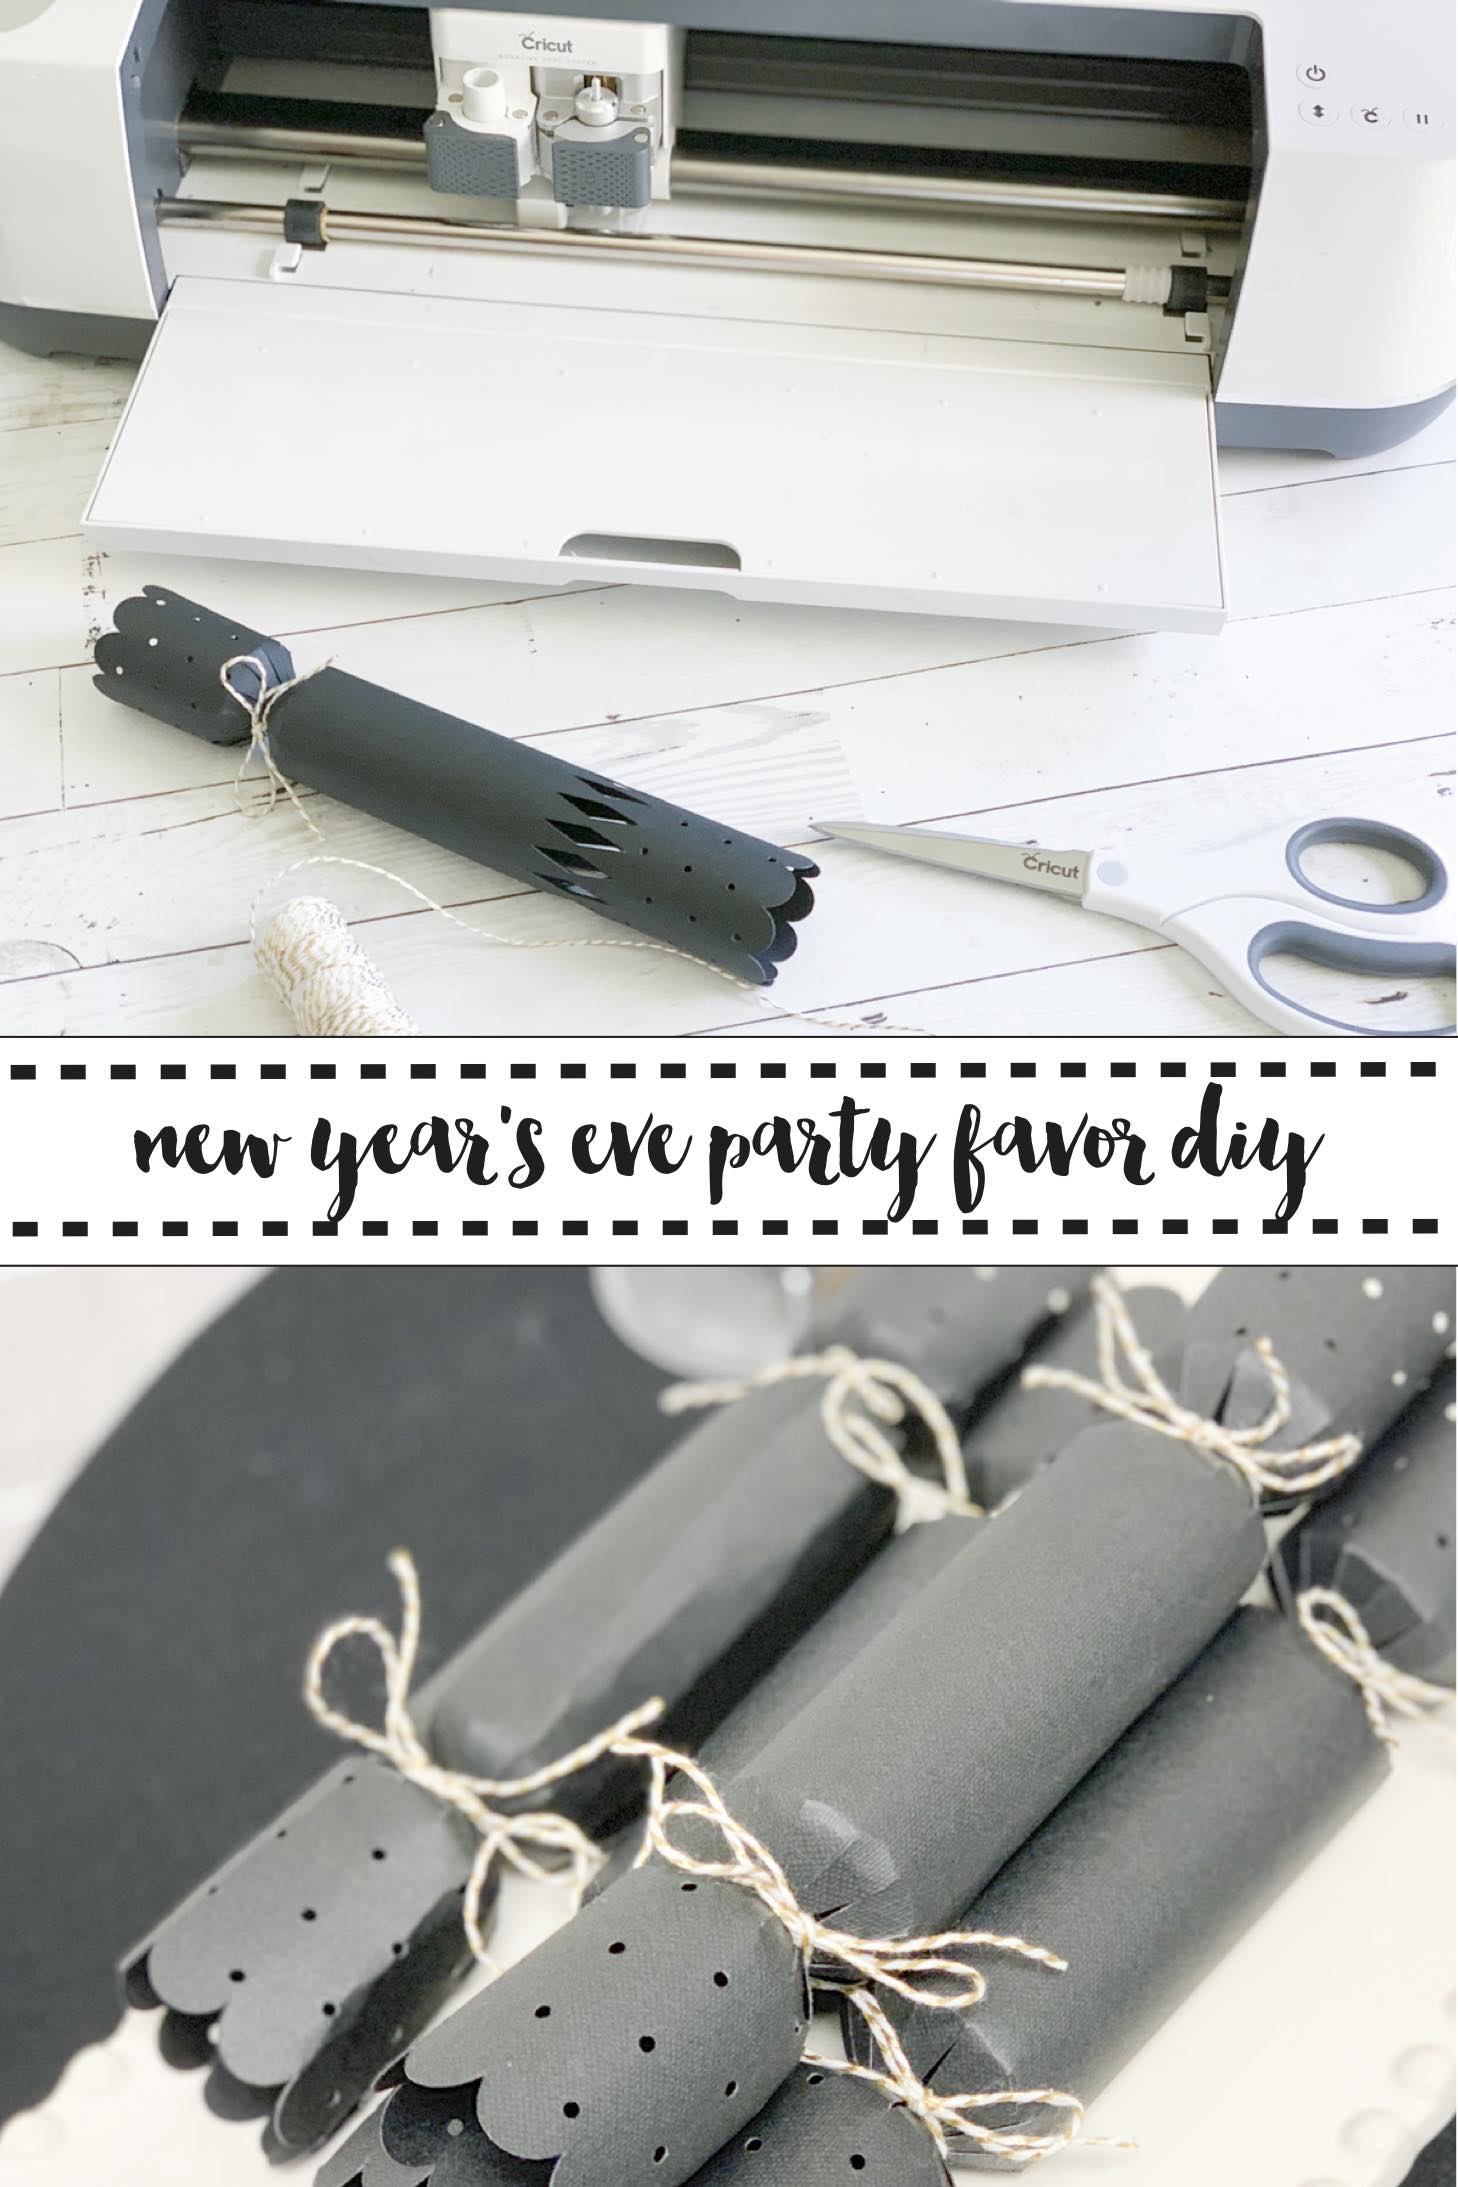
Open this cut file and cut crackers out of card stock. I used more gold twine to tie off each end. I filled each one with a variety of Lindt truffles and placed them on a small white serving tray.
This table was so fun to style and we can’t wait to ring in the New Year in just a few weeks!
 For more New Year’s Eve Inspiration, check out these posts!
Northern Lights New Year’s Eve Party
This is a sponsored conversation written by me on behalf of Cricut. The opinions and text are all mine.
Tags : Cricut, Cricut Blogger, EasyPress, EasyPress 2, Holiday Party, New Year, New Year's DIY, New Year's Eve Party, New Years, New Years Eve, NYE
In DIY

[…] New Year’s Eve Celebration […]