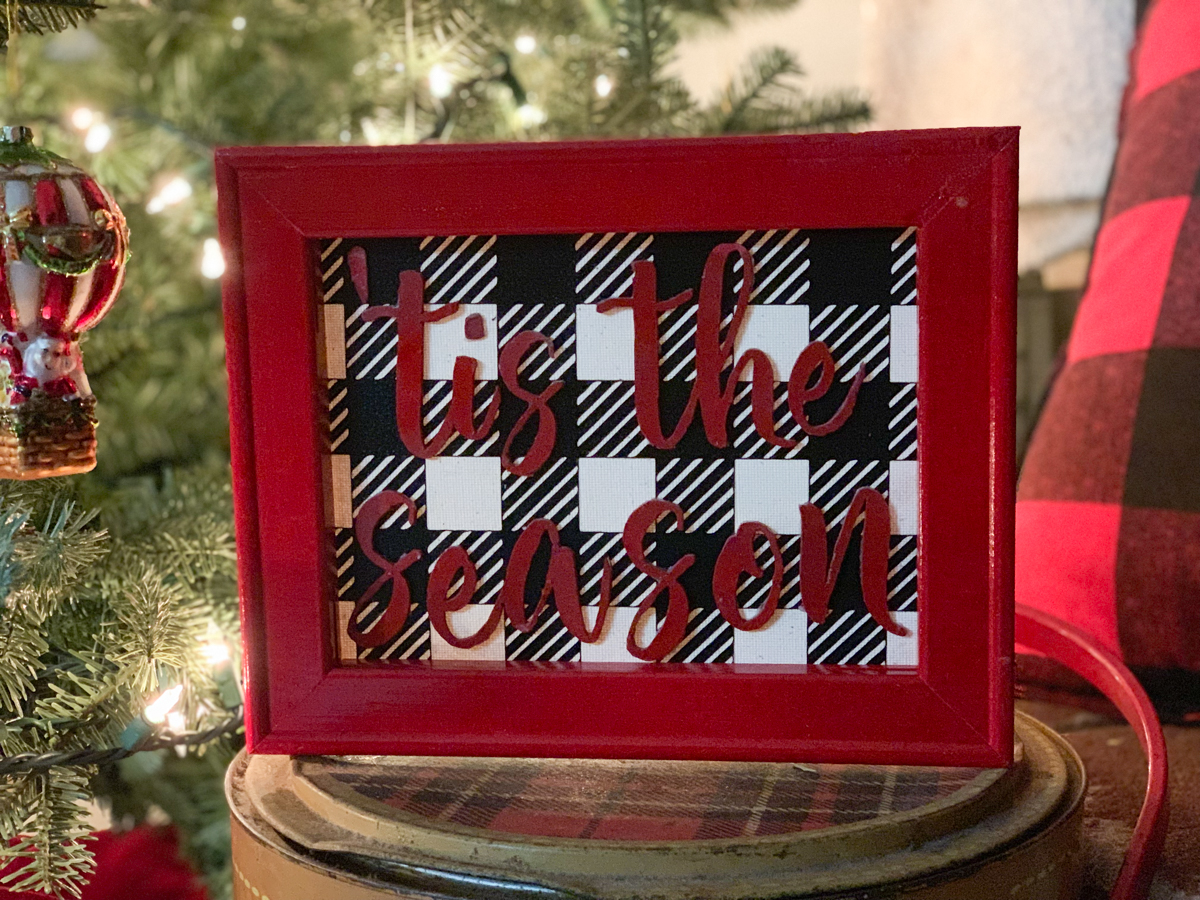
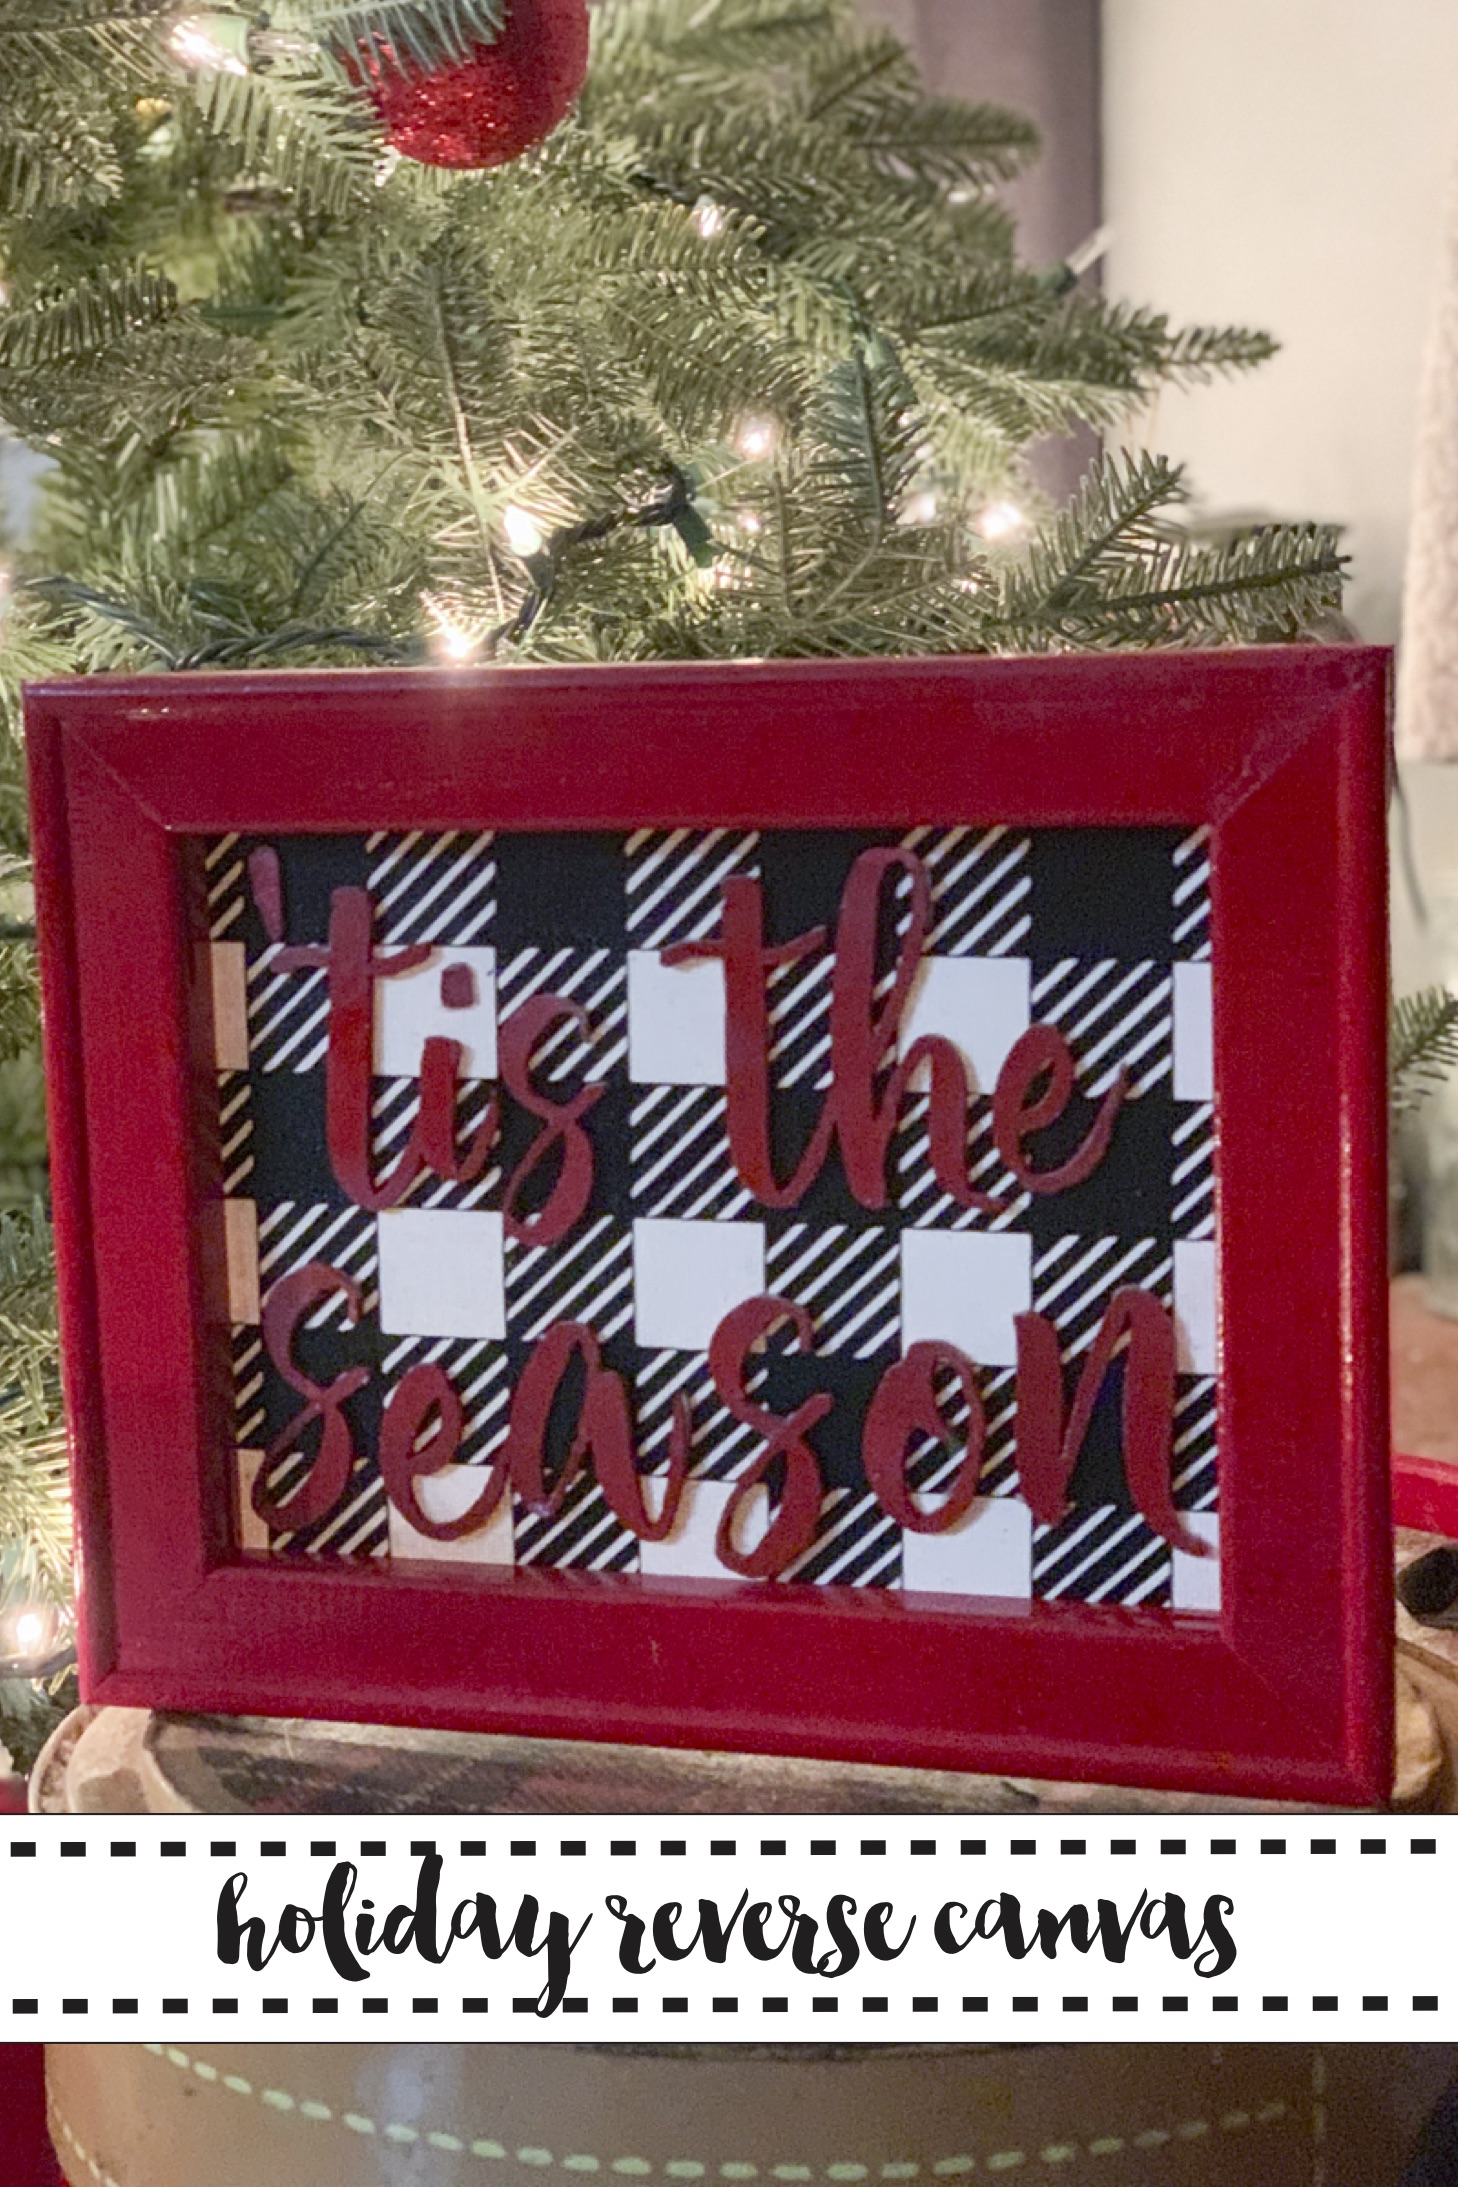
Holiday Reverse Canvas
Would you believe me if I said I have never tried making a reverse canvas project before this weekend? It’s true…but, this weekend, I got the bug, and decided to give it a whirl. What took me so long?!
This project is a little time consuming, but the end result is totally worth it. I wanted to make something a little different than my traditional wood signs, and I wanted it to have buffalo plaid. But, I could not find a buffalo plaid SVG…so, I made one. {Grab it in the shop here} I also really wanted the sign to be dimensional, and this is why it took so long to make. I used my Cricut Maker to cut the ’tis the season svg out of chipboard.
To make this sign, you will need a few supplies, and a few hours of time to get it done.
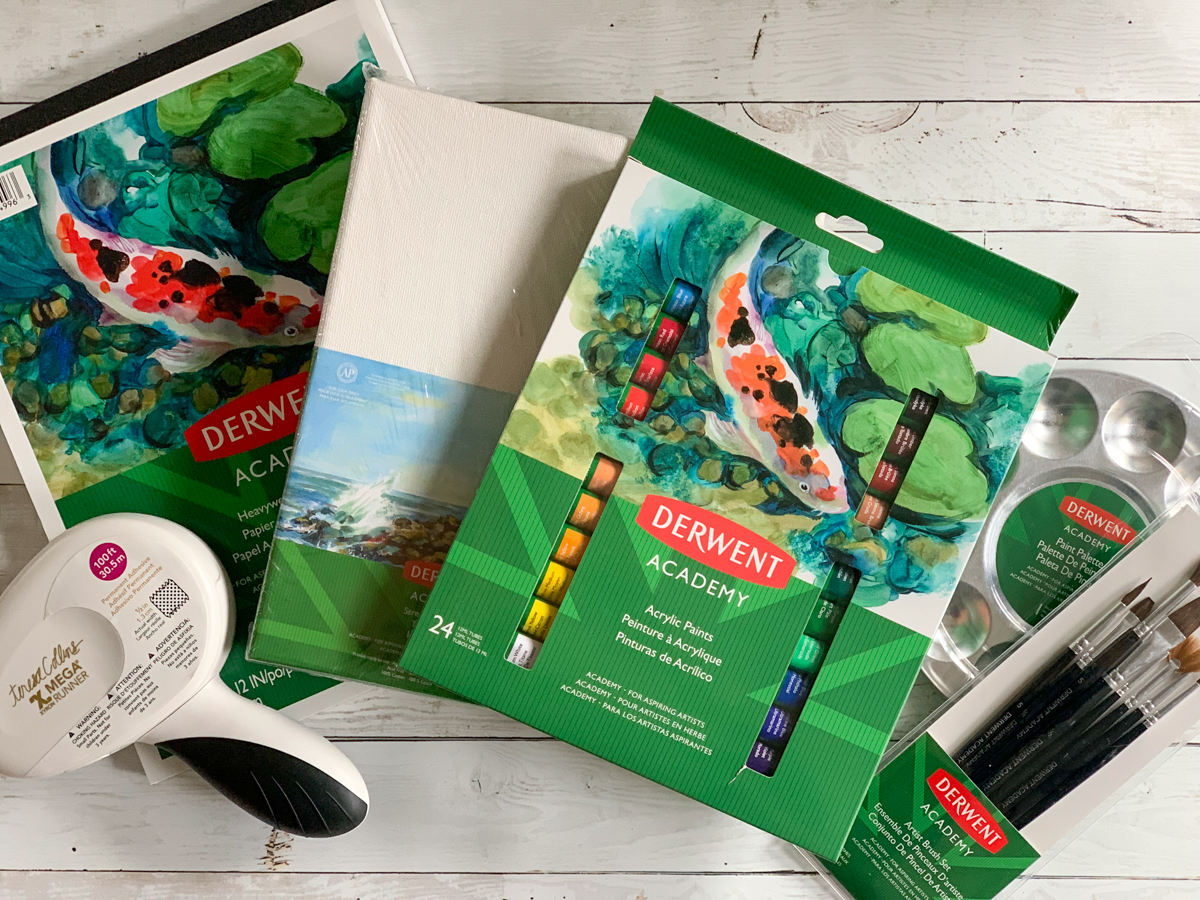
Supplies
Derwent Academy Acrylic Paint; Crimson and Black
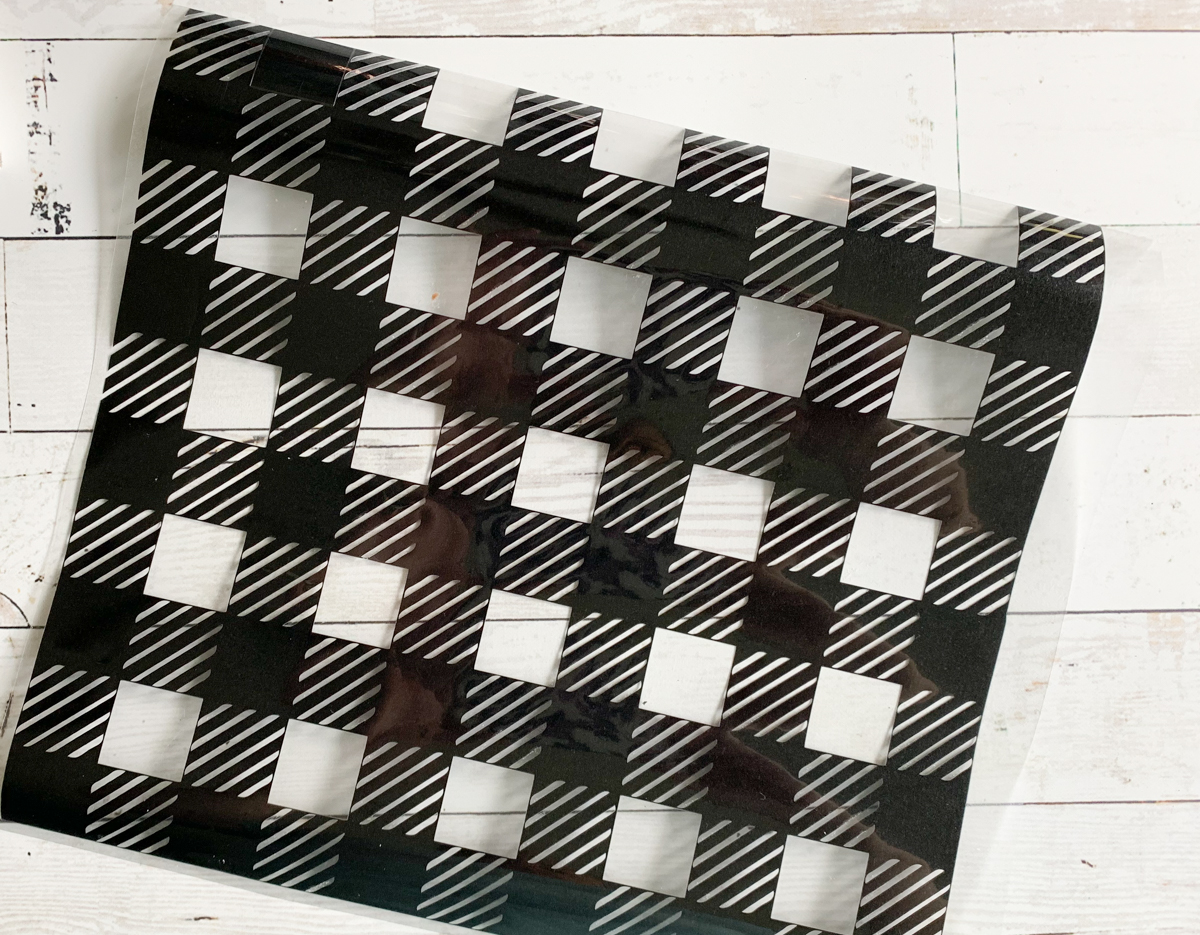
First Step
Purchase the SVG’s and upload them to Cricut Design Space. Adjust the size to fit your canvas, and send to cut. The buffalo plaid cuts fairly quickly, but does take time and patience to weed. However, while you are weeding it, you can start cutting the chipboard. The chipboard takes several hours to cut, so, while it is being cut out, you can start working on the canvas.
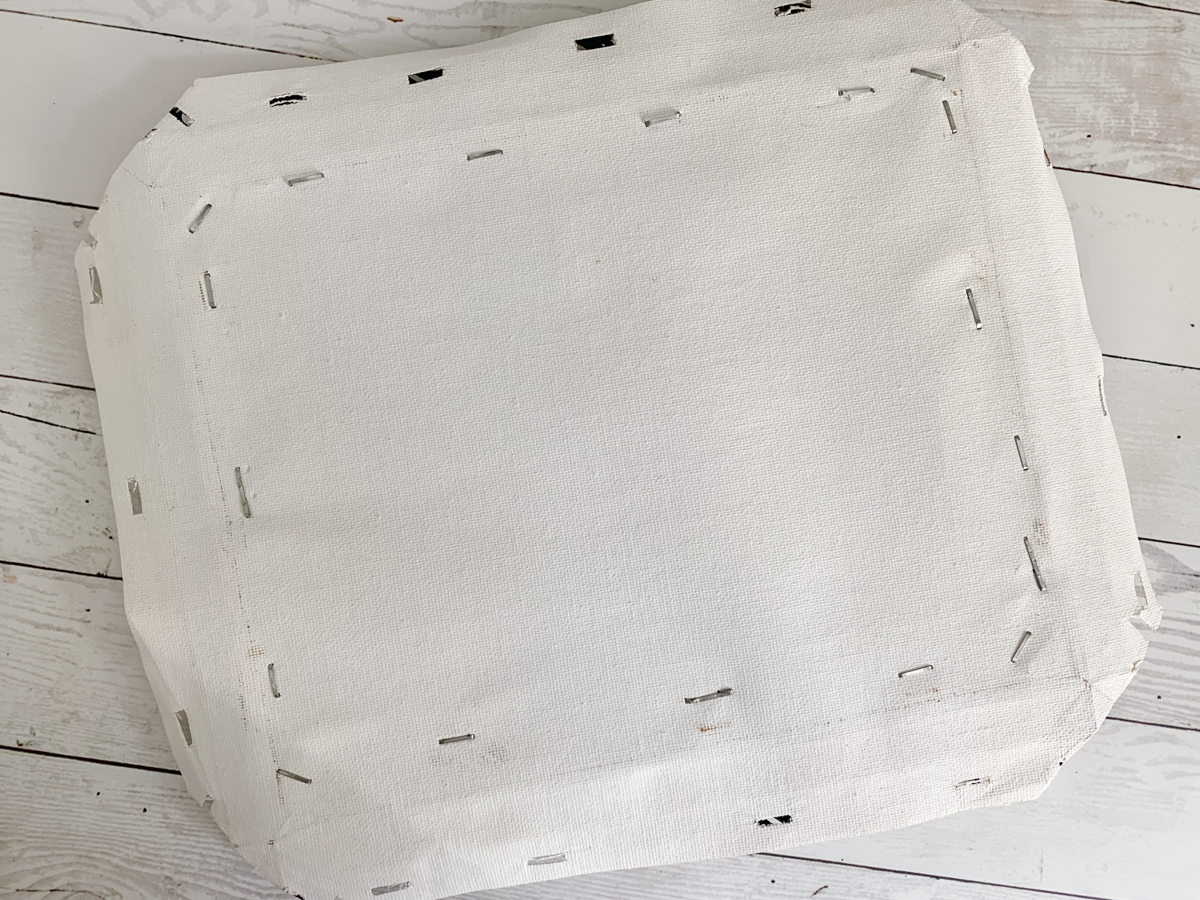
Second Step
Use the True Control Knife {or other knife} to cut around the staples on the back of the canvas frame.

Third Step
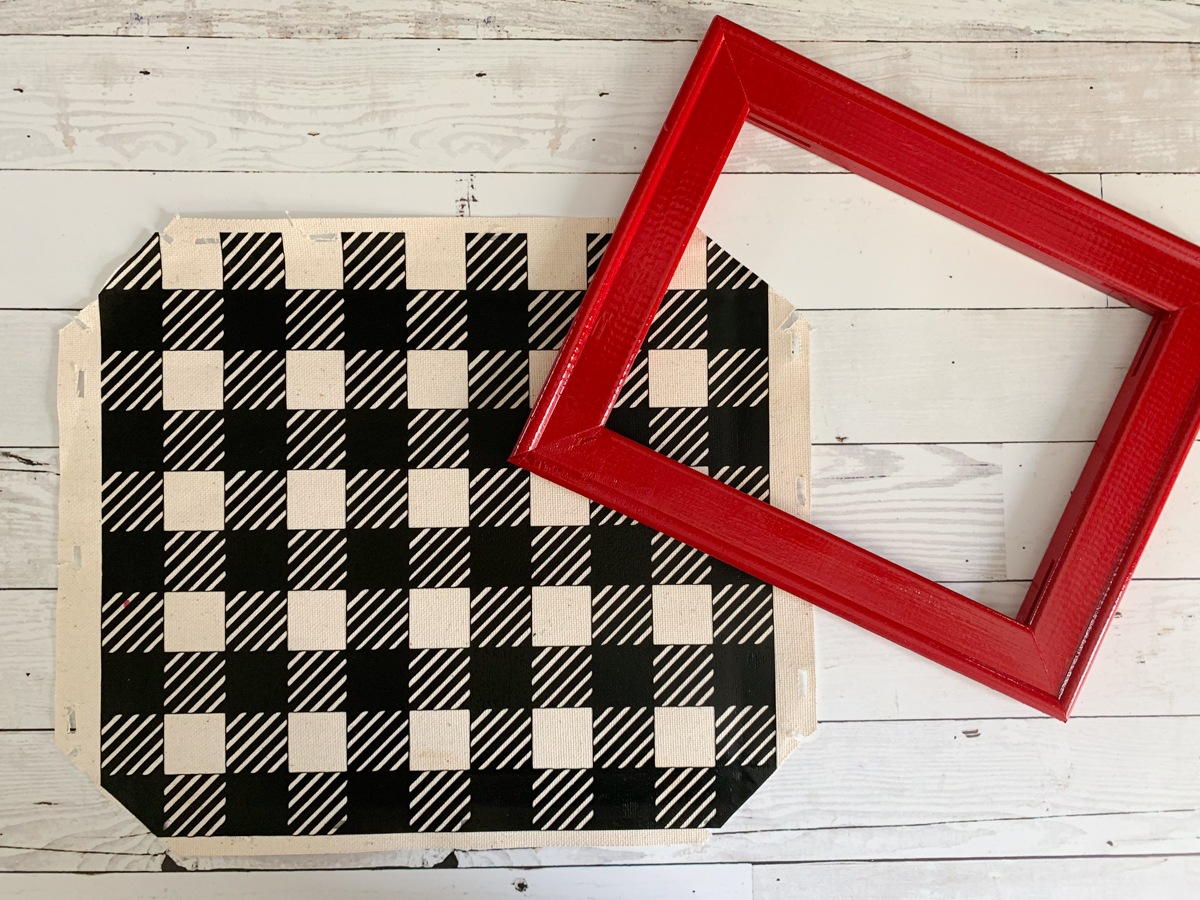
Paint the wood canvas frame. I mixed Derwent Academy black and crimson paints to paint both the frame and the chipboard. Allow the frame to dry.
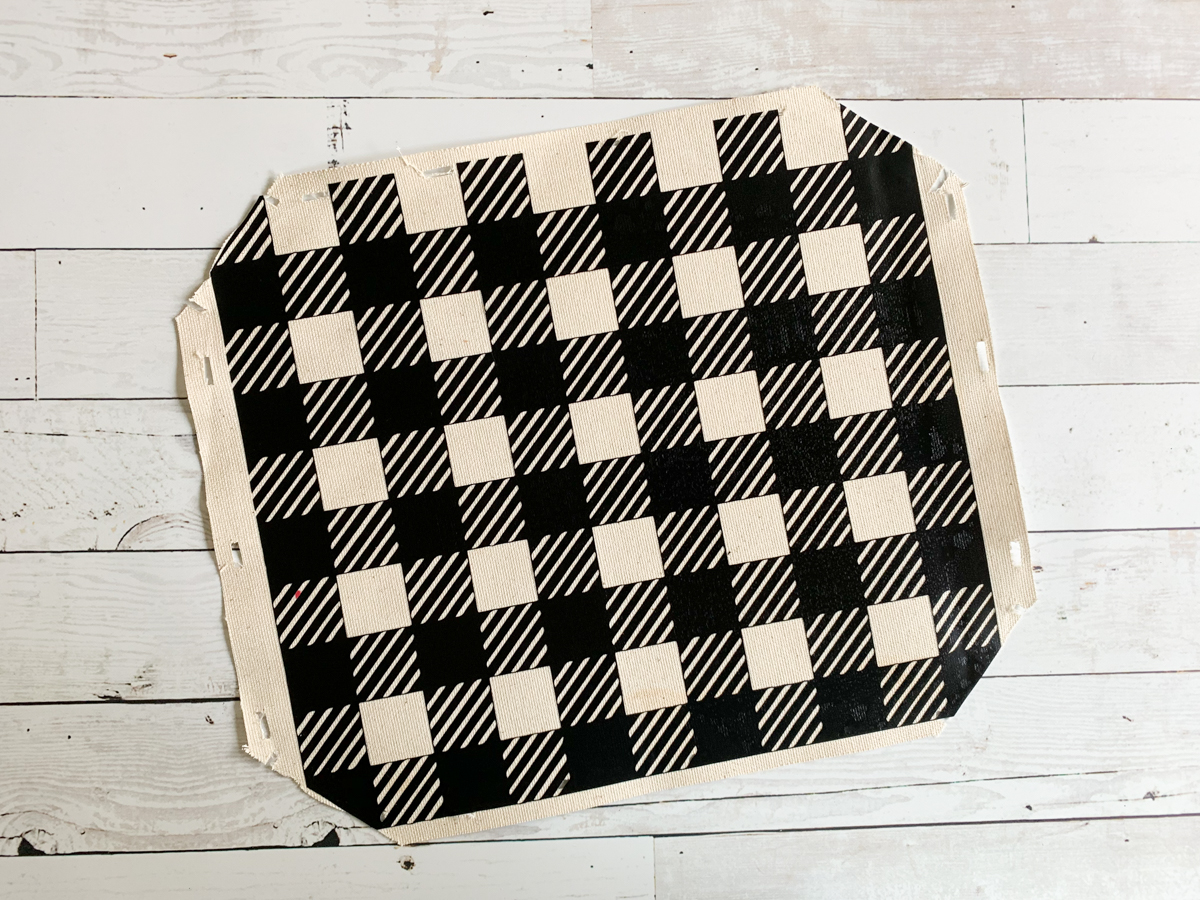
Fourth Step
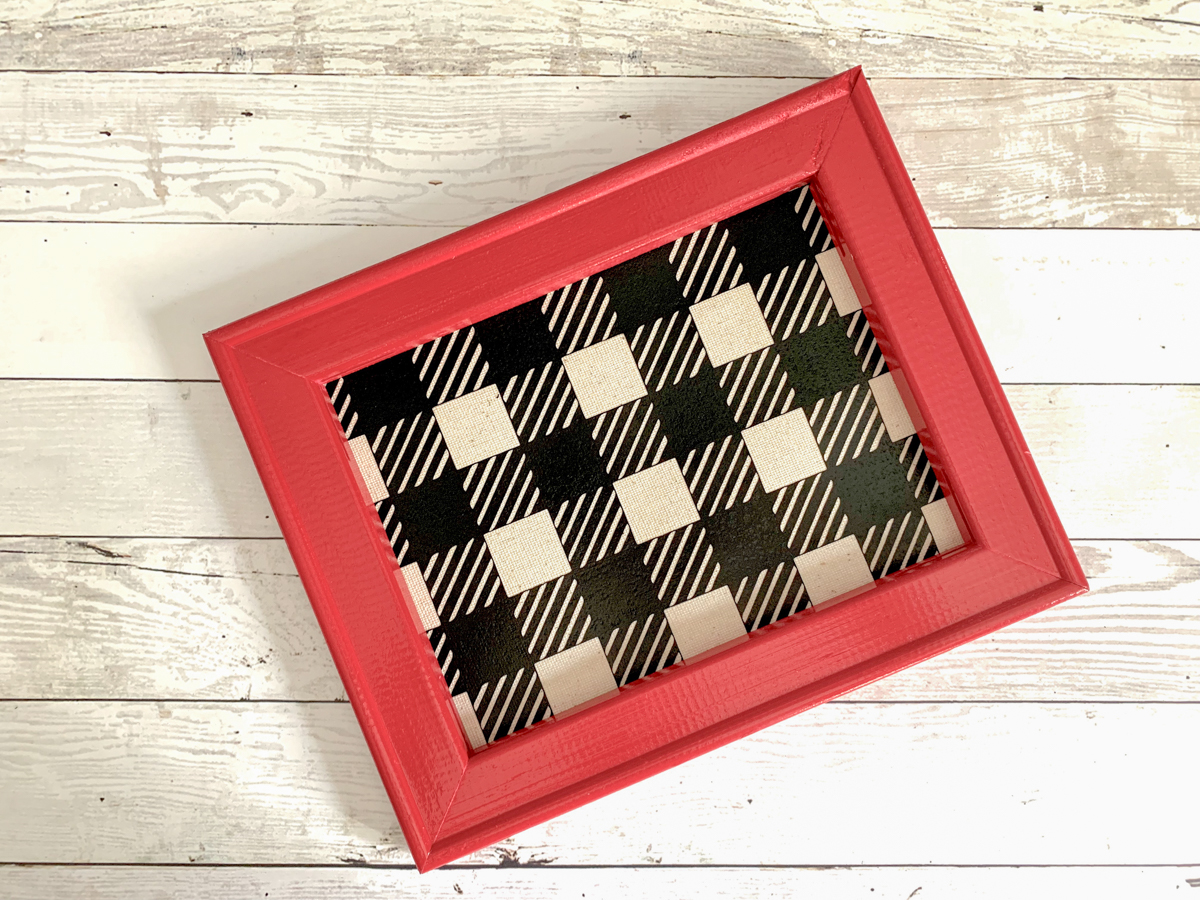
While the frame dries and the chipboard is being cut, weed the buffalo plaid Iron On, and press it on to the canvas. I used the back side of the canvas because I didn’t want to press onto the gesso treatment on the front of the canvas.
Fifth Step
At this point, your paint is still drying, and the chipboard is still being cut, so kick your feet up and binge watch some Hallmark Channel Christmas Movies.
Sixth Step
Once the chipboard is cut, paint it with the remaining paint mixture, and allow to dry.
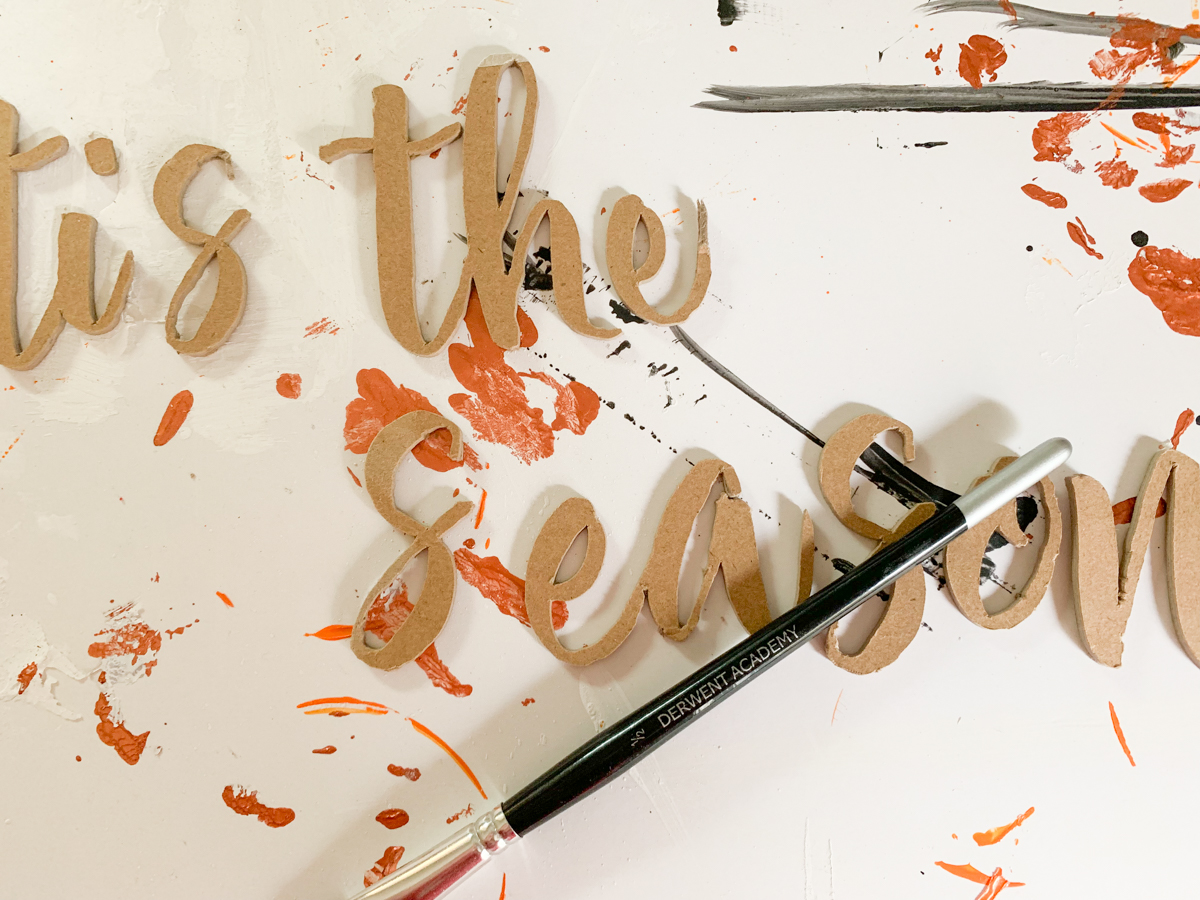
Seventh Step
While the chipboard is drying, reattach the canvas to the original front side of the frame. Trim off any excess canvas with the True Control Knife.
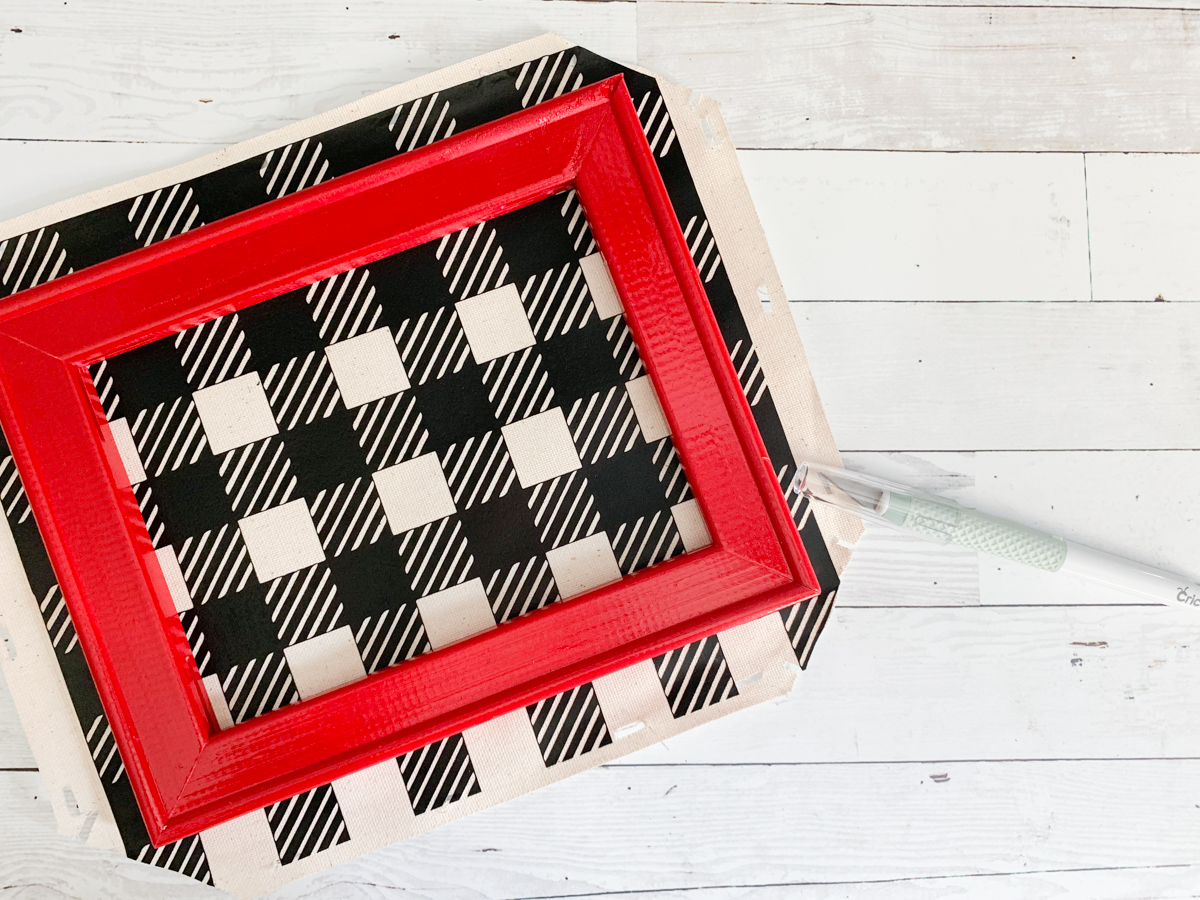
Eighth Step
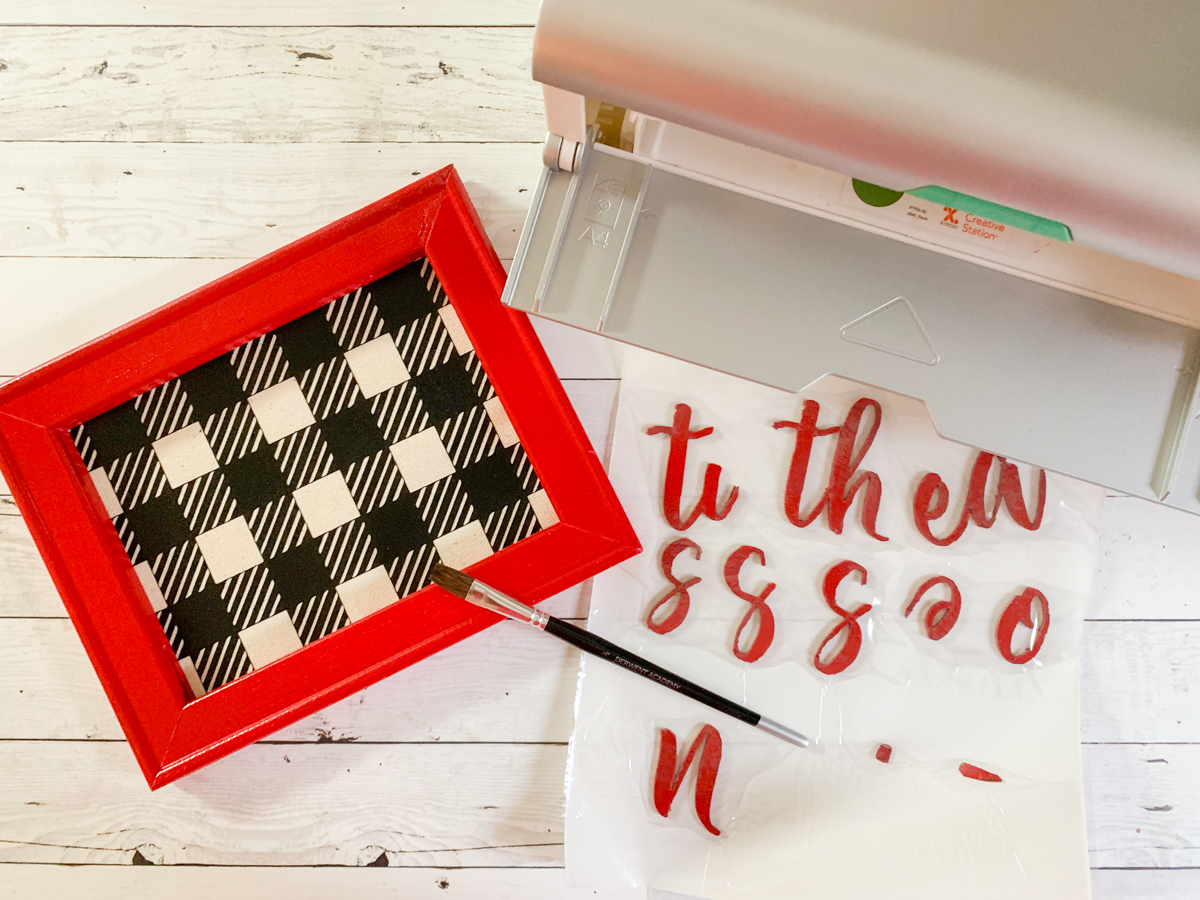
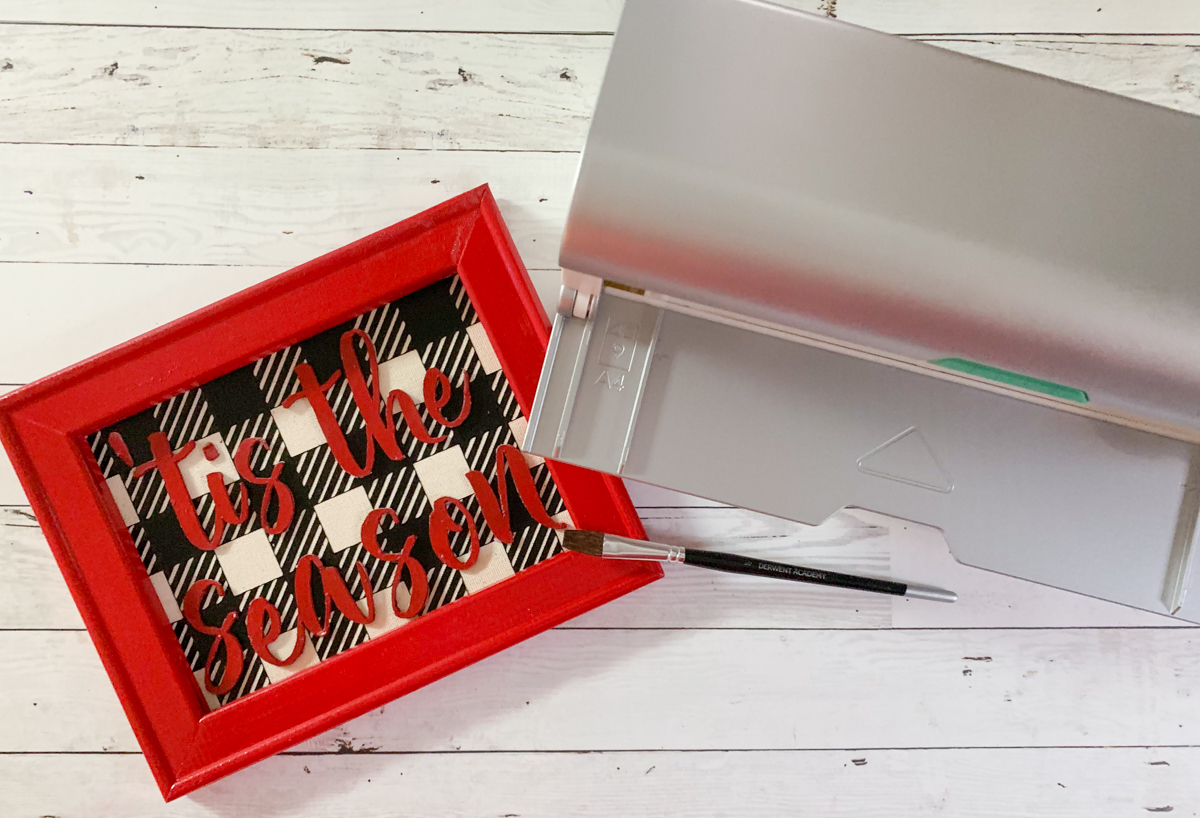
After the chipboard has fully dried, run each letter through the Xyron Creative Station, and stick on to the canvas.
Optional Ninth Step
You can add hooks or ribbon to the back to hang the sign, or simply stand it up on a shelf.
If you liked this project, be sure to check out these as well.
Tags : Christmas, Derwent, Derwent Academy, Everyday Party Magazine Shop, Holiday, SVG, Tis the Season, Xyron, Xyron Blog Team, Xyron Blogger


[…] DIY Holiday Reverse Canvas […]