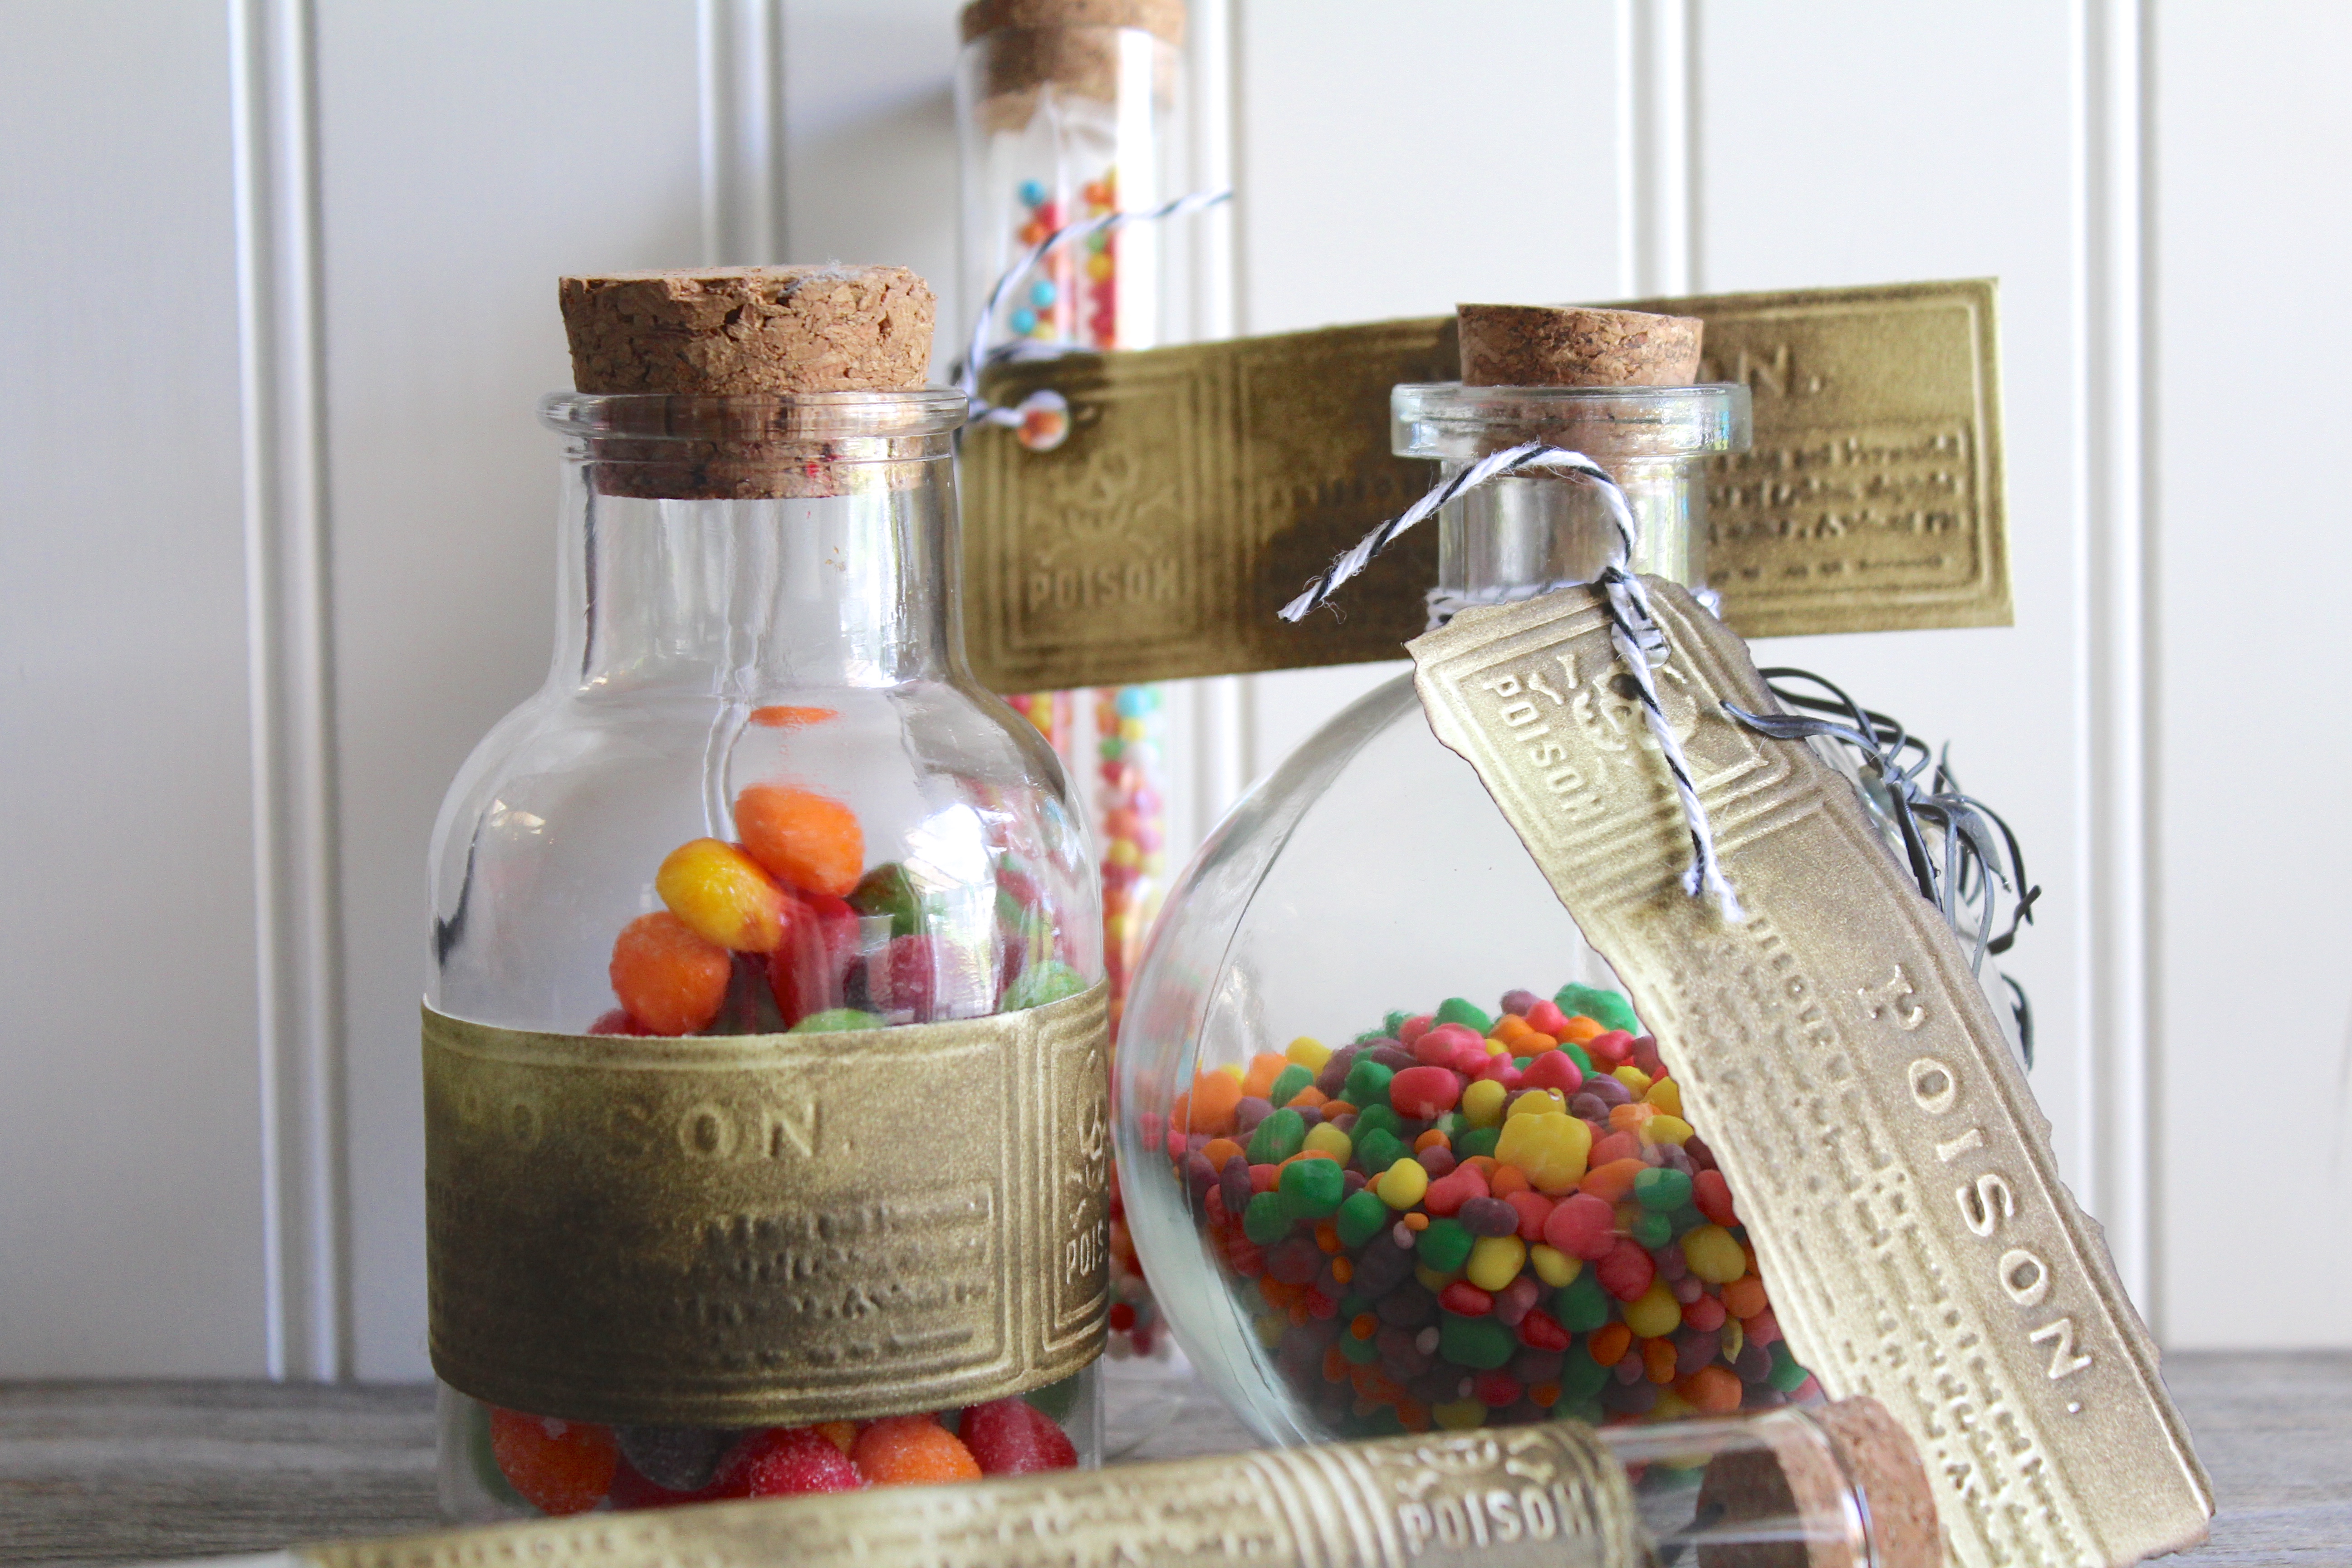
Simple 5 Minute DIY Poison Bottle Labels
*This review is based strictly on my opinion. Others may have a different opinion or experience with the product listed above. I was provided the sample free of charge by the company or PR agency and I have given my honest opinion. No other type of compensation was received for this review. *
* If you decide to make a purchase through my links, I will be paid a small commission for it. This doesn’t cost you anything additional. These commissions help to keep the rest of my content free, so thank you!*
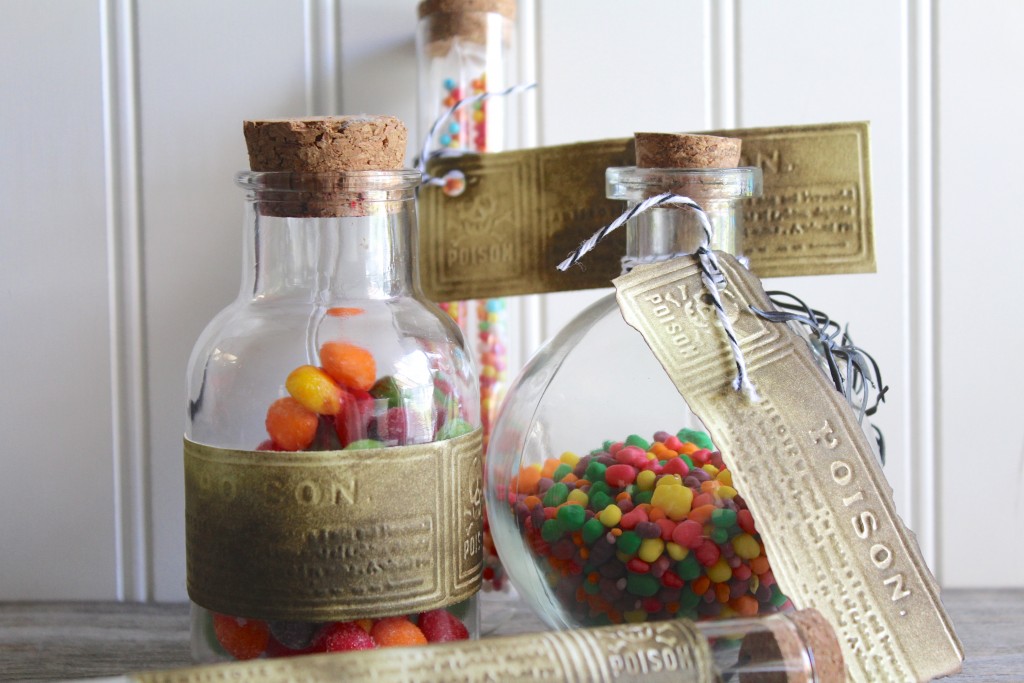
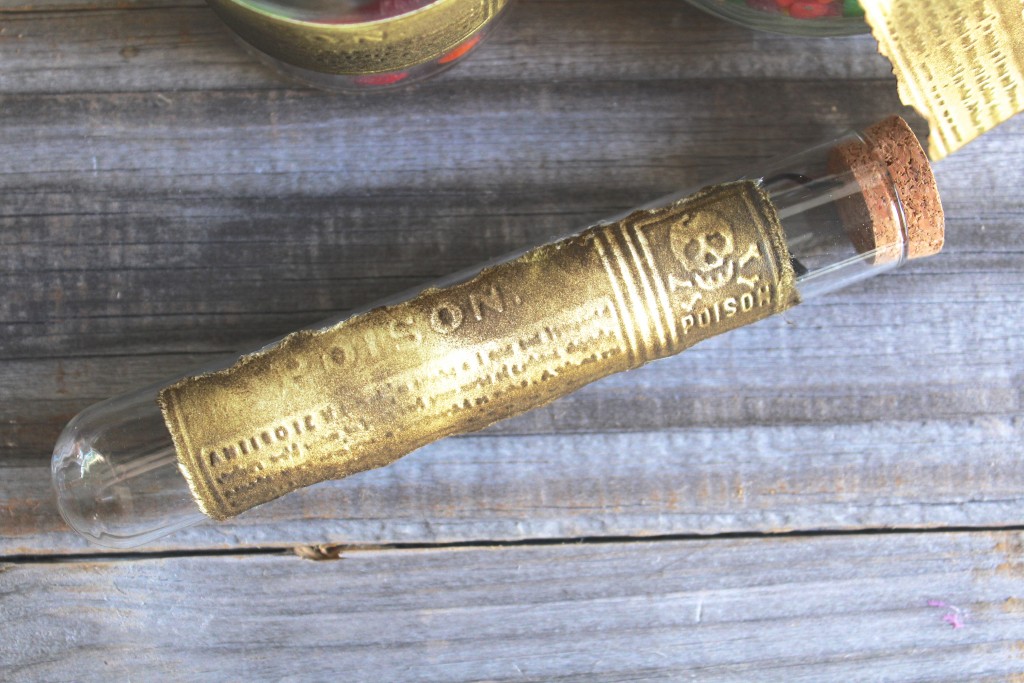
Simple 5 Minute DIY Poison Bottle Labels. Five minutes, and five items to make these! I love being able to change my holiday decor easily and affordably…I also like making party favors that no one else will have, and fit the party theme. These poison bottles are perfect decor AND party favors.
Supplies:
Sizzix Big Shot and Cutting Pads (included with Sizzix Big Shot)
Sizzix Texture Fades Embossing Folder Poison Labels
Paper
Glass Jars or Test Tubes (I got the round jar at Target, and the test tubes from Michaels)
Distressing Ink and Make Up Sponges
Optional: Spiders, Candy, and an Aim ‘N Flame, Tape, Hot Glue, Baker’s Twine
Now, I know a Sizzix is not a cheap investment and some of the dies are very expensive, but, I want to just talk about it for a quick minute. The machine is about $1oo, and I have used it a TON. My kids use it, my sister uses it, I have one at my office. They are great for a quick project. No computer, no power…but you can’t resize anything either. As a crafter and party girl, I feel like it is a totally worthwhile investment. This project took me longer to photograph than it did to make, and I would not have been able to make anything close to this cool without my Sizzix.
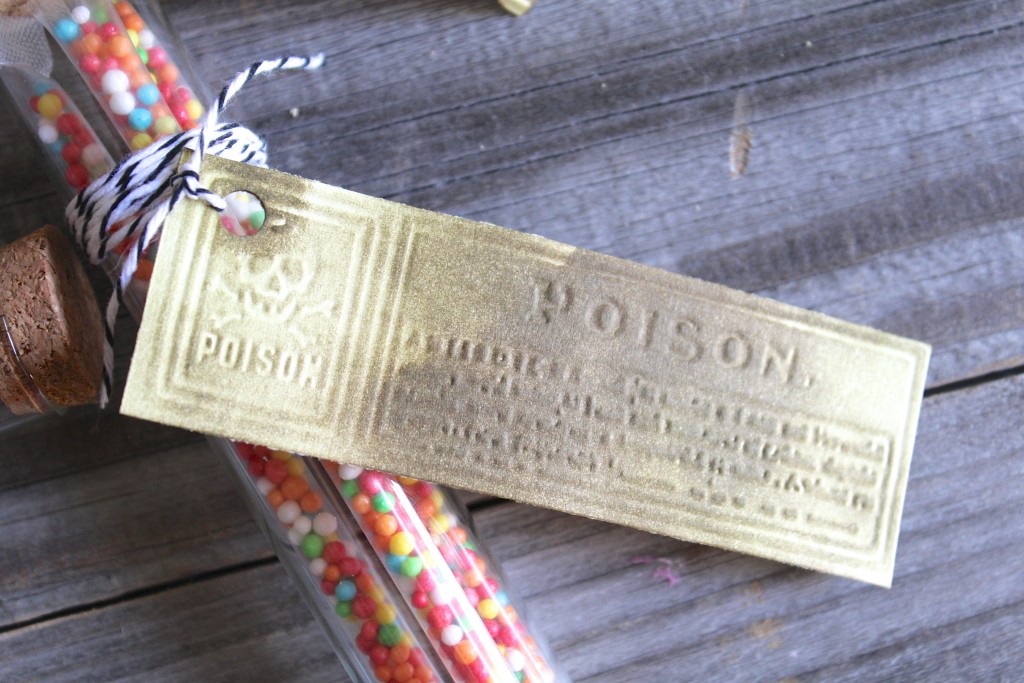
To make 4 poison labels, make a Sizzix sandwich; Sizzix Accessory – Multipurpose Platform, Extended, Sizzix Accessory – Cutting Pads, Standard, Sizzix Texture Fades Embossing Folder – Poison Labels with paper in between, and the second cutting pad on top. Roll it through the Sizzix Big Shot. Cut the labels to separate.
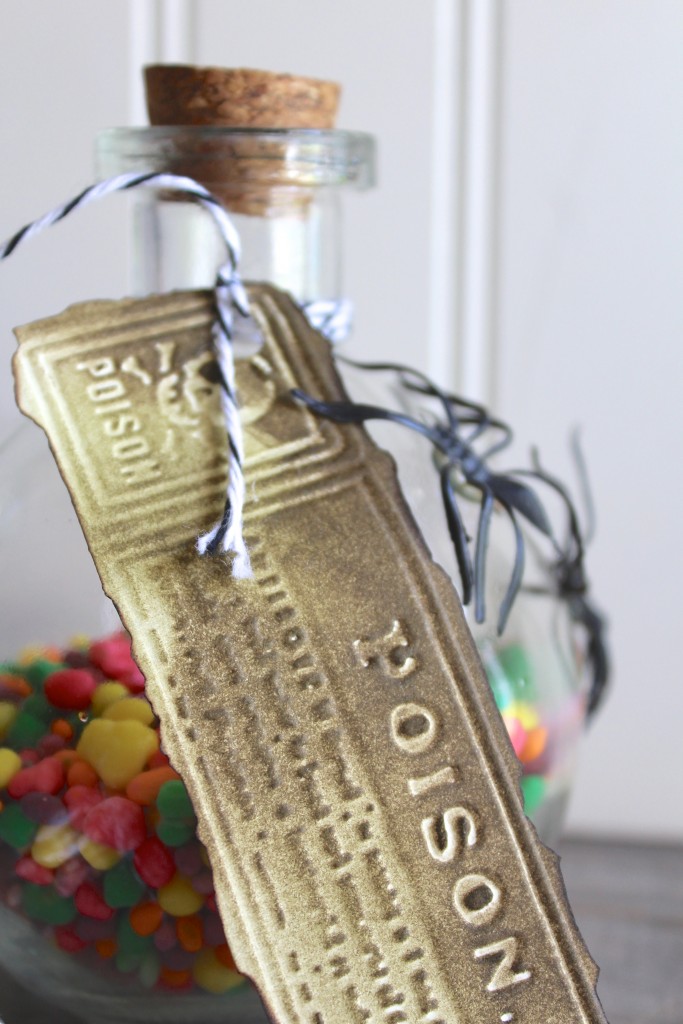
This is where you can be totally creative! I used Tim Holtz distressing ink on a make up sponge to age the labels. Some of the labels I tore the edges, and I burned the edges of one.
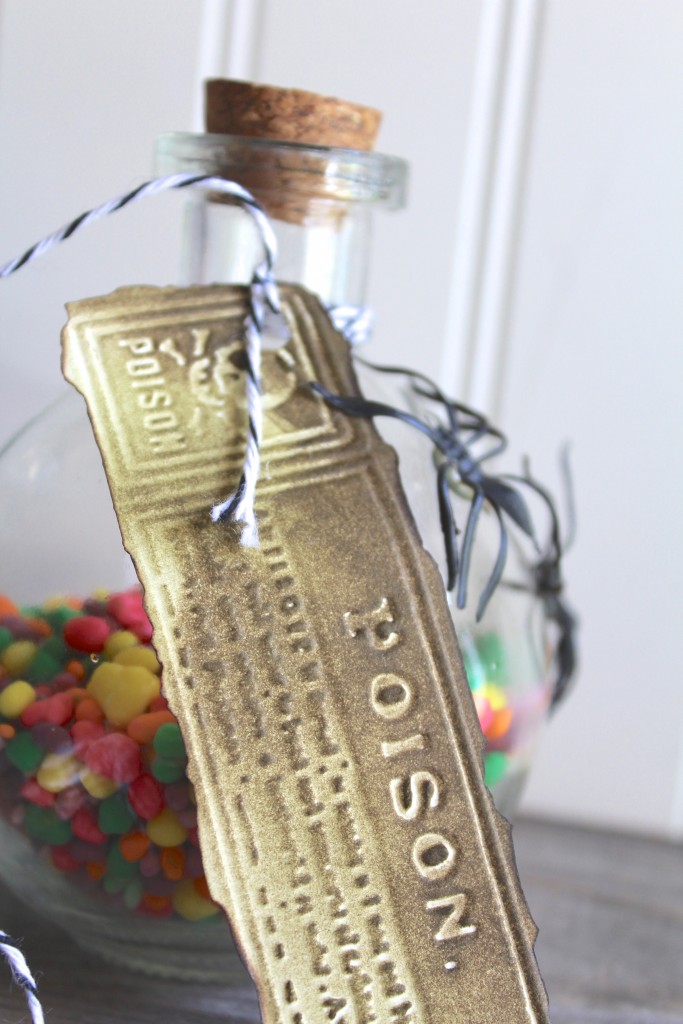
Once I was happy with the look of the labels, I added them to my jars and test tubes. I tied a few on with black baker’s twine, and I glued/taped a few on. I added Sour Skittles and Nerds candies to the jars, and candy tubes from Oh Nuts and plastic spiders from Oriental Trading Company to the test tubes. Just for fun, I hot glued a few spiders to the outside of one of the glass jars. My craftier son noticed them right away and loved it!
Tags : Candy, DIY, Halloween, Oh Nuts, Oriental Trading Company, Poison Labels, Sizzix, Tim Holtz

