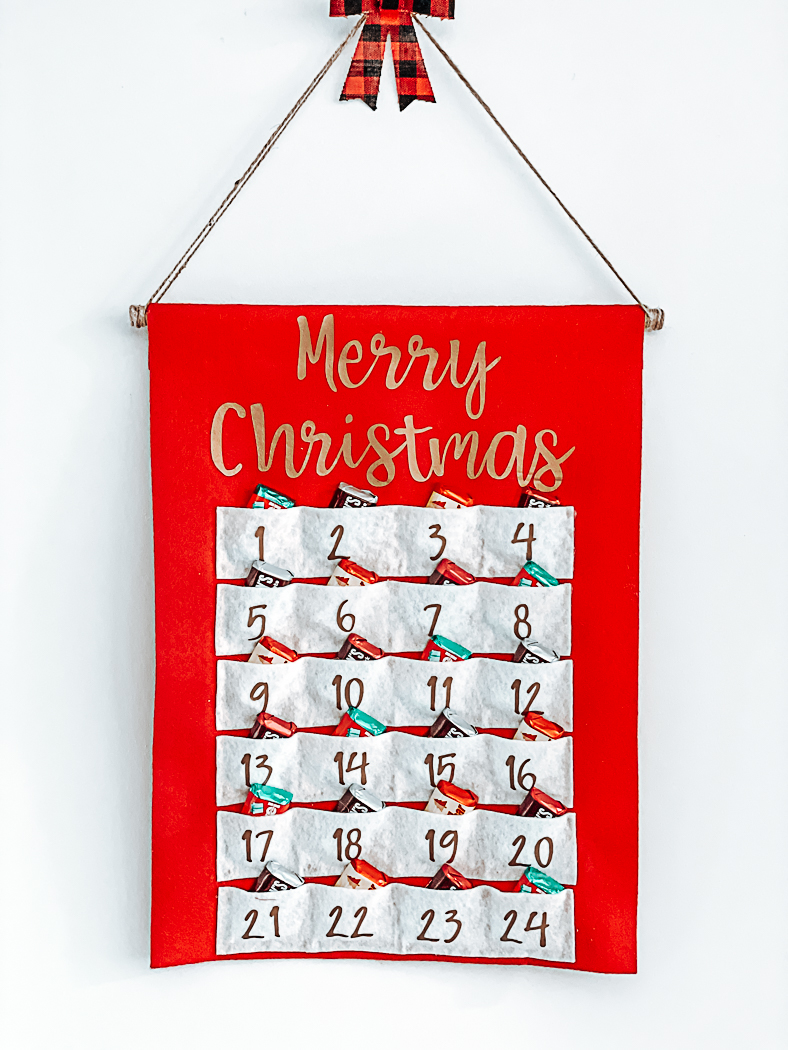
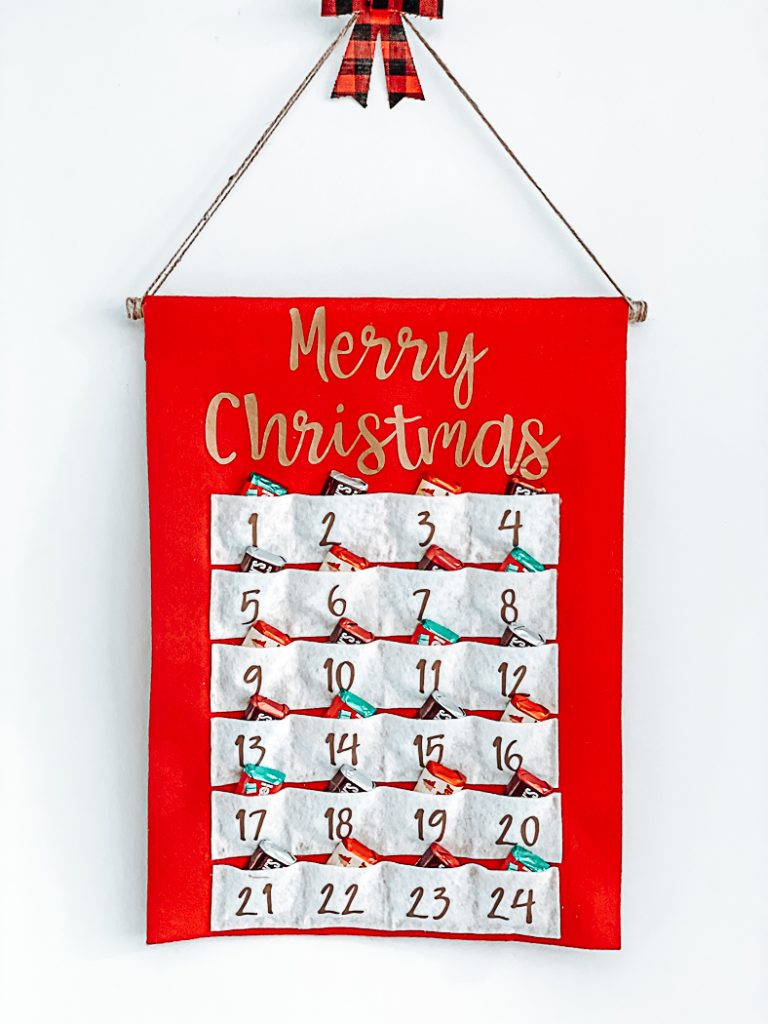
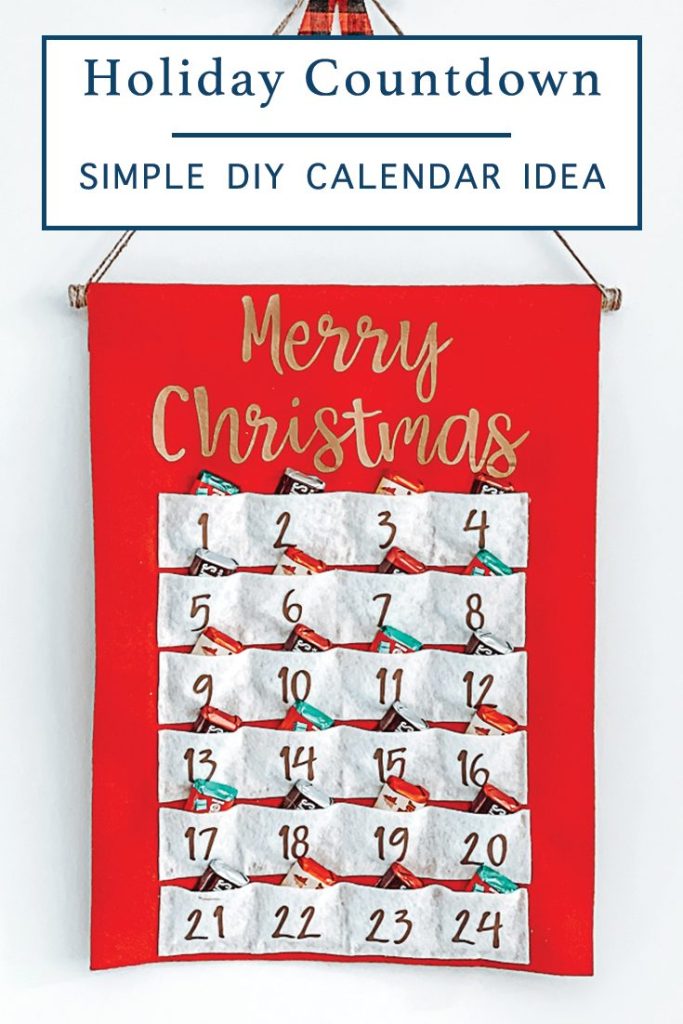
I mentioned before that we rented a small apartment for our son to live in while he plays semi-pro hockey. And, I have mentioned how much he misses home. So, I have tried to make the space feel as much like home as possible for him, especially during the holidays. And, since one of his favorite holiday traditions is our candy filled countdown calendar, I knew I needed to make a simple DIY advent calendar for his apartment.
This review is based strictly on my opinion. Others may have a different opinion or experience with the product listed above. I was provided the sample free of charge by the company or PR agency and I provided my honest opinion. No other type of compensation was received for this review.
If you decide to make a purchase through my links, I will be paid a small commission for it. This doesn’t cost you anything additional.
Advent Calendars
I have made a couple of countdown calendars for our home over the years, but the boys’ favorite is a duplicate version of the one my sister and I had when we were growing up. Santa’s elves filled each pocket with a little piece of candy when they filled our shoes for Santa’s birthday.
Make a Simple DIY Advent Calendar
I knew when we rented the apartment for our son that I would have to make him his own version of our family advent calendar. I also knew I would need to make it on a very slim budget. (Keeping two households running is very expensive) And, I am very happy to share that this sweet countdown calendar cost me about $5 to make, and was done in about an hour!
If you are crafty, you probably have most of the supplies you need already, but if you don’t just click the links below to purchase all of the supplies!
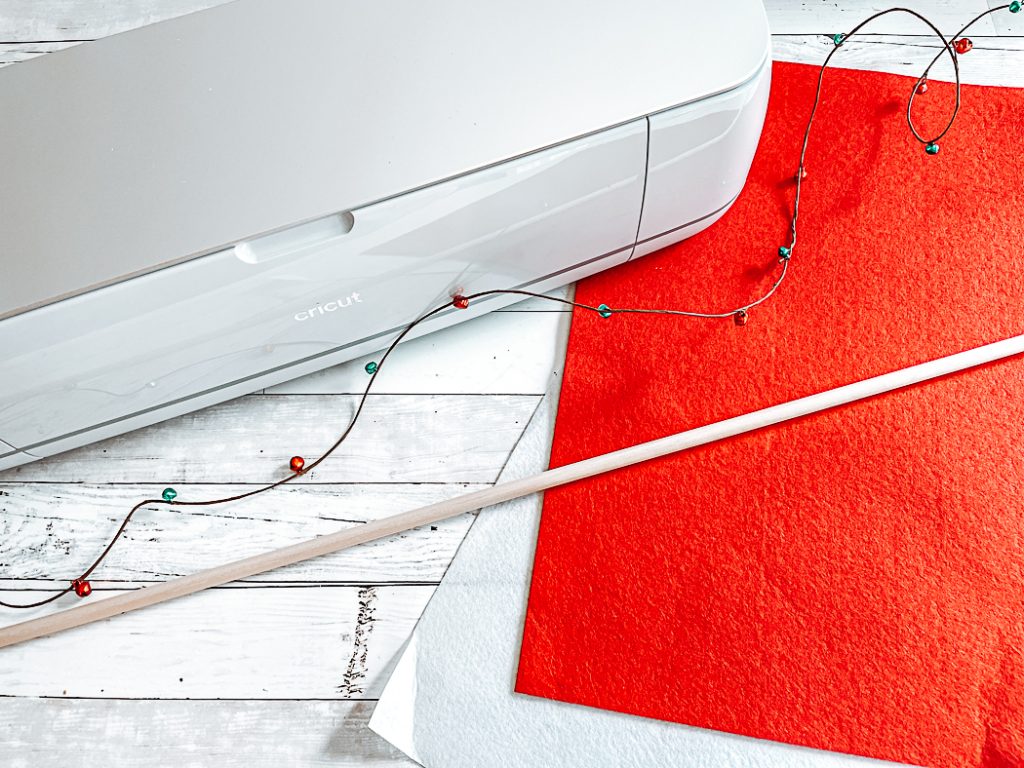
- Advent Calendar Cut File – Cricut Design Space
- Cricut Maker
- Rotary Blade
- Felt
- Iron On
- EasyPress
- Hot Glue
- Wooden Dowel Rod
- Ribbon or Twine
- Candy
I used a large piece of felt I purchased at the local craft store as the base for this project. It was the perfect size. I also used Cricut felt for the pockets.
Felt Countdown Calendar DIY
Start by making sure the cut file is sized to fit your base piece of felt. Once it is the correct size, send the files to be cut. Use the rotary blade to cut the felt, and the standard blade to cut the HTV.
Then, measure and mark the center of the base piece of felt and add the text across the top with your EasyPress.
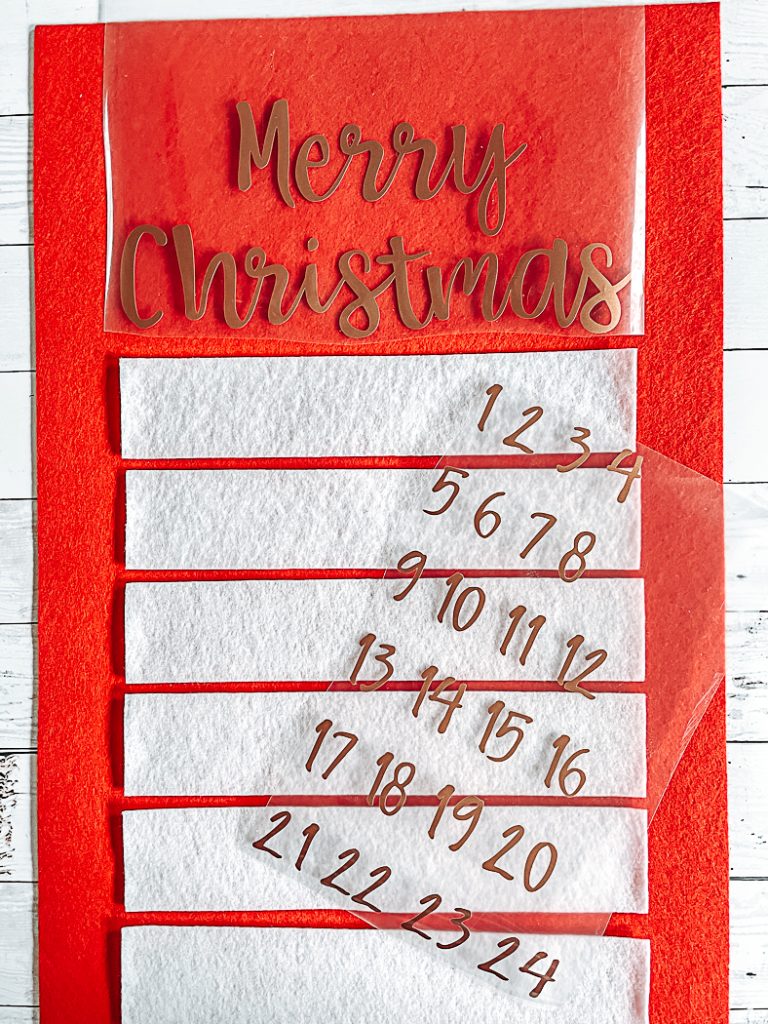
Next, fold the felt strips into 4 equal sections, and press one number for each day of the month on each section. There are 6 felt strips, folded into 4 sections each, so you will have 24 pockets. I used painter’s tape to mark the center line and to hold the pocket strips in place.
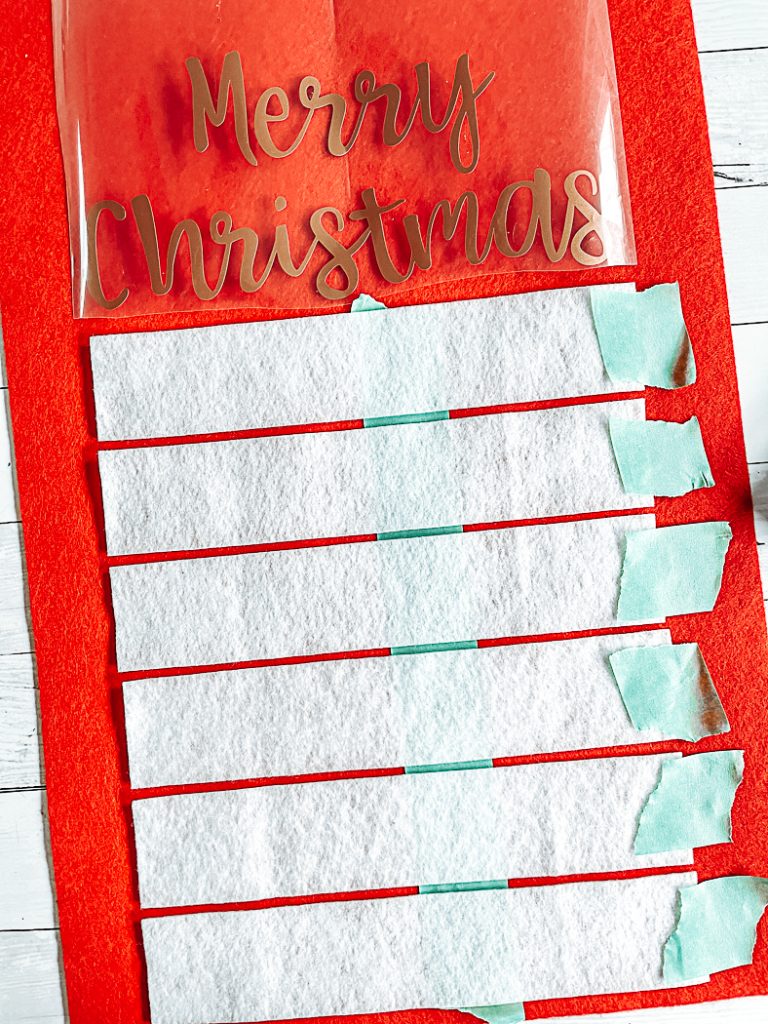
Now, use hot glue to secure the felt strips to the base piece of felt. Be sure to add hot glue to the folded sections so each day has it’s own pocket.
Then, flip the calendar over and glue a little pocket for the dowel rod to slide through. Now, add ribbon or twine to the ends of the dowel rod, and secure it with hot glue.
Finally, fill each pocket with a small piece of candy!
If you liked this Simple DIY Advent Calendar post, be sure to check out these holiday DIY’s too!
25 Personalized Holiday Projects with Cricut
Tags : Advent, Advent Calendar, Christmas, Cricut, DIY



[…] Simple DIY Advent Calendar […]