Sock Bunny DIY
 Sock Bunny DIY by Sweet Threads Clothing Co. These are the sweetest, most simple to make little bunnies for Easter!
From Michele:
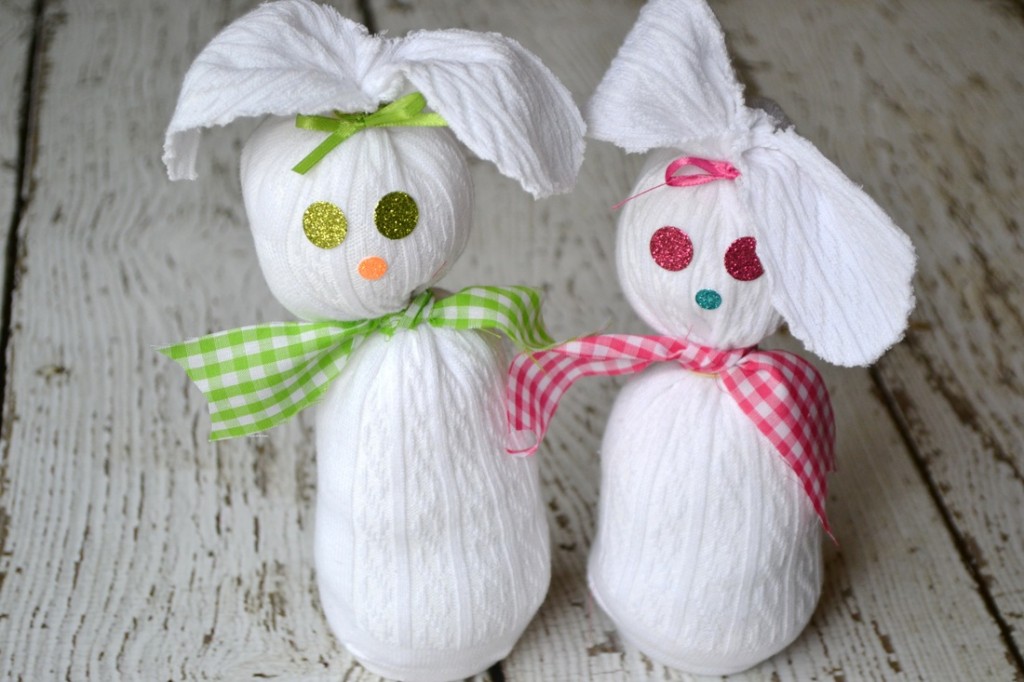
Here come Peter Cottontail!! Let’s get crafty for Easter with this sweet DIY Sock Bunny. This is an easy craft for the kids and our version is no sew and mess free (no glue or paint!) needed.
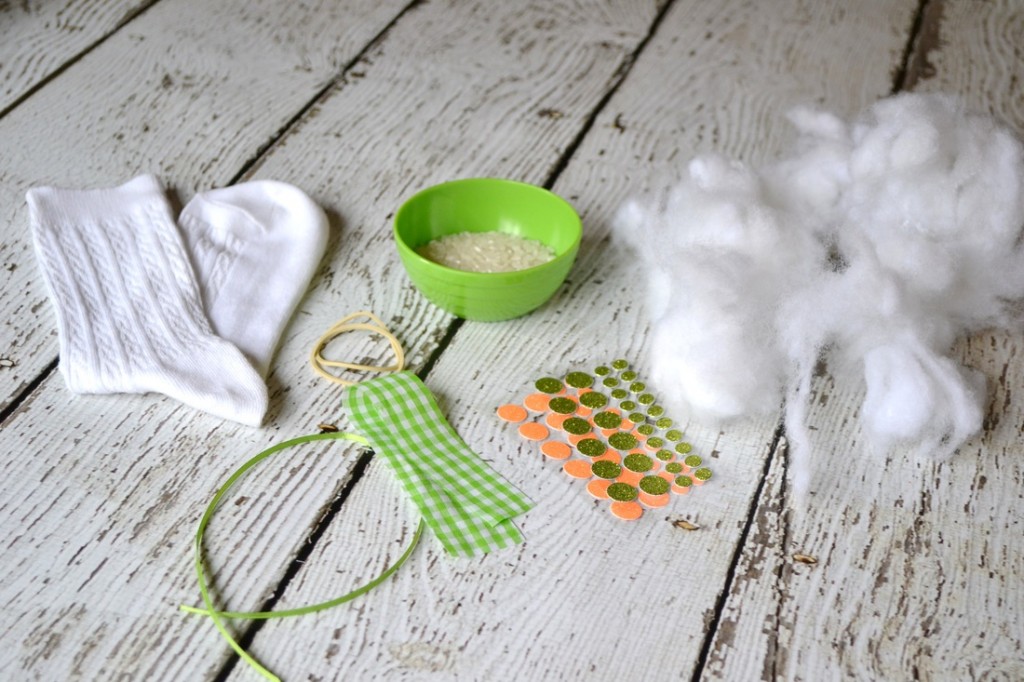
Let’s hop to it! Here is the list of supplies needed to make 1 sock bunny:
– 1 girls crew sock
– poly-fill stuffing
– 1/4 cup of rice or dry beans
– 2 rubber bands
– 1″ piece of scrap fabric
– ribbon
– glitter circle stickers for eyes and nose
*Minus the stuffing, we found all these items at our local Target store.
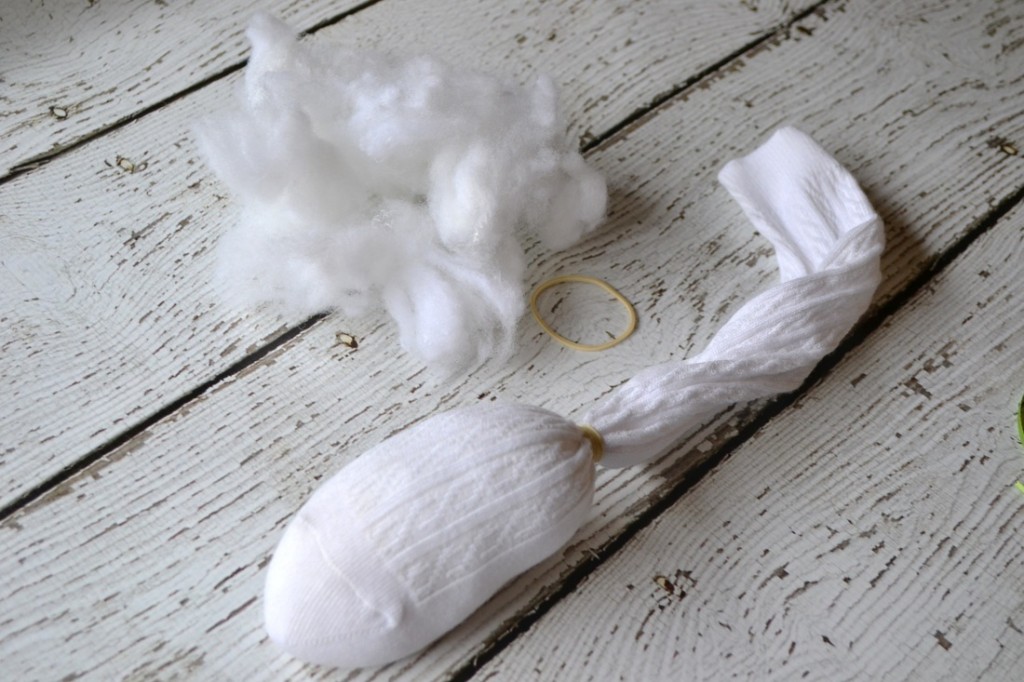
Fill the bottom of your sock with the 1/4 cup of rice. This is used just to make the bunny able to stand. Then fill it with the poly fill and secure with a rubber band. This is the bunny’s body.
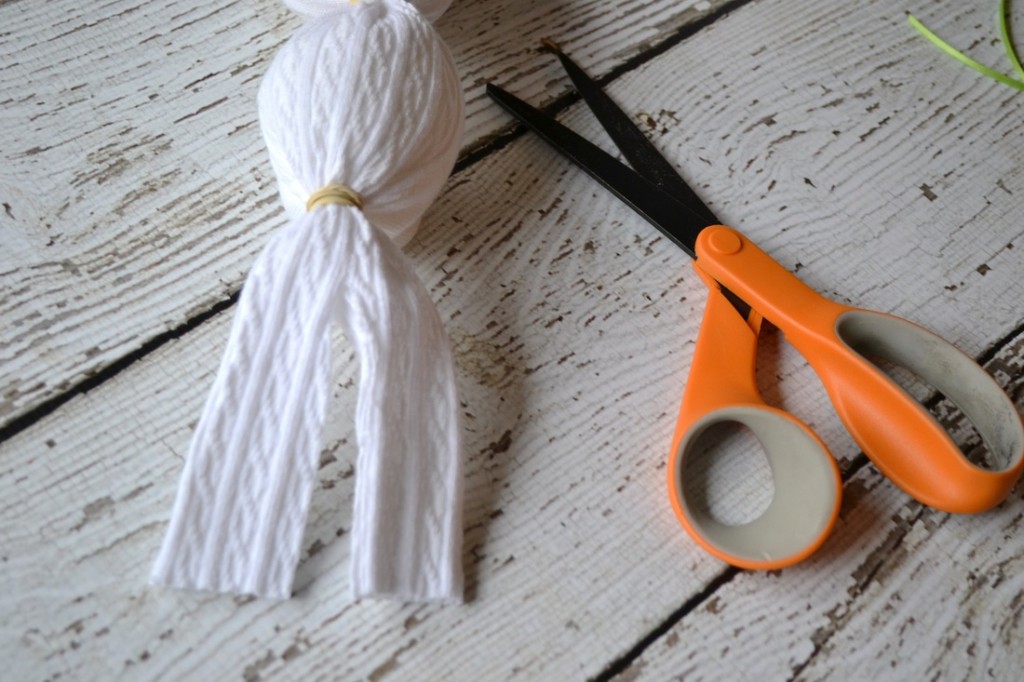
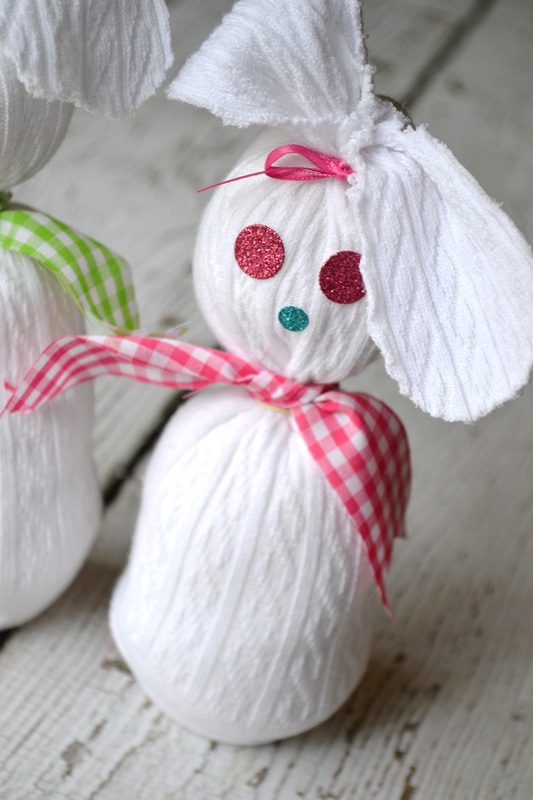
Next, fill enough poly-fill for the bunny’s head. Then secure with a rubber band. Taking a pair of scissors cut down the center of the top of the sock to form two ears.
Then using the scissors, cut to shape them into bunny ears. Now its time to decorate your little sock bunny!
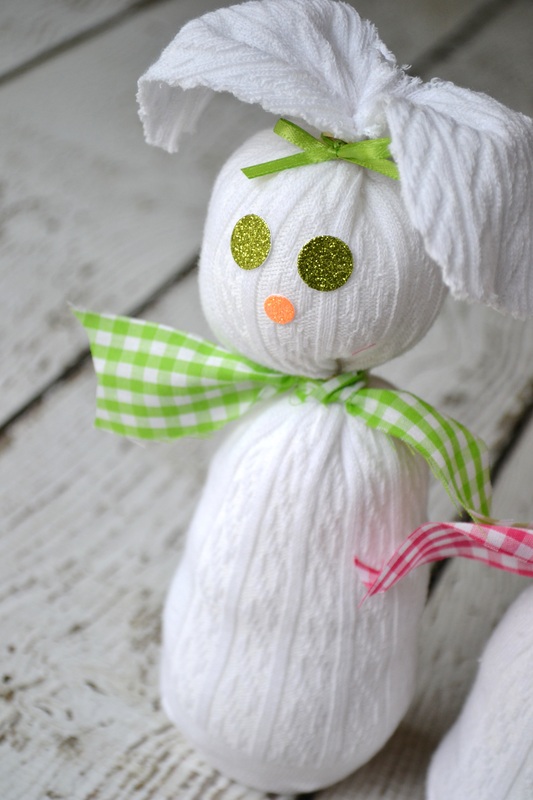
To cover up the rubber bands, we used a ribbon for the top and then a coordinating piece of fabric scrap for the bottom. This is where you can let your kids have some fun and decorate their bunnies. To keep our activity glue-free, we used glitter stickers for the eyes and nose. You can certainly use paint, glue on felt shapes, or use colored permanent markers.
And there you have it! Sweet sock bunnies make great gifts for teachers, neighbors or friends! Add them to your little ones Easter basket or decorate your Easter table with a few! I hope you enjoy making them and Happy Easter!!
Hop over to Michele’s blog for more inspiration! And be sure to follow her on Facebook too!
Tags : Bunny, Craft, DIY, Easter, Sweet Threads Clothing Co.

