Simple Father’s Day gift with Cricut
This review is based strictly on my opinion. Others may have a different opinion or experience with the product listed above. I was provided the sample free of charge by the company or PR agency and I have given my honest opinion. No other type of compensation was received for this review.
If you decide to make a purchase through my links, I will be paid a small commission for it. This doesn’t cost you anything additional. These commissions help to keep the rest of my content free, so thank you!
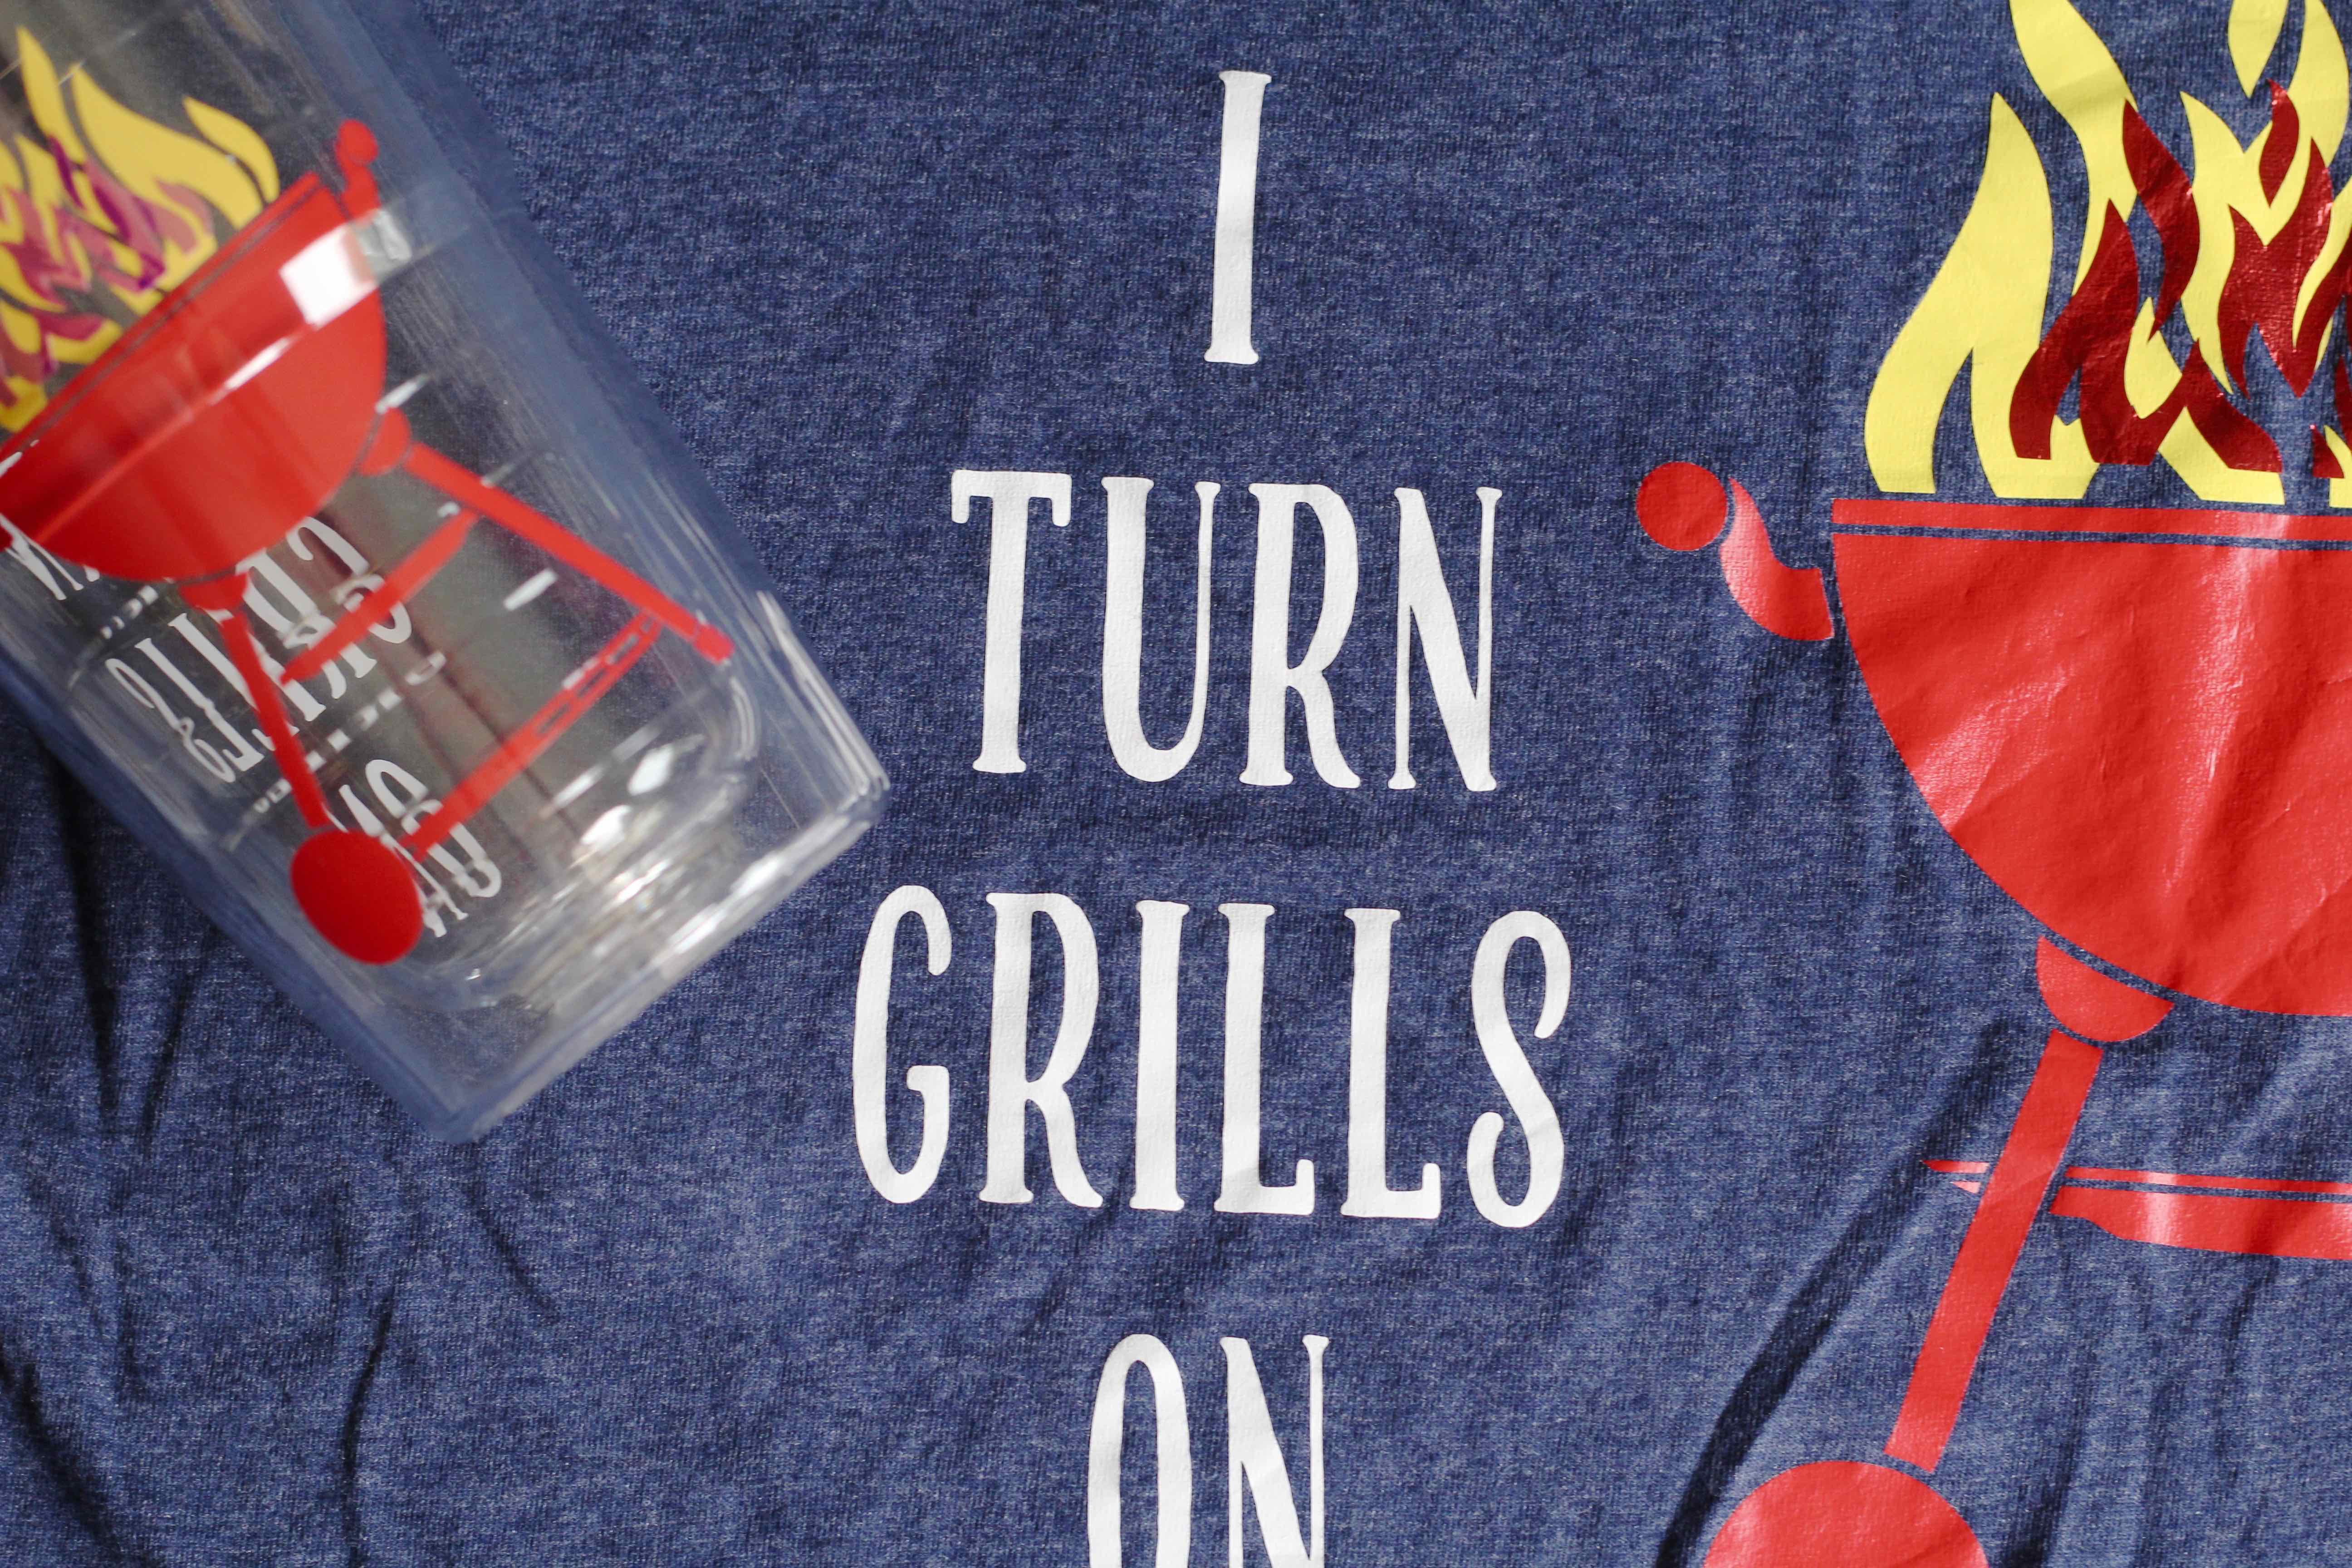
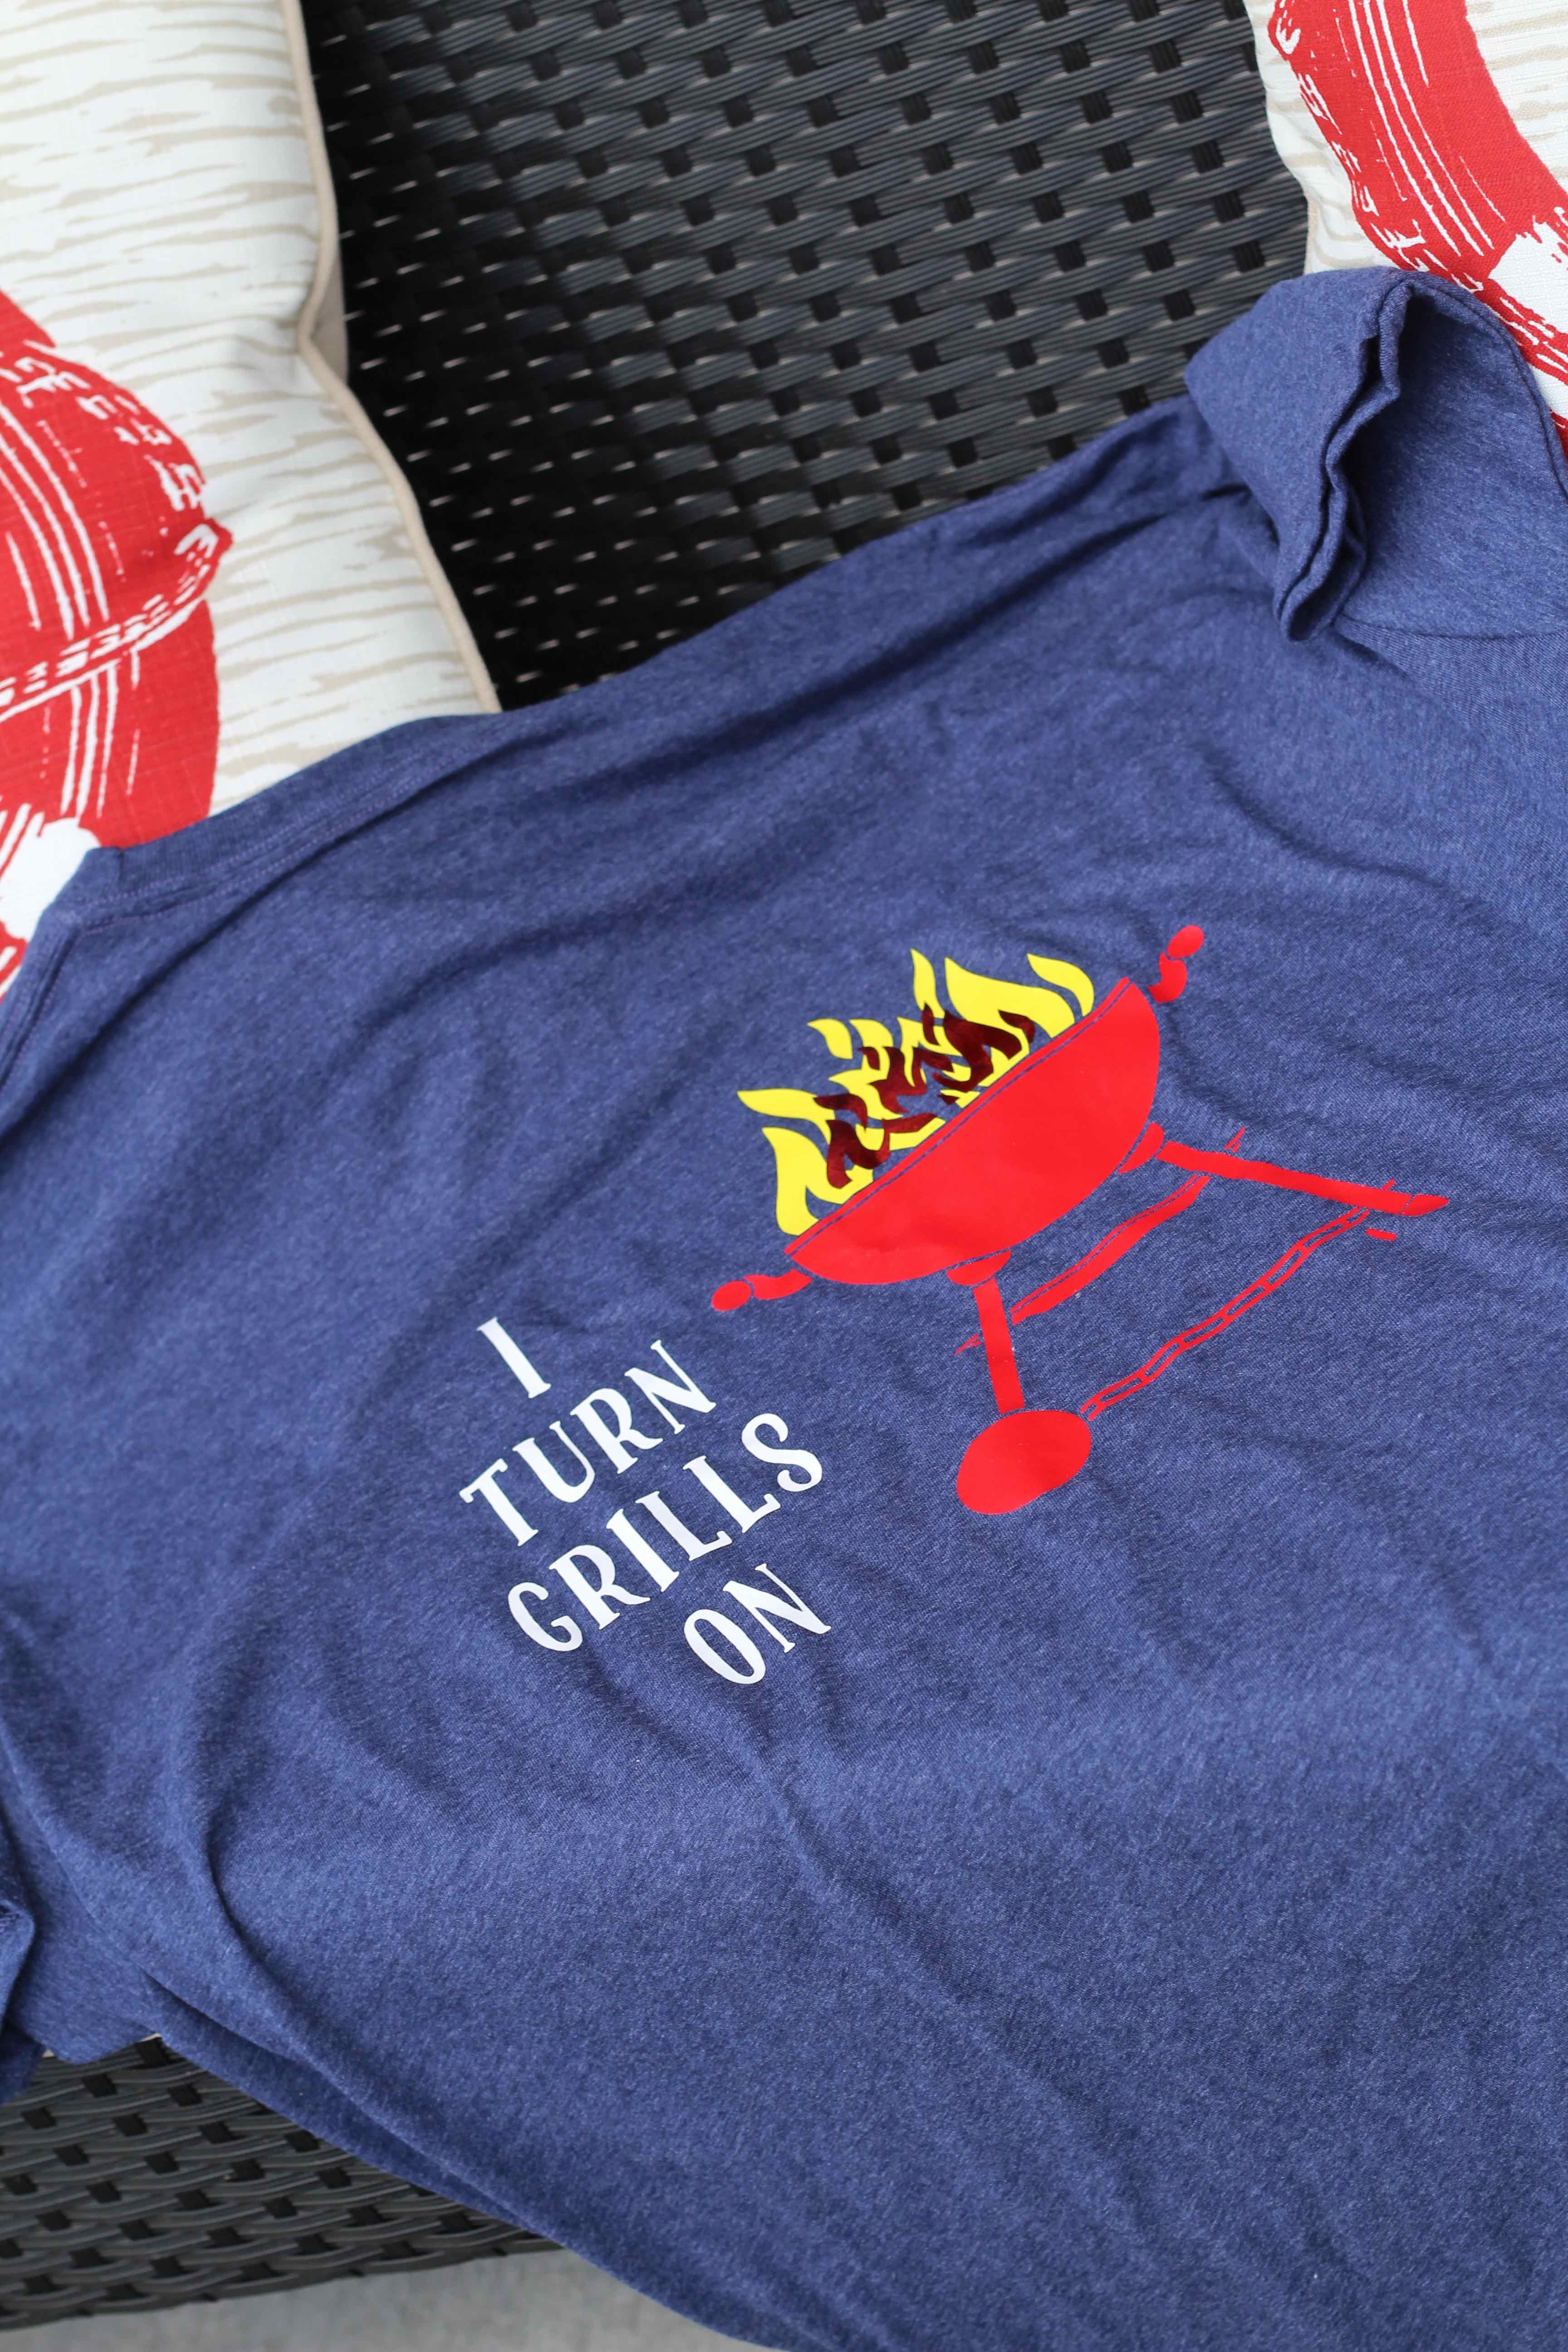
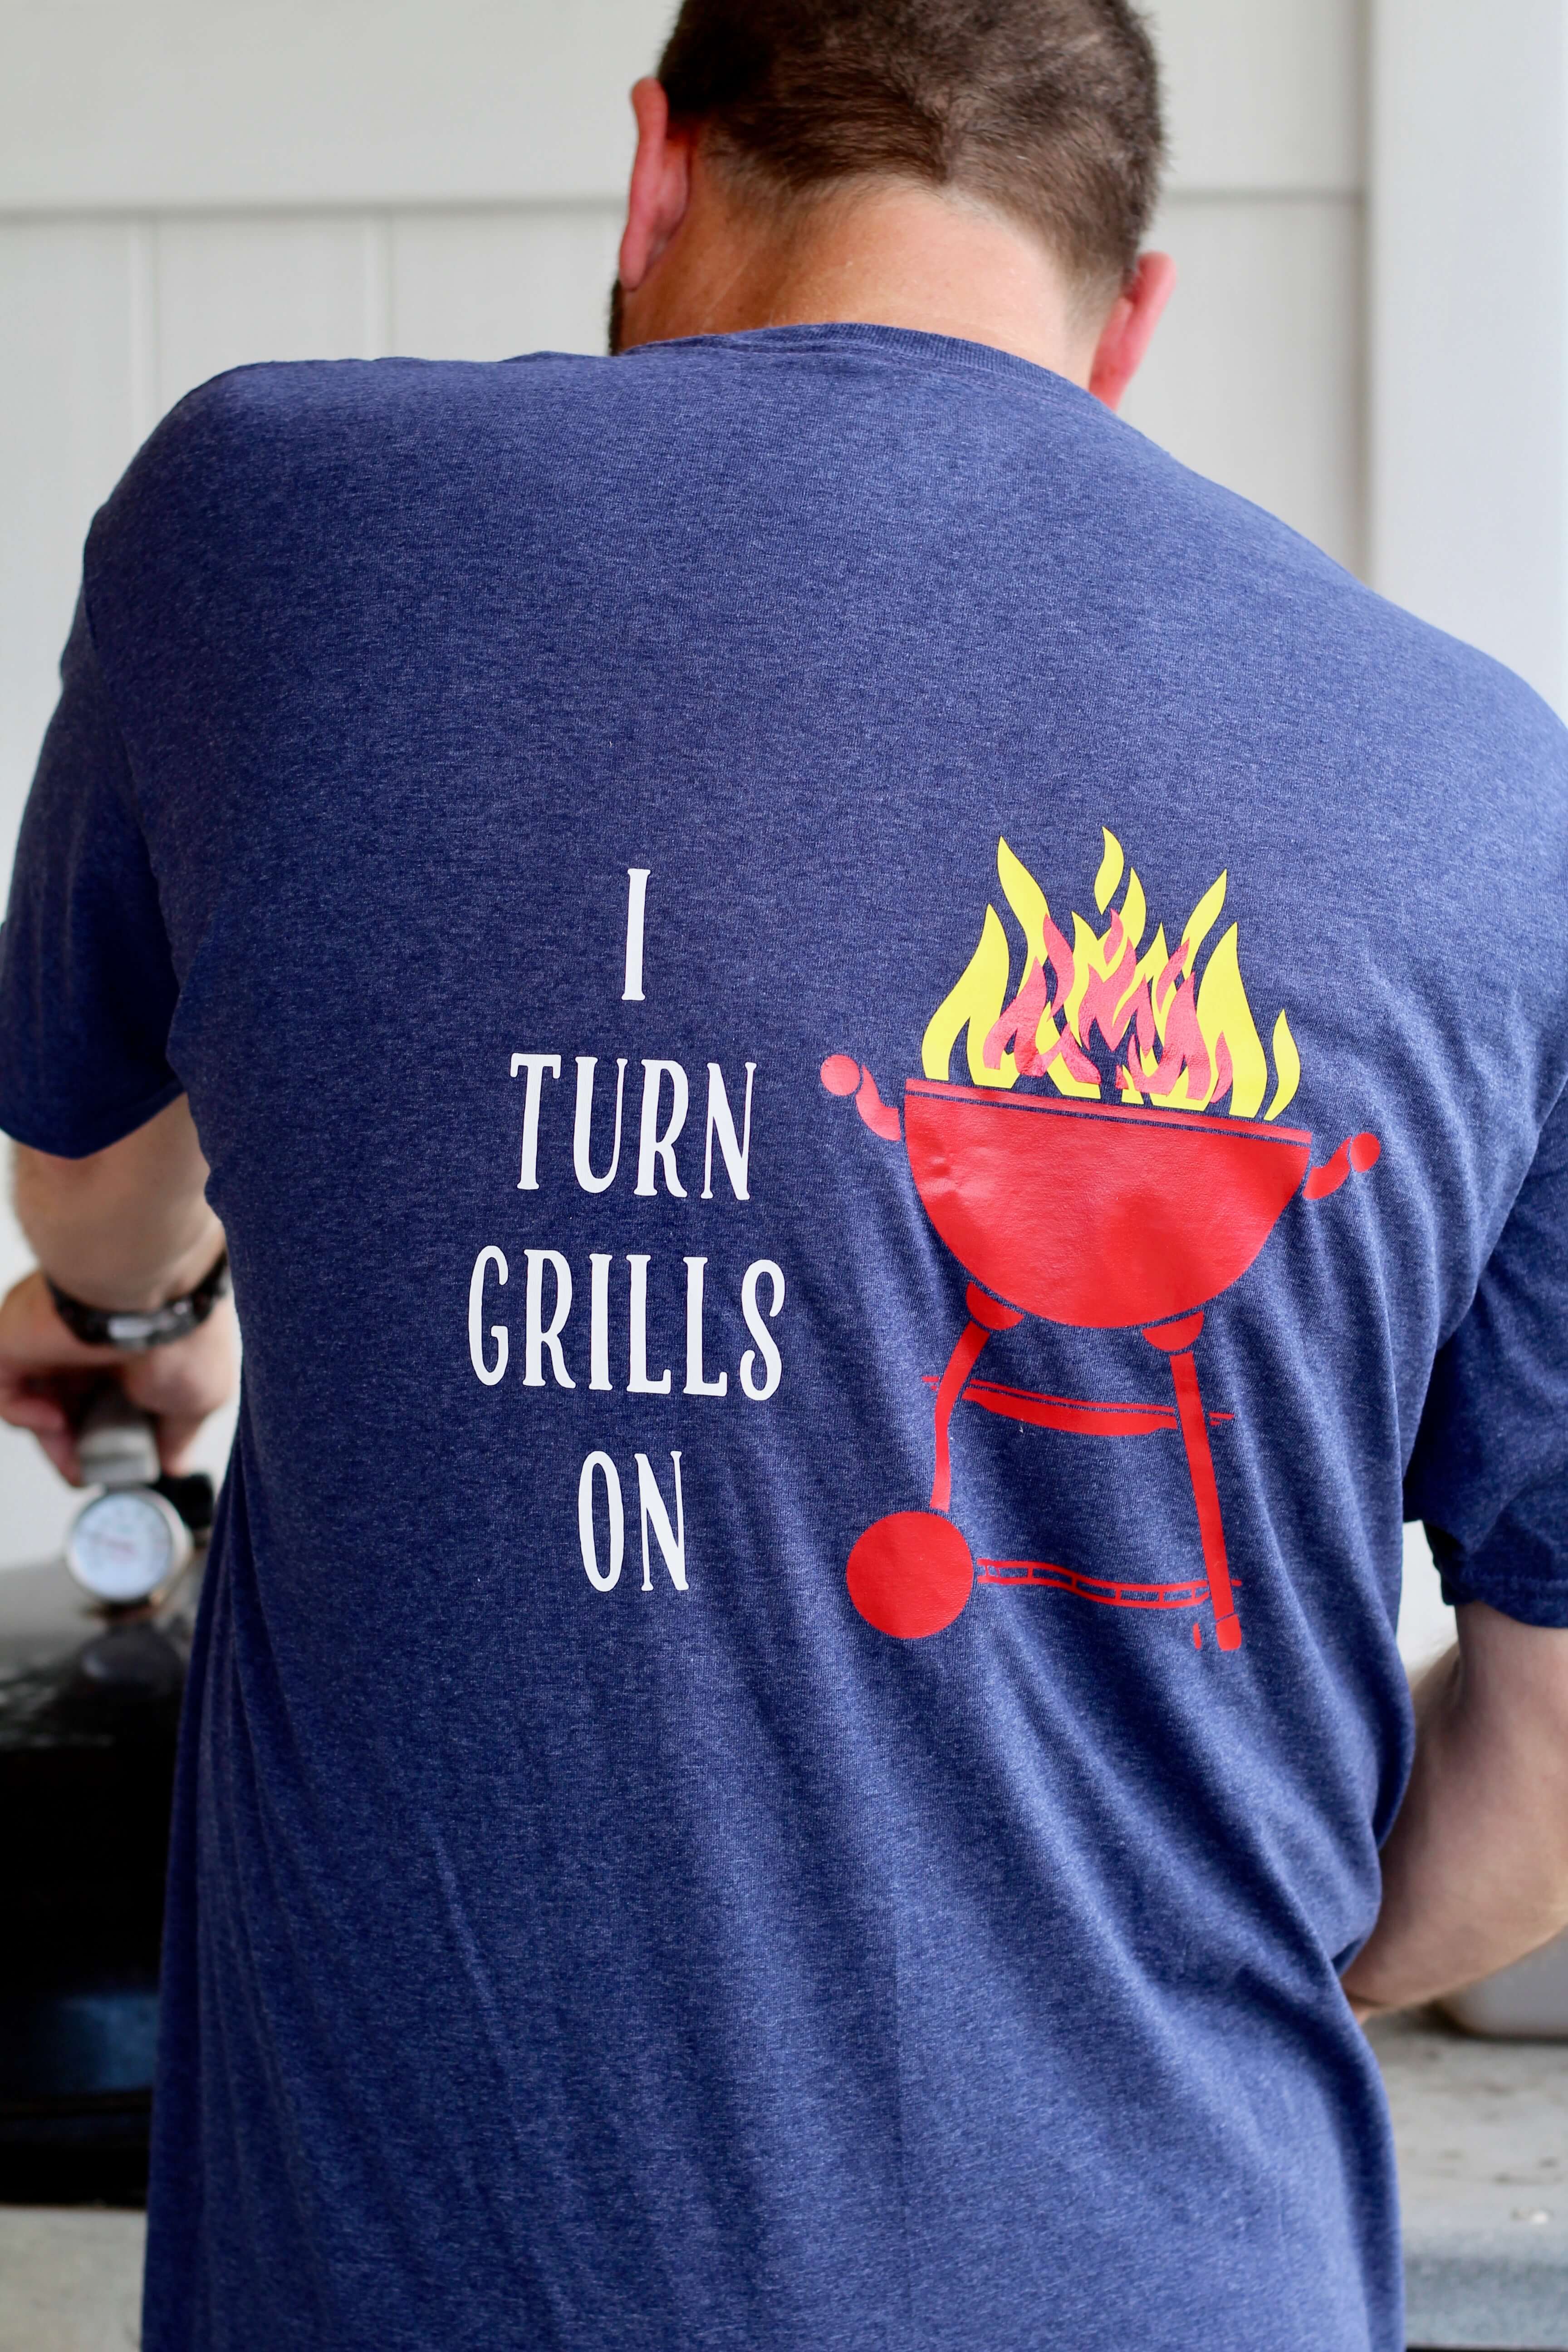
Simple Father’s Day gift with Cricut. At my house, the grill is the hubs’ baby. As in, please wife and kids, do not touch it, like ever. He loves his grill…and I am happy to have him grill us meals anytime he wants. 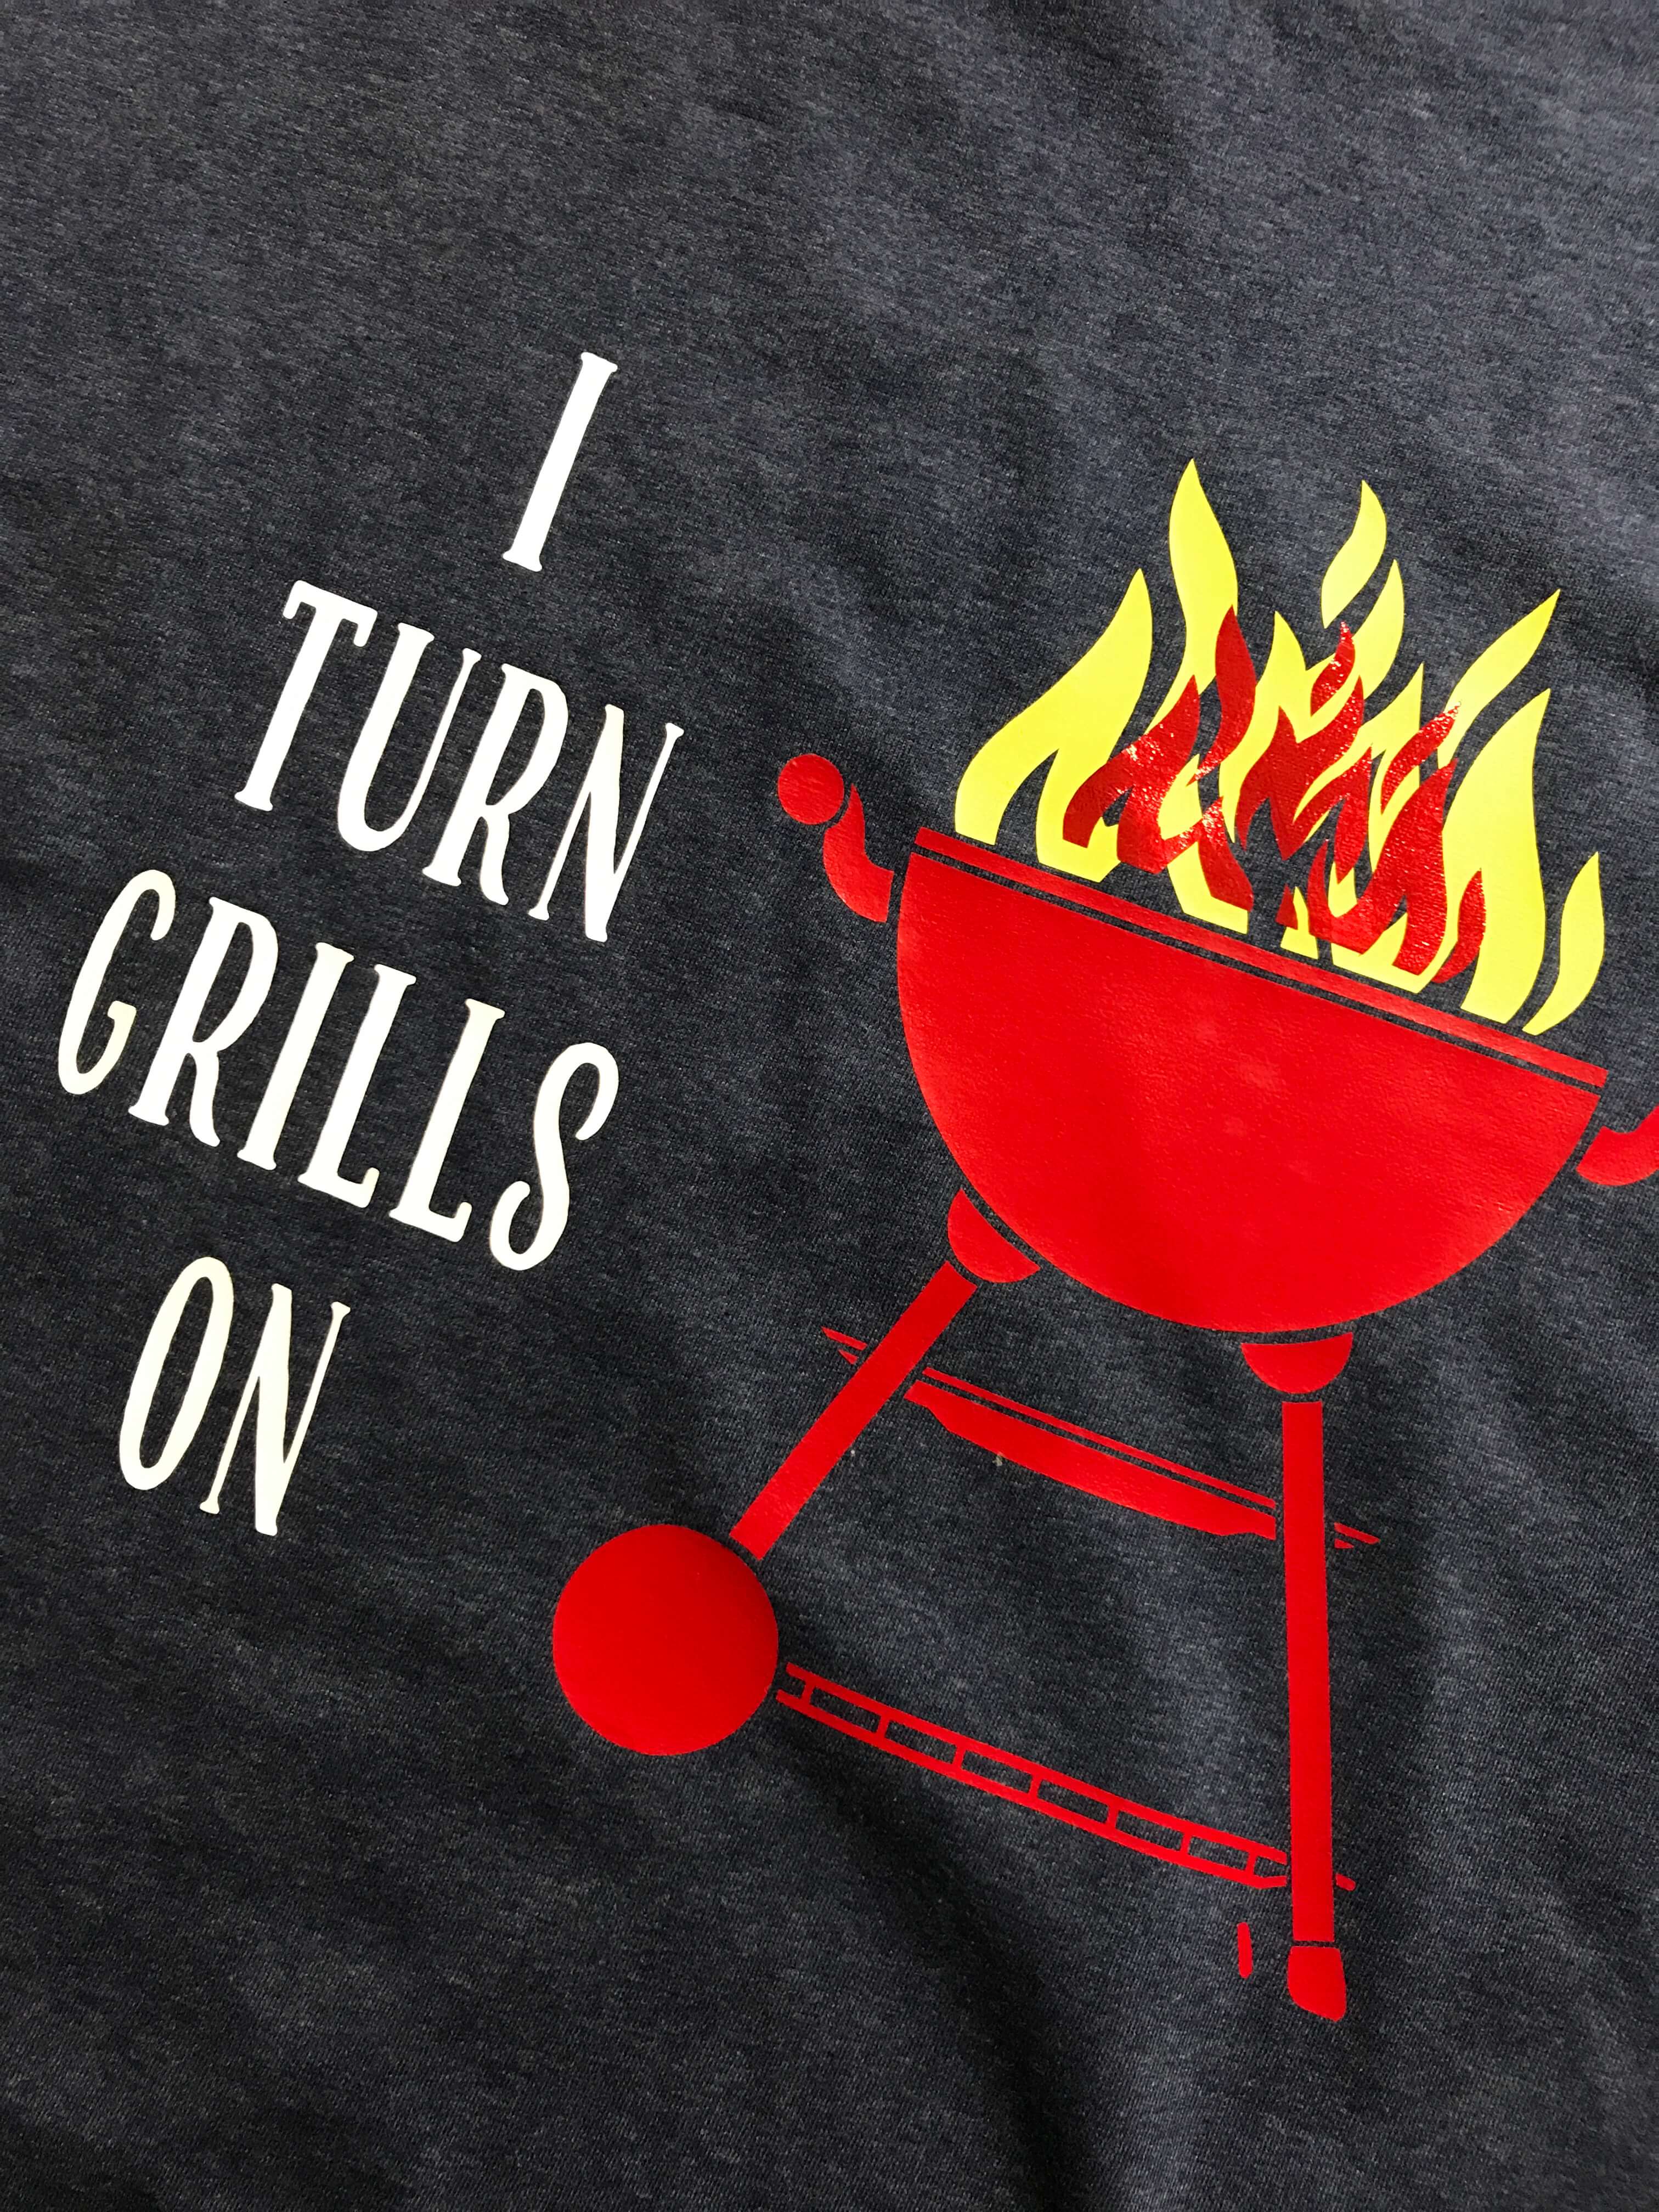 I recently saw something online (and I cannot for the life of me remember where, so if you know who the creator is, please let me know so I can properly give credit) that said, “I turn grills on”. I laughed so hard I snorted. So, I grabbed a shirt and some vinyl and got to work making a shirt for the hubs to wear for our backyard BBQ. Though, it would be perfect for Father’s Day too! While I was cutting the iron on vinyl for the shirt, I cut a second, smaller version from Cricut Vinyl for a Tervis Cup. But, when I was at the Tervis Store for the Father’s Day DIY Cup Event, I saw similar cups already made! If you are in the Central Florida area, I HIGHLY encourage you to attend one of Tervis’ DIY Events. The kids and the adults love being able to make their own cups!
Supplies:
Cricut Access (I used a cut file I bought on ETSY a long time ago, but Cricut has similar)
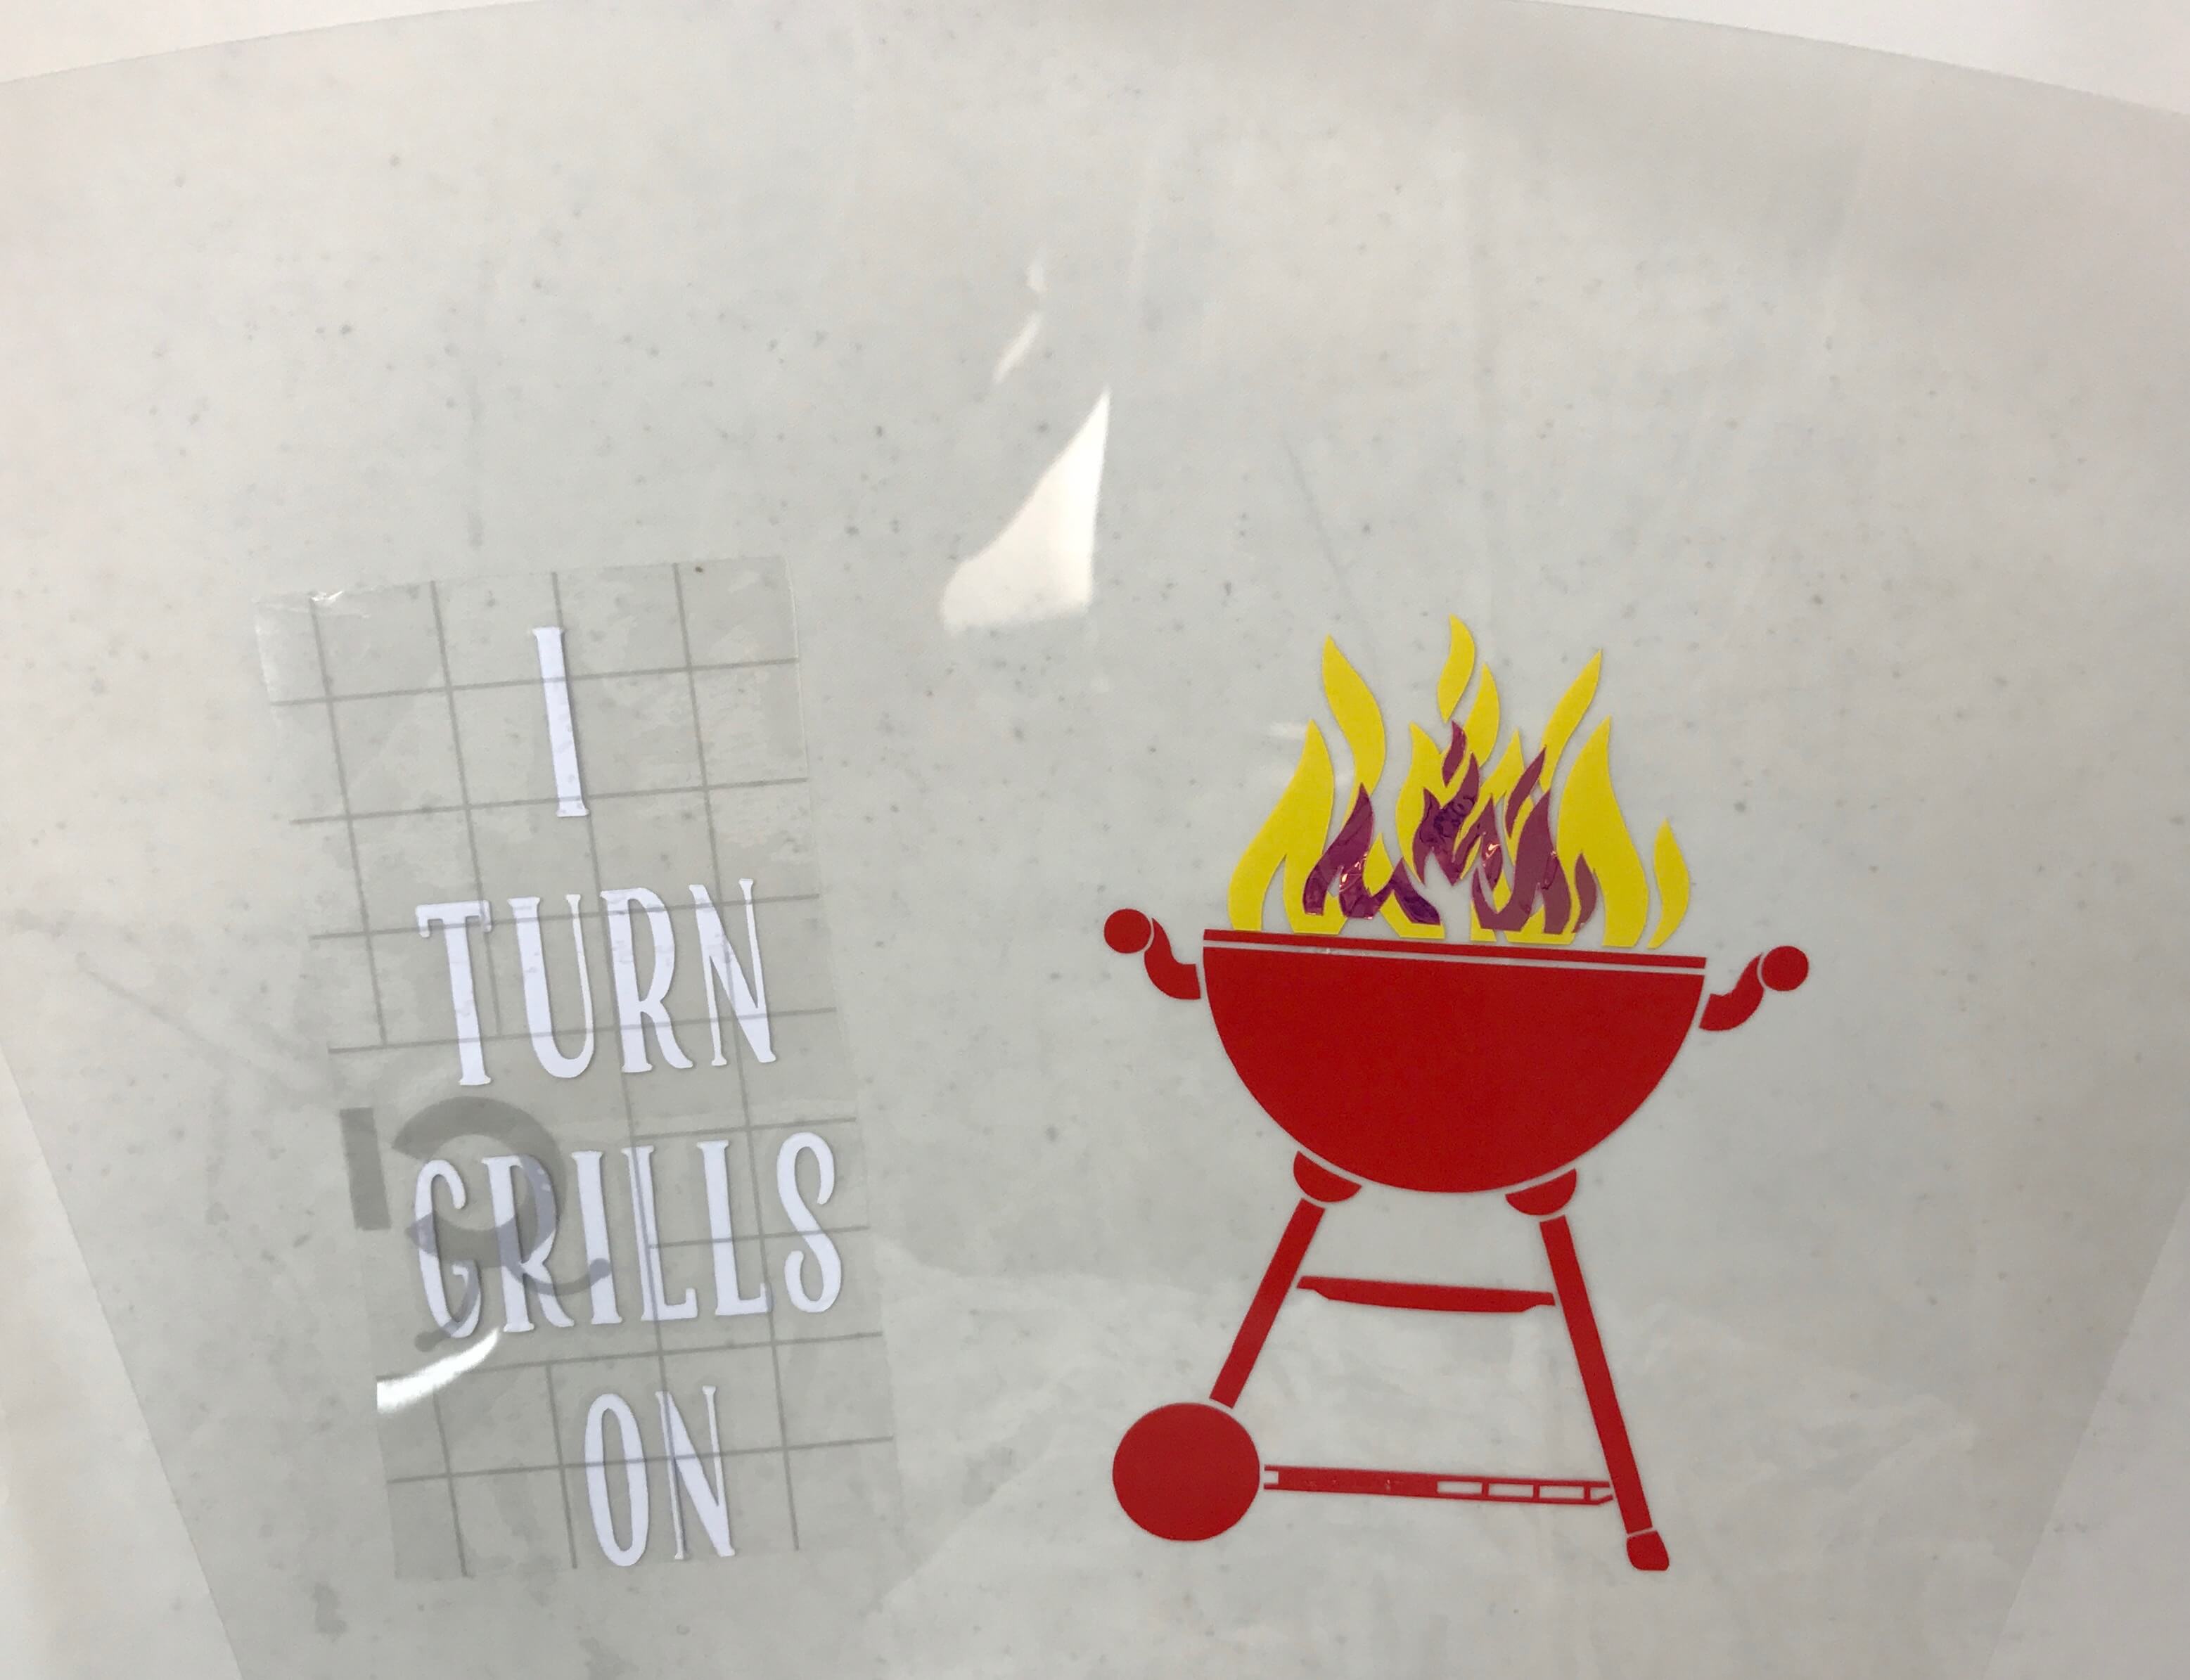
Thin Fabric to put between the iron and the iron on vinyl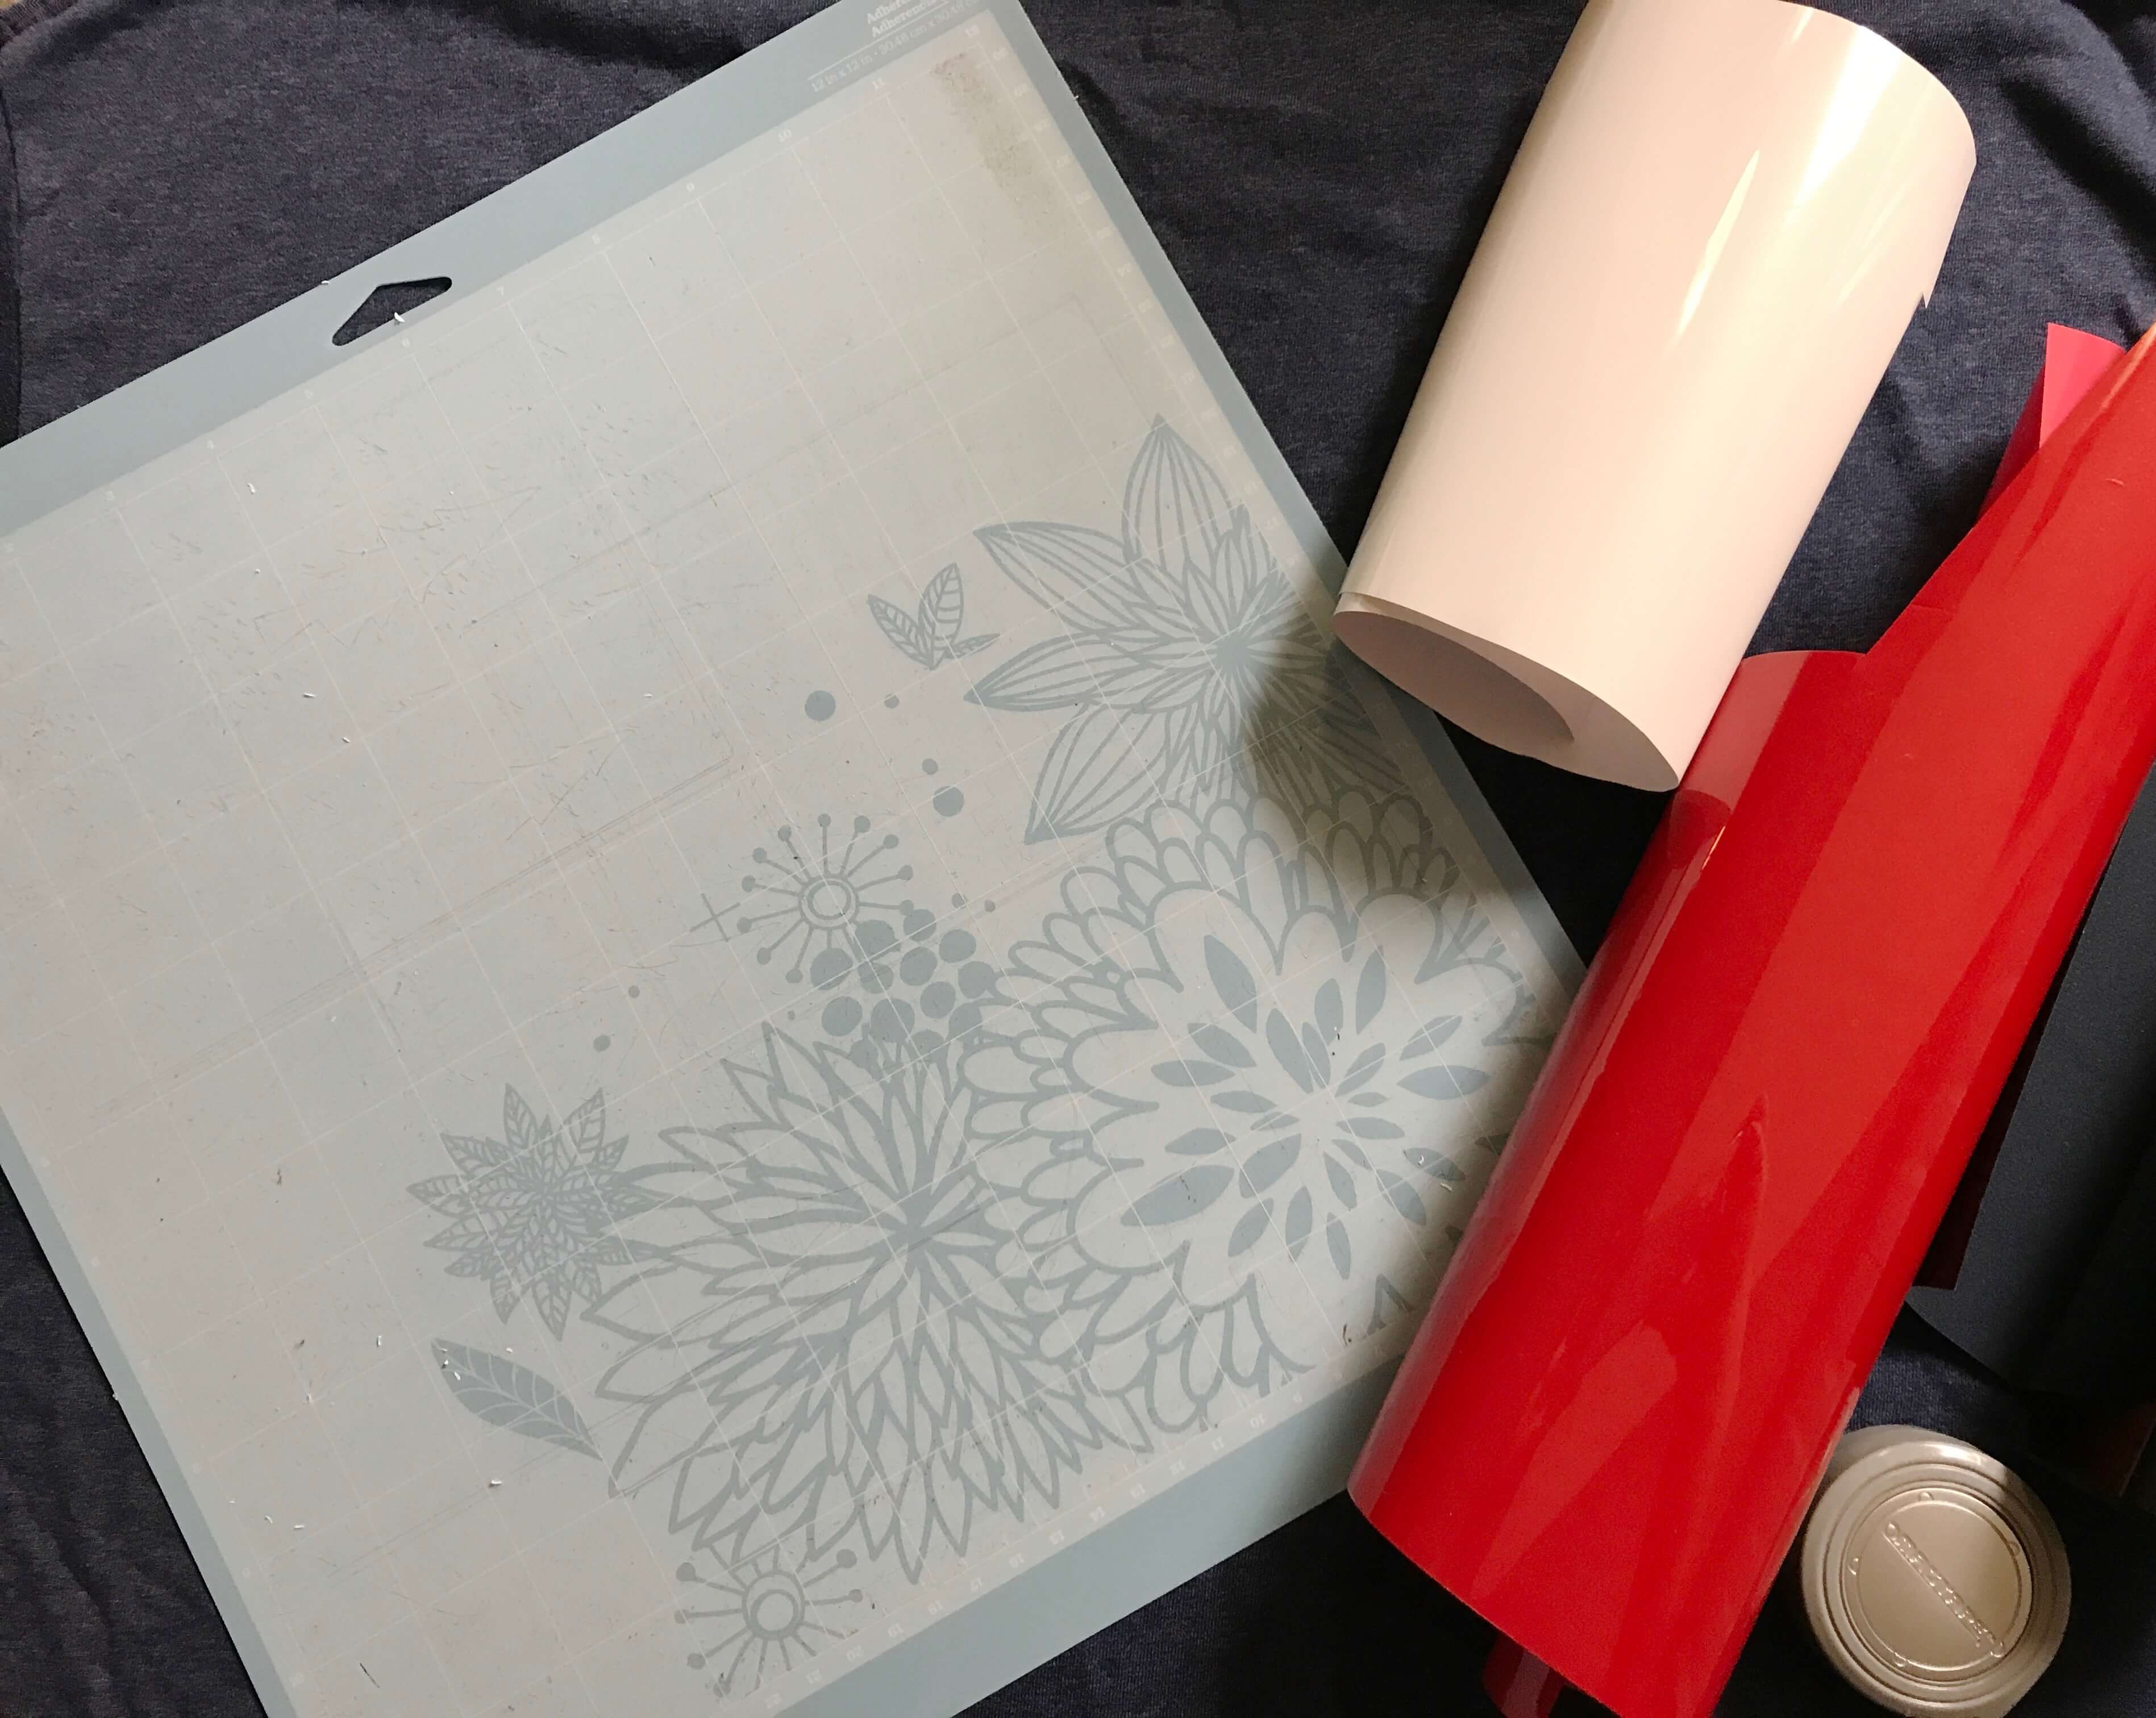 Design your image in Design Space, and send it to cut. Remember to mirror the image and the text for iron on. The new Design Space doesn’t have a custom canvas setting, so I used a ruler and another one of my hubby’s shirts to measure how large I wanted the image.
When I created the cut file, I used a few layers for the fire, that’s totally optional.
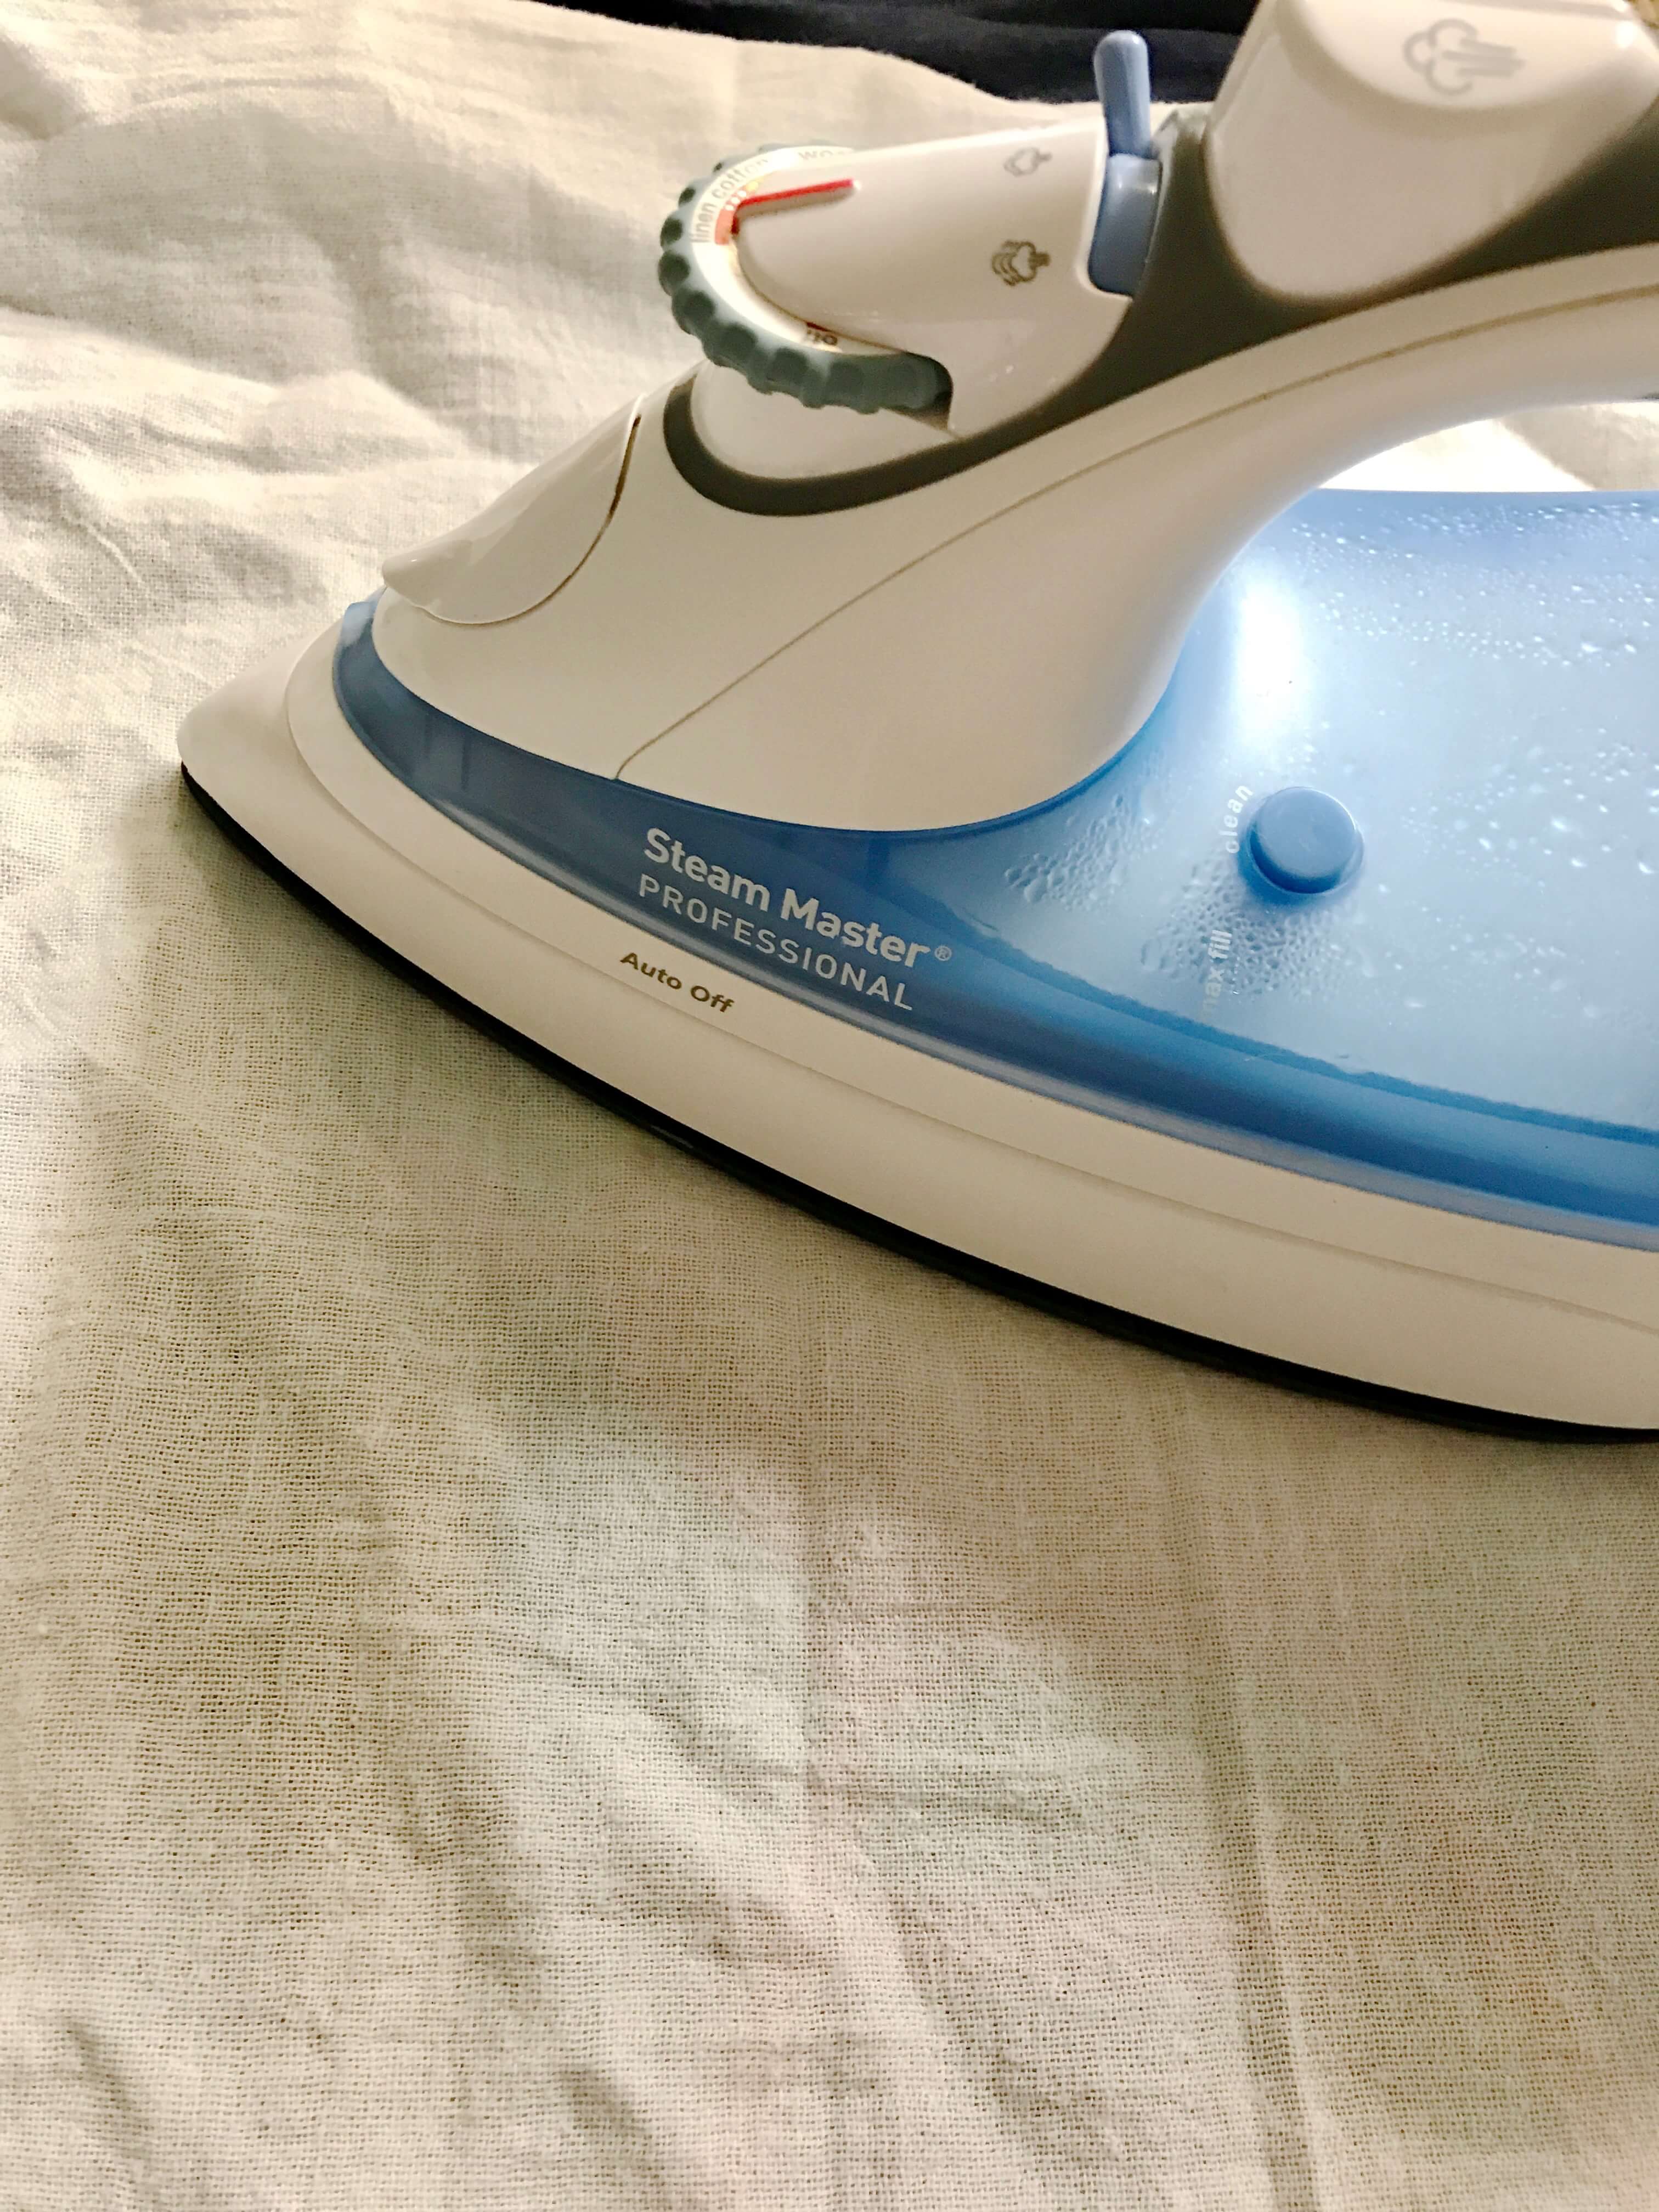
Once the design is cut and weeded, iron your shirt to prep it for the iron on vinyl. Next, place the design how you want it on the shirt and cover it with fabric. (A pillow case or flour sack towel works perfectly) Iron it with firm pressure in the same spot for 30 seconds, check to see if the vinyl has stuck. If not, repeat until the vinyl is “melted” into the shirt. If you are layering, add the top layer, and iron on the same way. Finally, turn the shirt inside out, and iron the inside of the shirt where the vinyl was applied. 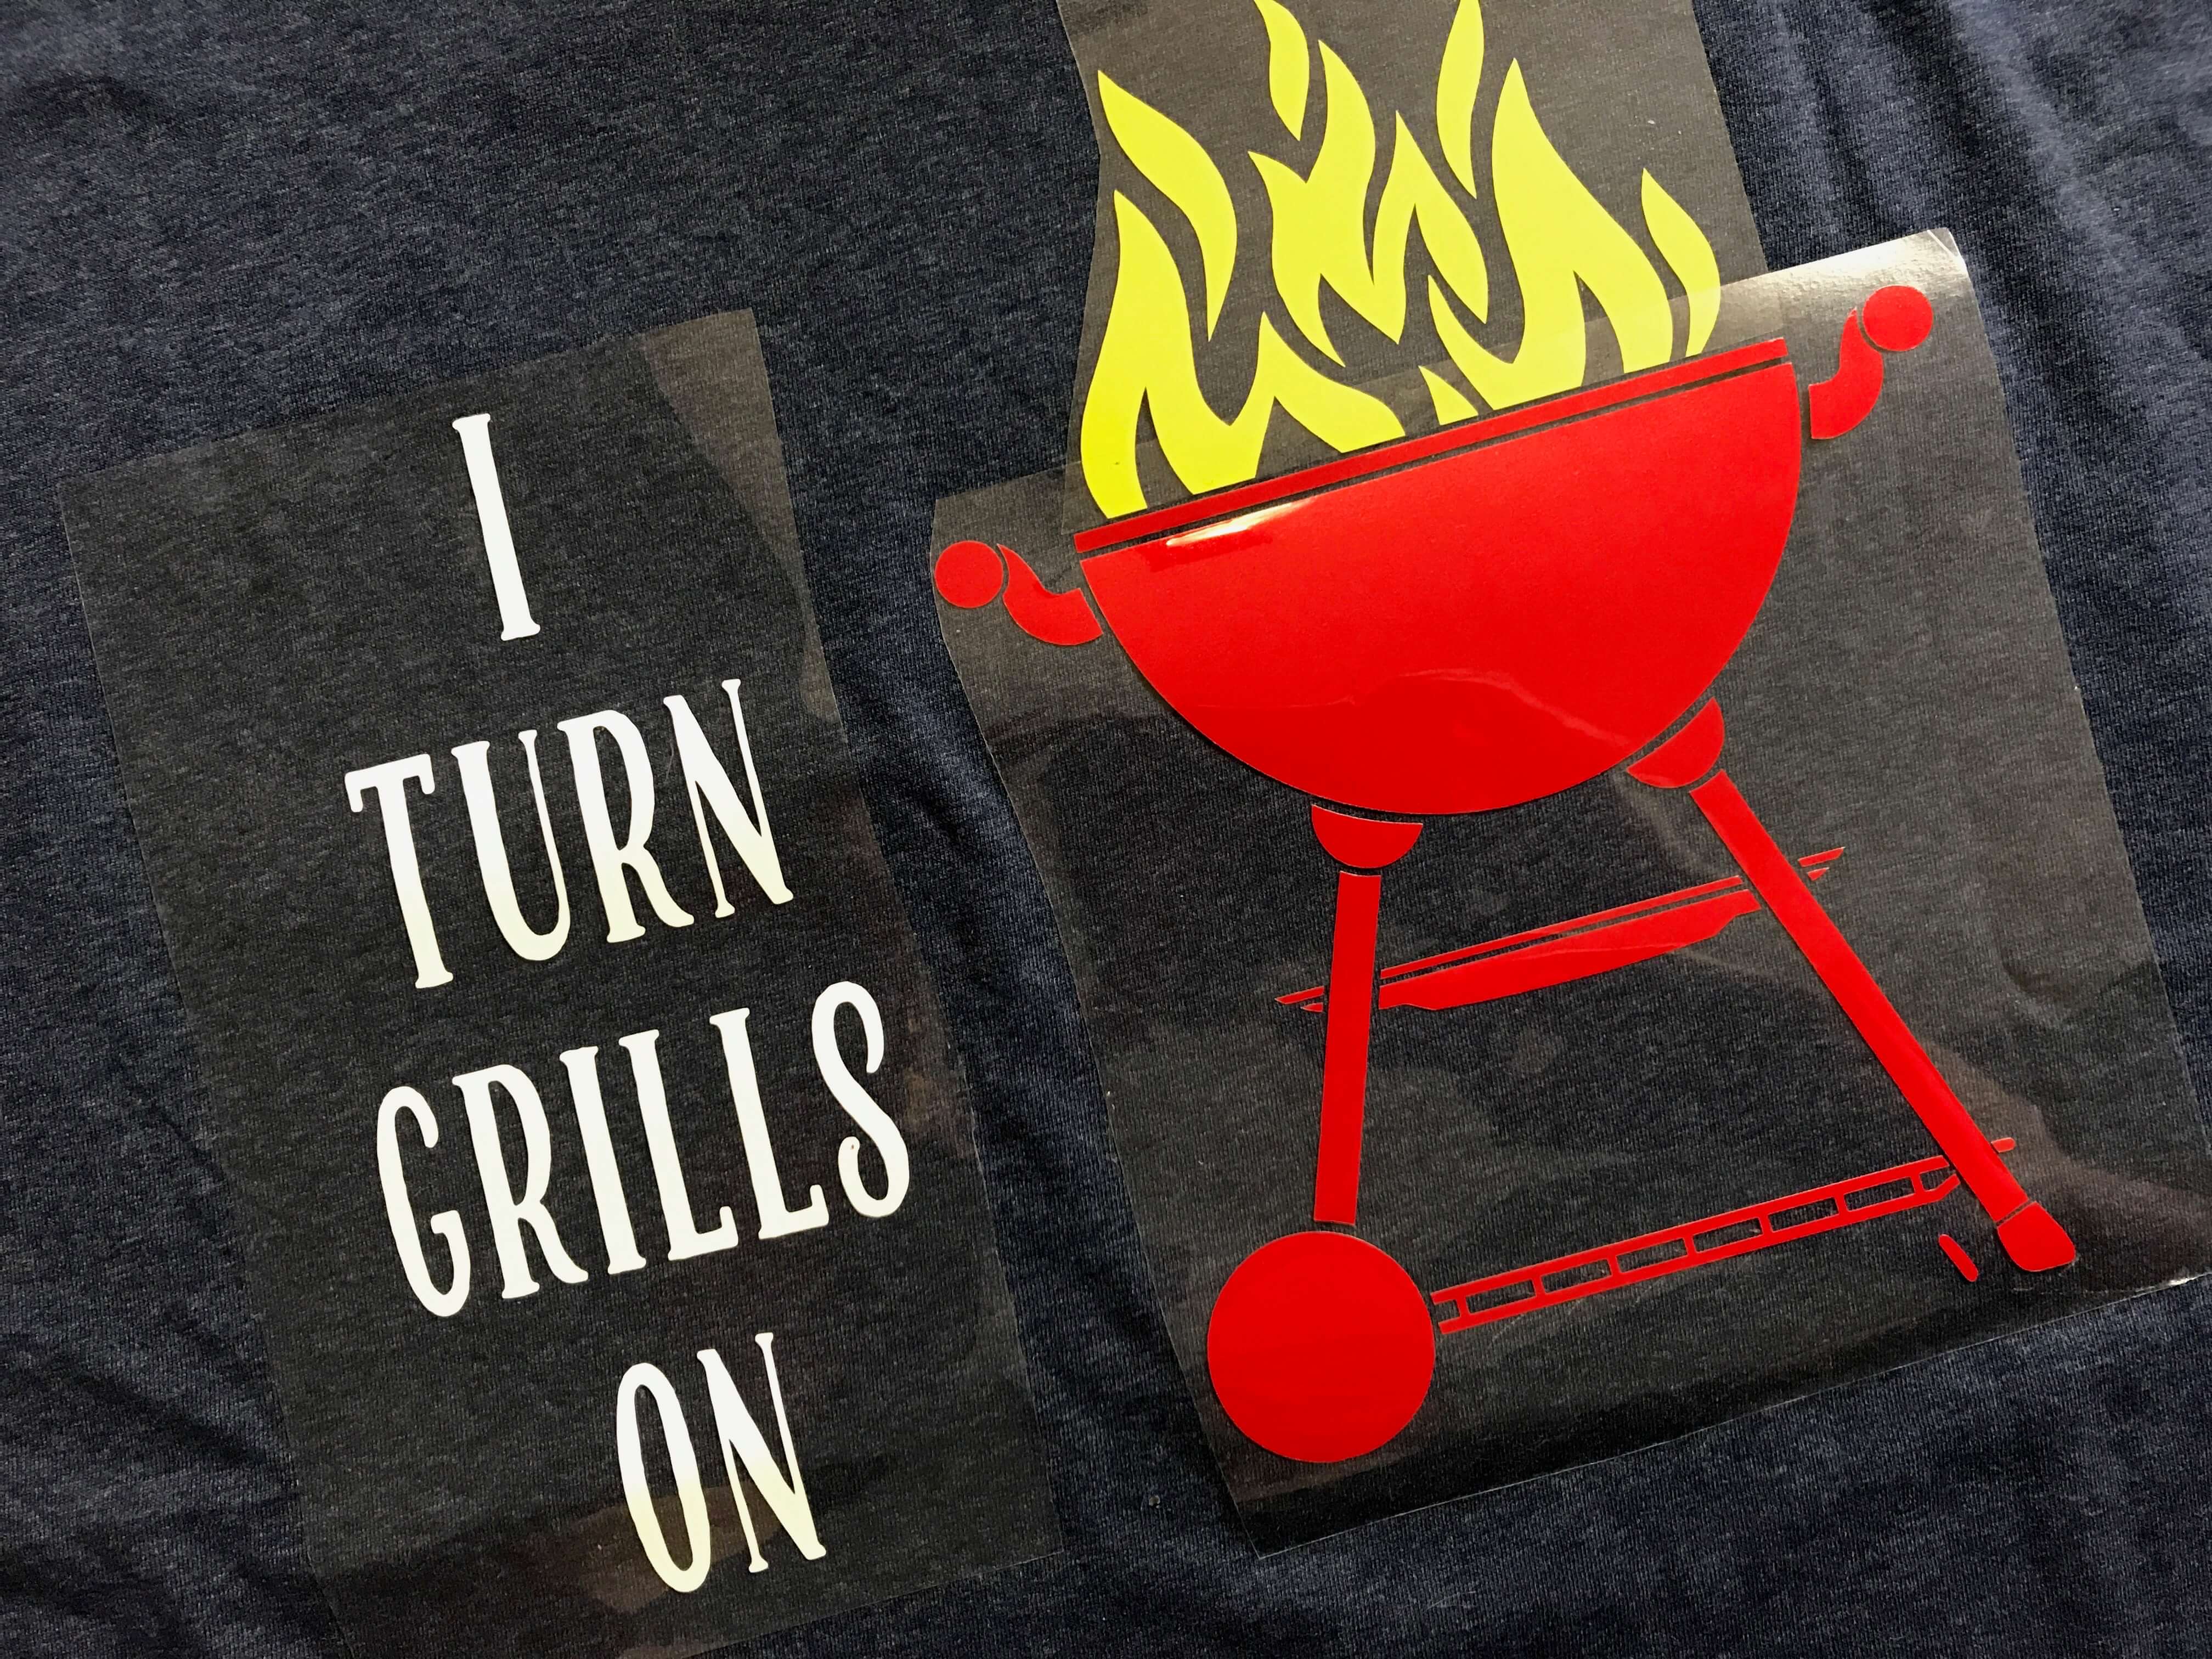
 My hubby has a matching cup and shirt now for his grilling adventures!
Tags : Cricut, DIY, Father's Day, Shirt, Tervis


