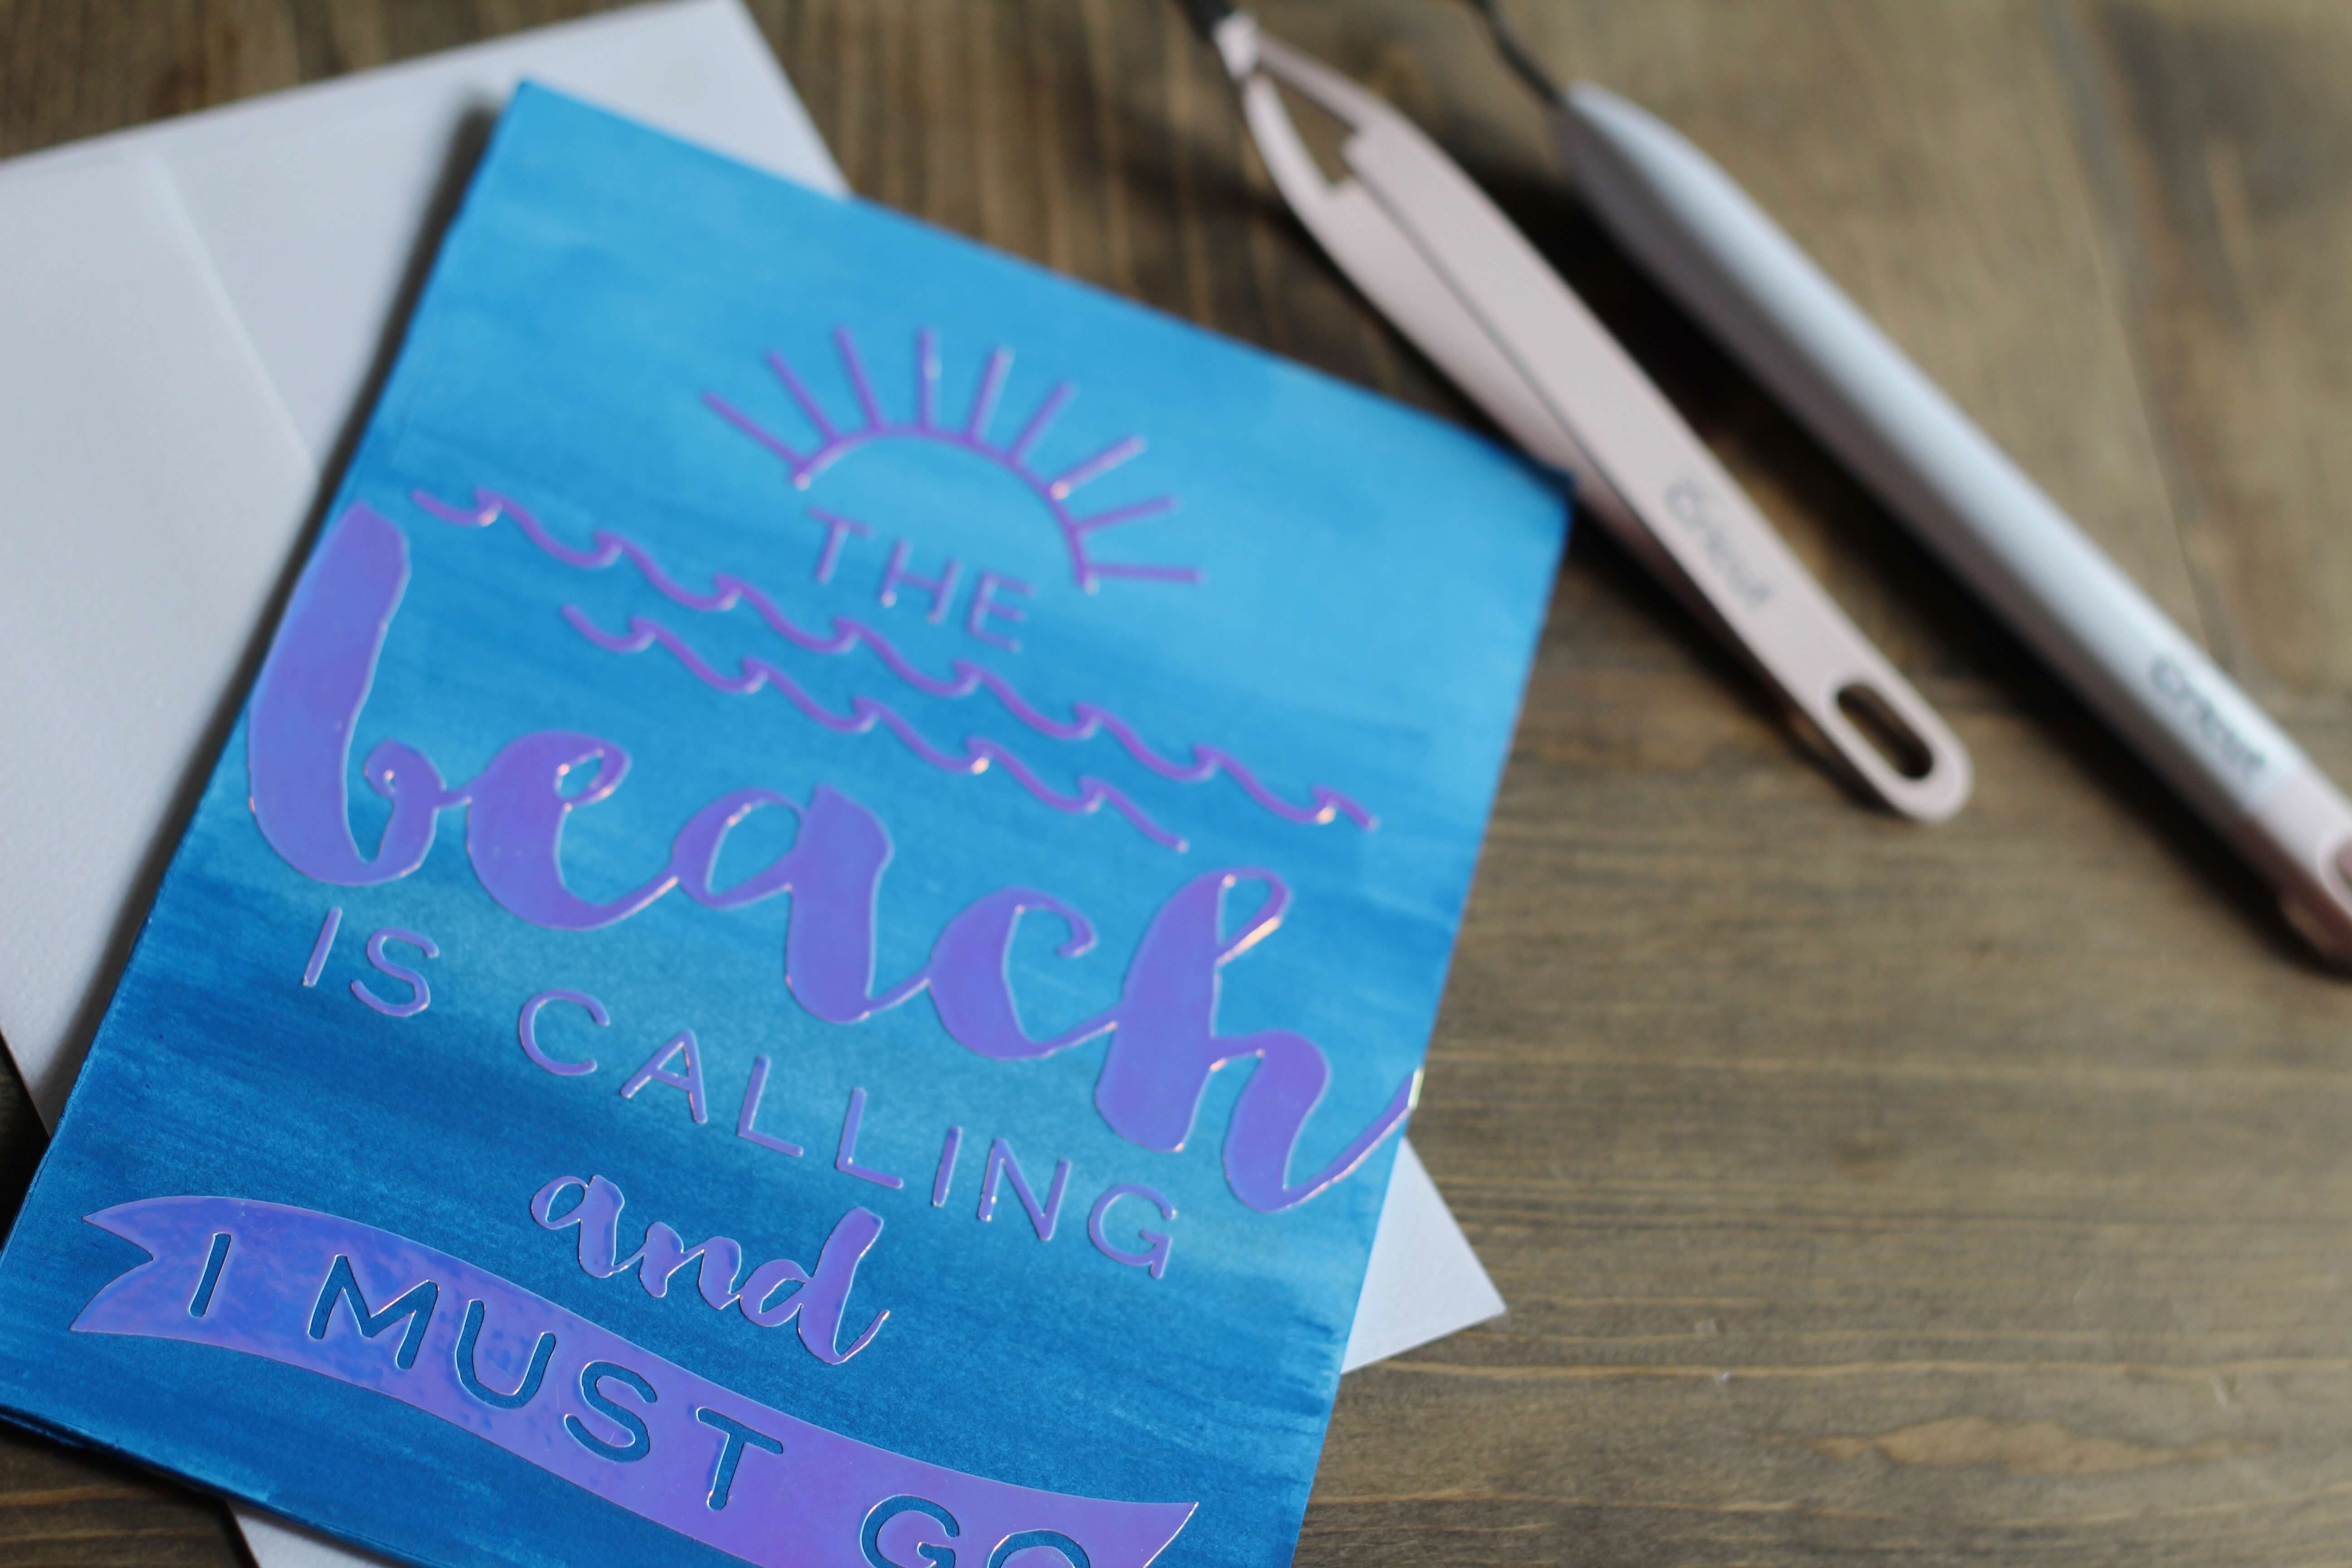
Watercolor Party Invitations with Cricut
This review is based strictly on my opinion. Others may have a different opinion or experience with the product listed above. I was provided the sample free of charge by the company or PR agency and I have given my honest opinion. No other type of compensation was received for this review.
If you decide to make a purchase through my links, I will be paid a small commission for it. This doesn’t cost you anything additional. These commissions help to keep the rest of my content free, so thank you!
Watercolor Party Invitations with Cricut. Y’all, my birthday is coming up…it’s a “big” one too. The hubs has insisted that we have a party, even though I’m not totally on board with that idea. 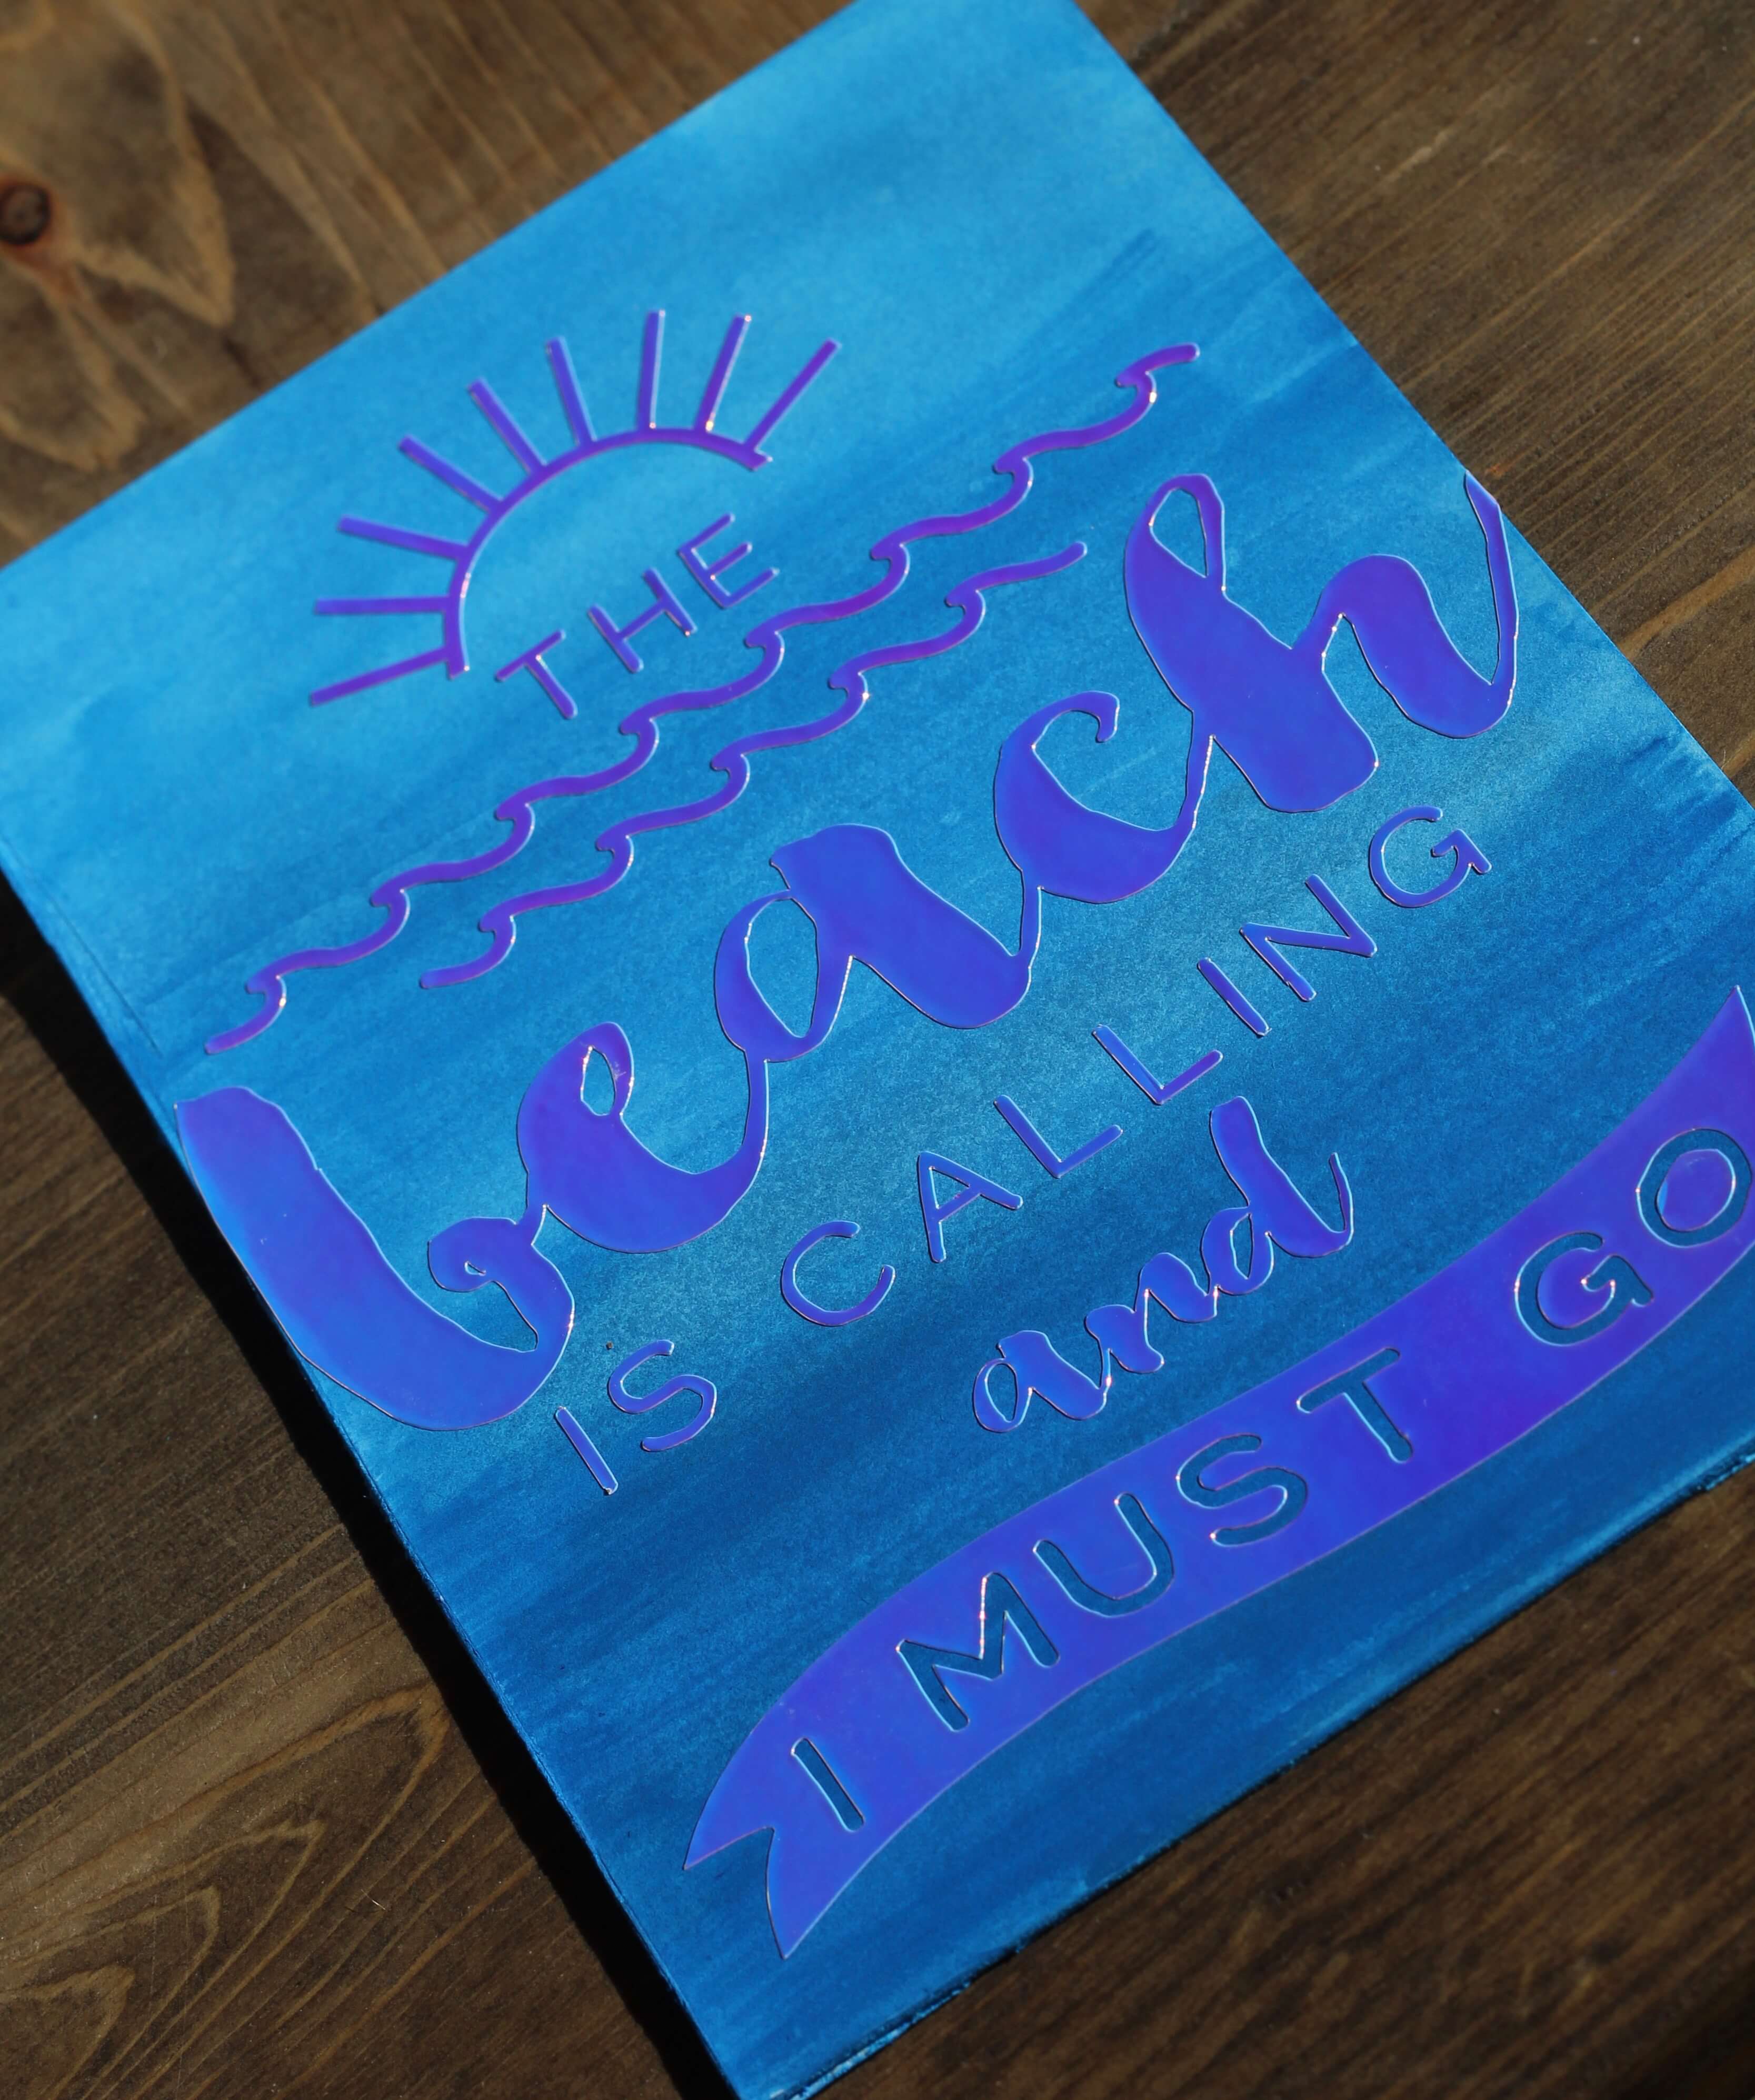 While we haven’t decided on all the party details just yet, I know I will make the invitations with my Cricut. I am also totally smitten with the new Cricut Holographic Vinyl, and we all know about my love for all of Kori Clark’s designs…so, with that in mind, I sat down and started designing. One of the questions I am still asked all.the.time about my Cricut is; Do I have to use a cartridge? Or, I have all these old Cricut cartridges, can I still use them? No, you do not HAVE to have cartridges, BUT, if you do, you CAN use them in any of the new Cricut machines. I actually don’t have any cartridges, so I haven’t used them on my machine, but my friends do! So great, right??!
Supplies:
Printer
Illustration Board or Water Color Paper
Cup with water
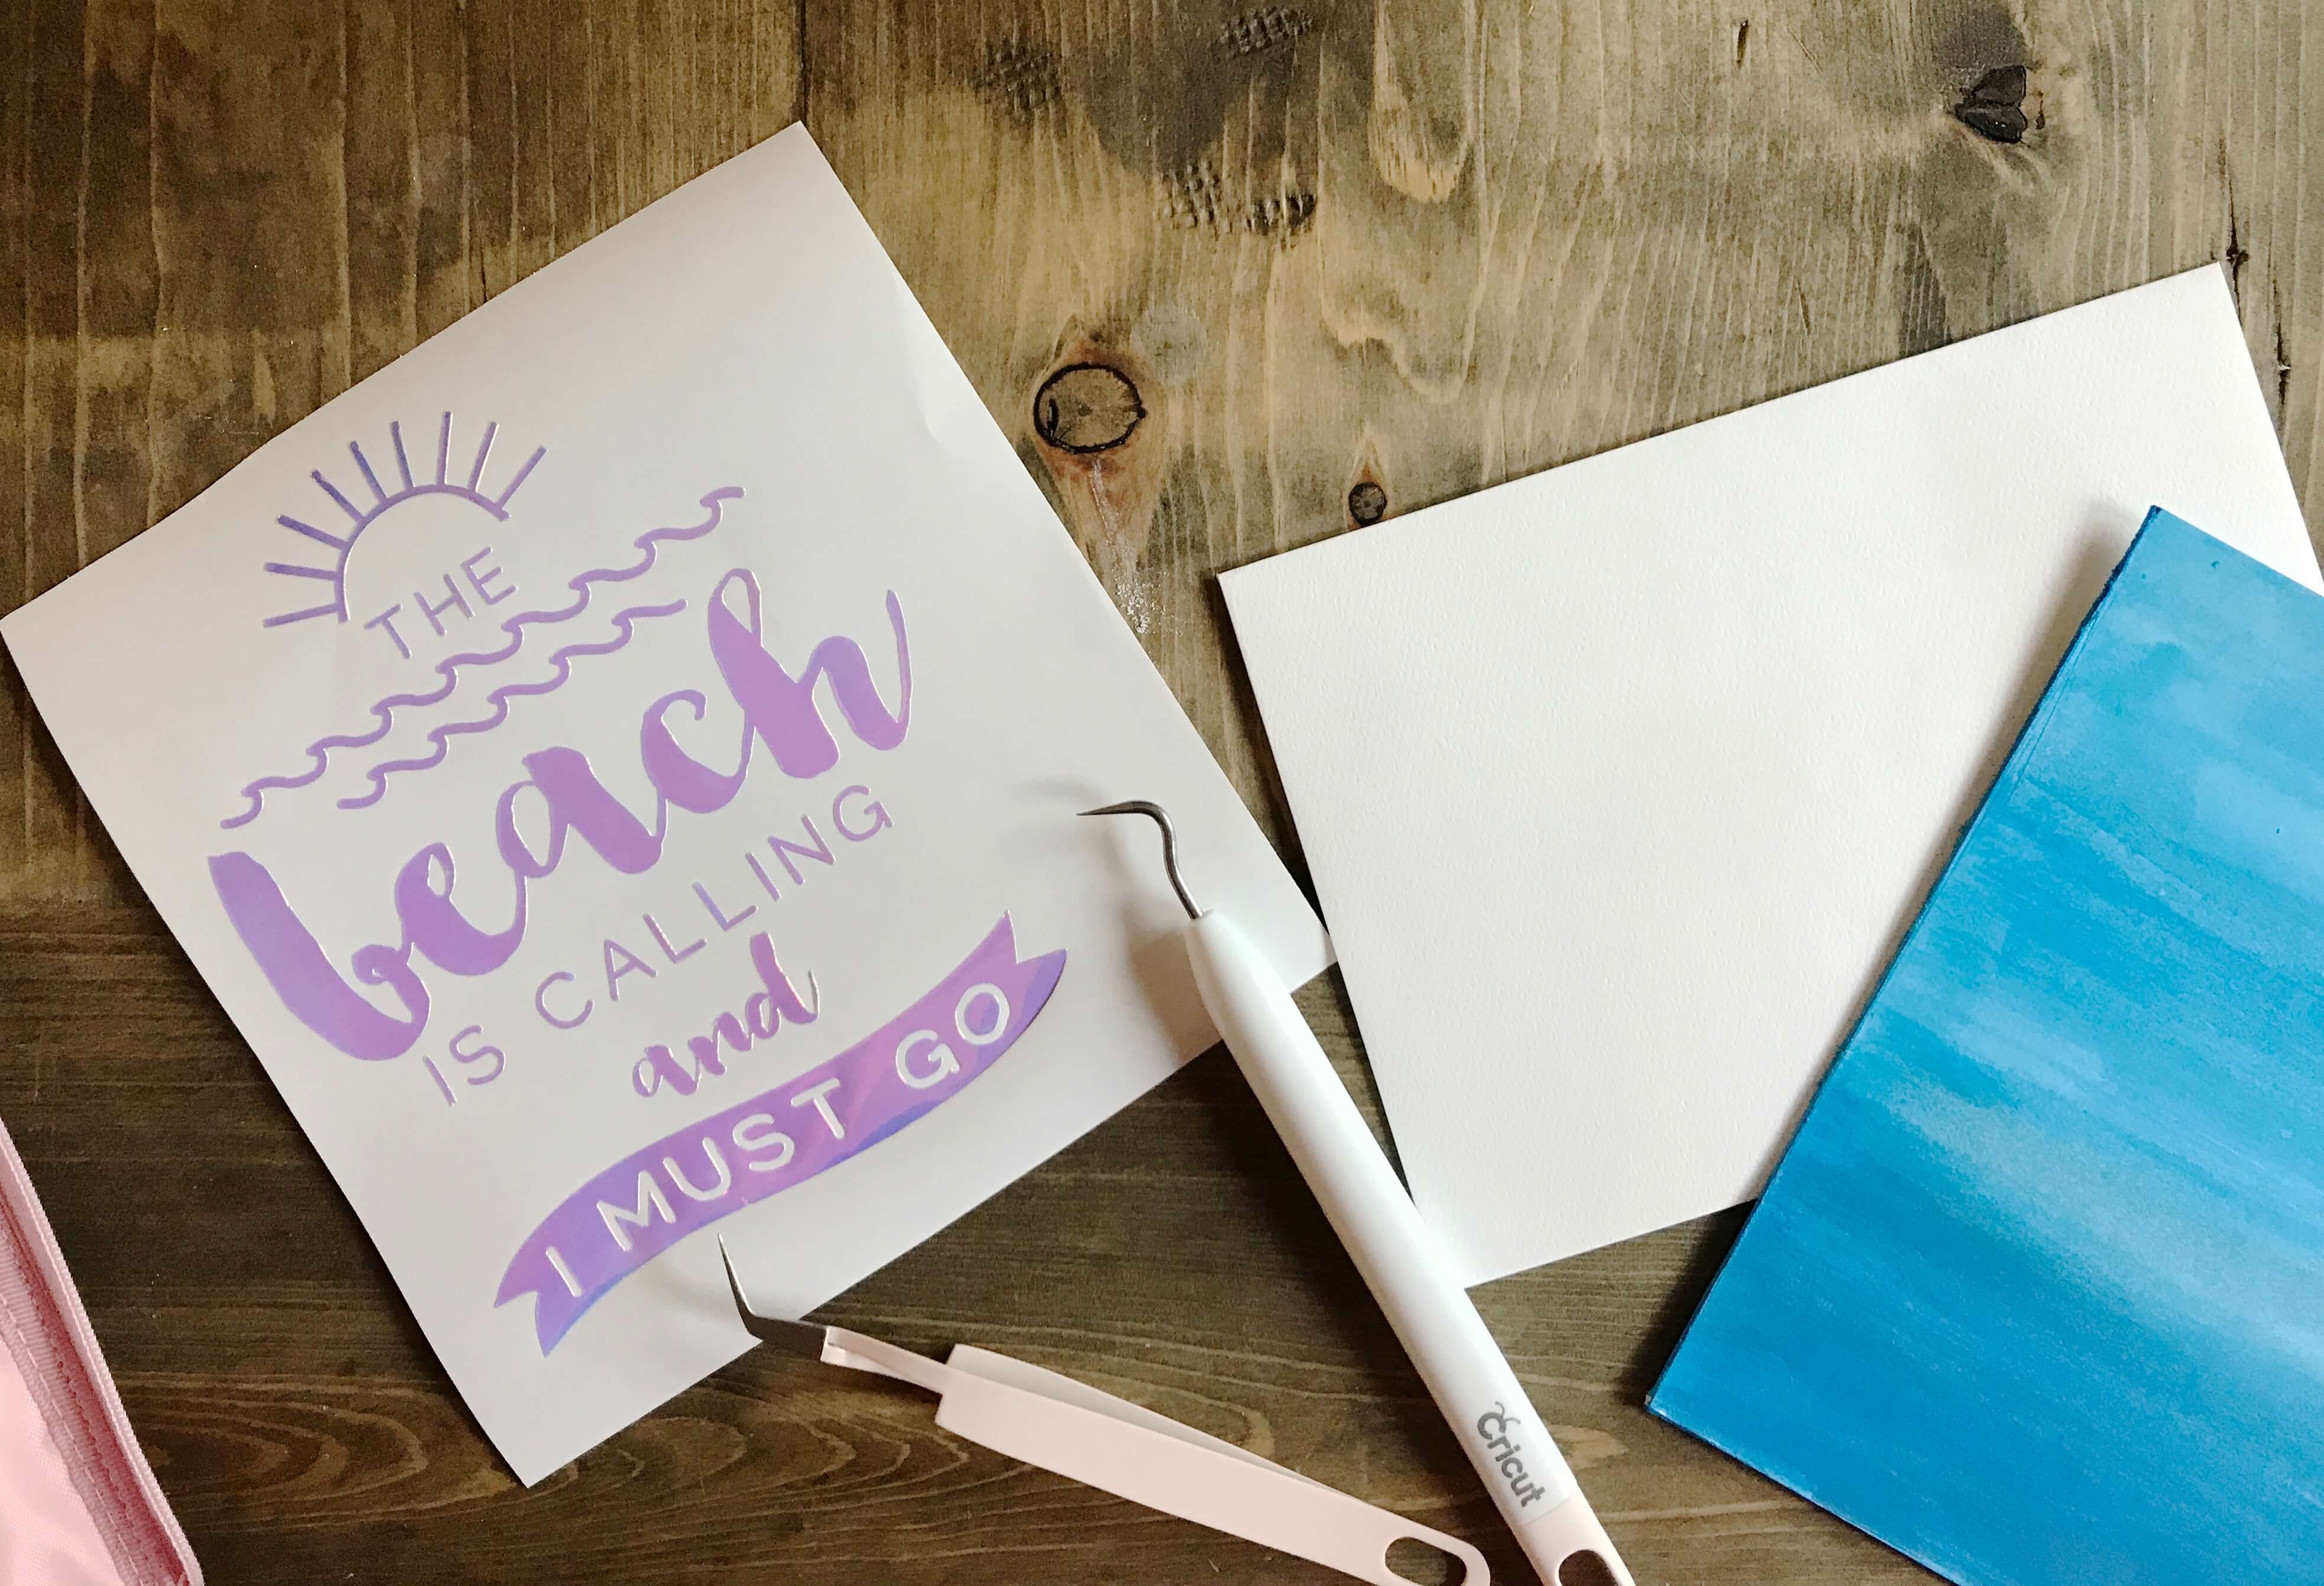
The first thing I did was paint a blue color scale or ombre effect on a cut piece of illustration board. We always have a ton of ink and illustration board in the house for my son, but if you don’t water color paper from Michael’s would work. The ink is from Michael’s as well. It’s super easy to paint, so don’t be scared. Dip your paint brush in the ink and start where you want the darker color. Then, dip the paint brush in water to lighten the intensity of the ink and paint up from the darker color.  While the ink was drying, I pulled up Kori’s design in Cricut Access and sized it to fit the illustration board in Design Space. I cut the illustration board to fit 5×7 linen envelopes, so I sized the cut file slightly smaller. I loaded the mat with the Holographic Vinyl and set it to custom, adhesive foil, and sent it to cut. Once it cut, I weeded the excess vinyl and applied Cricut transfer tape to the whole design. I carefully lined up the design on the illustration board and applied it. My Cricut tool kit was invaluable for weeding and applying the design. Now, the front of my invitation was ready, but, obviously there weren’t any party details!
 Once again, I went back to my Cricut, and opened Access and searched mermaid. At the very bottom of the search there are two designs, one is a fill in invitation and the other is a matching thank you card. I inserted the invitation image into Design Space and added text. I attached the text to the invitation and flattened the whole image. Next, I sent it to print, and then cut. I printed it on Cricut Sticker Paper and then I applied it to the back of the illustration board. Find the cut files for both here.
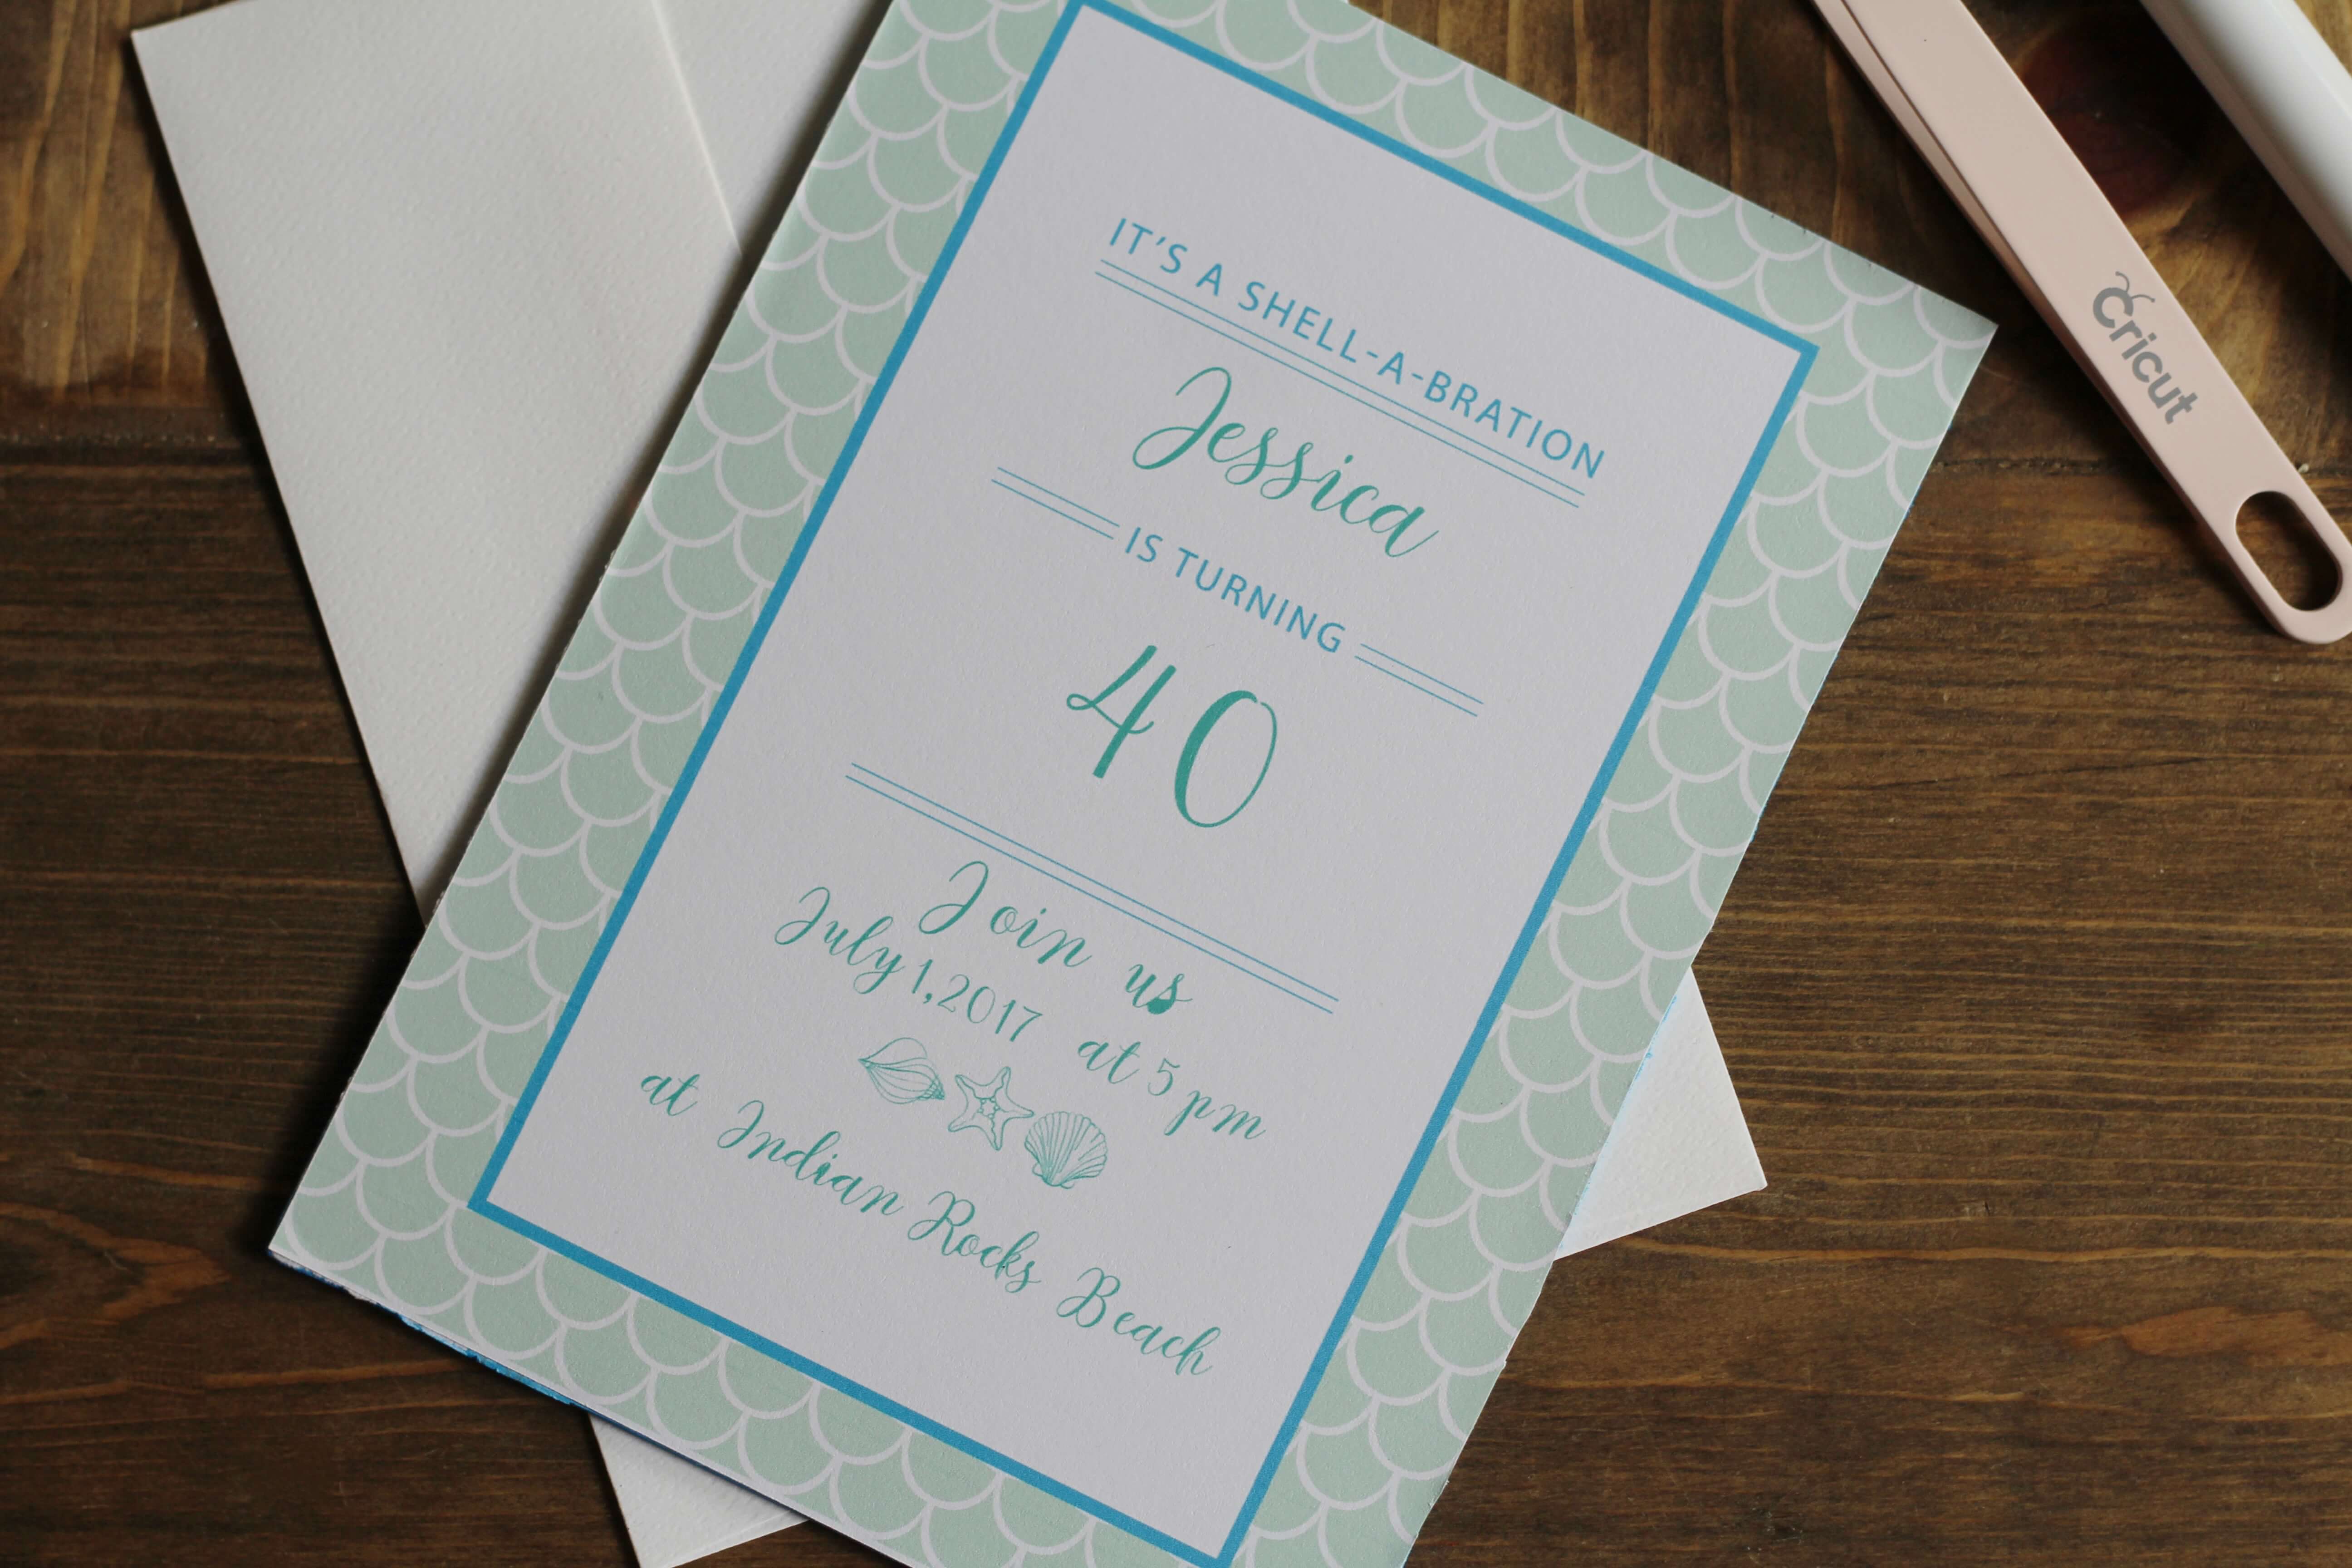 Now, my guests have a beautiful piece of art to keep after the party too!
This is a sponsored conversation written by me on behalf of Cricut. The opinions and text are all mine.
Tags : Beach, Cricut, DIY, invitation, Kori Clark, Kori Clark Designs, Mermaid, Party

