Simple Lunchbox DIY
This review is based strictly on my opinion. Others may have a different opinion or experience with the product listed above. The Laughing Cow provided me with product and a $50 gift card for this review. However, thoughts and opinions are my own and so not necessarily reflect those of the brand.
If you decide to make a purchase through my links, I will be paid a small commission for it. This doesn’t cost you anything additional. These commissions help to keep the rest of my content free, so thank you!
#ReinventSnacking
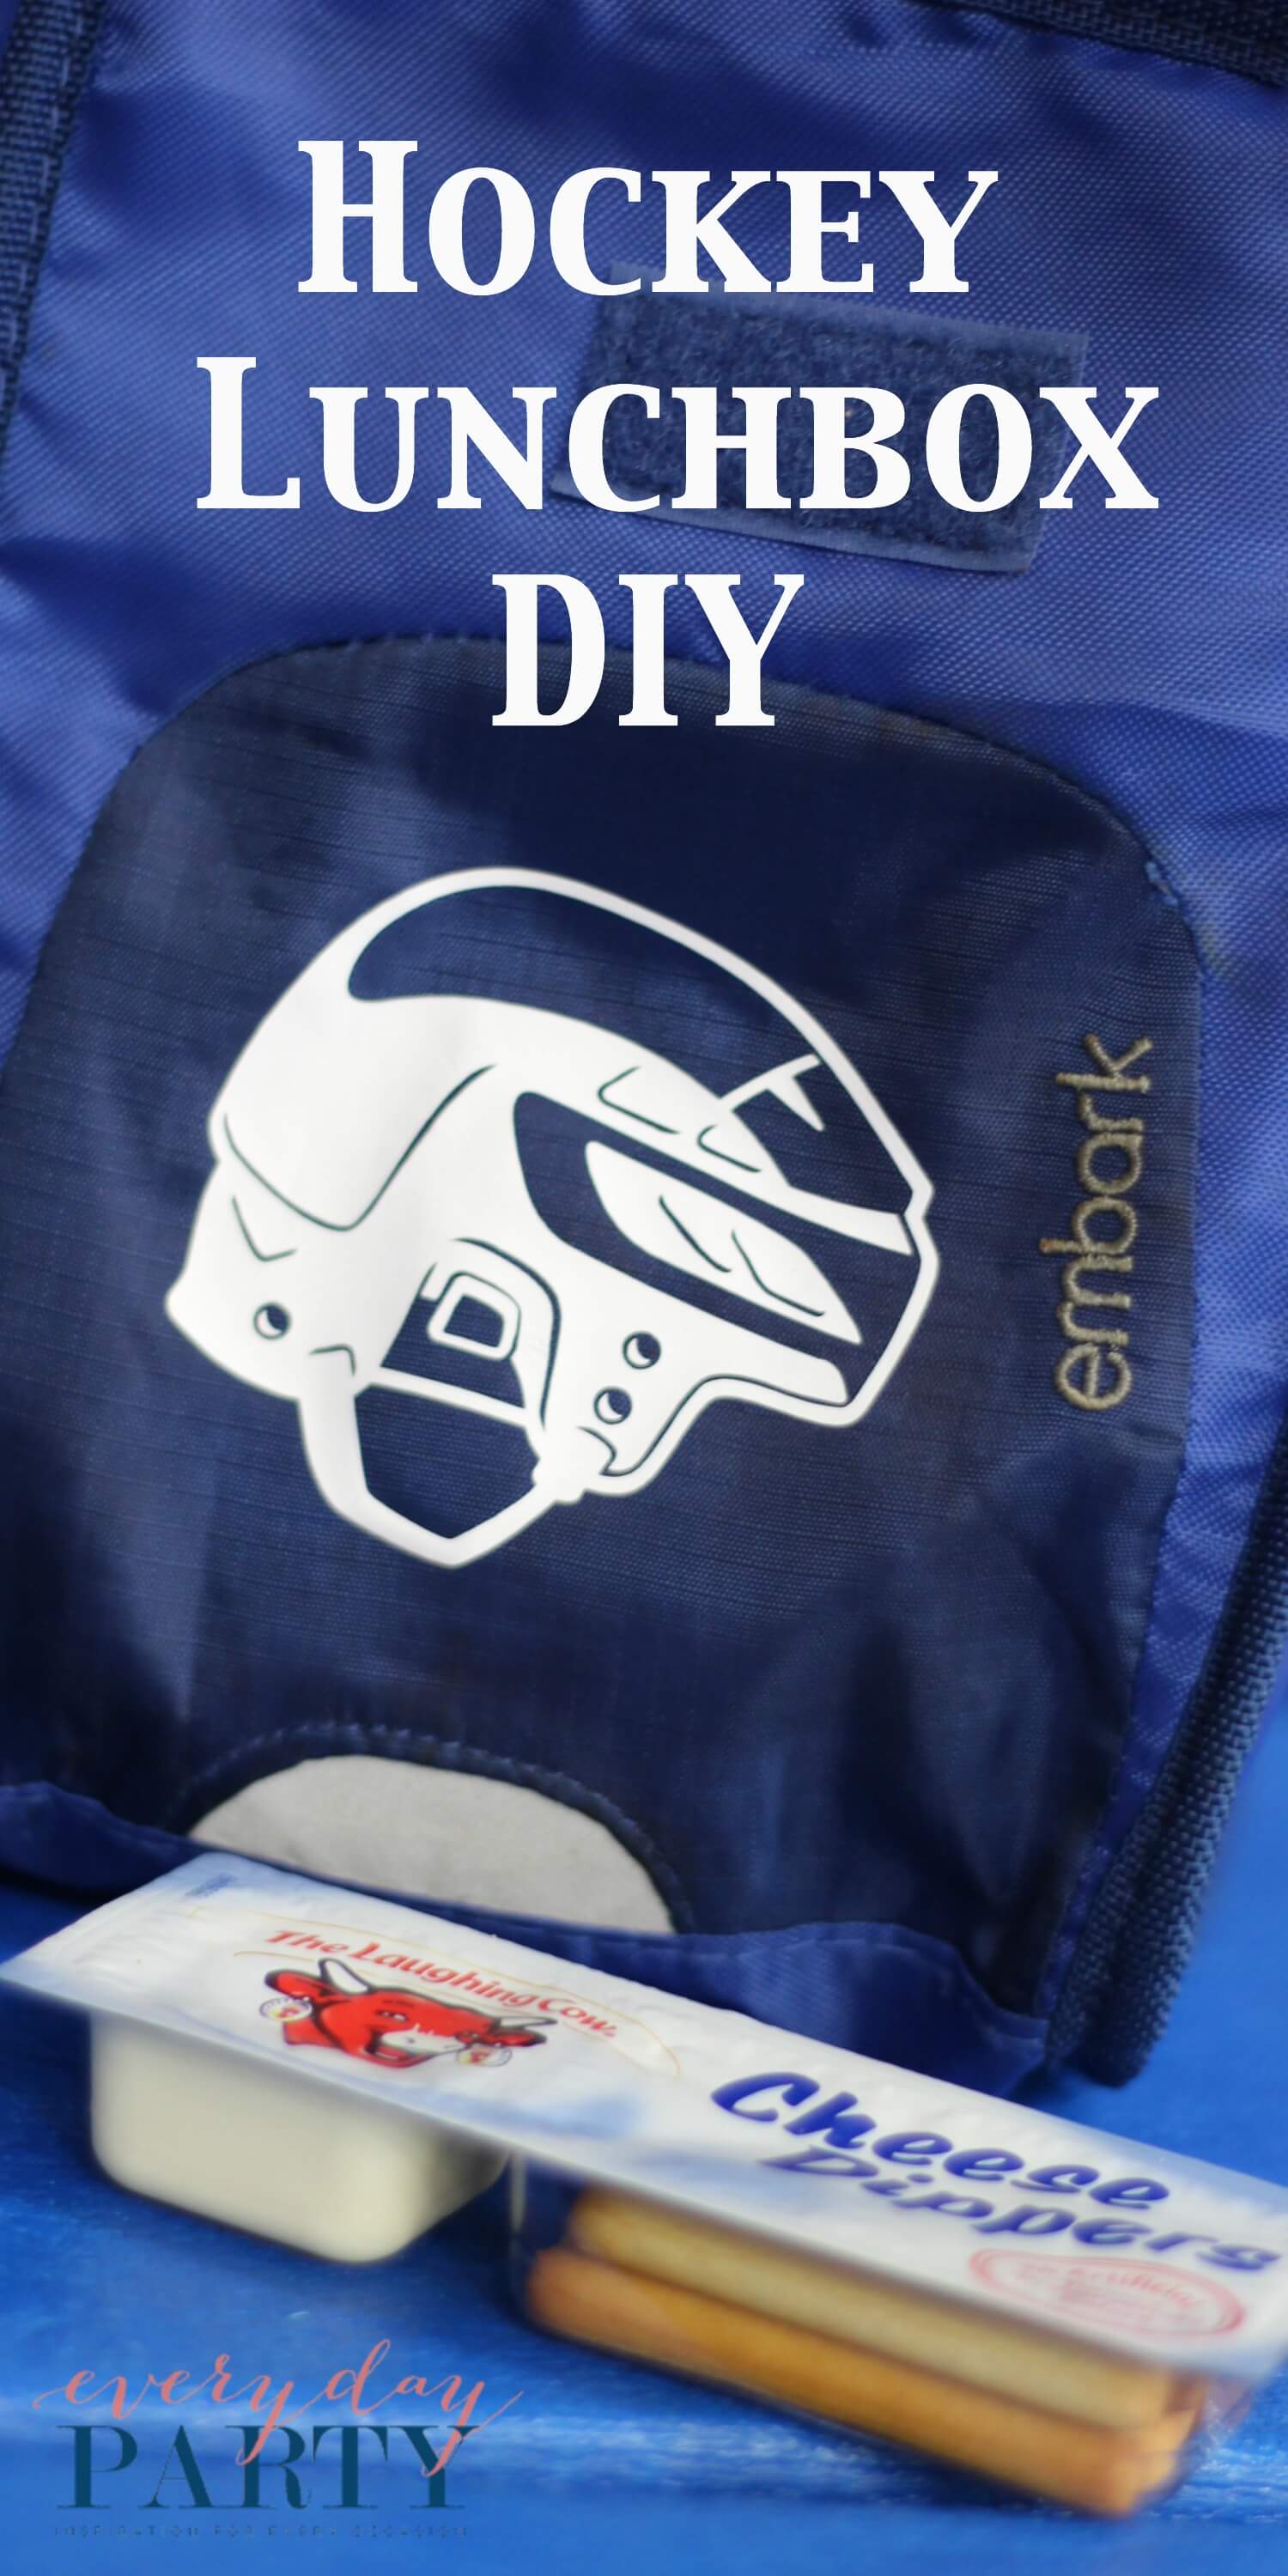
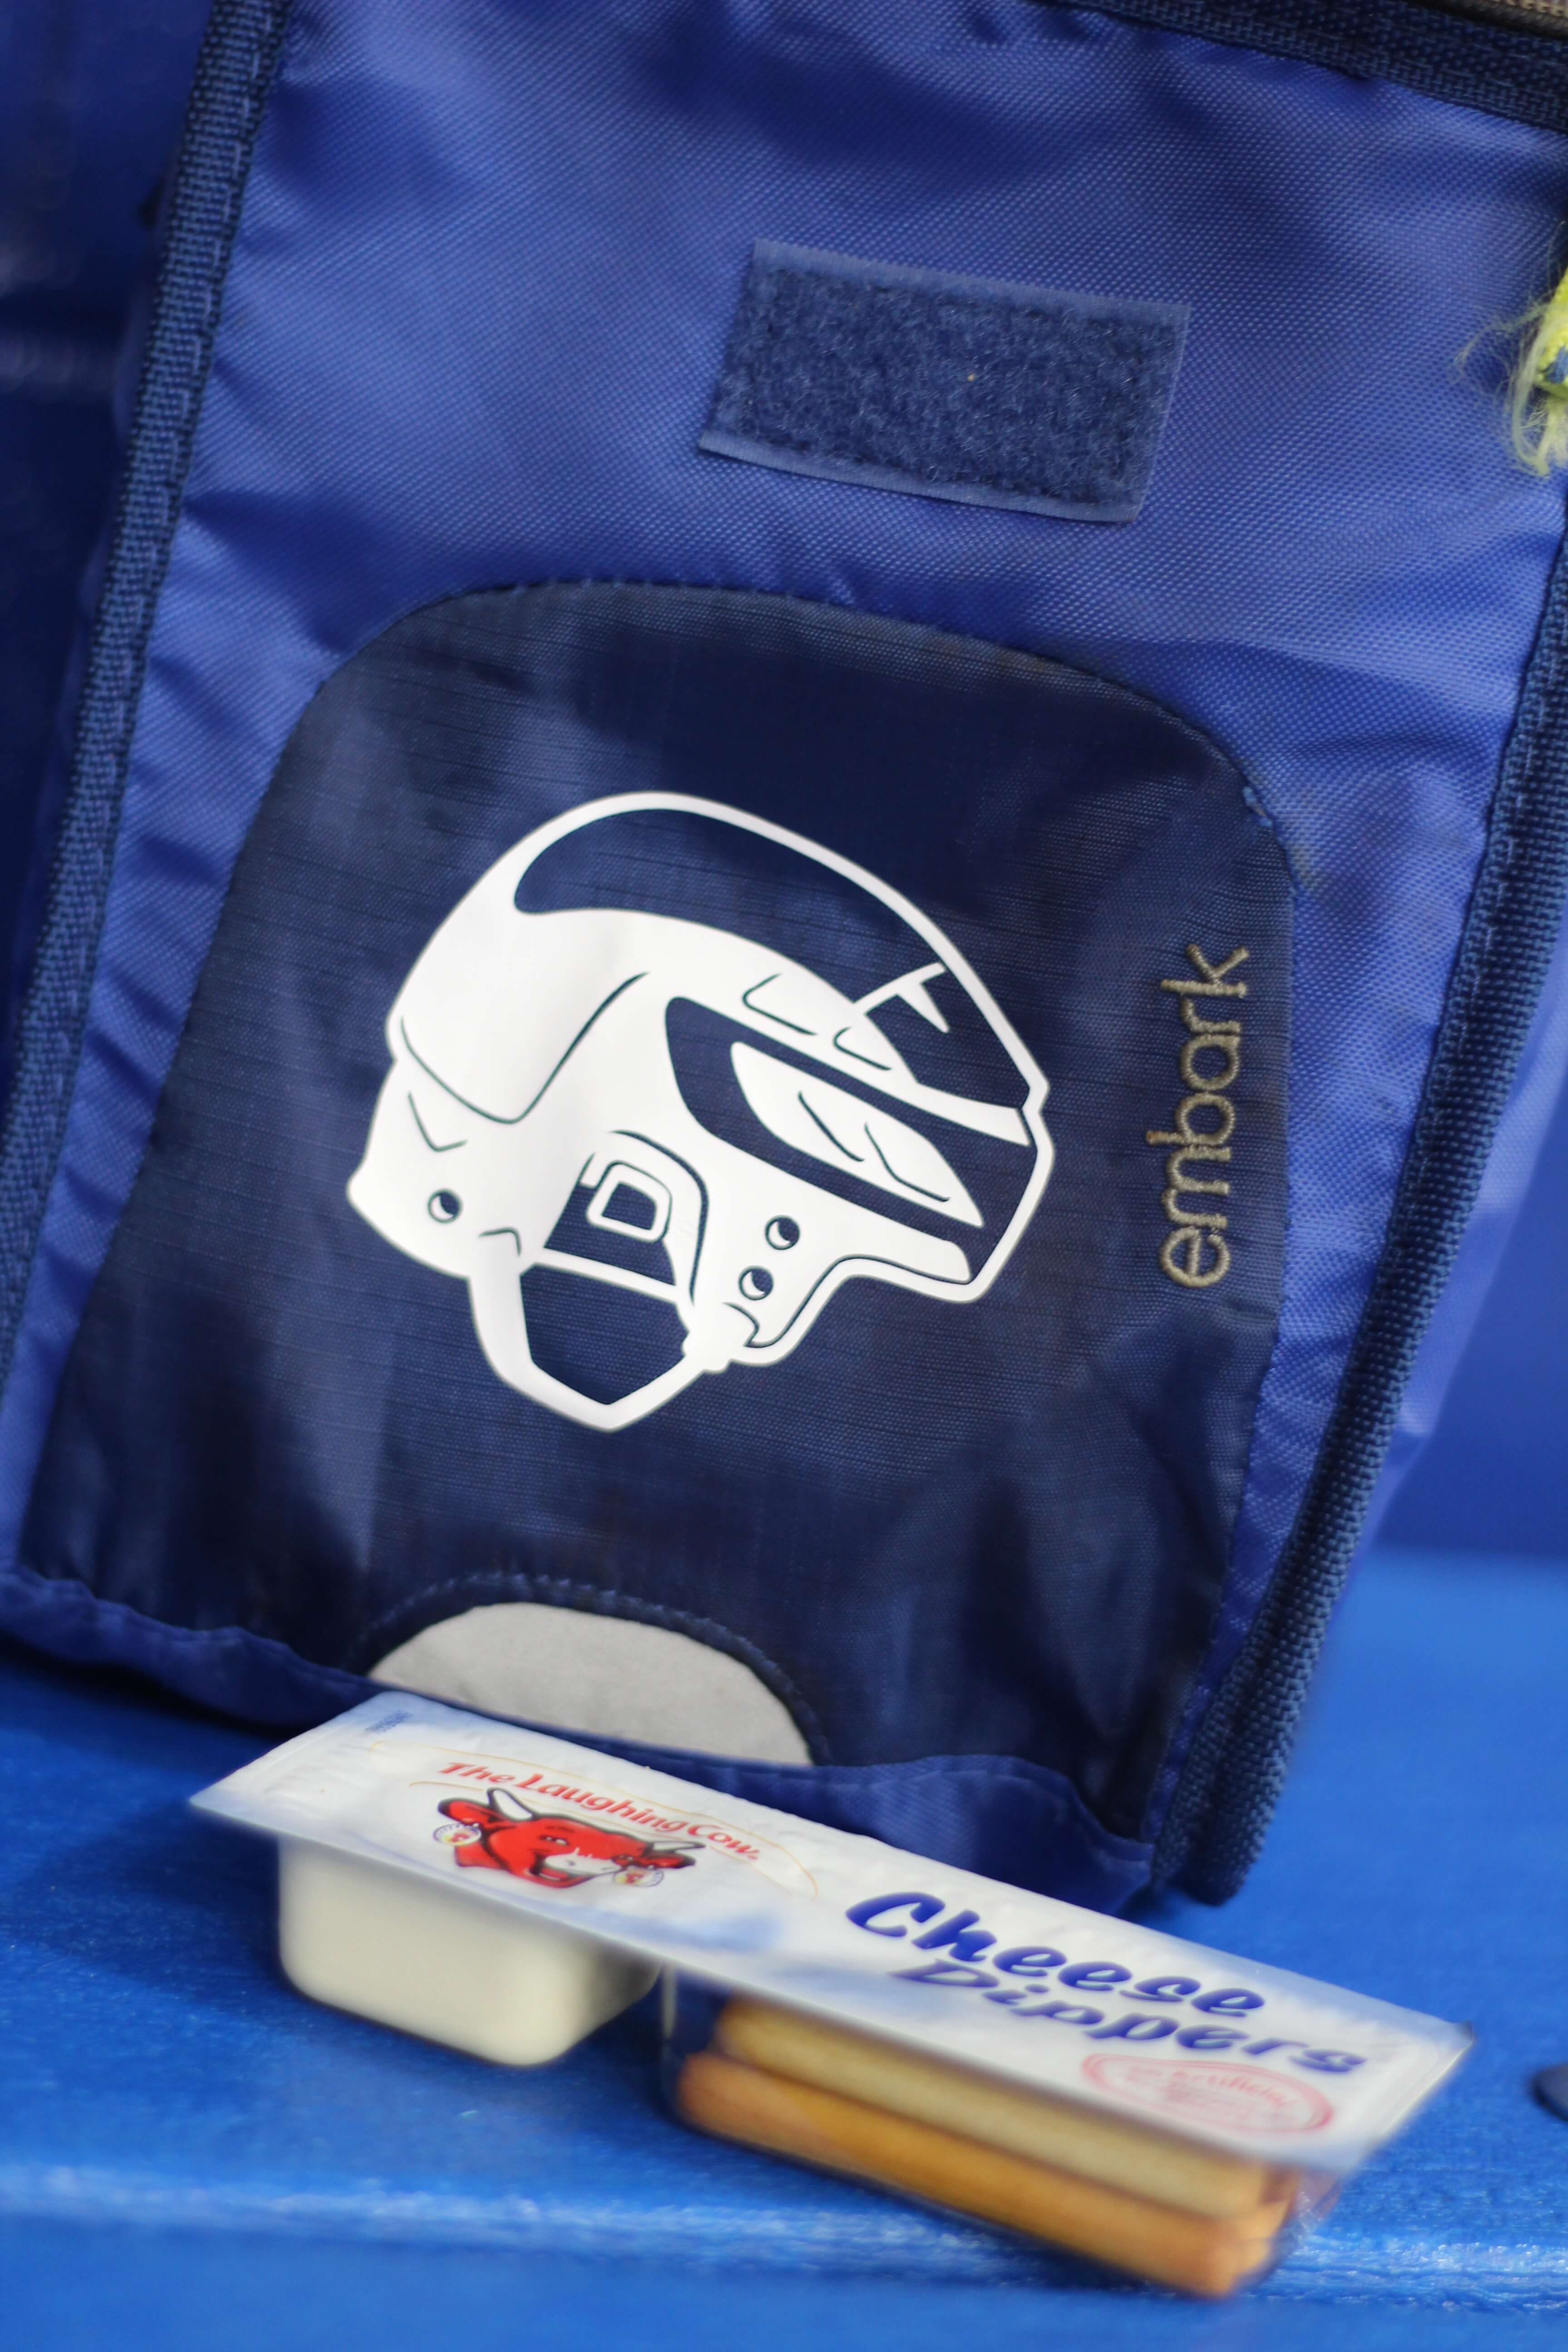
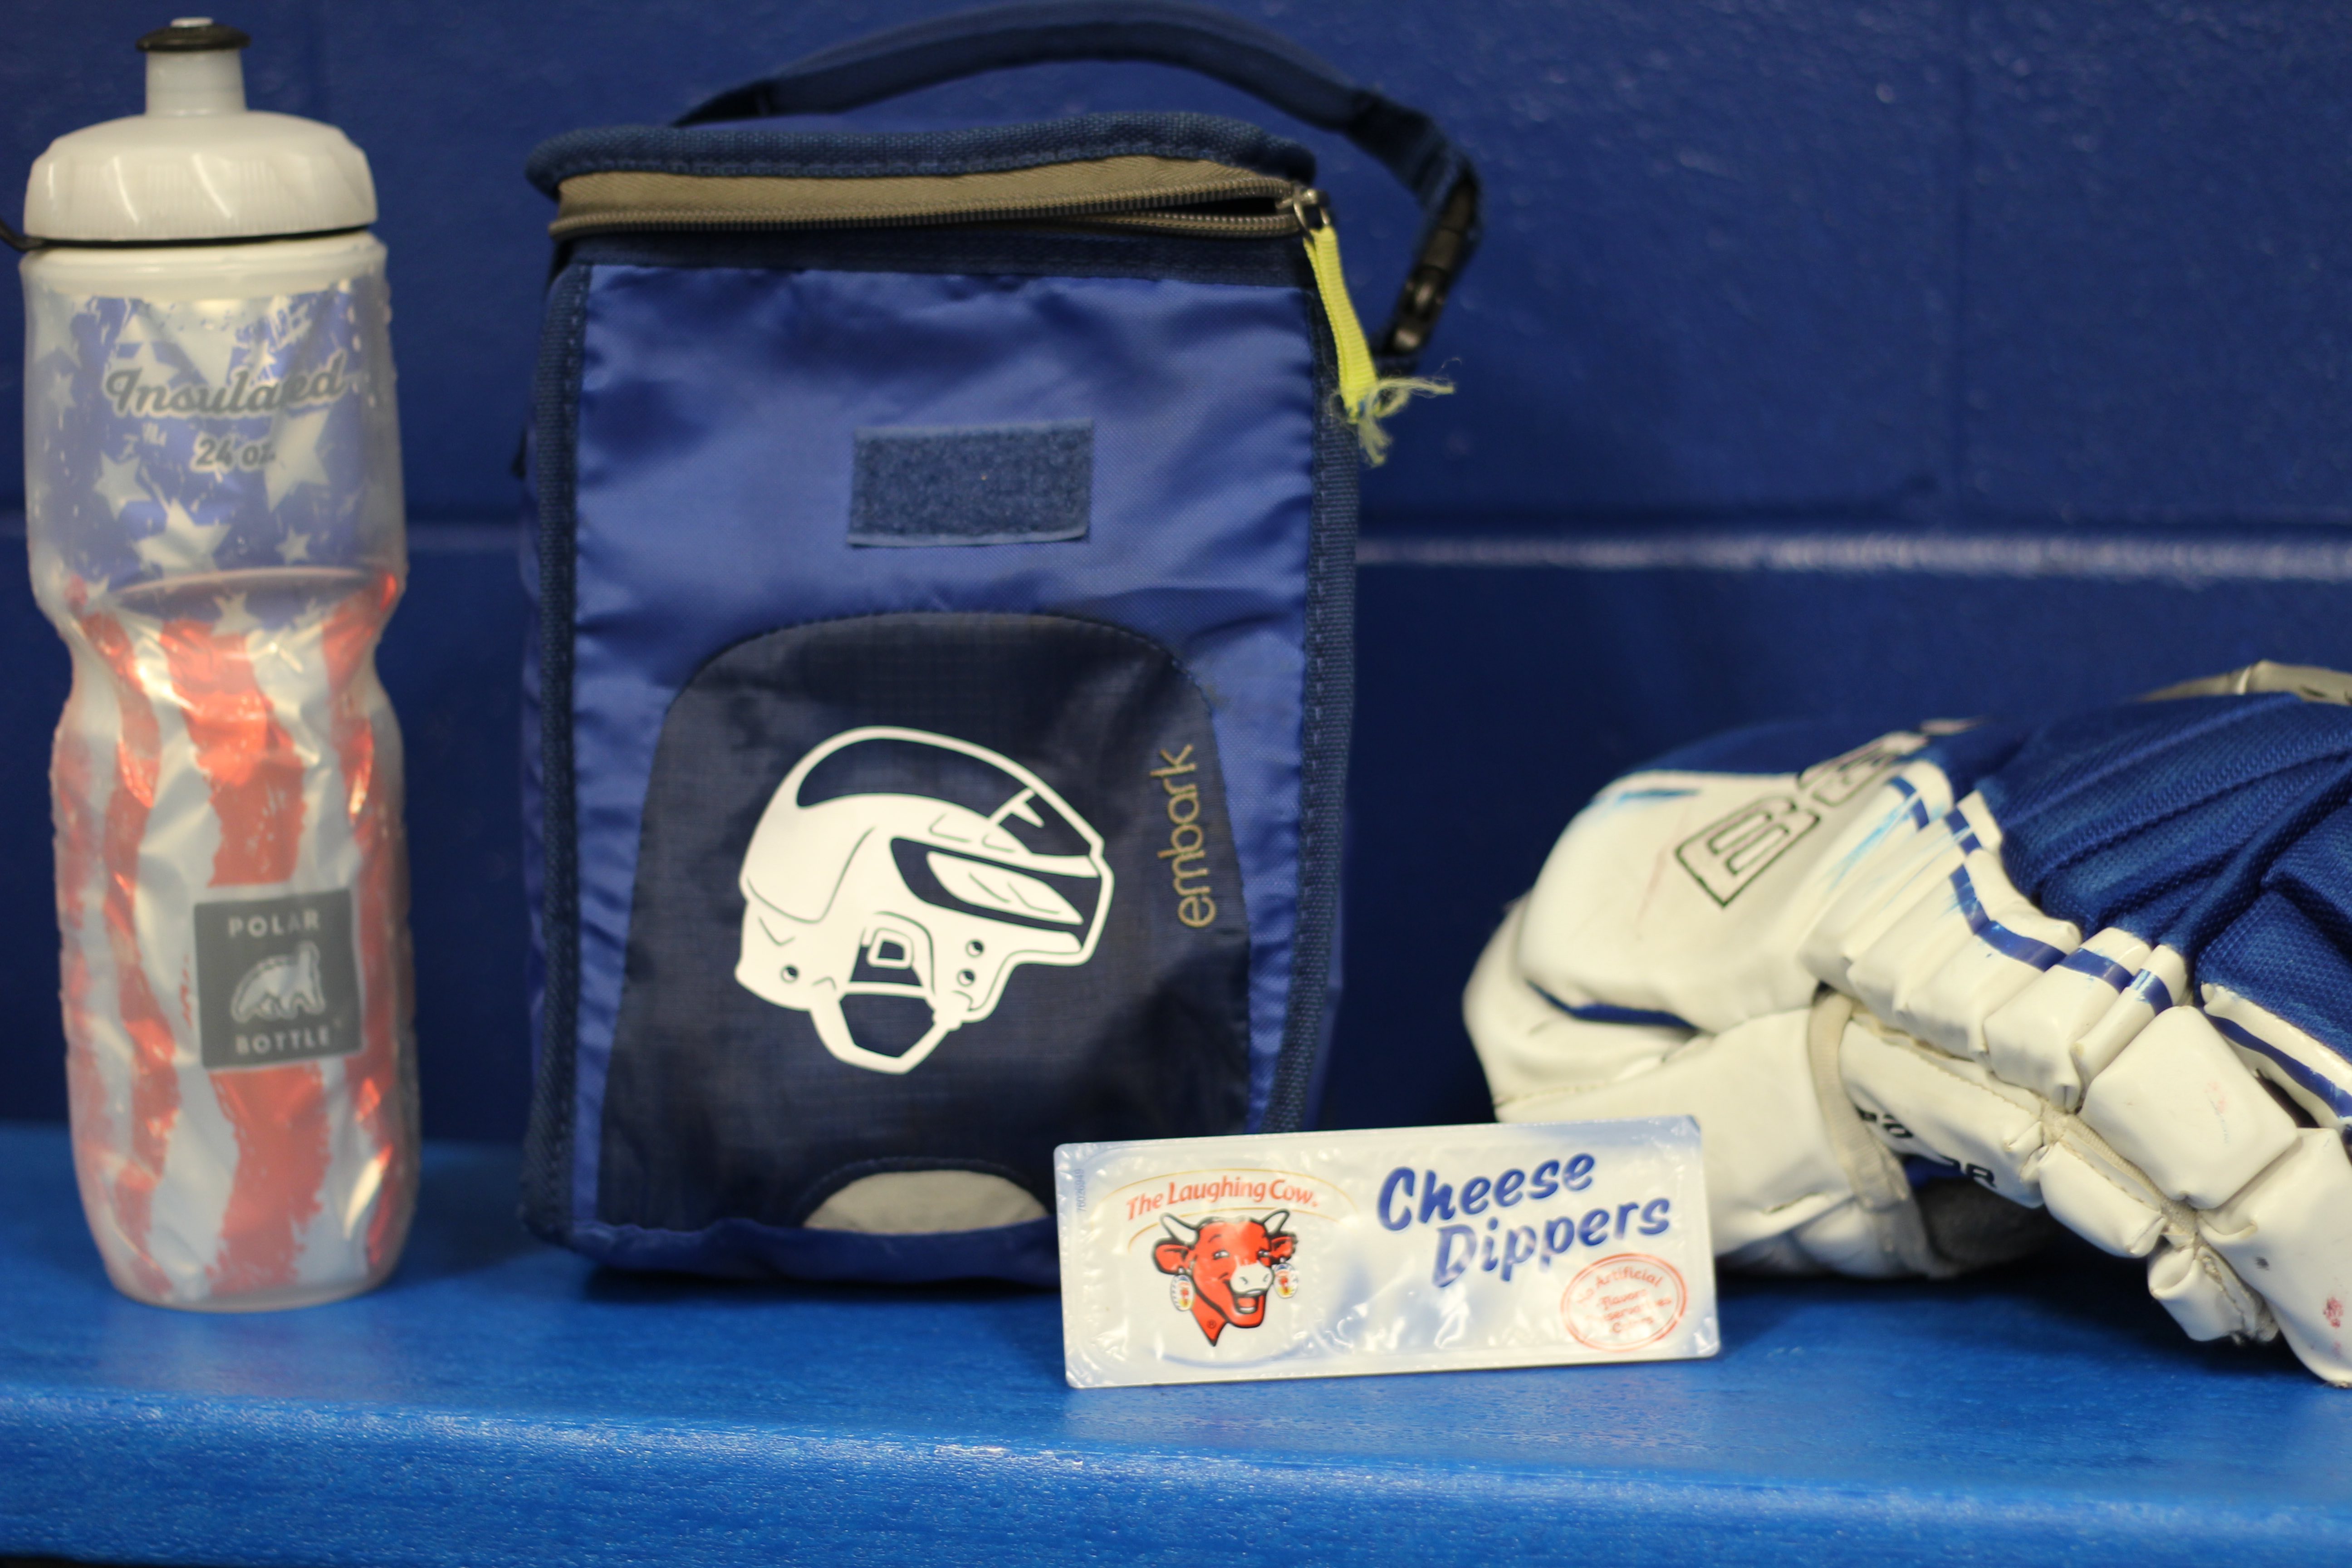
Simple Lunchbox DIY. Whew! Fall came in like a lion this year, I feel like I am never ever going to catch up! My second son started Fall hockey this week, and I am in charge of snacks for the team. So, being the overachiever loving mom that I am, I made the team their own reusable hockey lunch boxes. Target had them on clearance, and they were on cartwheel, so they were super duper cheap.
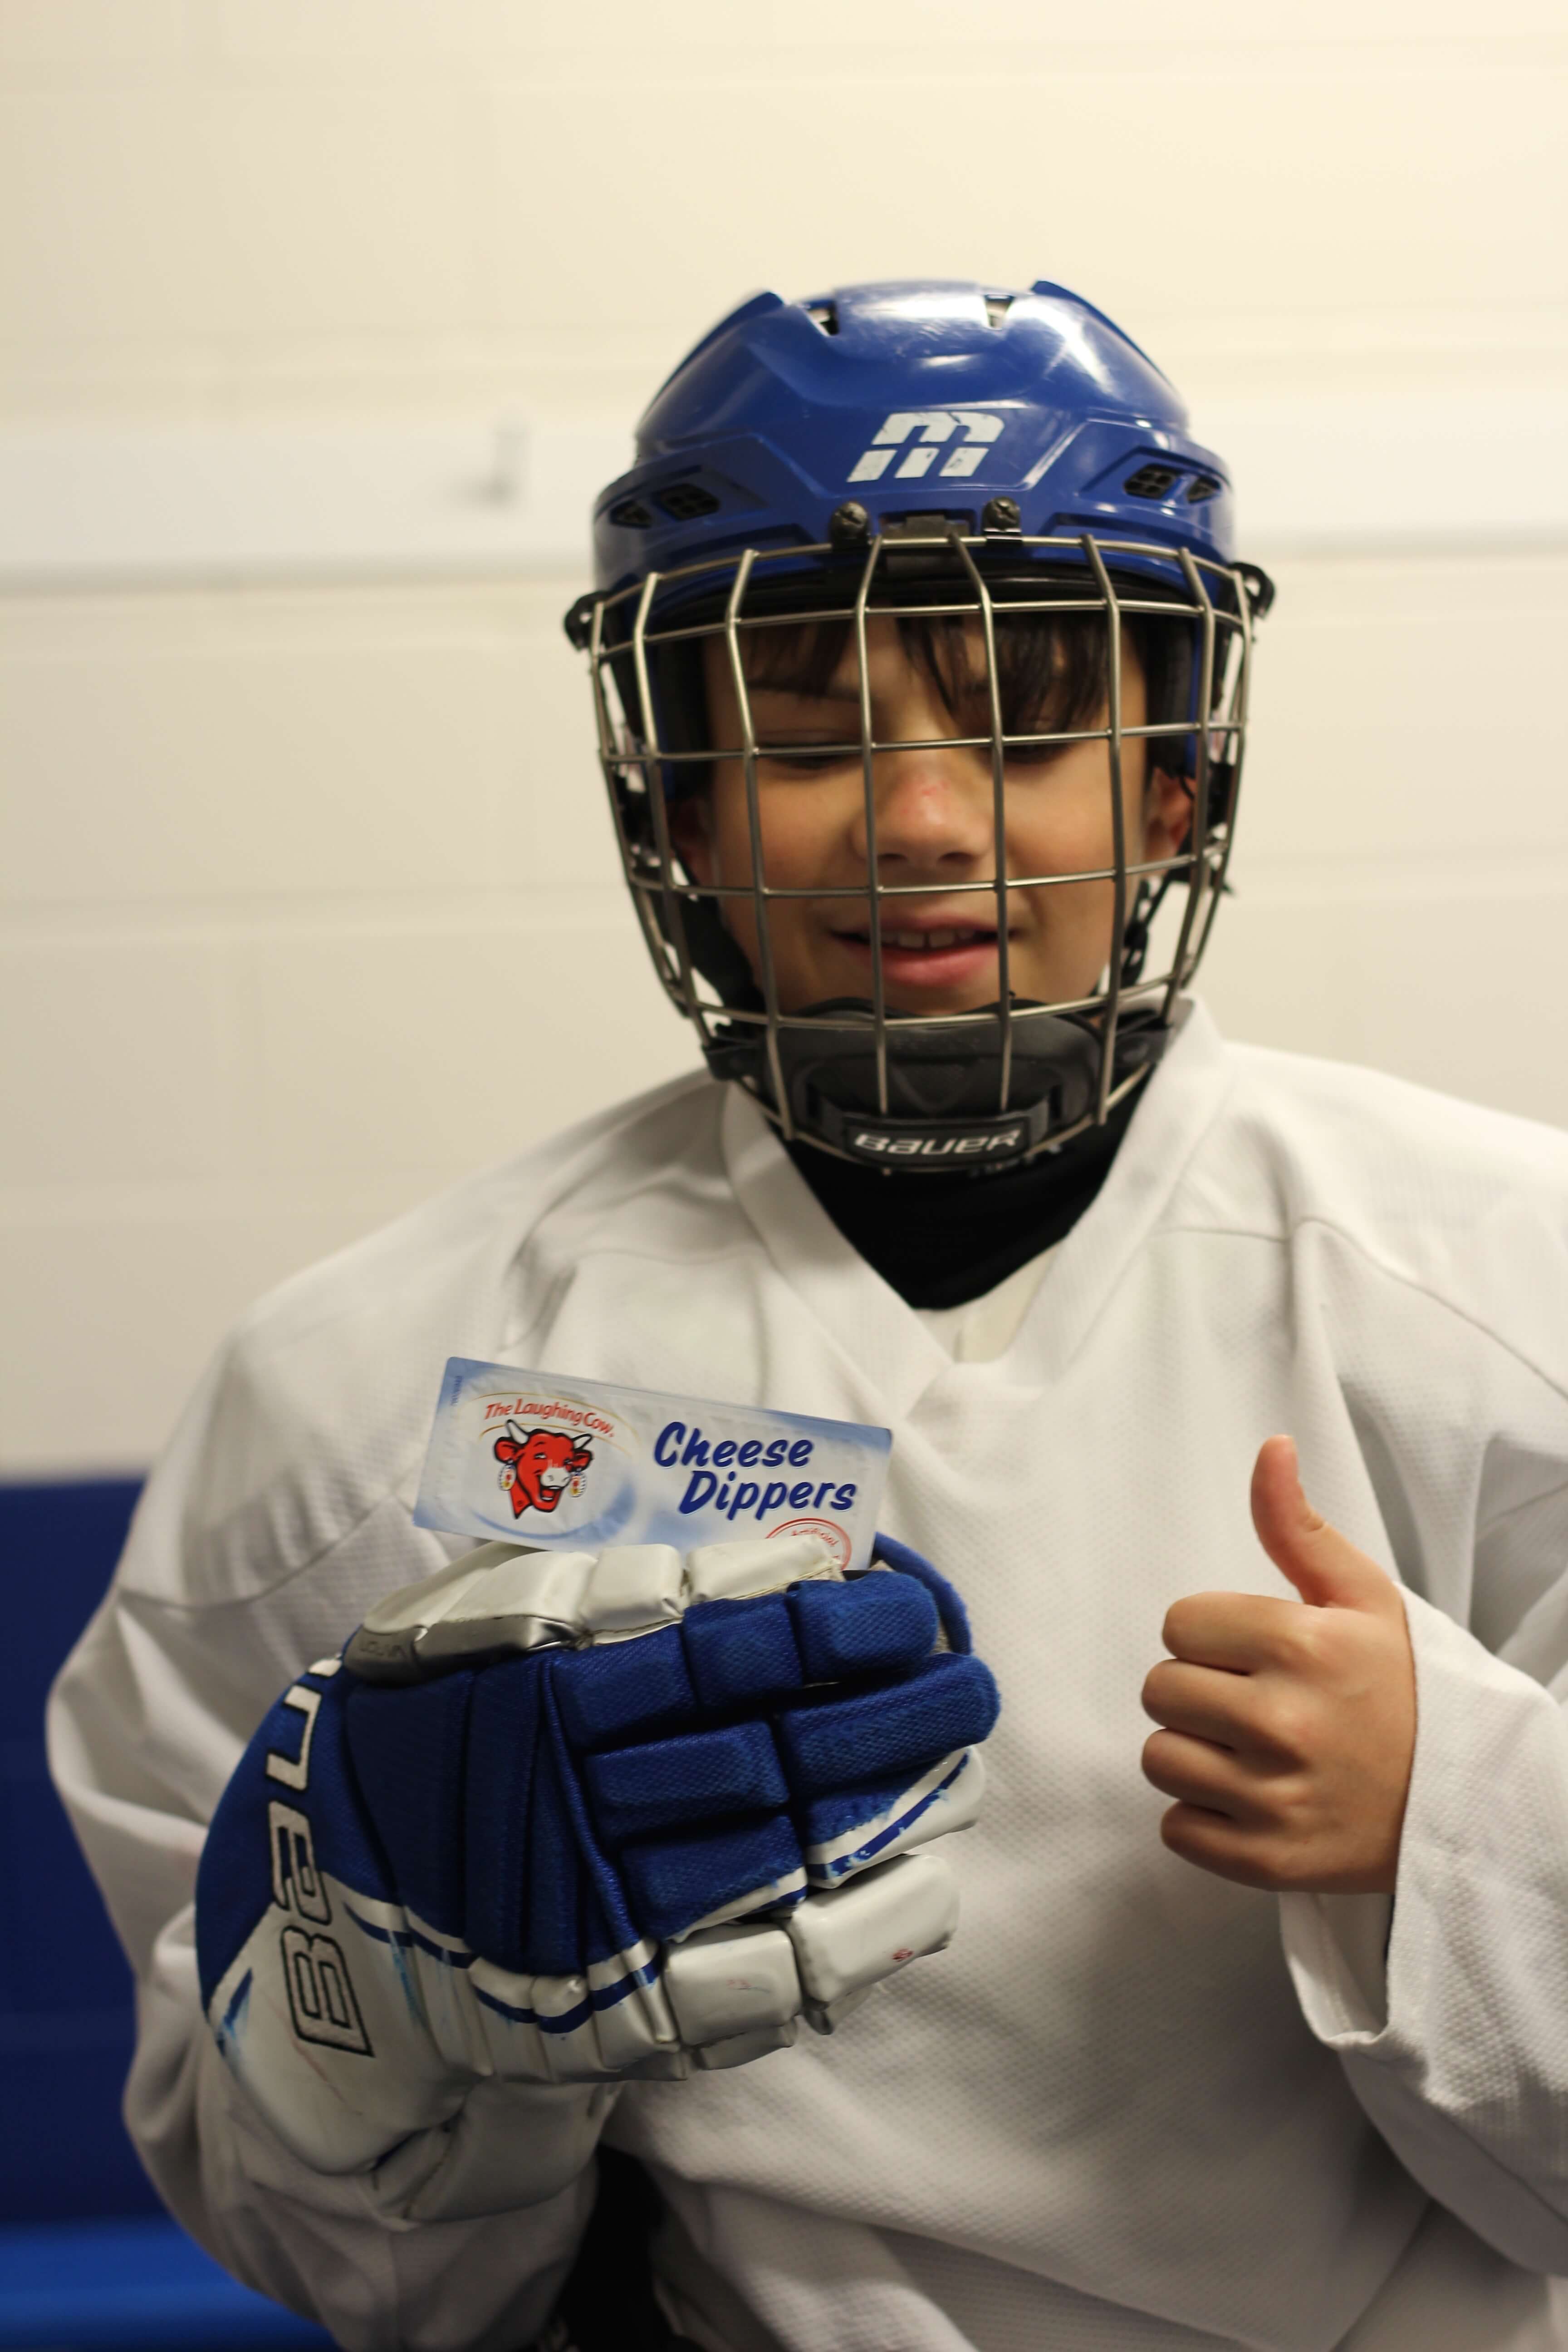
One of our favorite on the go snacks are Cheese Dippers by The Laughing Cow. They are perfect ANYWHERE! Plus, with calcium and 4 grams of protein, they are perfect for the young athlete in your house. I popped a package of Cheese Dippers in the lunch box with a bottle of water, a juice box, a package of grapes and some candies.
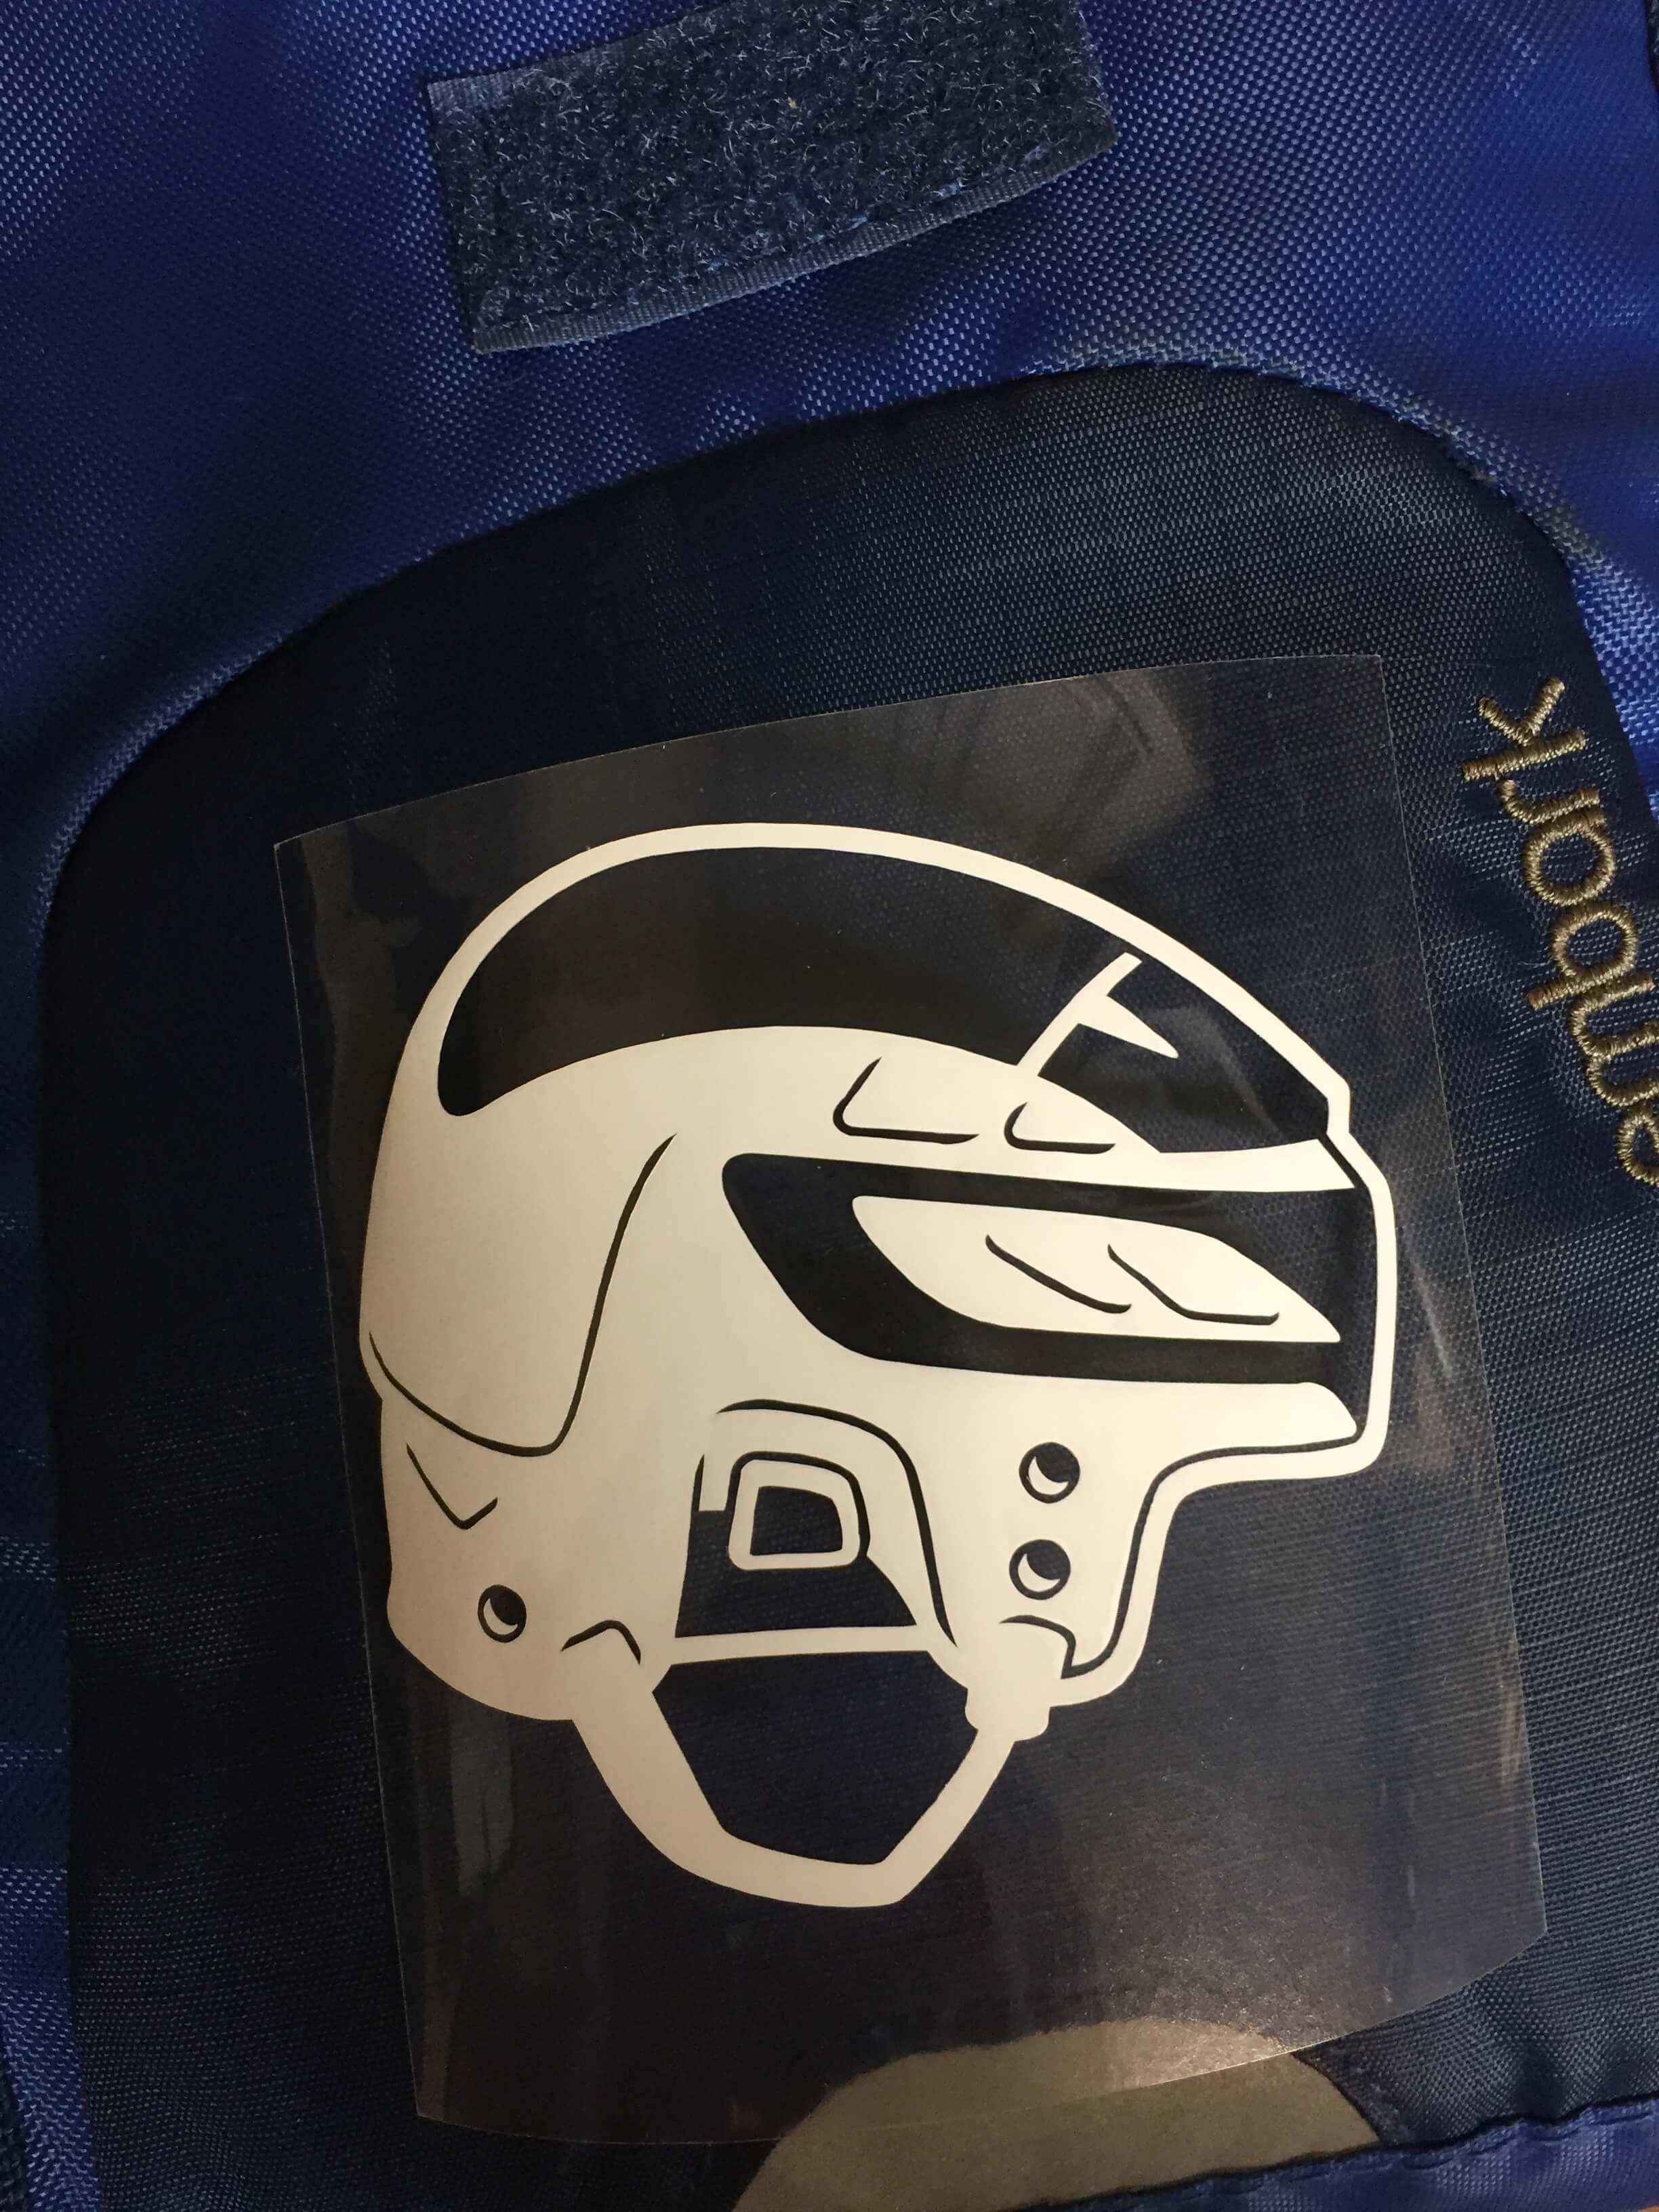
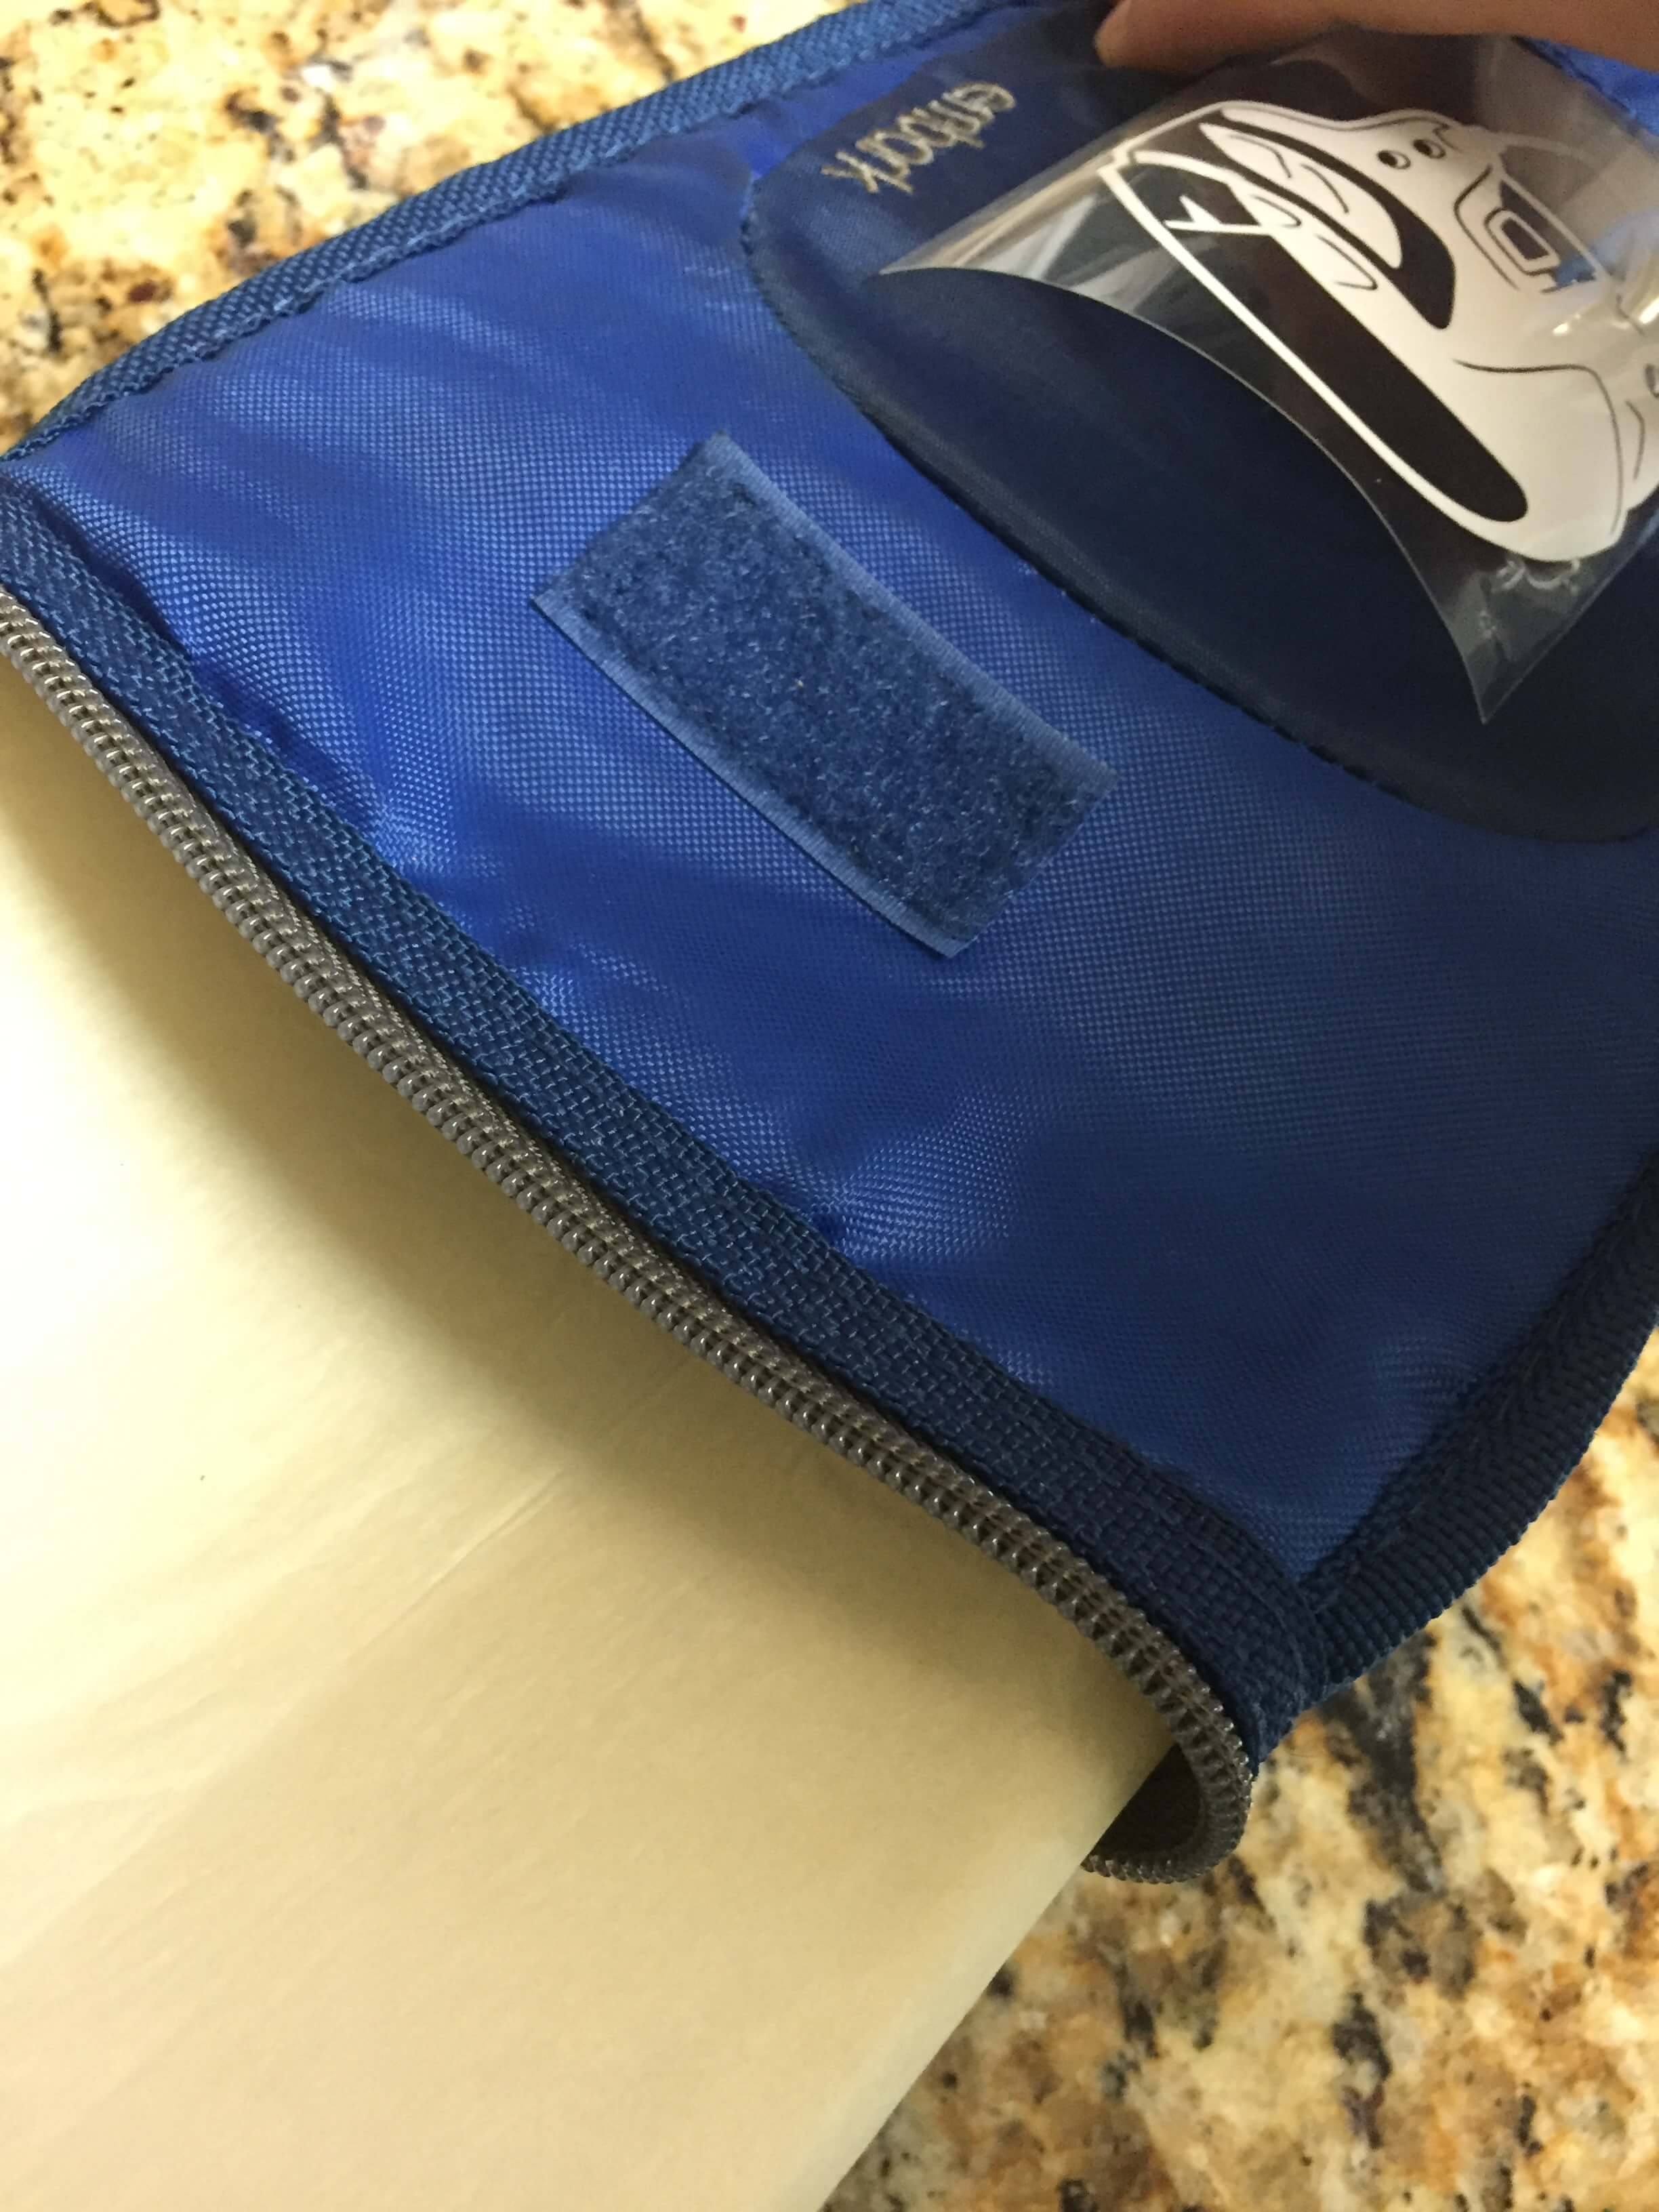
I just hated how boring the lunch boxes were, so I looked online to see if I could even apply iron on vinyl to a lunchbox. Luckily, Silhouette School has a fabulous tutorial for it! I got to work cutting one hockey helmet for each lunch bag in Cricut Design Space out using white Cricut Iron On Vinyl. It literally took just a few minutes to cut them all, and a few more minutes to add the vinyl. I promise it took less time than it would to decorate a paper bag and tie on a tag and a bow!
The kids were all so excited to have their own reusable lunch boxes for hockey and school! And they all really loved the Cheese Dippers!
Tags : back to school, Cheese Dippers, Cricut, DIY, Hockey, Laughing Cow
In DIY

