Christmas Decor using Rockwell Tools
*This review is based strictly on my opinion. Others may have a different opinion or experience with the product listed above. I was provided the sample free of charge by the company or PR agency and I have given my honest opinion. No other type of compensation was received for this review.* I was recently contacted by Rockwell Tools…y’all this was a dream come true type of email! I LOVE tools, the hubs LOVES tools…Anyway, they sent me the most amazing saw, the Bladerunner x2. It is so great, light and easy to use, and cuts effortlessly. Ok, so, in October, I mentioned I was a little tired of our same old holiday decorations. I wanted to tone it down, and change it up a little…guess what, I felt the same way about our Christmas decor…I wanted less mass made decor, and more thoughtful homemade decor. Unfortunately, I have been laid up since my knee surgery in early November. (Long story, but a two week recovery has turned into an unknown time frame, and more time with crutches than any mom should have to endure) I decided to venture out and get my build on last week. It felt so good to get my hands dirty and MAKE something again. I grabbed some wood from my scrap pile and the hubs and I began building some new Christmas decor for outside.
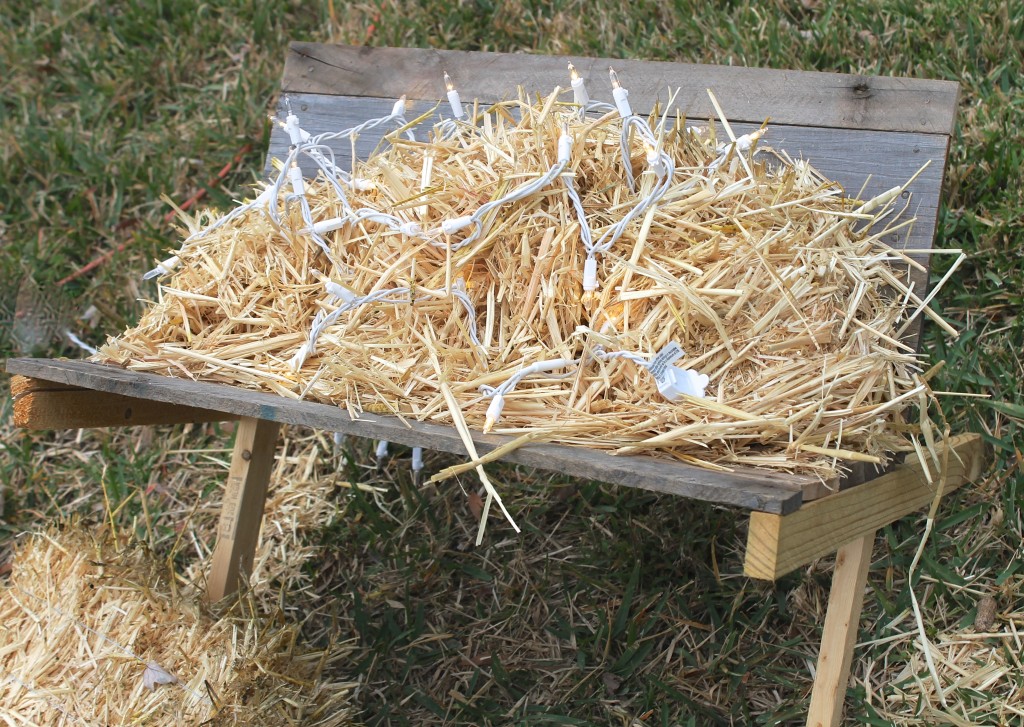
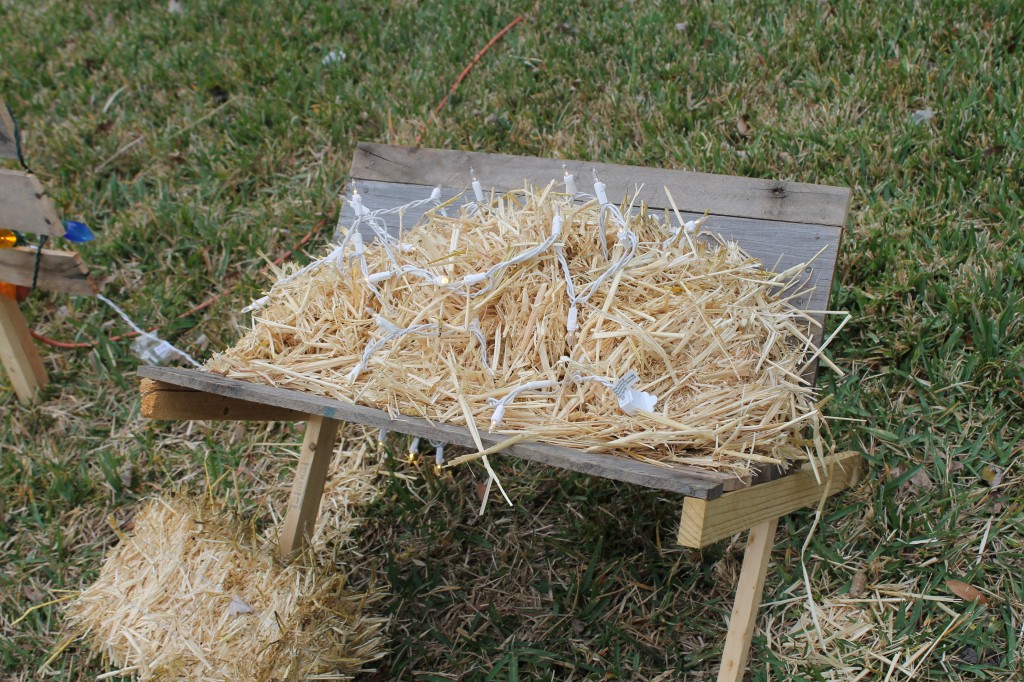
So, here’s a simple manger DIY even a mom on crutches can do with a little help from her hubby!
Supplies:
4 pieces of 1″x1/2” wood cut to the same length. (Ours are just under 2′ long)
2-6 pieces of scrap wood cut to fit the length of the manger (We had 6 pieces about 15″ long from an old pallet)
Elmer’s Wood Glue
Penny nails or nail gun with small head nails
4 Screws
Drill
Saw (Rockwell Bladerunner 2)
Optional:
Twinkle lights
Hay (I used leftover hay from Colby’s Gold Mining Party. Small craft bales are the same thing)
1. Decide how big you want your manger to be
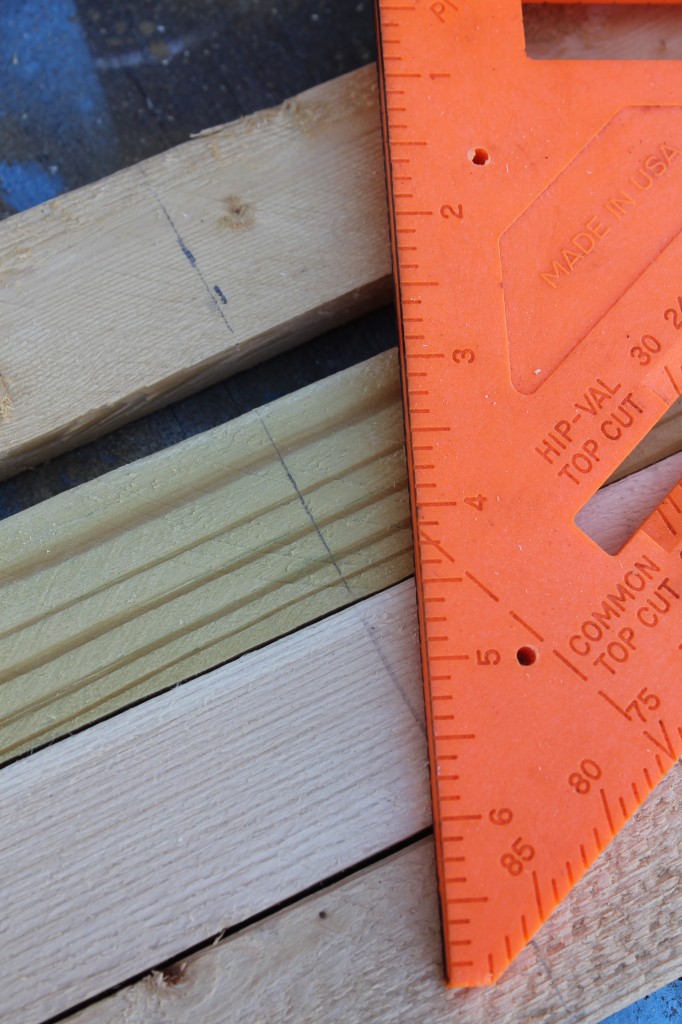
2. Cut the 1″ by 1/2″ boards to size.
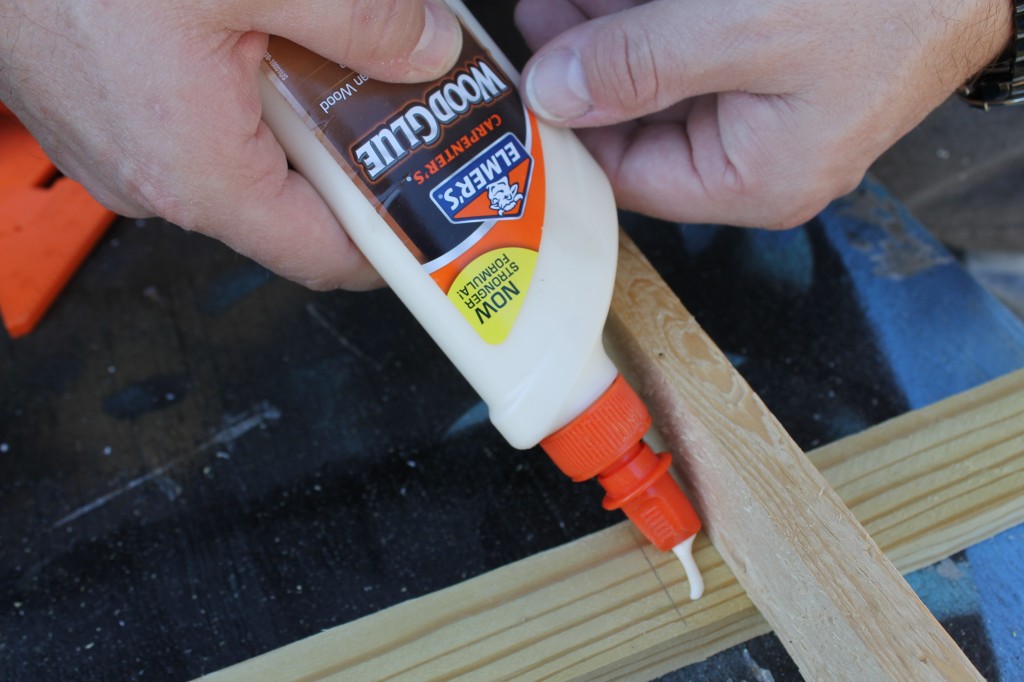
3. Glue and screw your cut 1″by 1/2″ boards to make an “X” these will be the legs of your manger
4. Measure how far apart you want your legs to be.
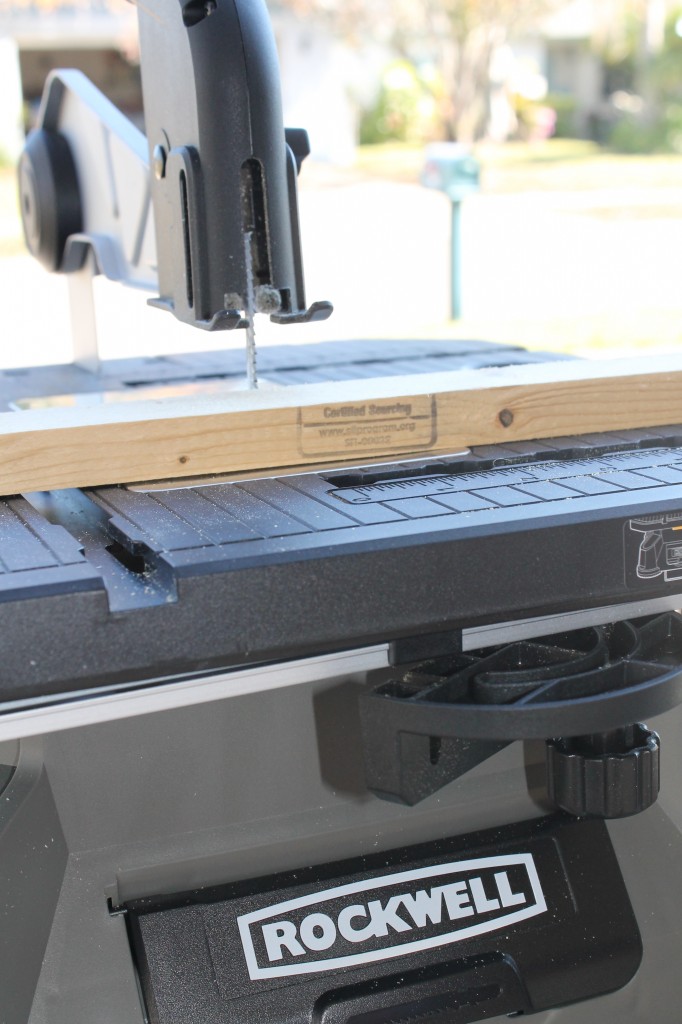
5. Cut your scraps to fit that length. We had to rip cut a piece of scrap wood for each side. It was super simple with the Bladerunner.
6. Fit your cut boards onto your “X” legs. Add glue and nail into place.
7. Add hay and twinkle lights
8. Voila! You have a simple, rustic, and meaningful Christmas decoration that YOU MADE!
We made the rustic Christmas tree with more leftover wood and Christmas lights. Both are super simple, took less than an hour to make and look great in the yard.
Many thanks to Rockwell for sending me such a fun new tool. If you would like your own Rockwell tool, I cannot recommend them highly enough! And I have a discount code, EVERYDAY15, just for you! So, put that Christmas gift money to work for you, and grab yourself a discounted Rockwell tool, and ROCK IT!
#ToolsForPeopleThatRock
Tags : Christmas, DIY, Everyday Party Magazine, Manger, Rockwell

