Simple DIY Ugly Sweater Shirt
*This review is based strictly on my opinion. Others may have a different opinion or experience with the product listed above. I was provided the sample free of charge by the company or PR agency and I have given my honest opinion. No other type of compensation was received for this review.*
*If you decide to make a purchase through my links, I will be paid a small commission for it. This doesn’t cost you anything additional. These commissions help to keep the rest of my content free, so thank you!*
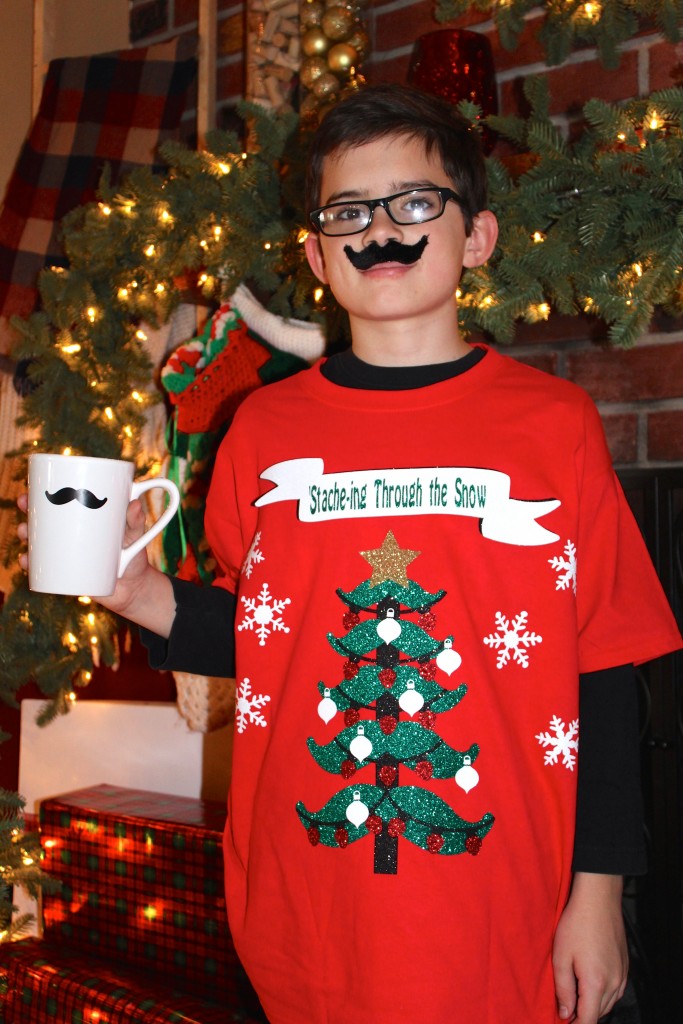
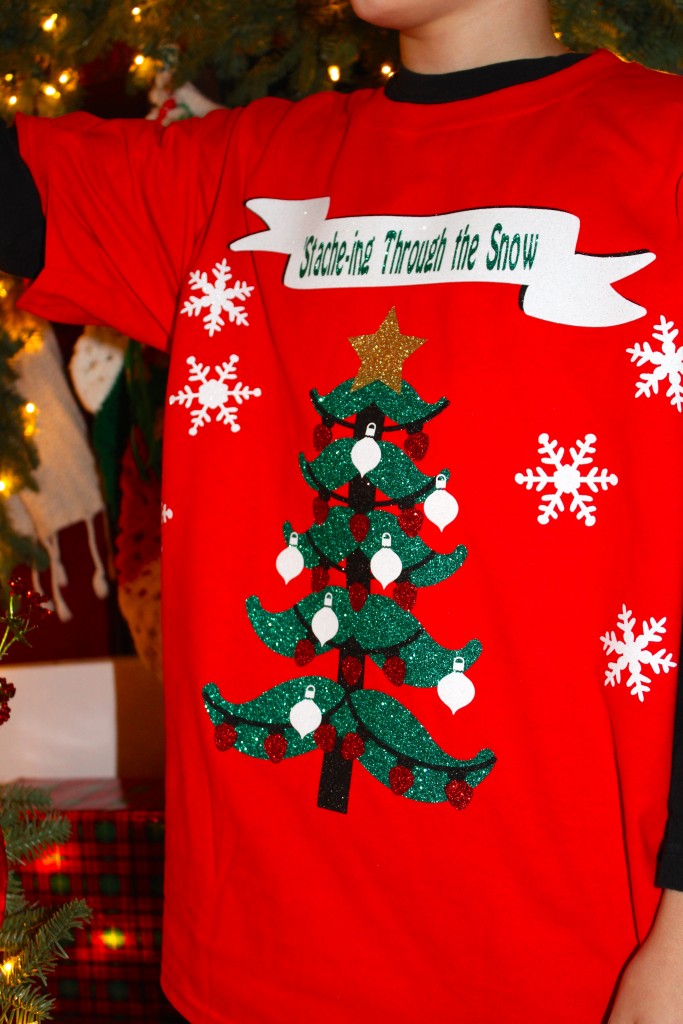
If you follow my site even just a little bit, you will know I am a sucker for an Ugly Sweater. I love Ugly Sweater parties, and it seems to be a gene that was passed down to at least one of my kiddos. So, when I mentioned Cricut asked a few bloggers to design their own Ugly Sweaters, he was all in! He looked online and found a style he liked, but wanted to make it more his own. I had him sketch out what he wanted on a shirt, and we got to work.
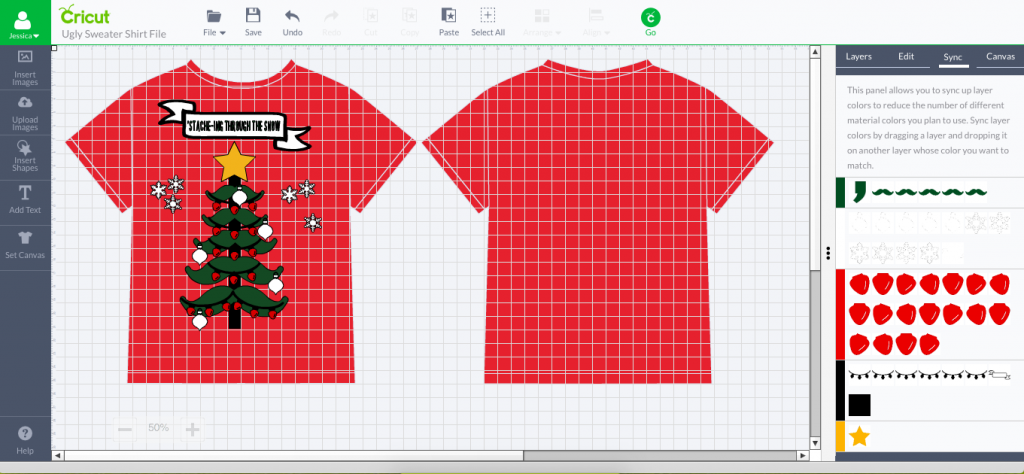
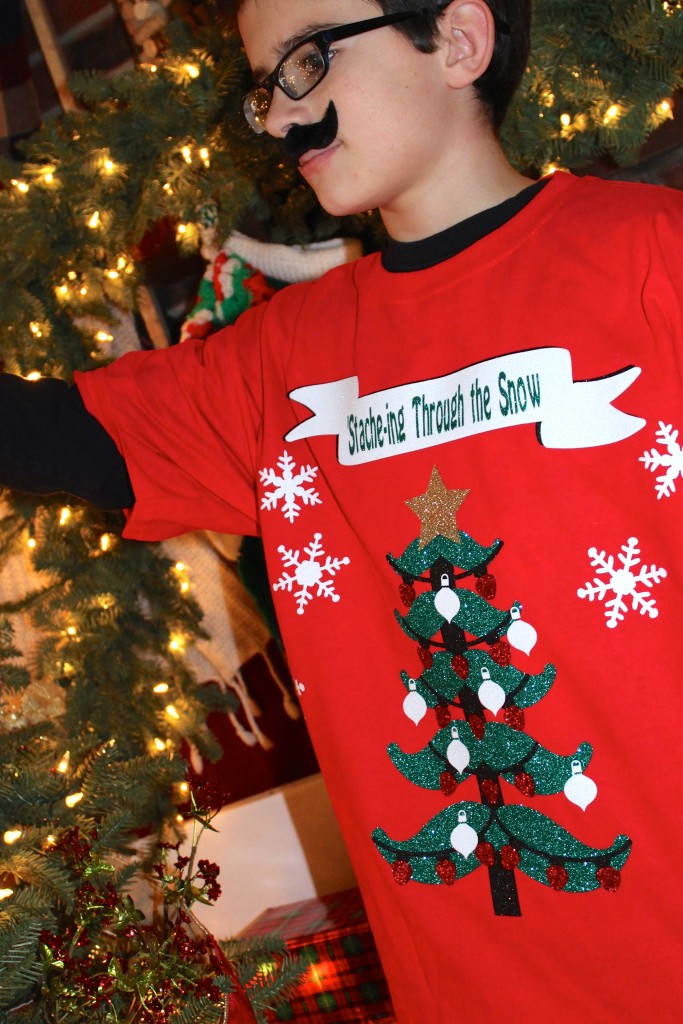
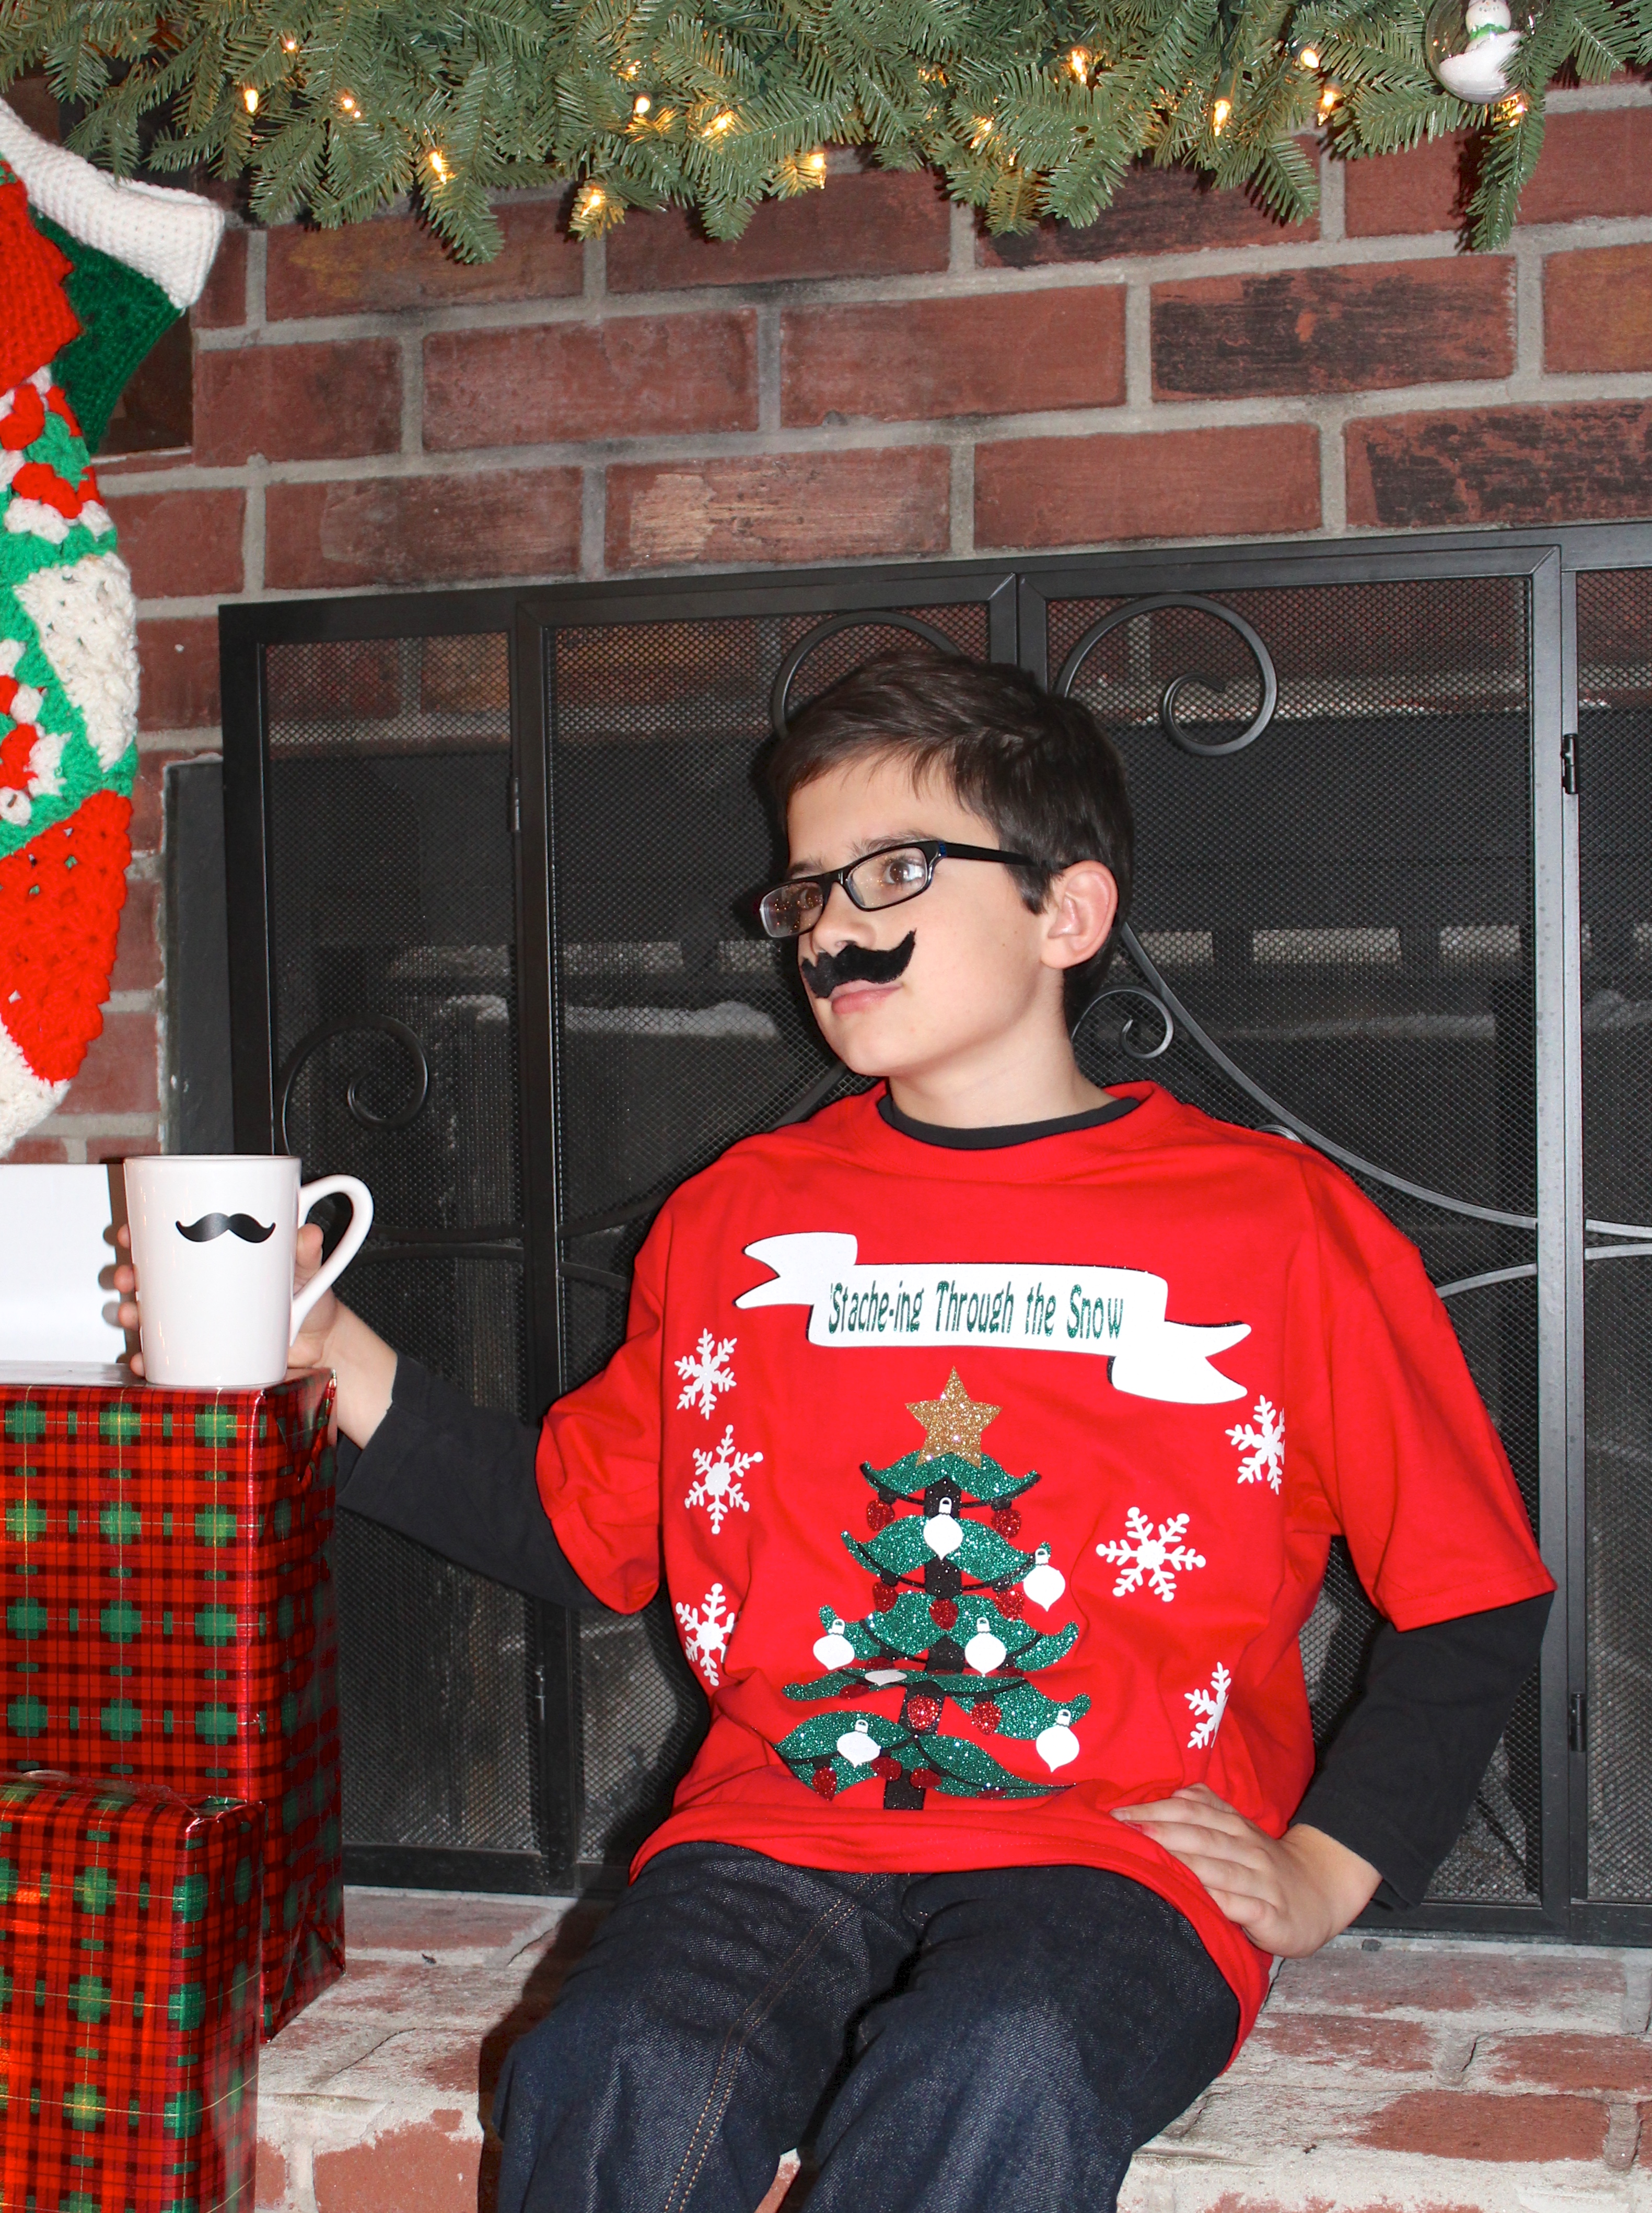
With his sketch in hand, I logged into my Cricut Design Space and started adding images and shapes to mimic what he had drawn. Once I had his final approval on the design (he is a very picky “boss”), he helped me choose the iron on vinyl colors. I did suggest adding “‘Stache-ing Through the Snow” on the shirt, he still loves a corny mustache pun. He decided he wanted his design on a red t-shirt, so we set the canvas as a classic t-shirt, in his size, colored red. We adjusted the design to fit the shirt, and synced the colors. Then we sent it to the Cricut. This was a time consuming shirt to make, I won’t lie, but still very simple. There are many layers, many colors, and a great deal of weeding, but the end result is so fun, and my son is hooked on DIY’ing his own shirts from now on!
To help save you some time, I have saved the project as a public file, you can find it here. You will just need to group everything together to adjust it to fit your canvas size. It is sized for a child’s medium as is.
Supplies:
Red T-Shirt
Iron
Parchment/Freezer Paper
We chose to use all glitter iron on vinyl from Cricut to kick up the gaudy ugly sweater aspect, plus, my son loves glitter, bless him!
When you are ready to iron on all of the vinyl, lay it on the shirt first to see where you want it all placed. We moved the ornaments and snowflakes around a little. Once you are happy, begin with the bottom layer (the tree trunk) and iron it until it is secure, then add each layer one at at time until it is finished. This took me about 30 minutes, with 4 kids running around, and a dog at my feet…so, it’s not a super fast job, but it’s not hard either.
Once all of the layers have been ironed on, you’re shirt is ready!
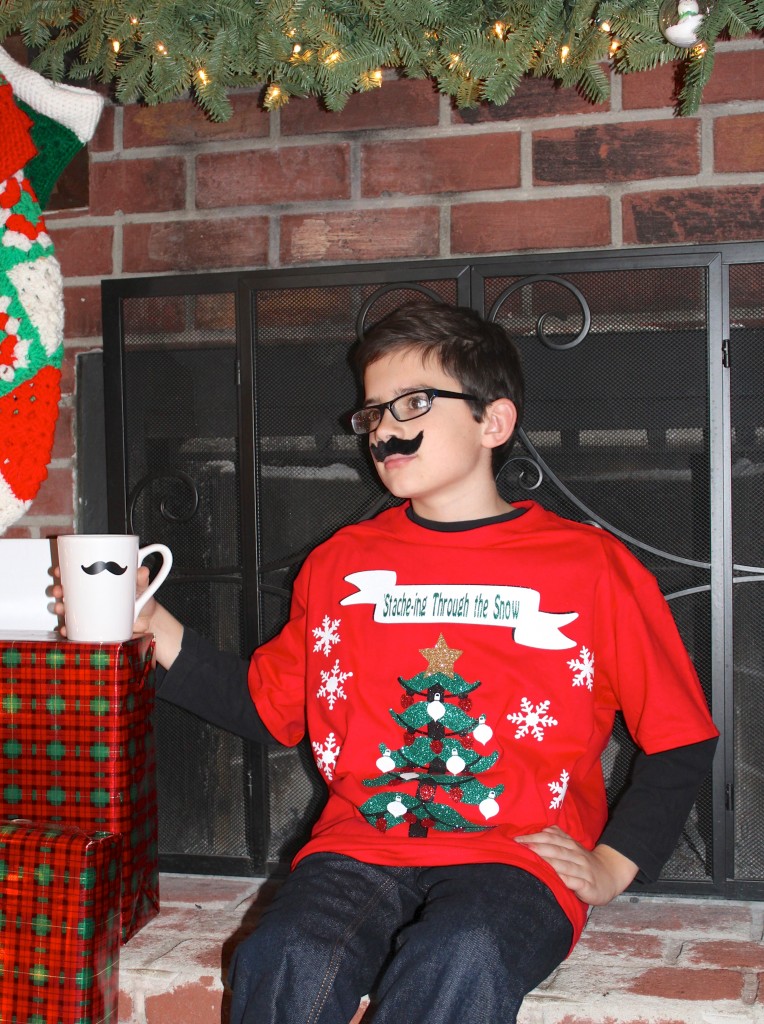
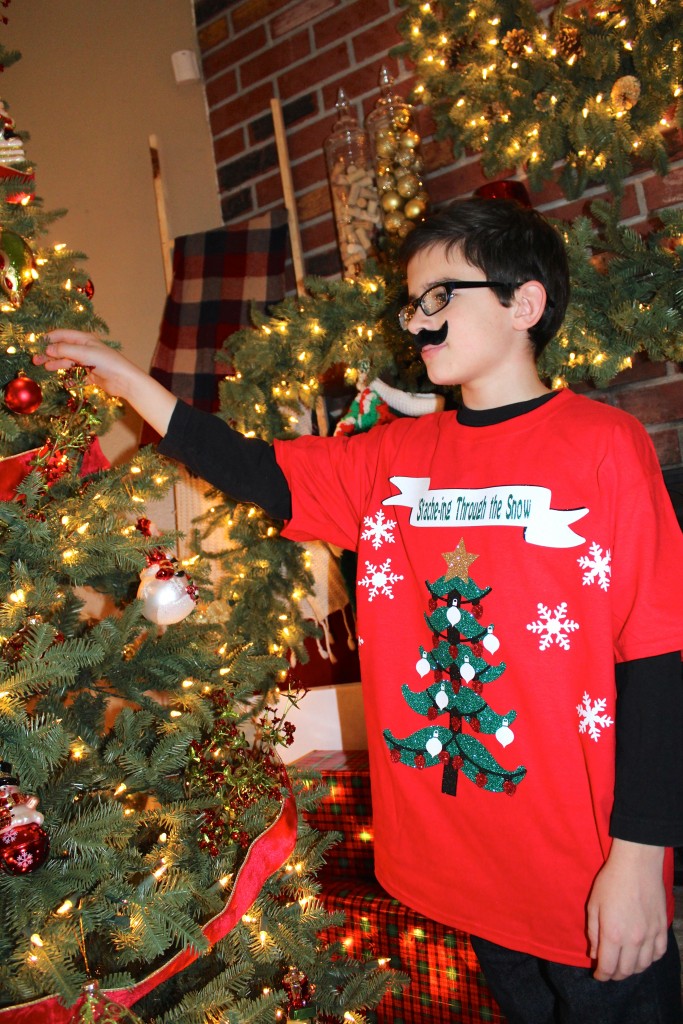
We posed the boy next to our Balsam Hill Christmas tree with a fun mug of hot cocoa, and a silly fuzzy mustache for photos.
I have been asked to make a set of 4 for my sister for family photos, so fun, right? I need to get going on them for her!
Tags : Christmas, Cricut, DIY, Kids, Shirt, Ugly Sweater, Ugly Sweater Party
In DIY

