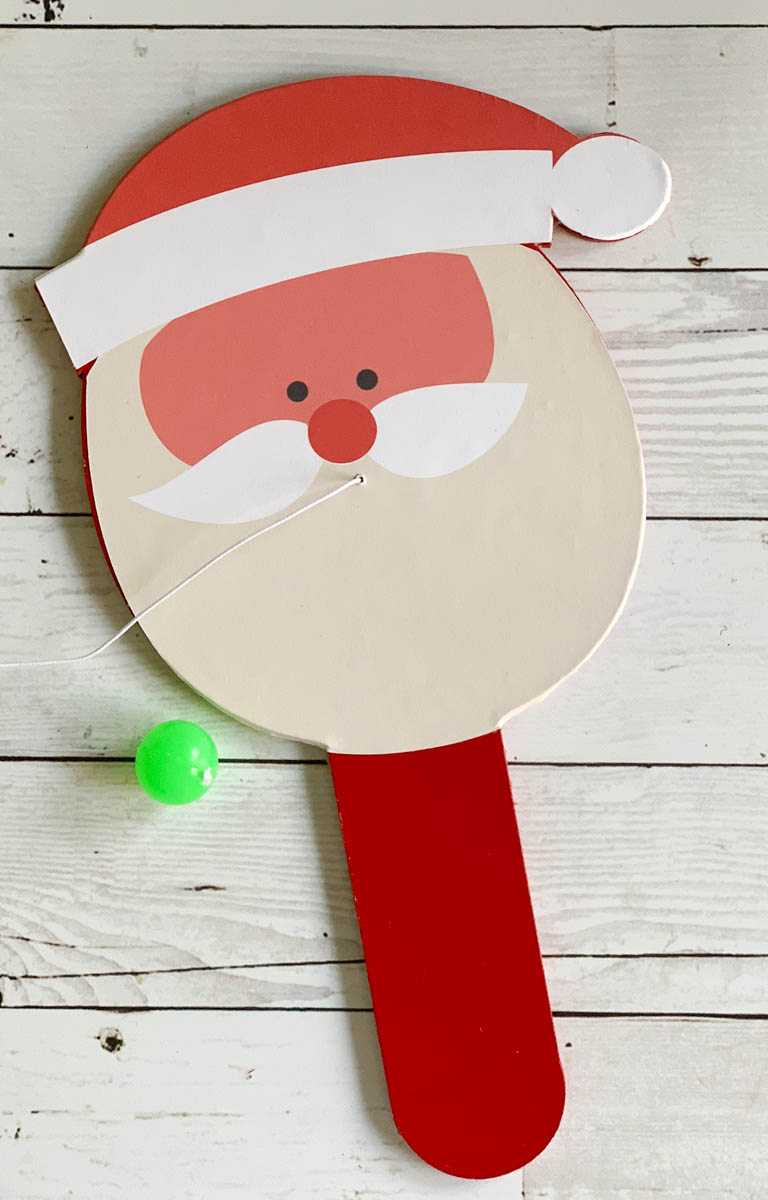
Craft Lightning Santa Paddle Ball Toy
Craft Lightning Santa Paddle Ball Toy. I know, I know…it’s not even Halloween yet, and I am sharing Christmas projects. But, you guys, this is such a fun project, I couldn’t wait!!!
I am thrilled to be back sharing a Holiday Craft Lightning Project. Be sure to scroll to the end to see more awesome Craft Lightning projects!
To make these fun Santa Paddle Ball Toys, you will need:
1 Piece of Chipboard
1 Piece of Card Stock or Printable Vinyl and Printer {this is my printer and I LOVE it!}
Paddle Ball or Elastic and High Bounce Ball
Red Paint
Tape
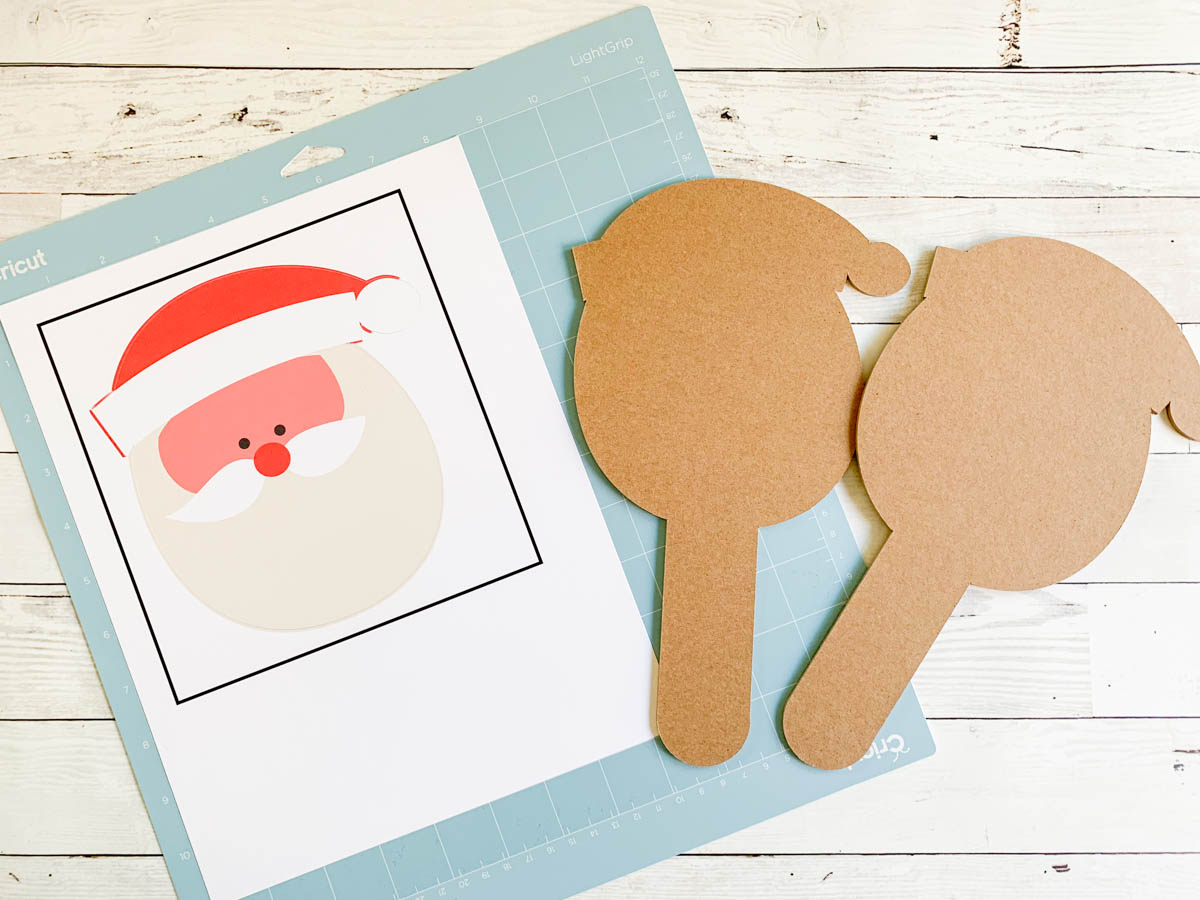
Begin by opening this cut file. It is sized so that you can fit two paddles on to one sheet of Chipboard. You will have to send it to cut twice, and rotate the paddle so it fits on the other side of the Chipboard.
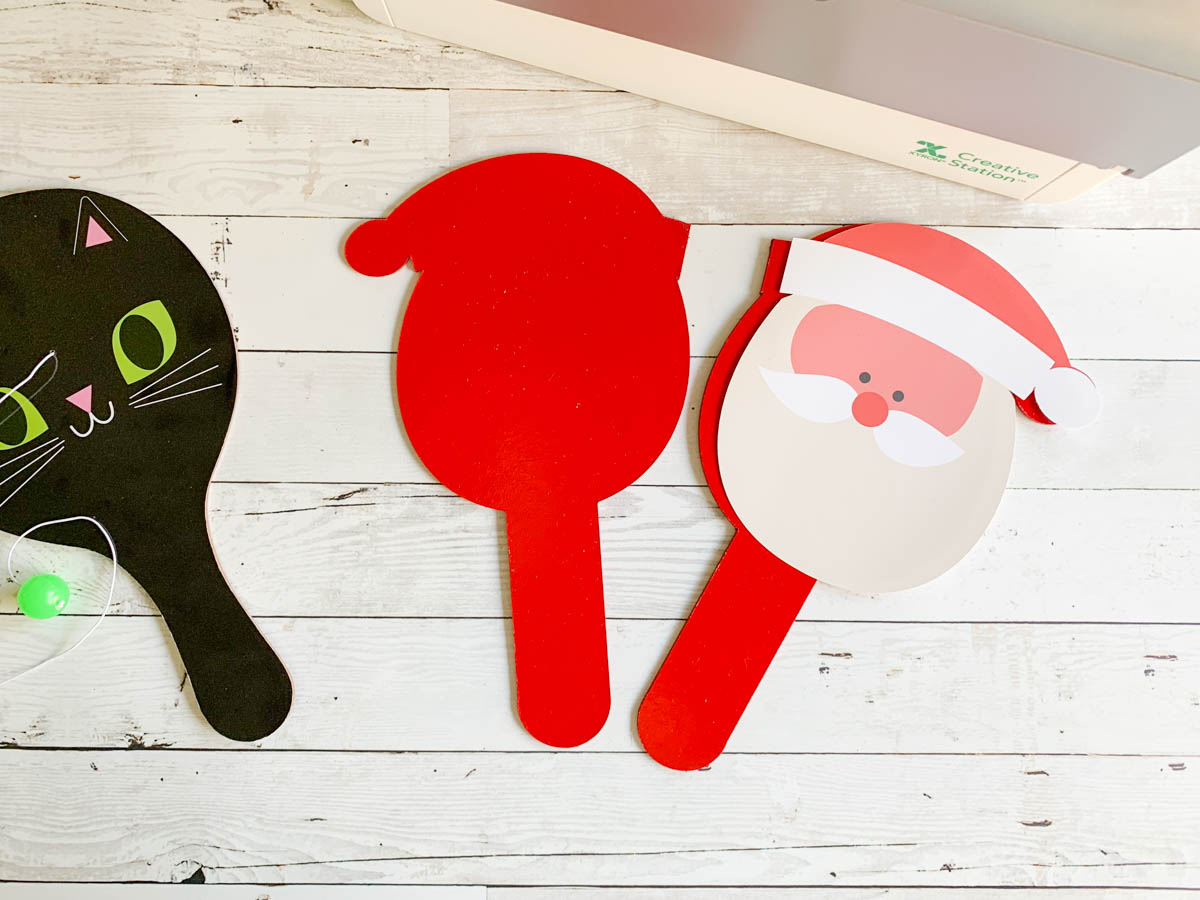
Once both paddles are cut, spray paint the front and back of each of the paddles.
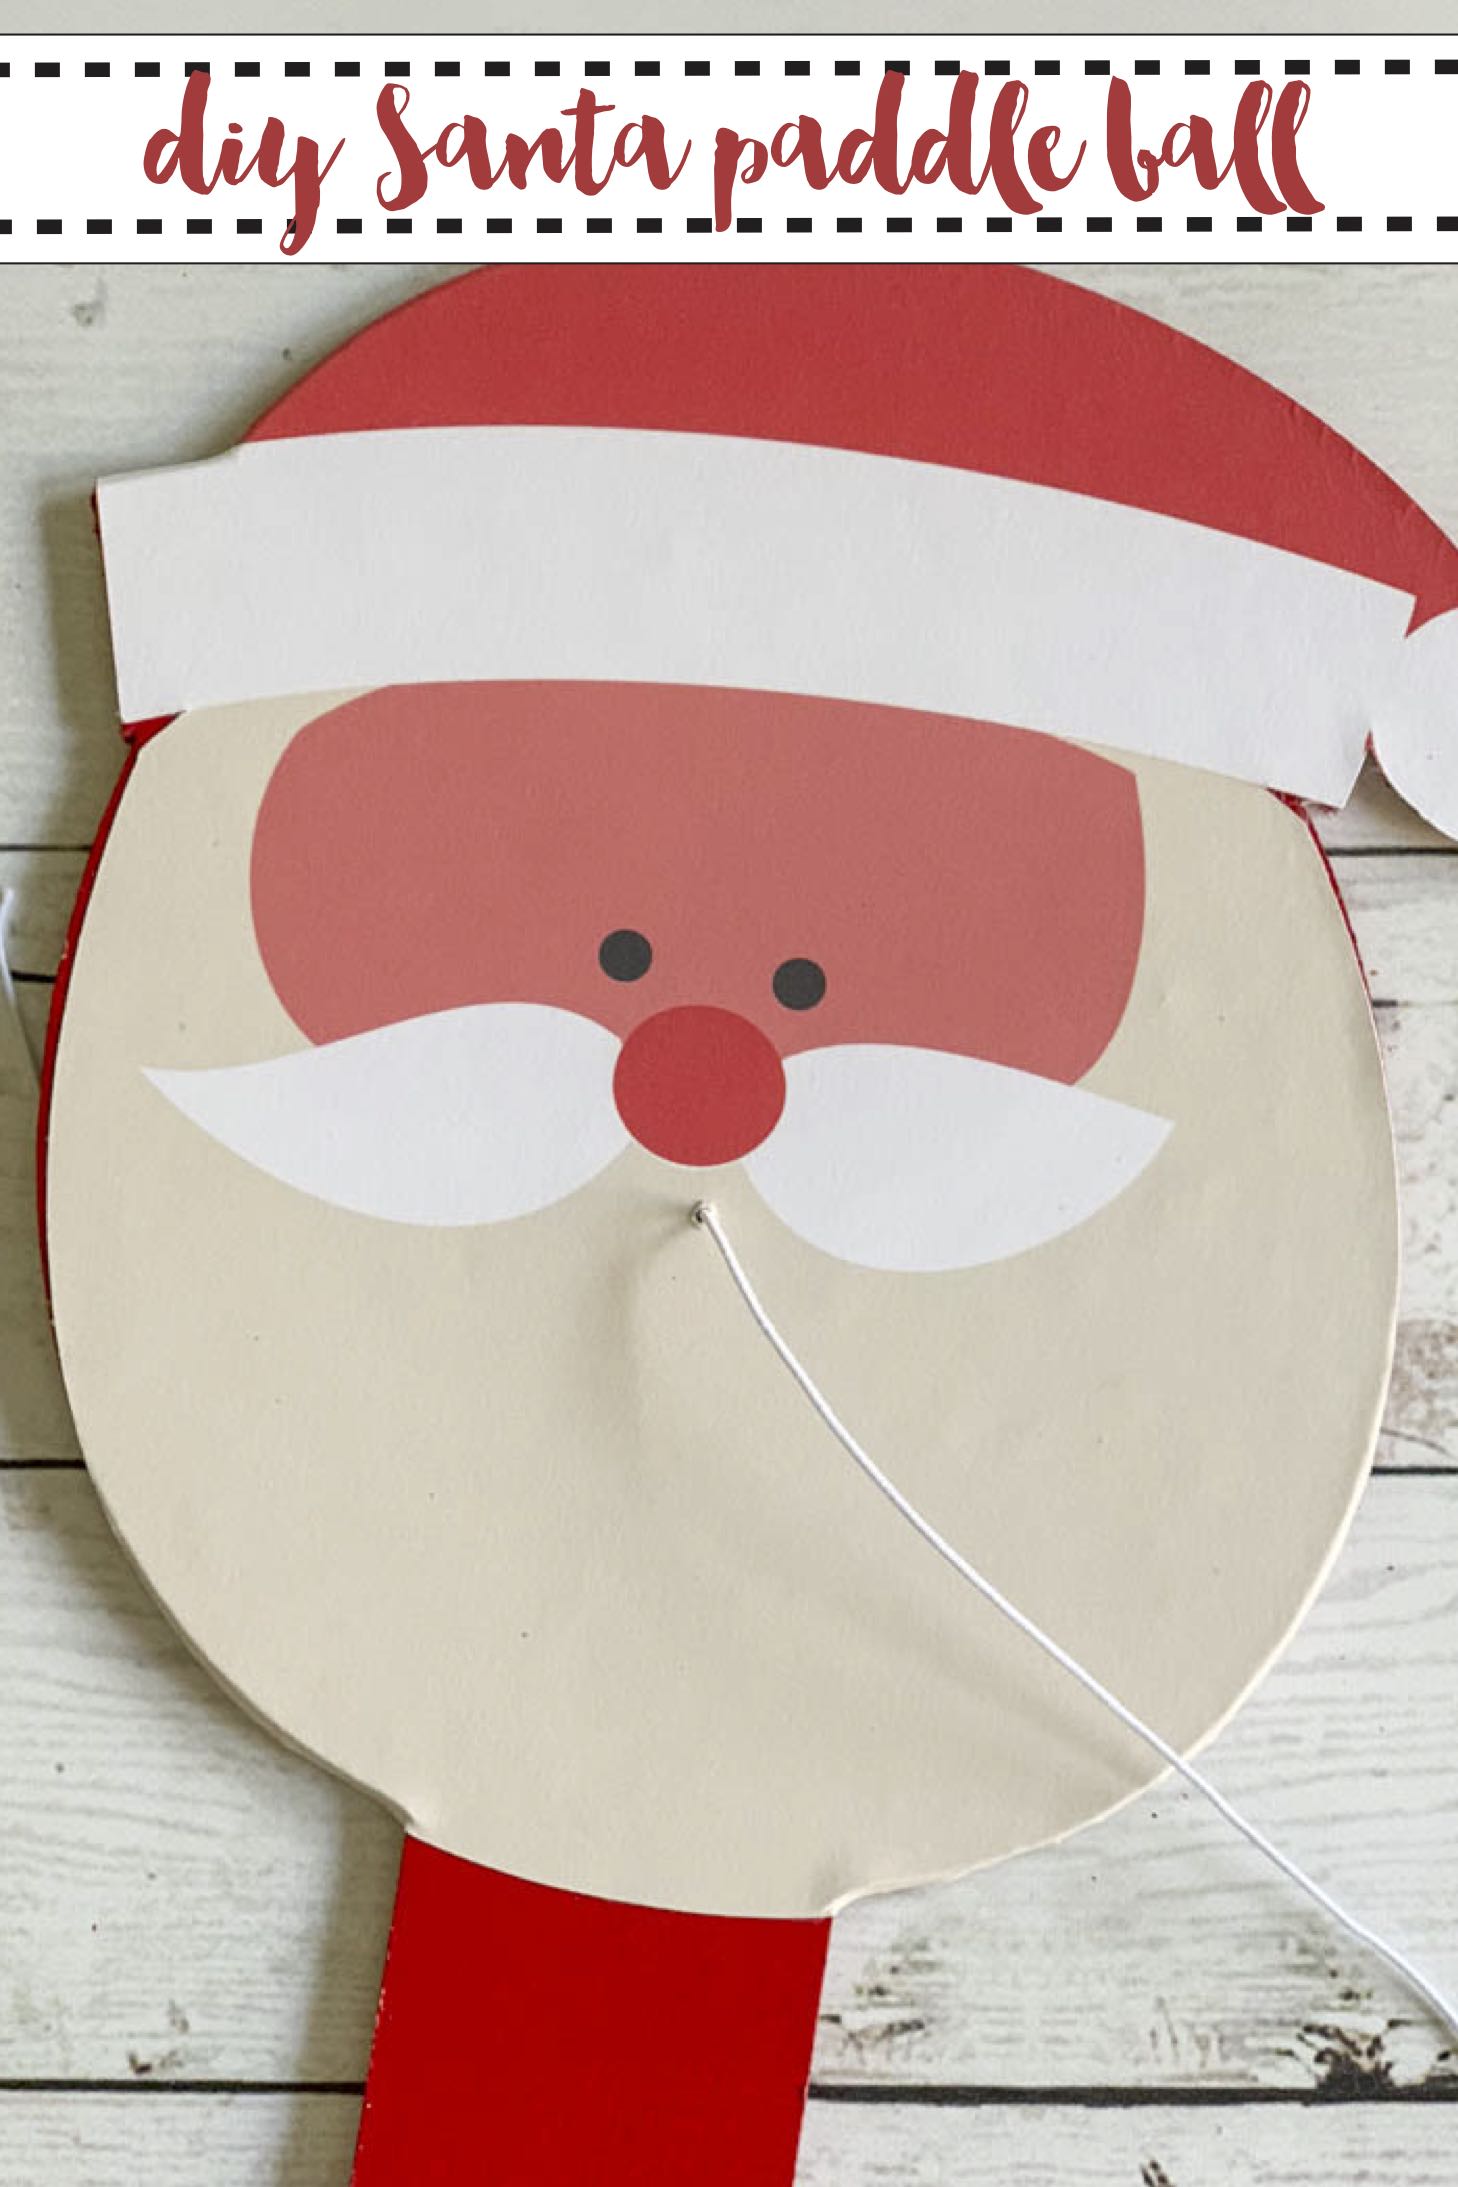
Print, then cut the Santa face, and run it through the Creative Station.
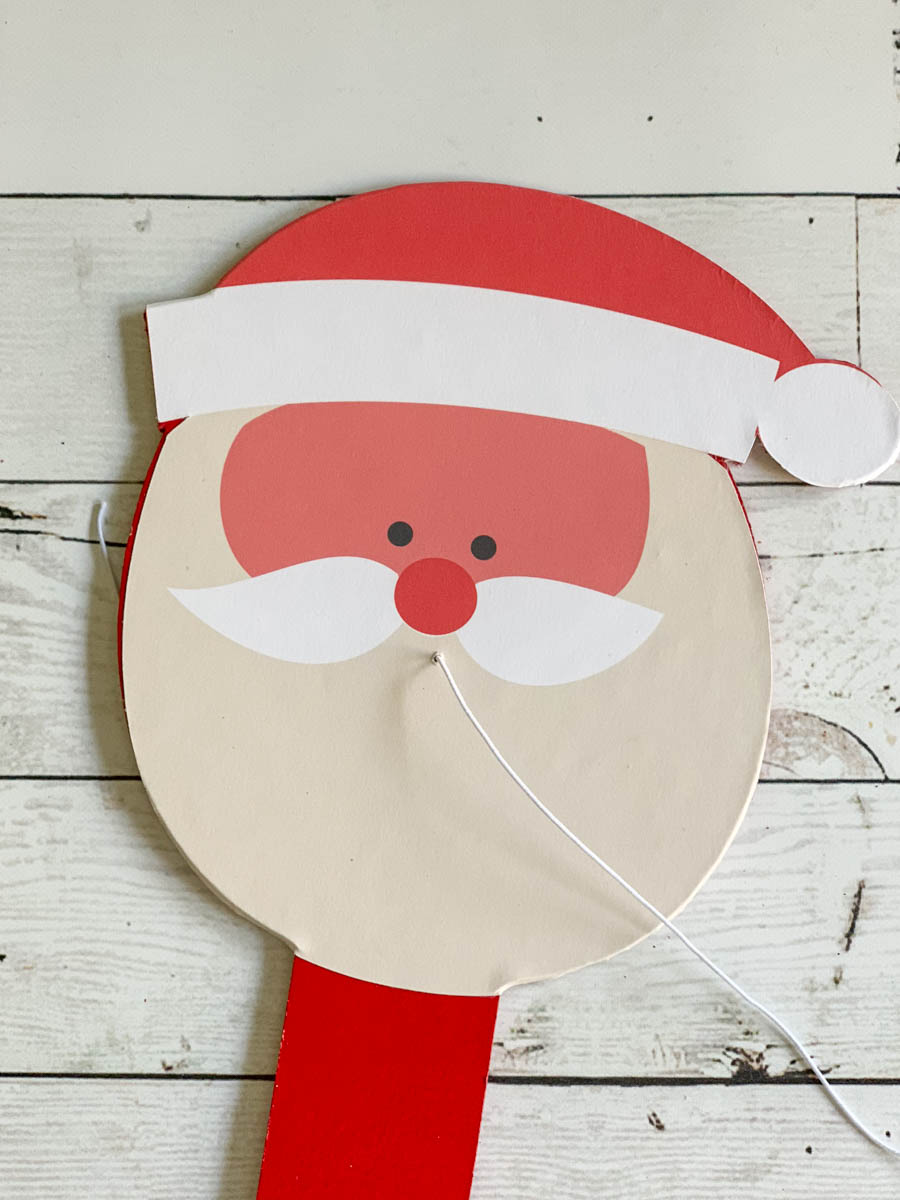
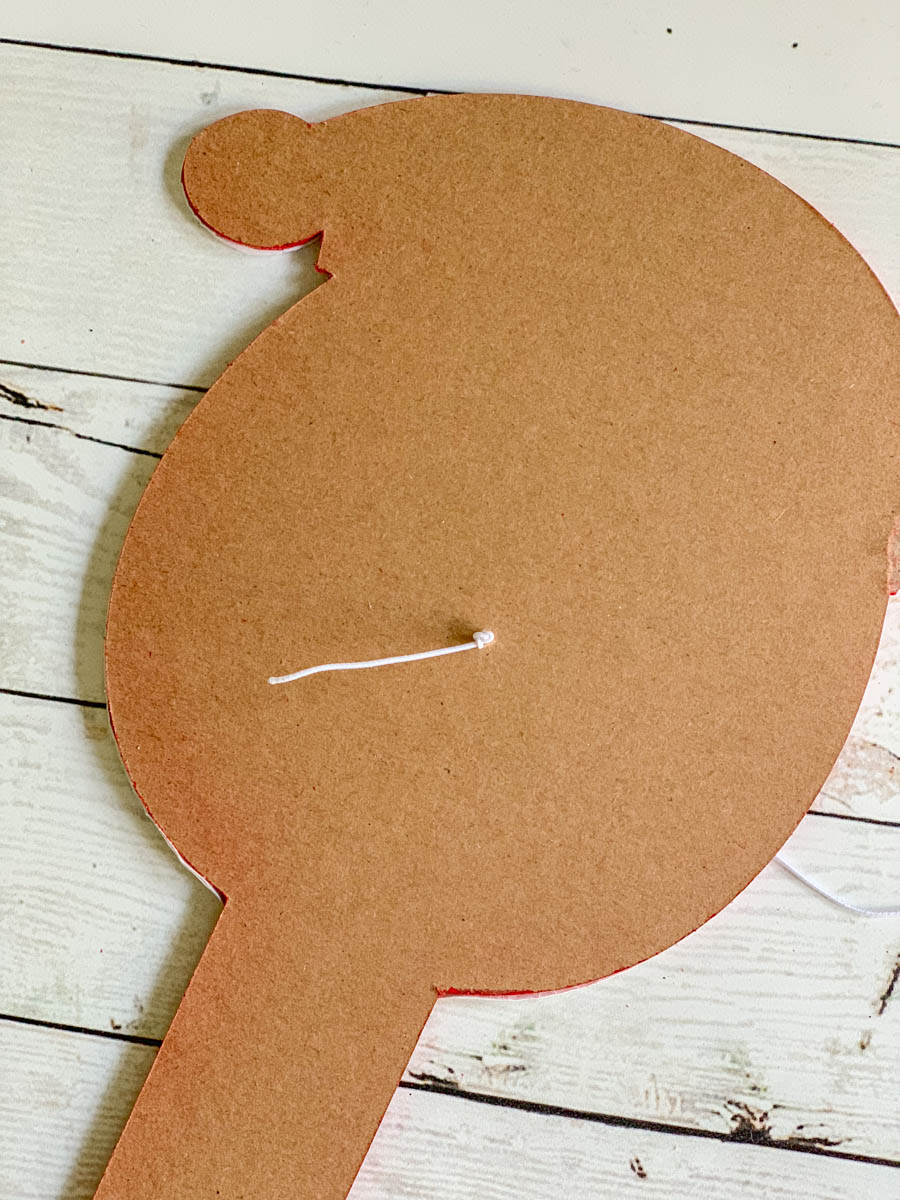
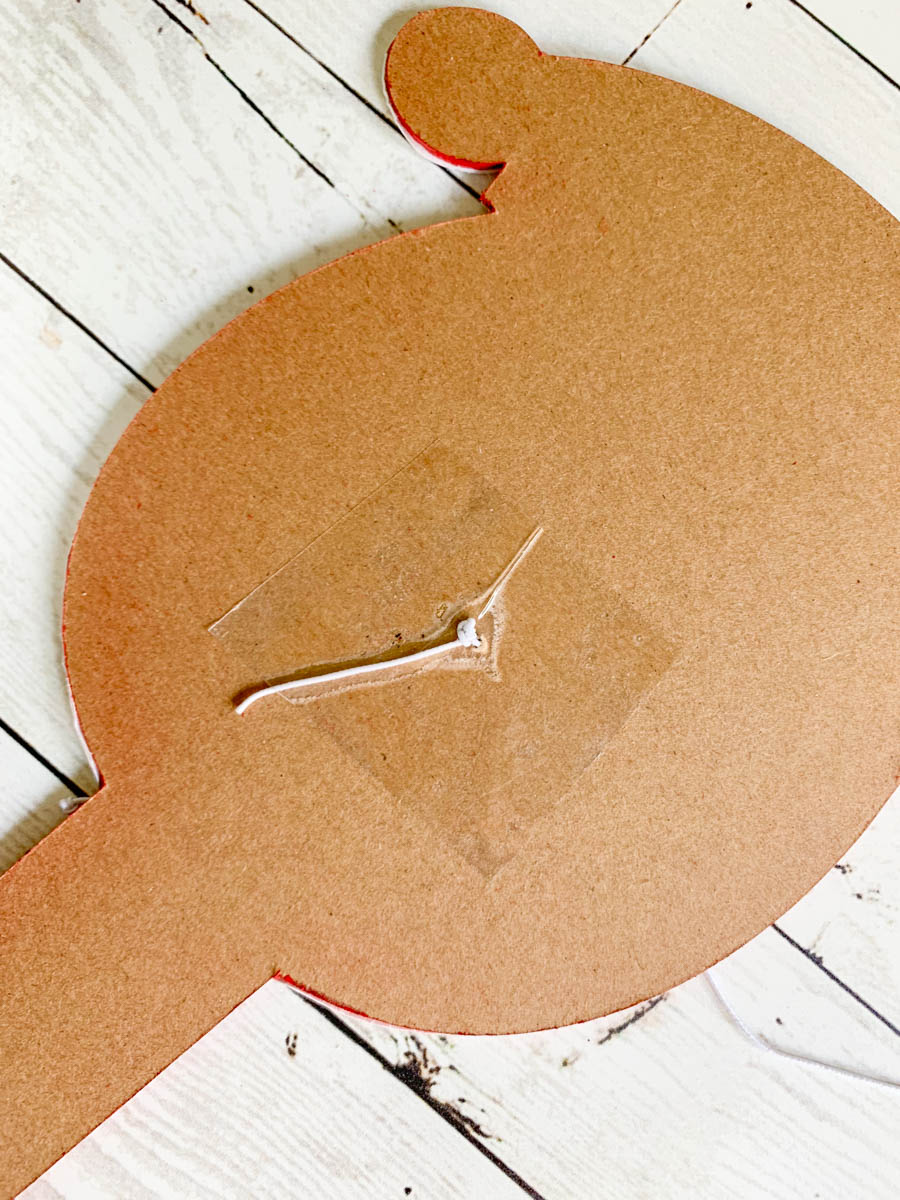
Once the paint on the paddles has dried, put the Santa head on the front of one of the paddles. Poke a small hole where Santa’s mouth should be, and lace the elastic through the front. Next, tie the elastic in a knot on the back side, and tape in place.
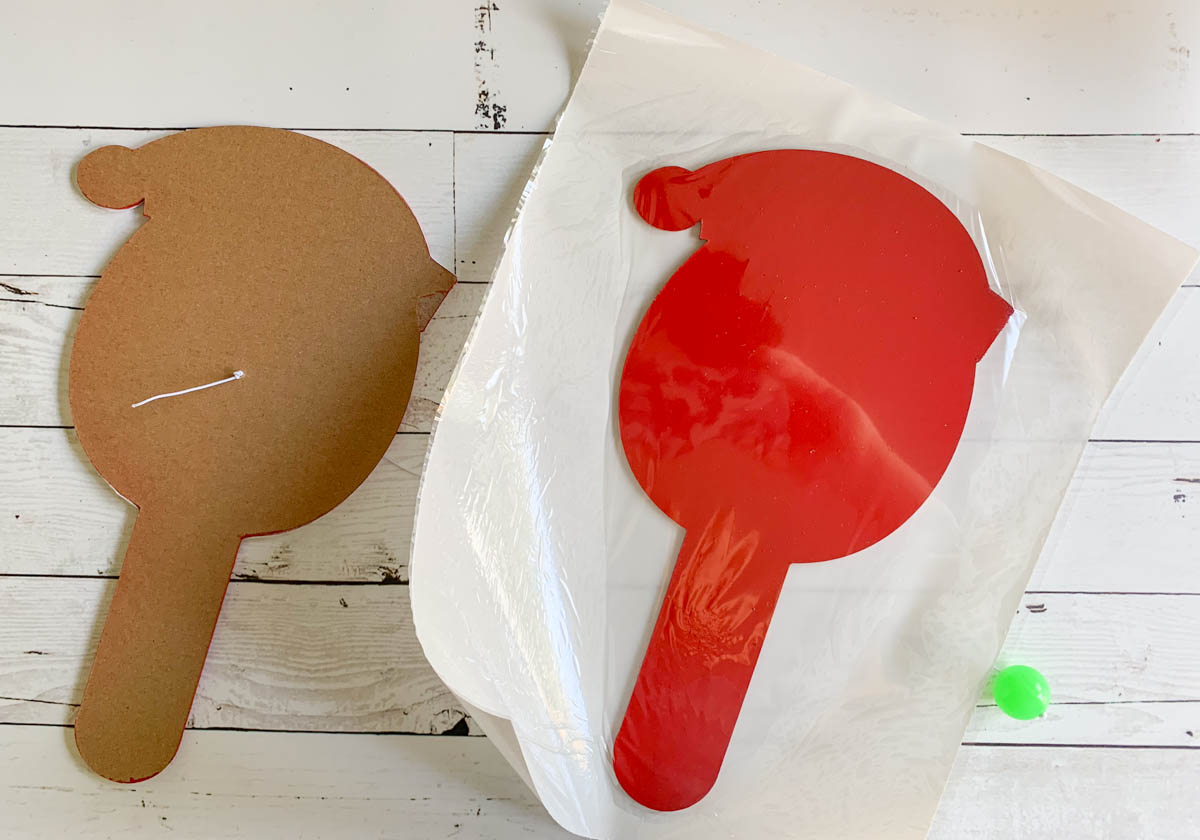
Now, run the second paddle through the Creative Station, and stick to the back side of the paddle with Santa’s face on it.
That’s it, you have the cutest Santa Paddle Ball ever, and it’s perfect for class gifts, stockings, or a quiet snow day activity!
Tags : Chipboard, Christmas, Craft Lightning, Cricut Made, Cricut Maker, DIY, DIY Gift, Kids Christmas, Knife Blade, Santa

This is the cutest! Thanks for sharing!
Thank you so much!