Kickball Tournament Banner
Kickball Tournament Banner. We have a neighborhood park a few blocks from our house, complete with a sand lot ball field. One of our family’s favorite group games is kickball. Especially when the weather begins to cool off some. He boys have been begging me to host a kickball tournament, so I decided this was the year!
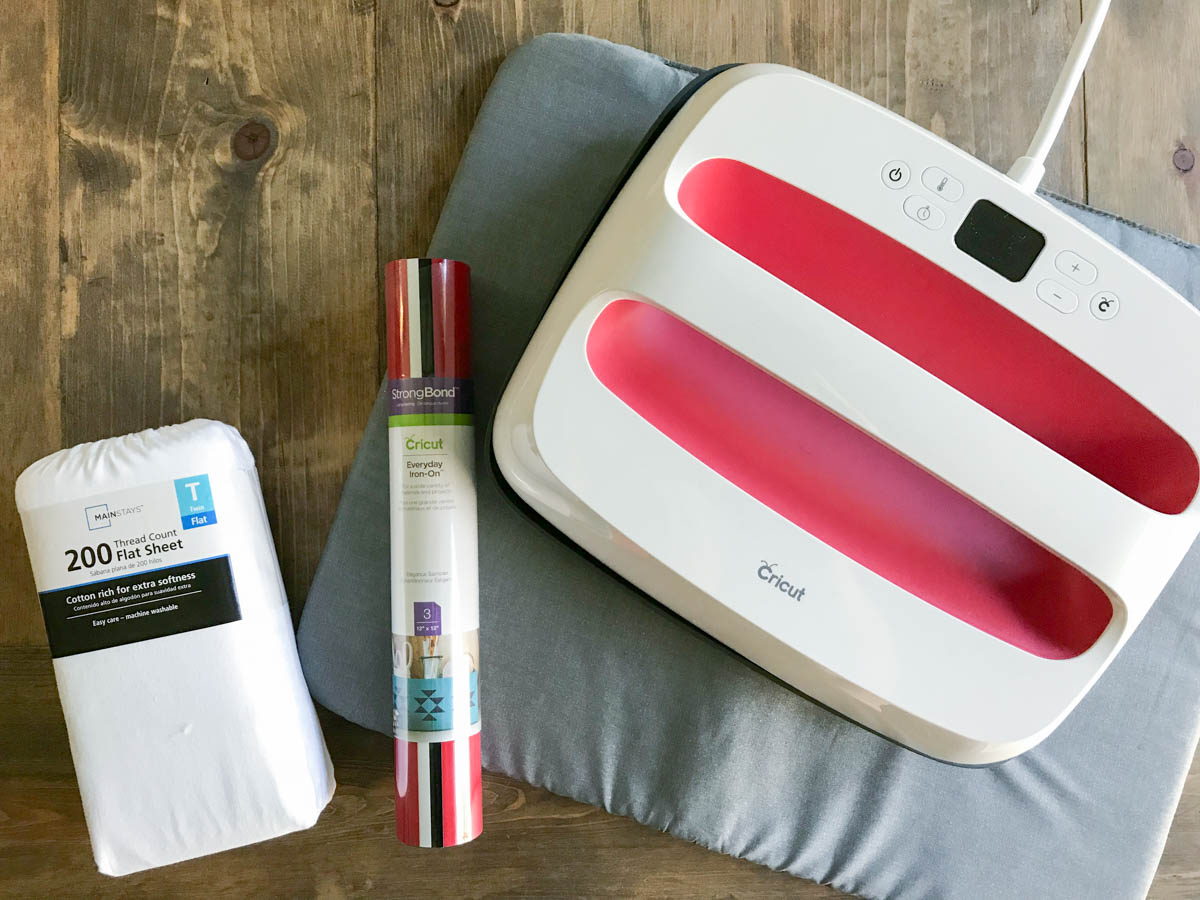
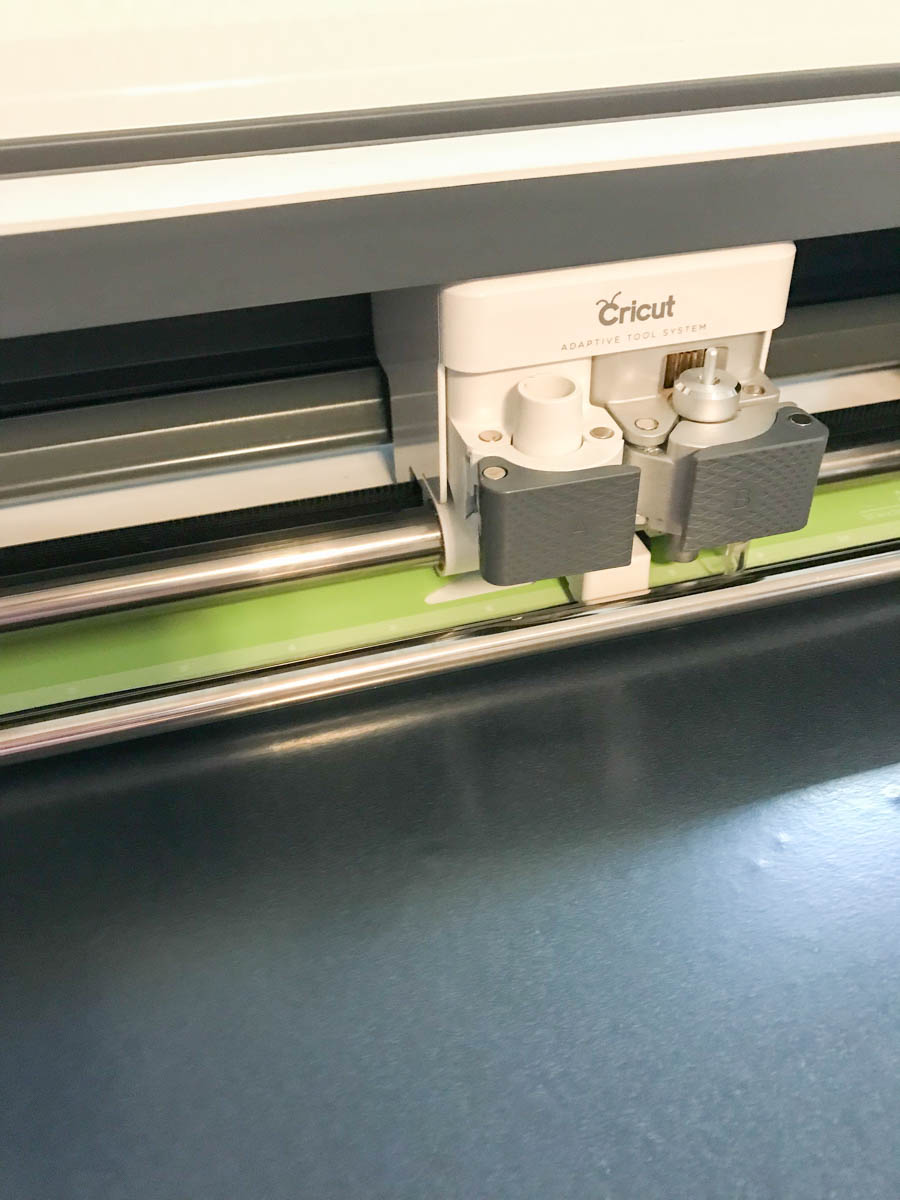
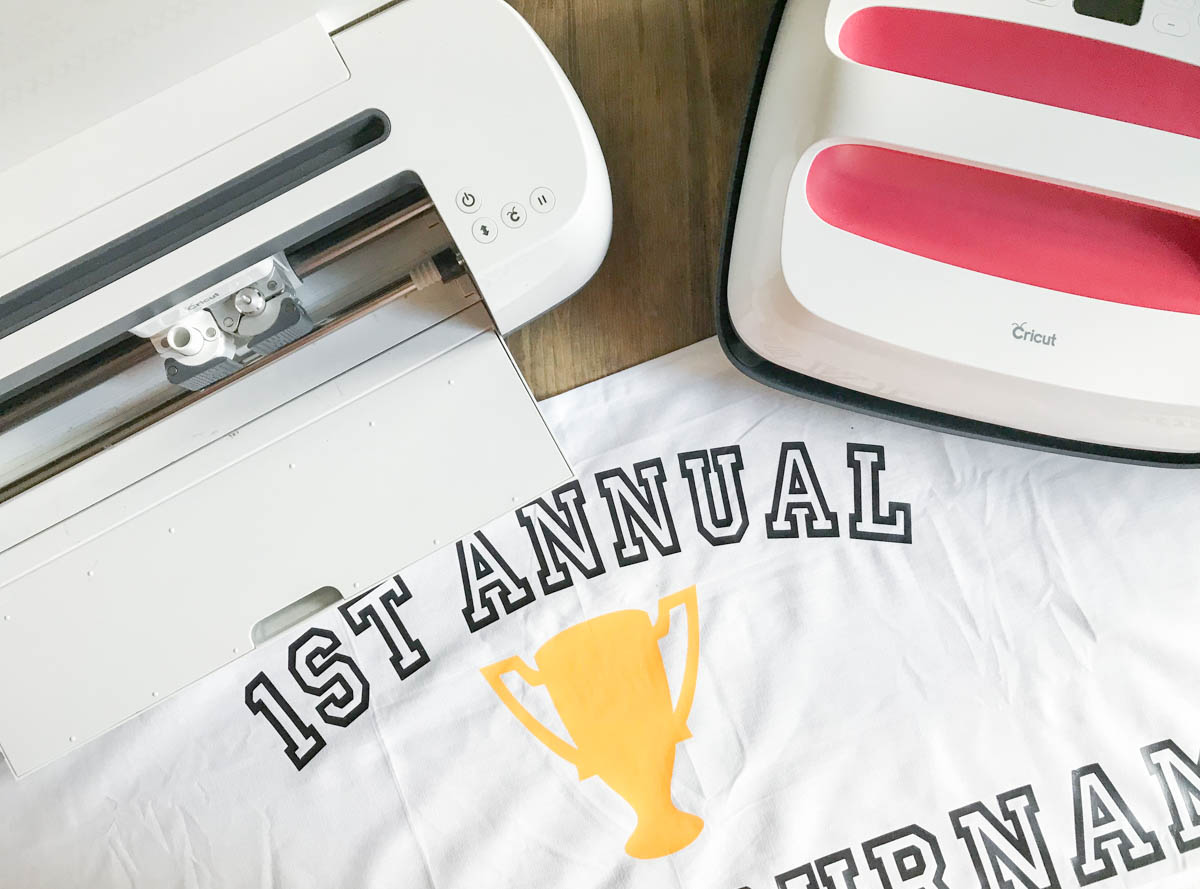
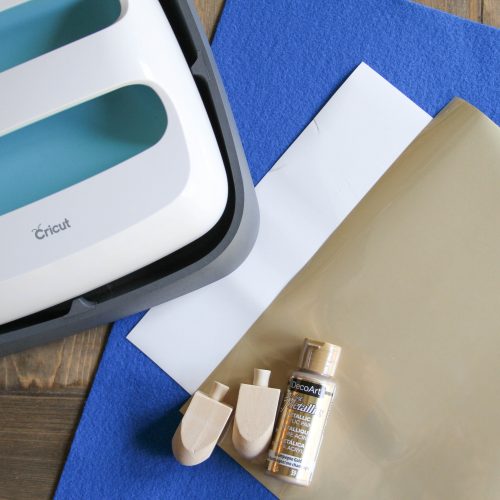
Of course we needed a banner, so I pulled out my Cricut, EasyPress 2, Iron On, and a simple white flat sheet.
 This review is based strictly on my opinion. Others may have a different opinion or experience with the product listed. I was provided the sample free of charge and paid a small fee by the company or PR agency and I provided my honest opinion.
If you decide to make a purchase through my links, I will be paid a small commission for it. This doesn’t cost you anything additional. These commissions help to keep the rest of my content free, so thank you!
Supplies to make an oversized banner with the EasyPress 2:
EasyPress 2 {I used the largest one}
EasyPress Protective Sheet {Optional}
Bungee Cords {To hang it}
First, I cut the sheet and hemmed it {with fusible fabric tape} . I cut it across the bottom, so I had three hemmed edges already. Then I creased the fabric and applied fusible fabric according to the package instructions to hem the rough edge of fabric. If you are a seamstress you could easily sew a hem in the fabric. Then I used the EasyPress 2 to press the wrinkles out of the fabric.
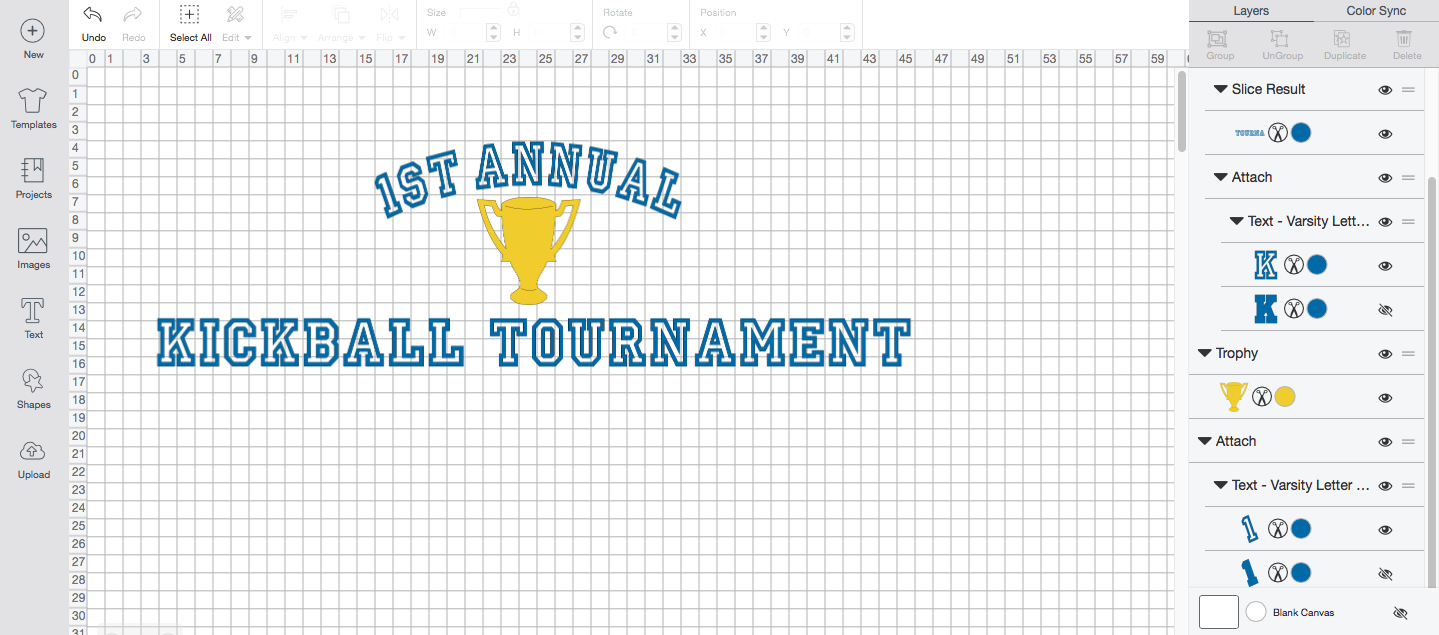
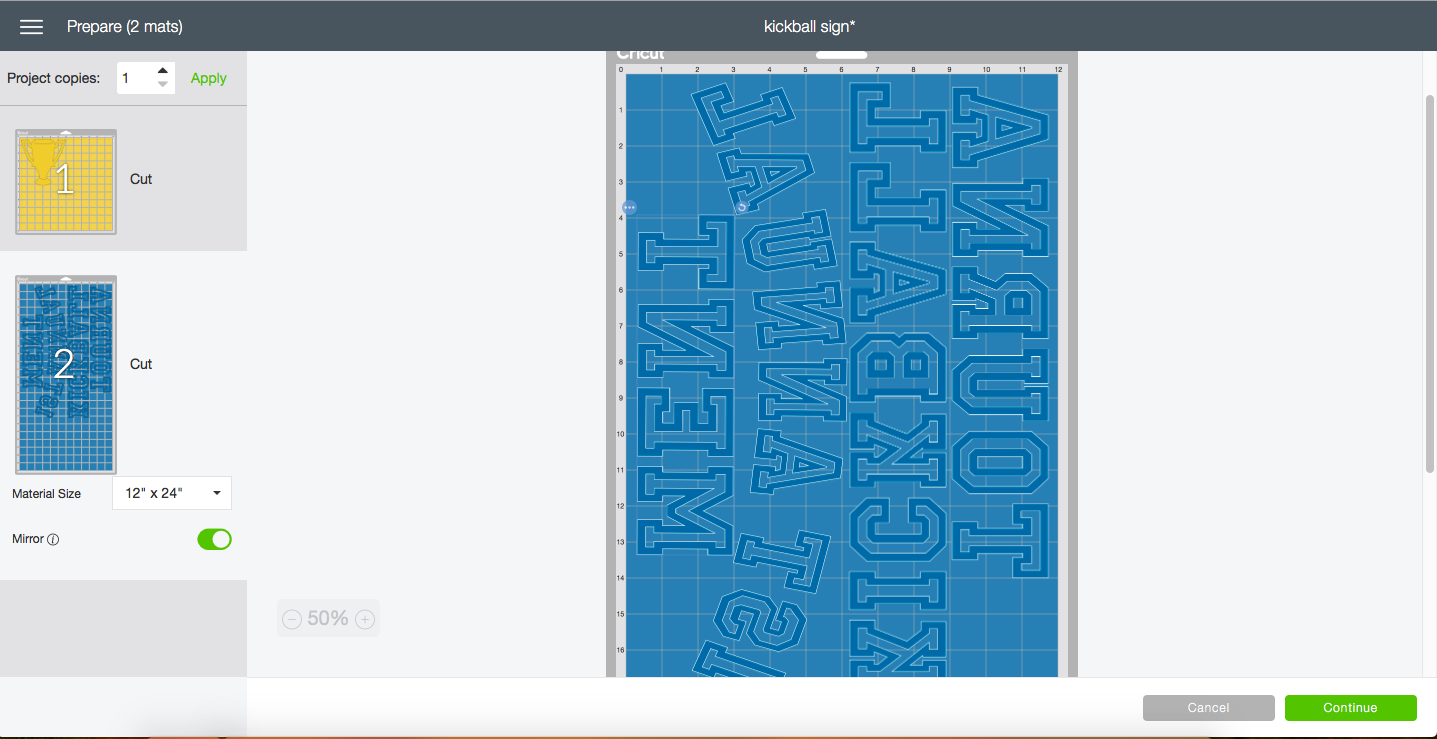
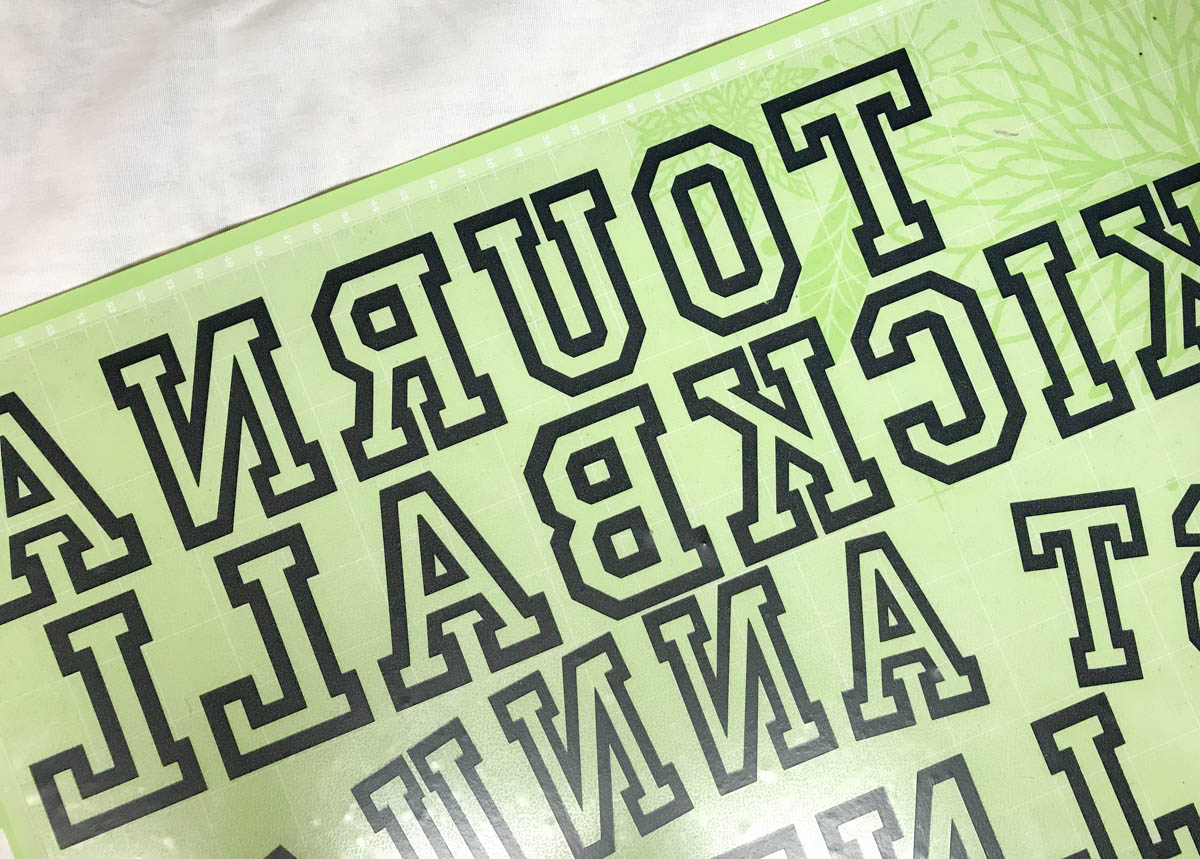
Next, I created a design in Design Space, and sized it to fit. I sliced some of the text so it would all fit on one roll of Iron On. I had to edit the mat before i cut the text and moved the “ment” text under the curved text. I was able to use a scrap piece of iron on for the yellow trophy. (Don’t forget to mirror your cuts)
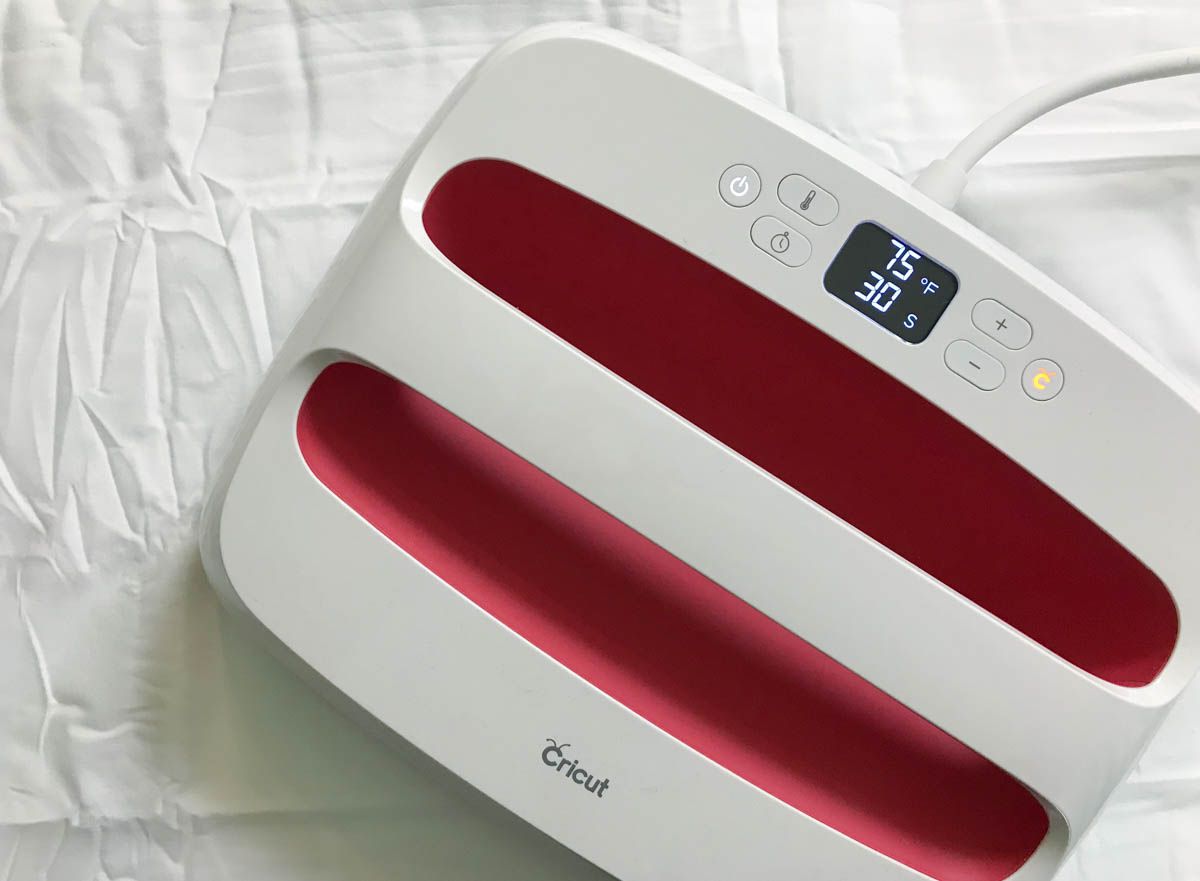
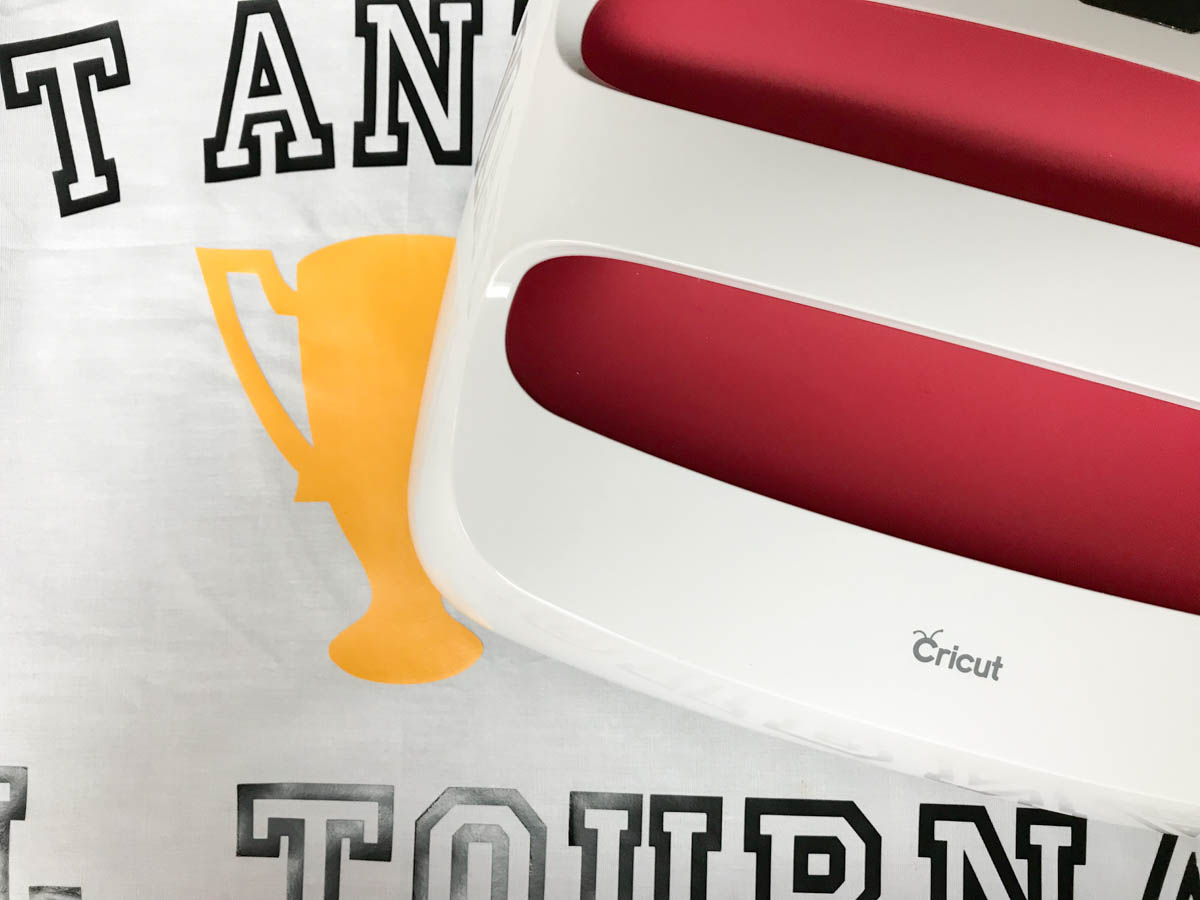
Now I was ready to fire up my EasyPress 2 and add the Iron On! The NEW EasyPress 2 machines come in three unique sizes {6×7, 9×9, and 12×10}, ensuring you will always have the right size tools for your project. These EasyPresses offer professional iron-on results in less than a minute, with precise temperature control up to 400* F and a ceramic coated heat plate for even heating and flawless transfers! The EasyPresses are easy to simple to learn and easy to use, with a bright and easy to read digital display. Each one includes a insulated safety base to keep the EP2 and your crafting surface safe! The new EasyPress 2’s can easily receive firmware updates via the USB port. And, the color, I LOVE it! I pressed the Iron On on according to Cricut’s recommended guidelines and peeled the transfer paper off.
Now, the banner was ready for grommets so I could hang it.
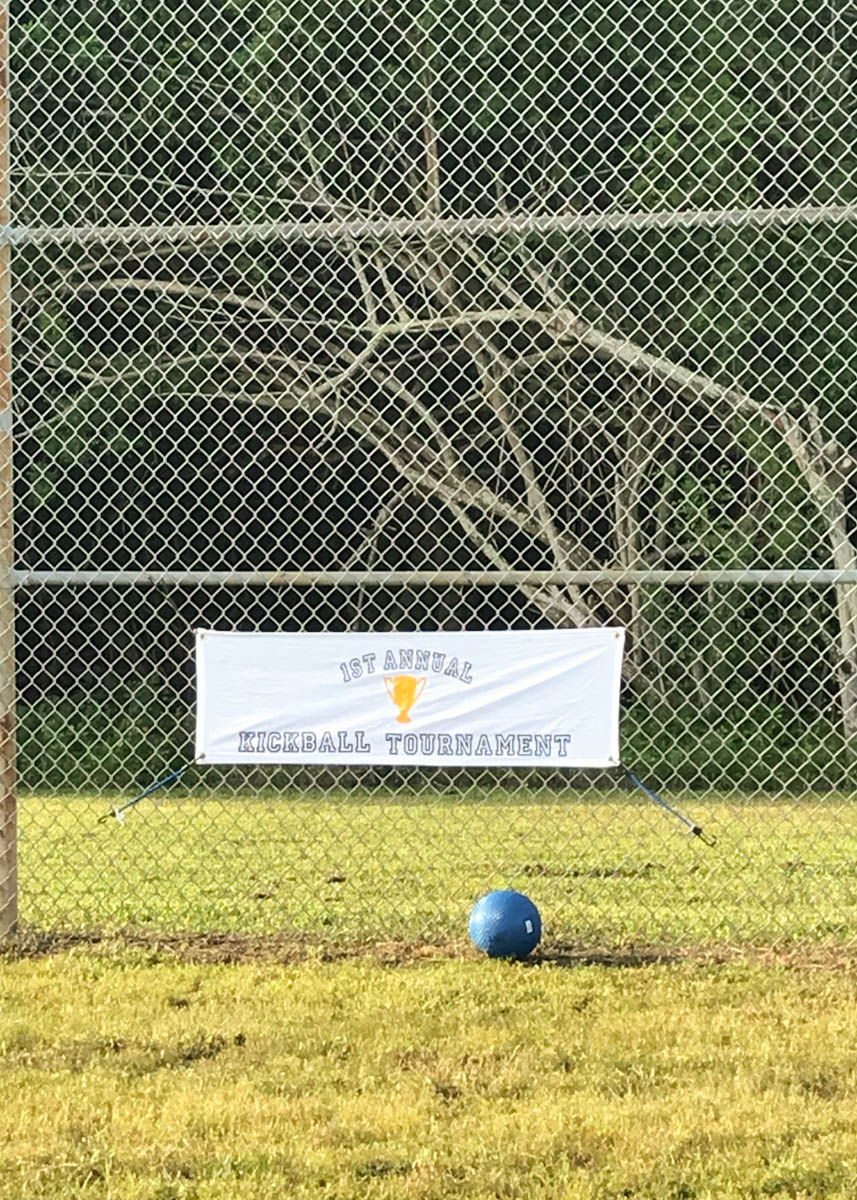
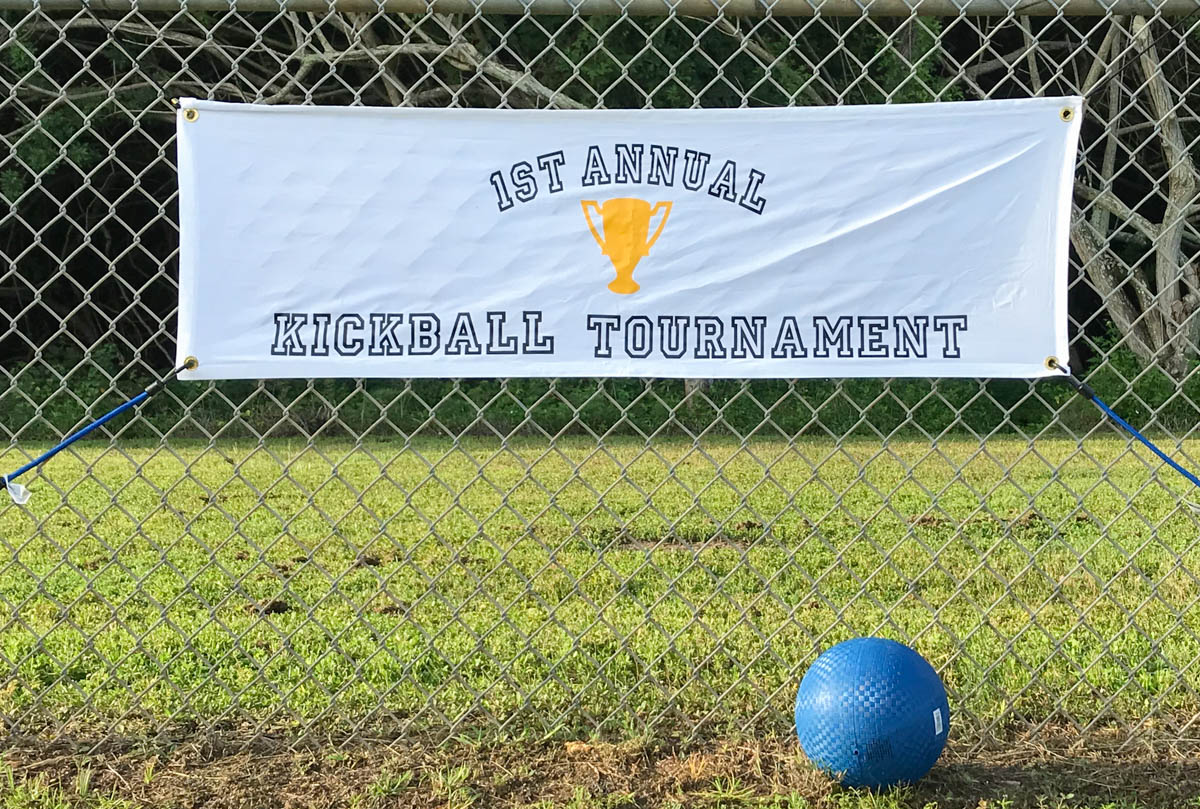
Finally, we were ready to hang our banner and kick off our 1st Annual Kickball Tournament!
Check out more EasyPress Projects on the blog too!
This is a sponsored conversation written by me on behalf of Cricut. The opinions and text are all mine.
Tags : Banner, Cricut, Cricut Blogger, Cricut EasyPress, Cricut EasyPress 2, Cricut Maker, DIY, EasyPress, EasyPress 2, Iron On, Kickball, Sign, Tournament
In DIY

