Simple T-Shirt DIY with Cricut Patterned Iron On
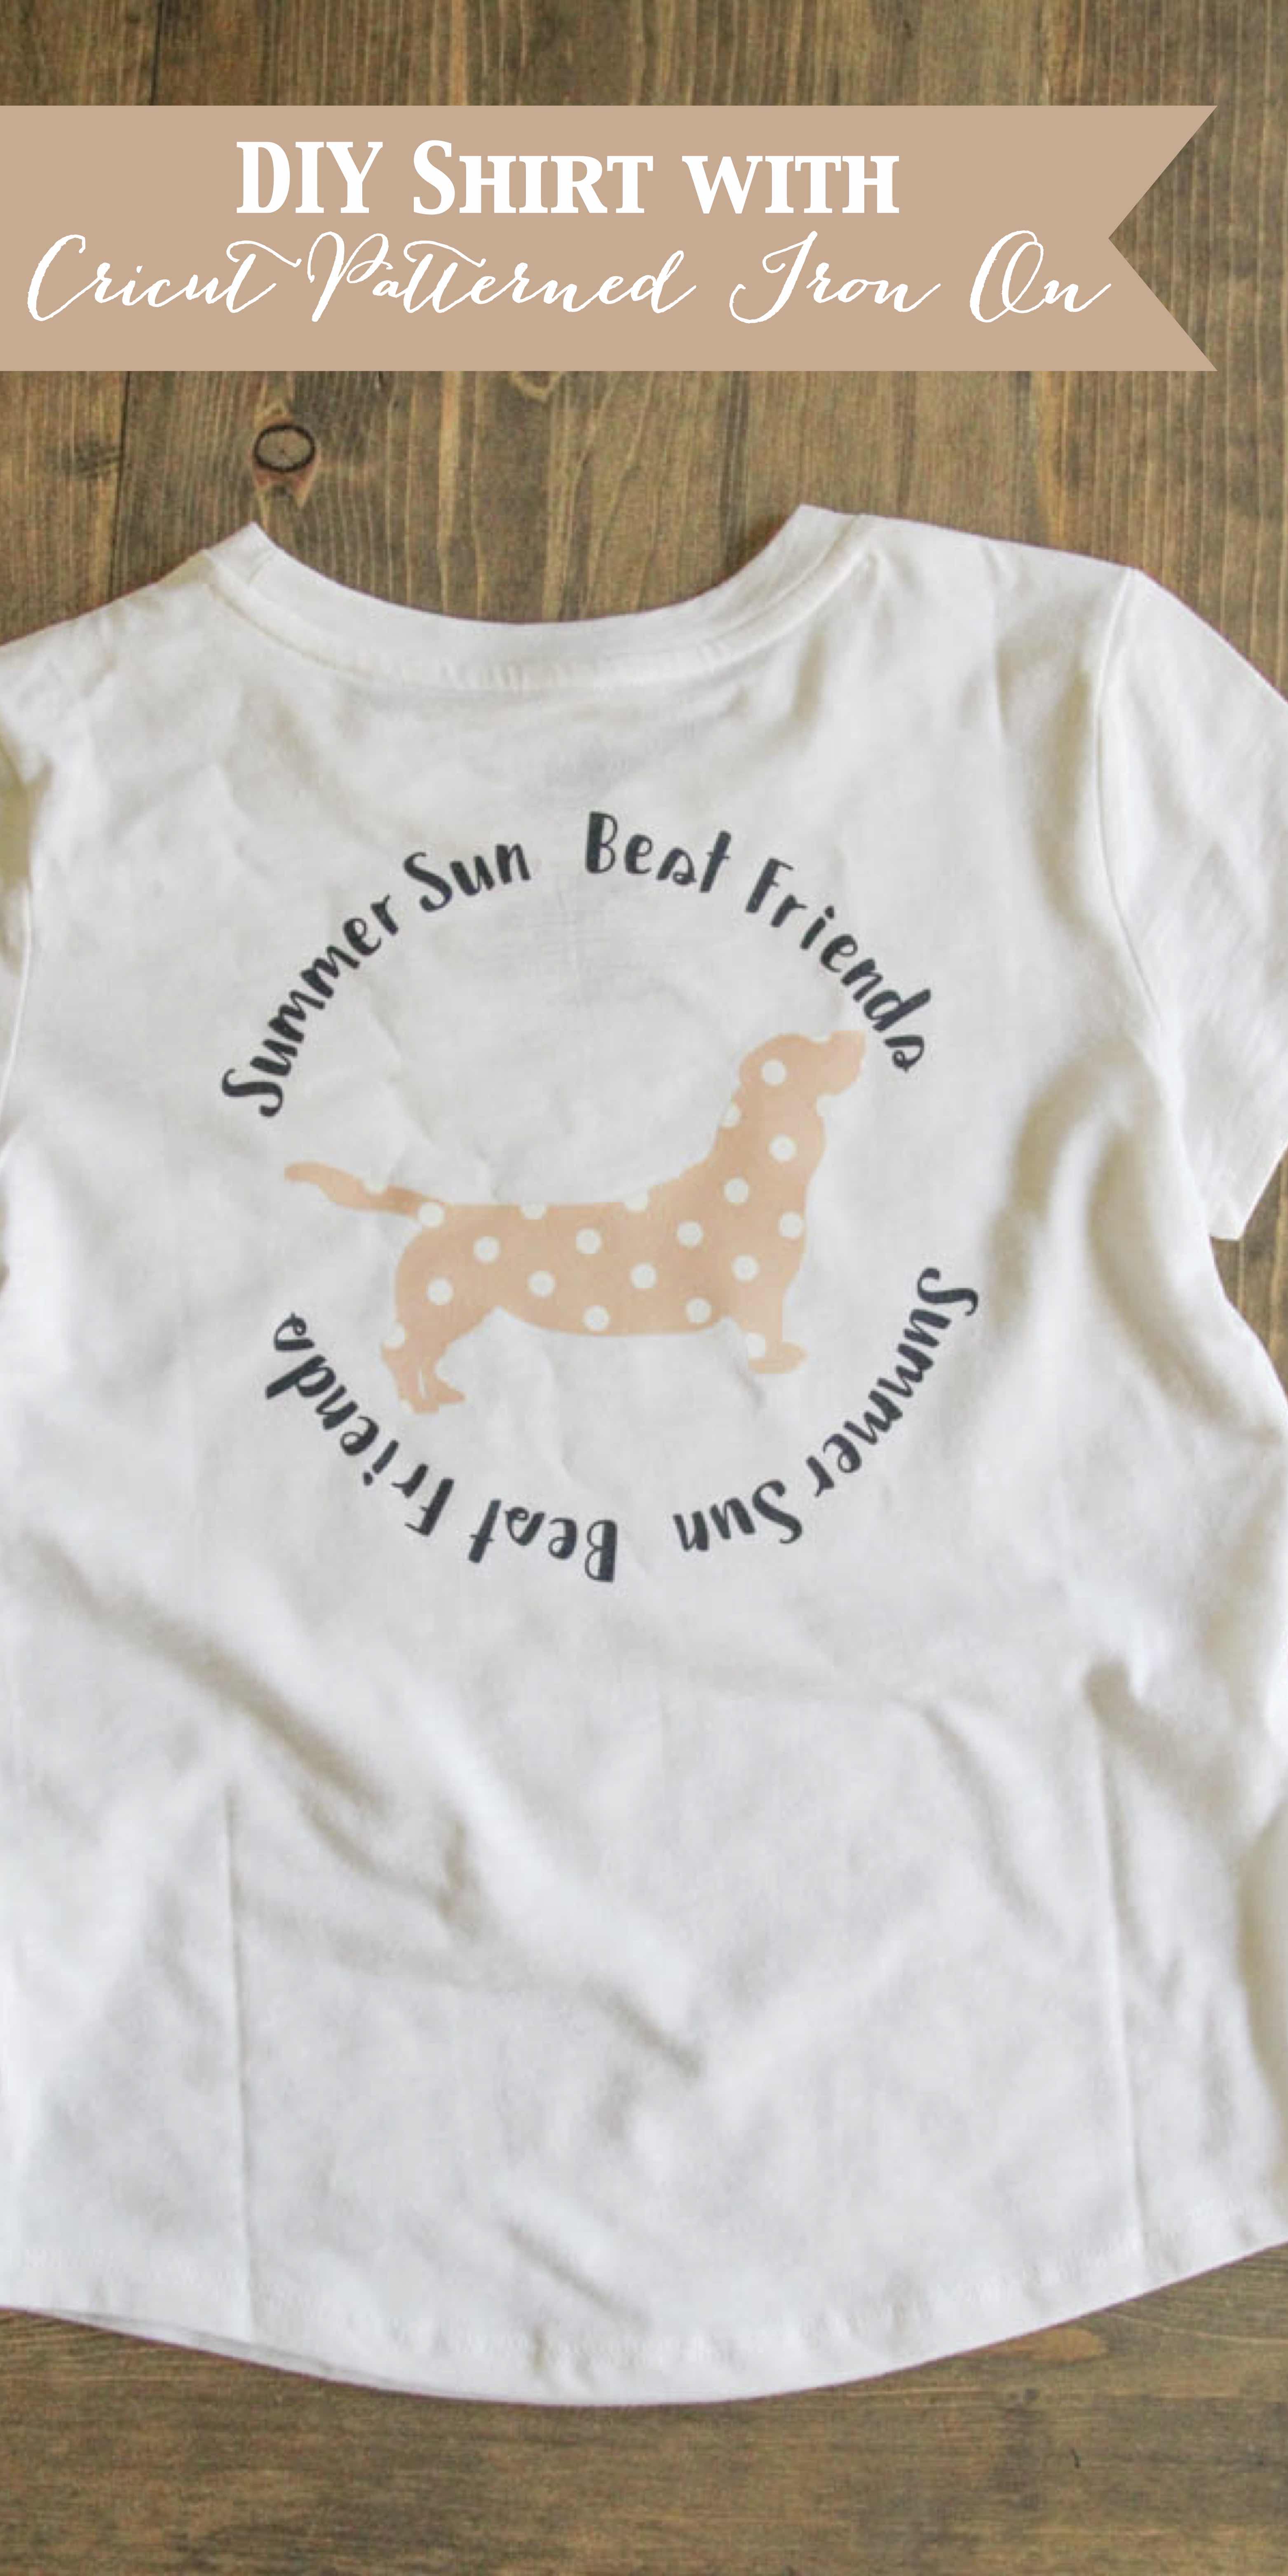
Simple T-Shirt DIY with Cricut Patterned Iron On. You guys!!! Last week my mind was officially BLOWN when I designed my first shirts with Cricut Patterned Iron On. It is SO SO great to create fun new shirts, bags, Easter Baskets, and all the other things with PATTERNED Iron On!
This review is based strictly on my opinion. Others may have a different opinion or experience with the product listed. I was provided the sample free of charge and paid a small fee by the company or PR agency and I provided my honest opinion.
The Patterned Iron On™ is a total game changer! Right now there are nine sampler packs on the Cricut website, a total of 27 different patterns, they are perfect for mixing or matching to create amazing one of a kind projects! Each pack comes with 3 -12” x 17” sheets. Patterned Iron On is perfect for decorating t-shirts, hoodies, baby bodysuits, throw pillows, tote bags, and more.
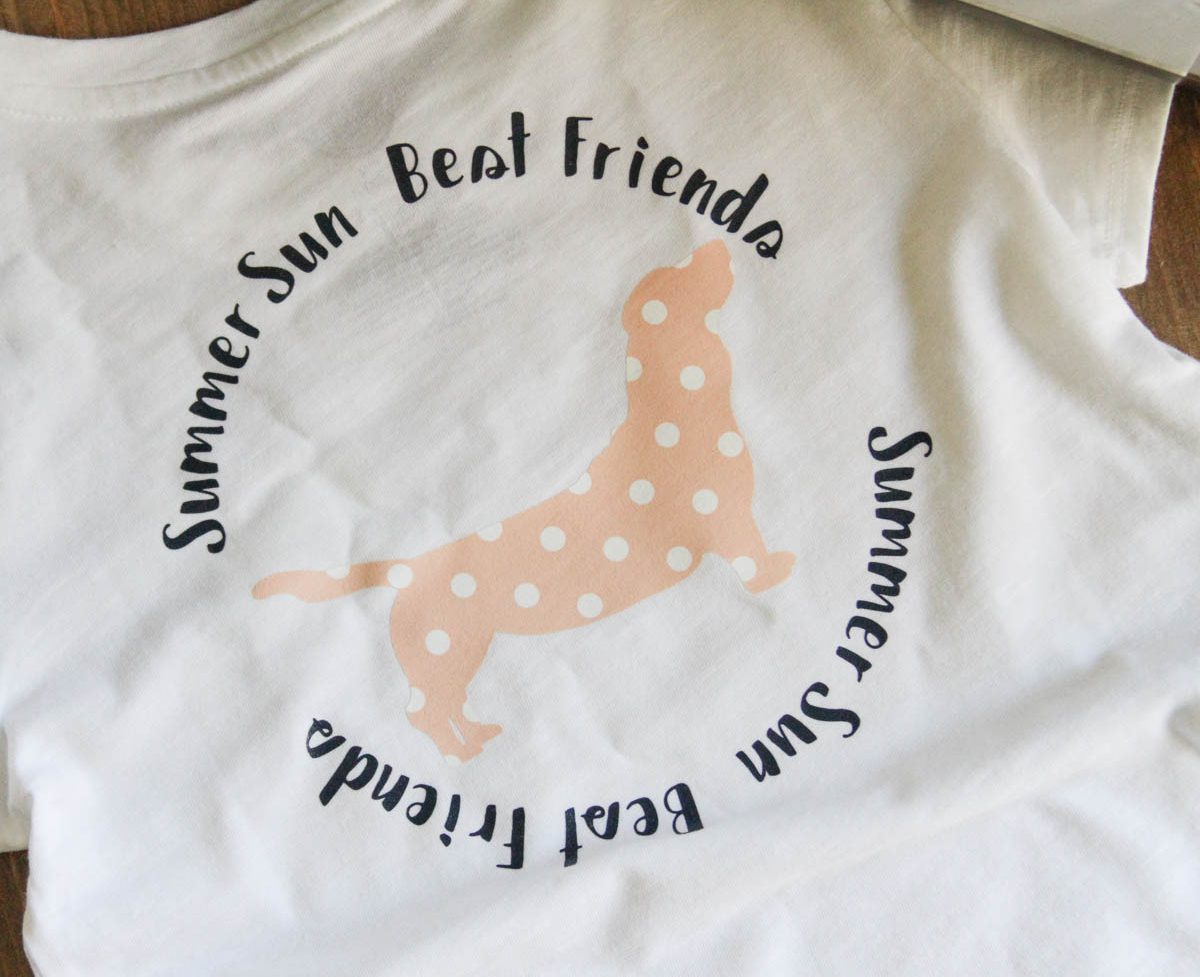
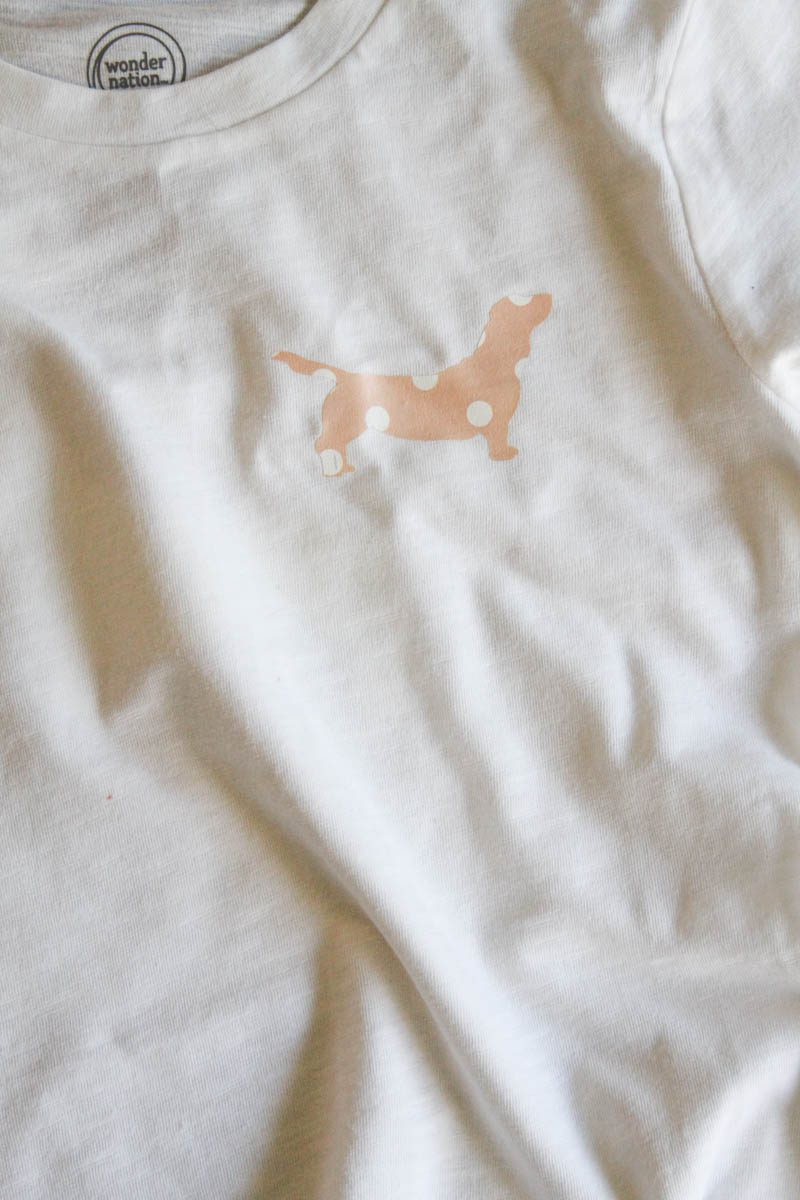
My sweet niece loves dogs, the more the better! She also loves pink and polka dots…This project was a no brainer for me, but I love it so much, I am seriously tempted to make one for myself too!
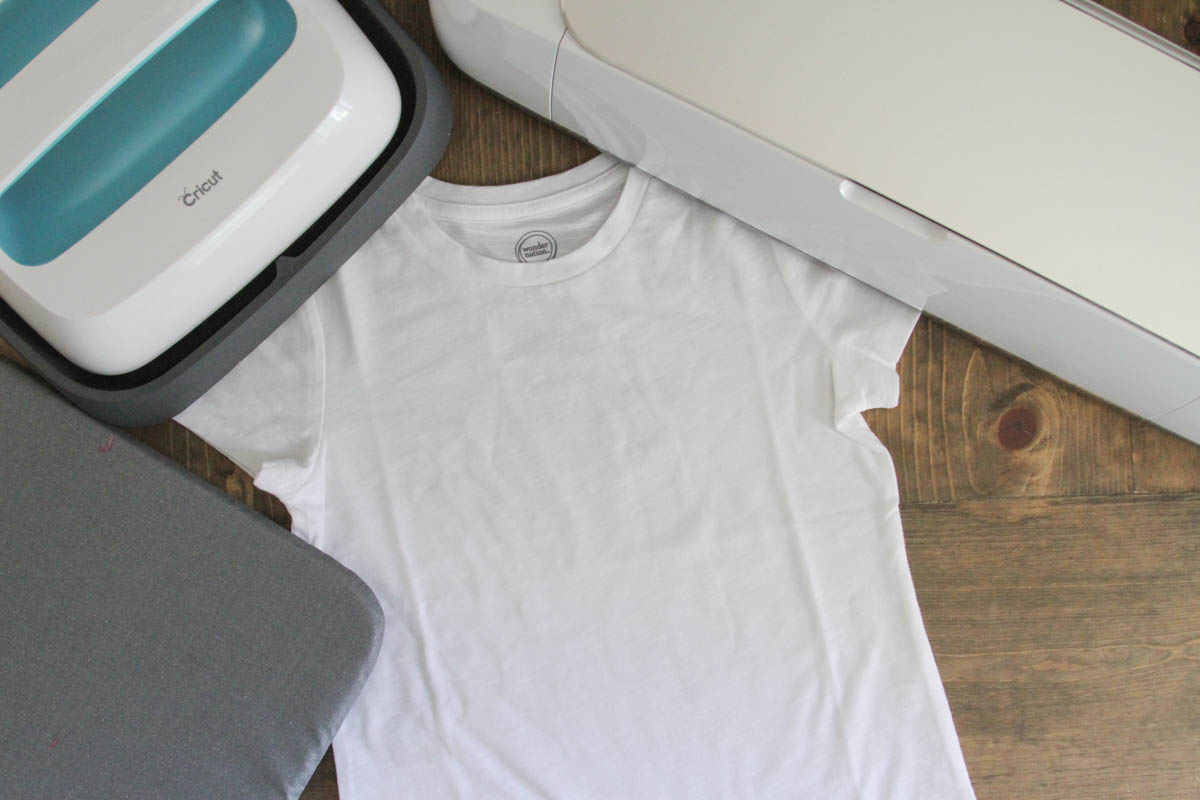
For this project you will need:
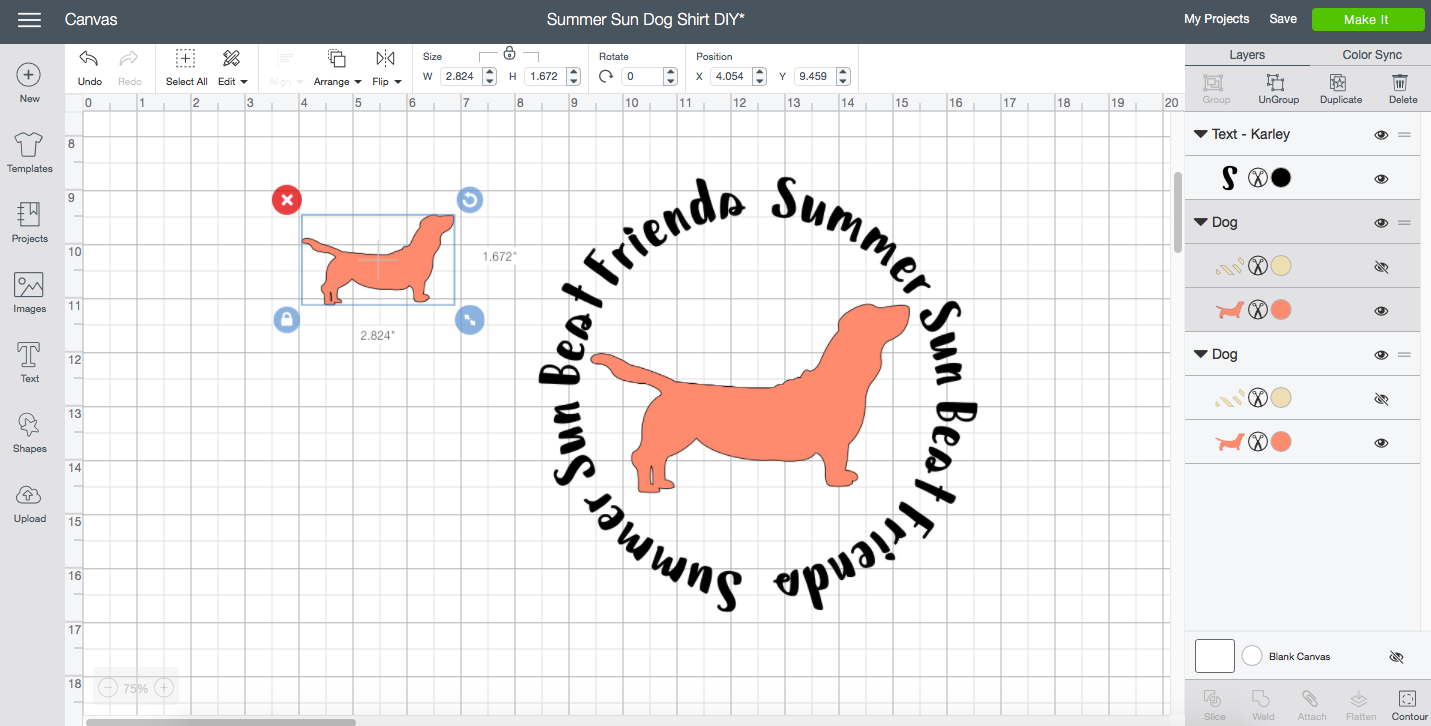
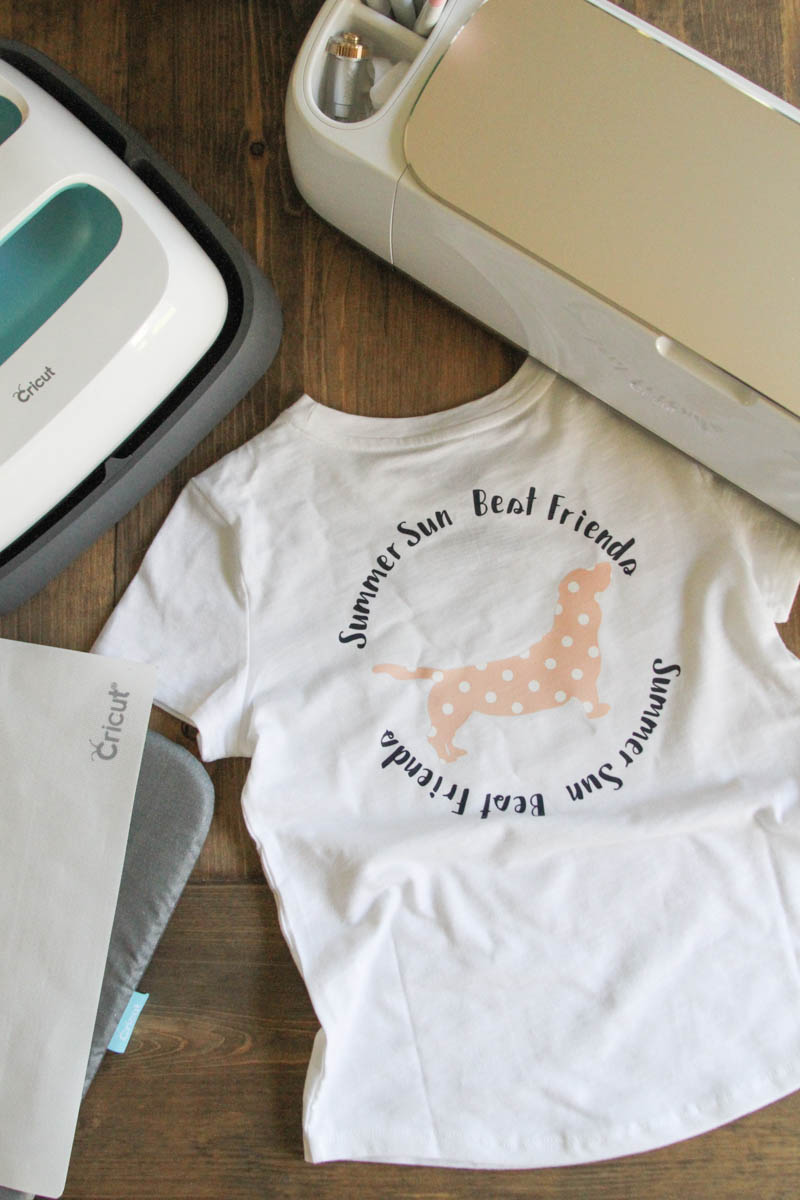
The first thing you should do when you make any shirt is measure the space you want to add your Iron On. I wanted a small dog on the front of the shirt, but I wanted to put a larger image on the back of the shirt. I measured both spaces and created my design to fit each space.
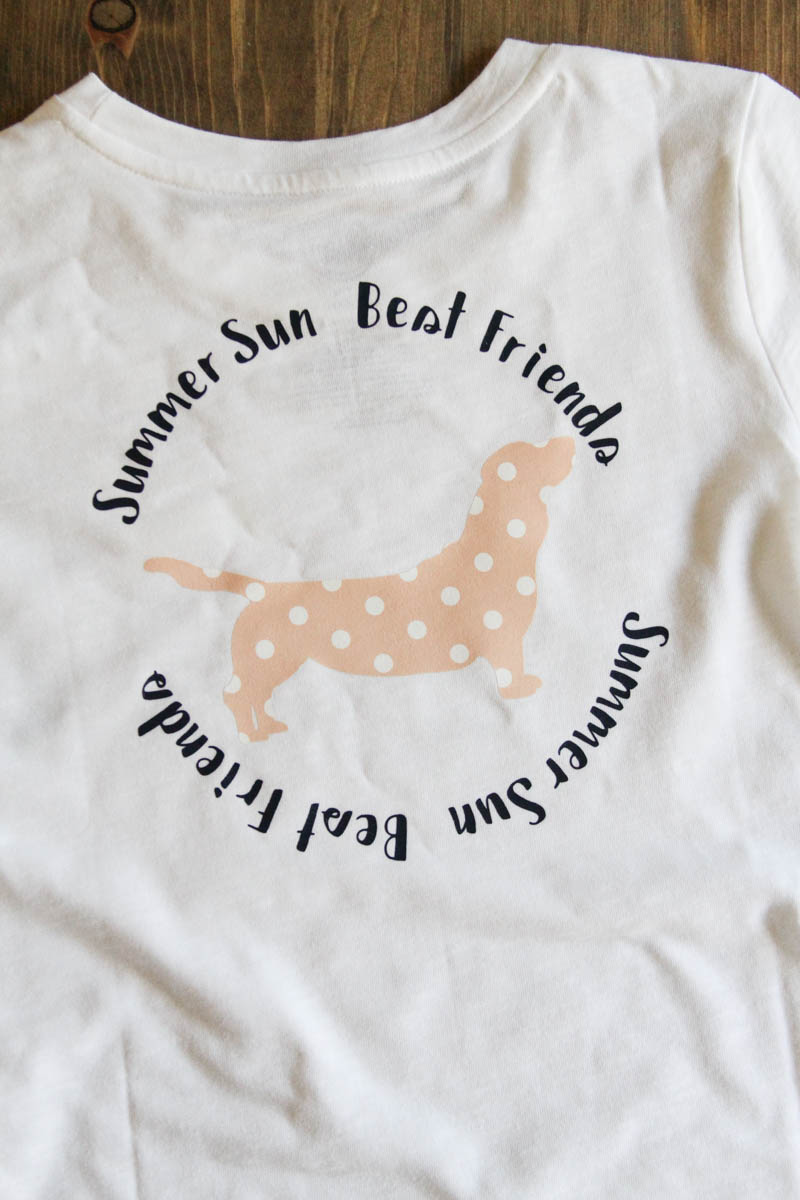
The ability to create curved text is brand new in Design Space, so I took full advantage of it, and created a curved text “frame” for my image. Simply type the text you want to curve, and select the curve tool from the tool bar. Slide it to the right to curve down or create a full circle. Slide it to the left to curve up. I sized the dog image to fit in the text frame, and then made another dog to fit on the front of the shirt without a text frame. Get the cut file here.
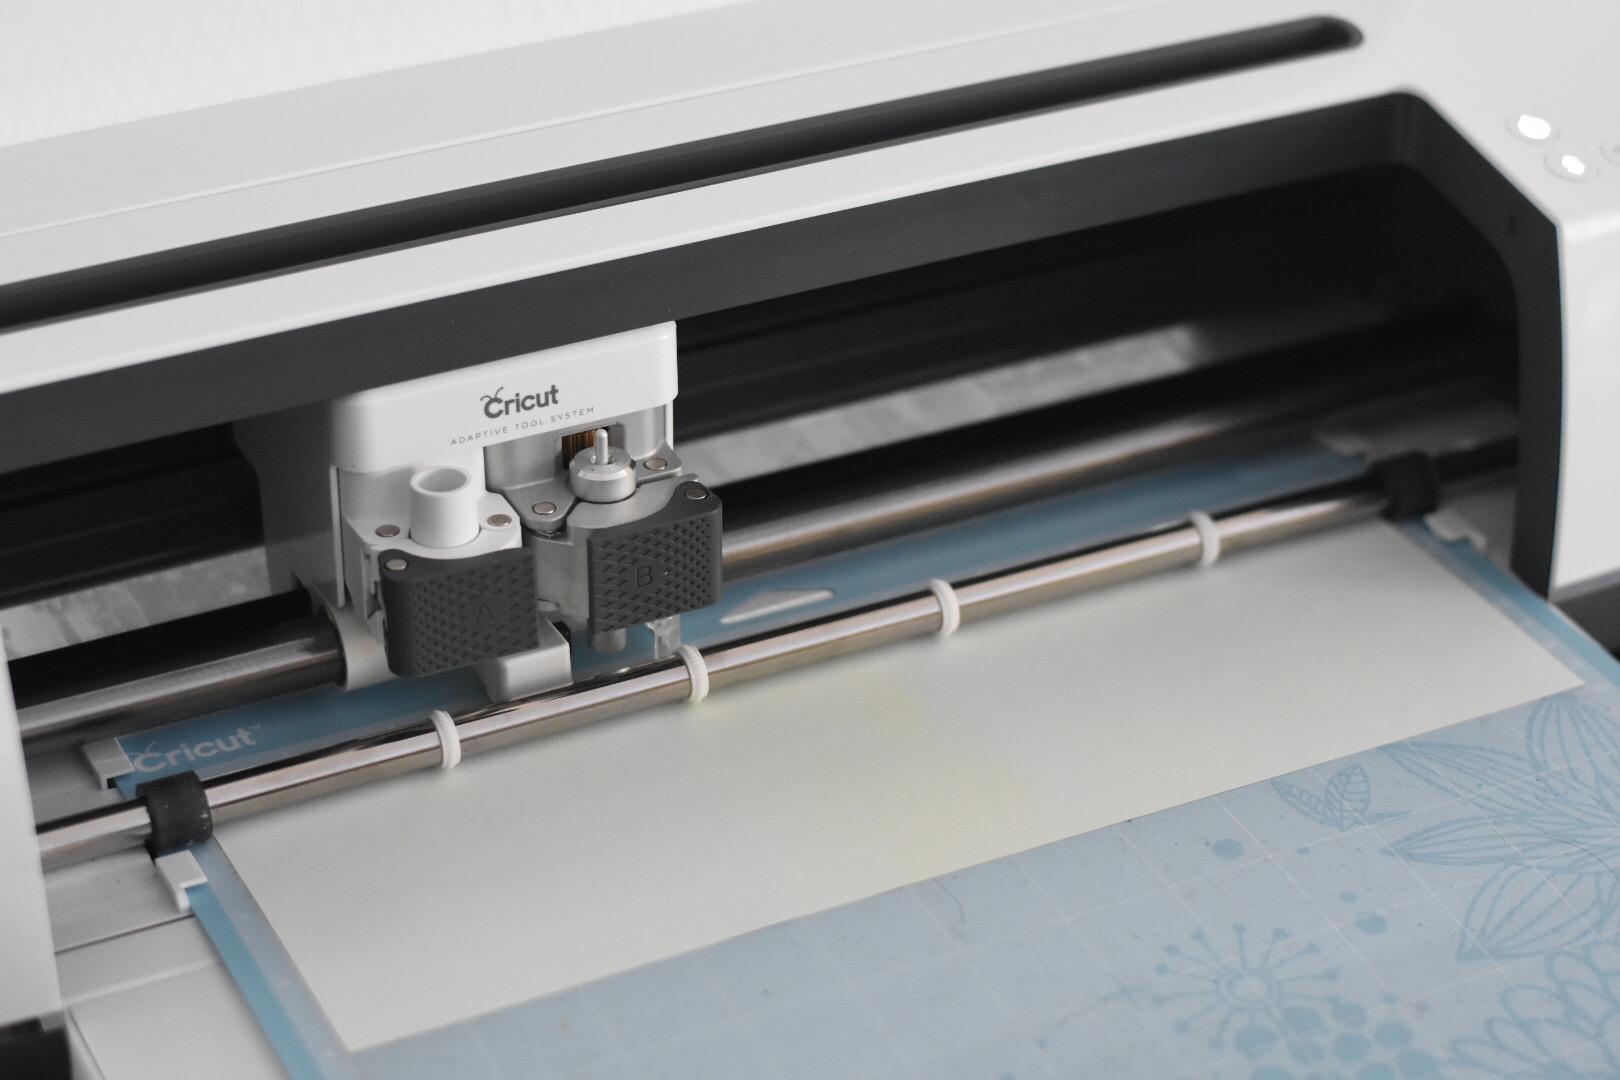
Now, I was ready to cut my Iron On. I cut the text first. Cut the Iron On shiny/patterned side down, don’t forget to mirror the images and text. After the text and images were cut, I weeded them.
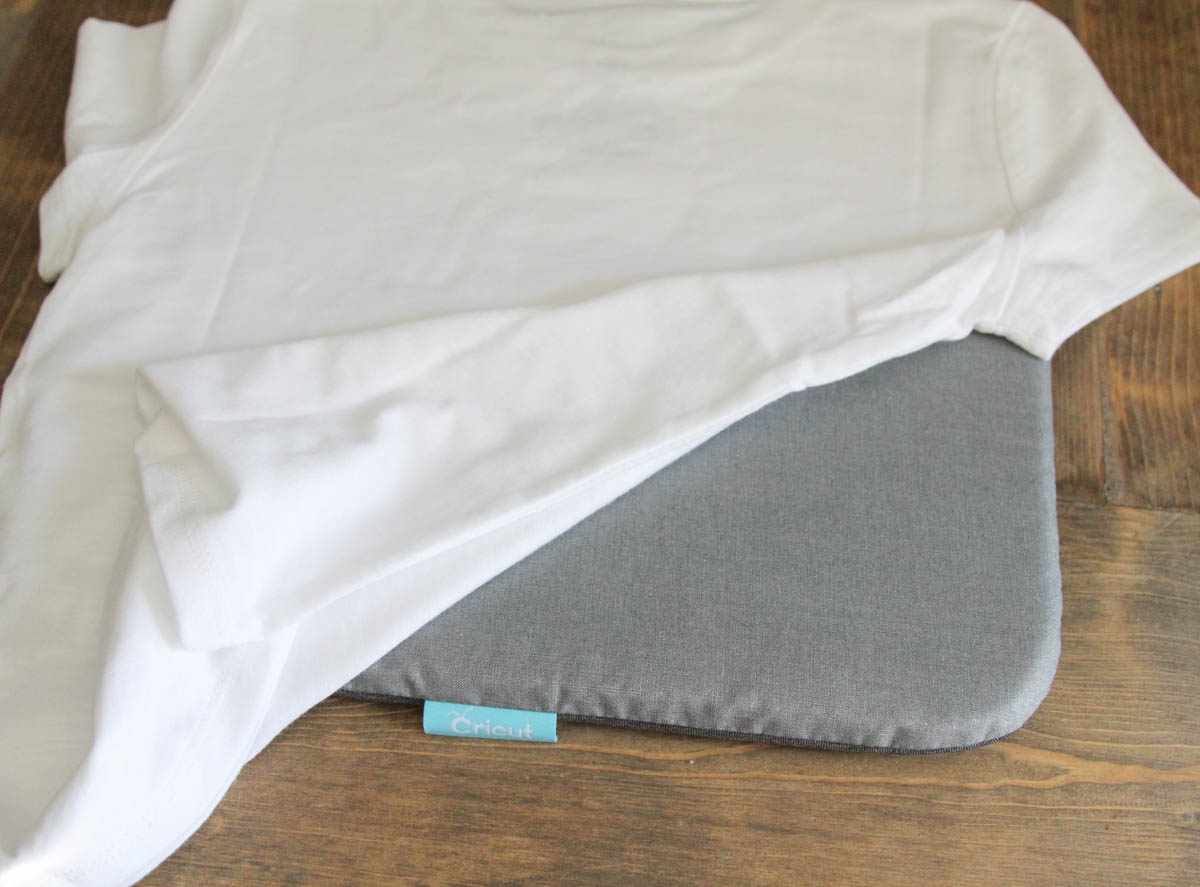
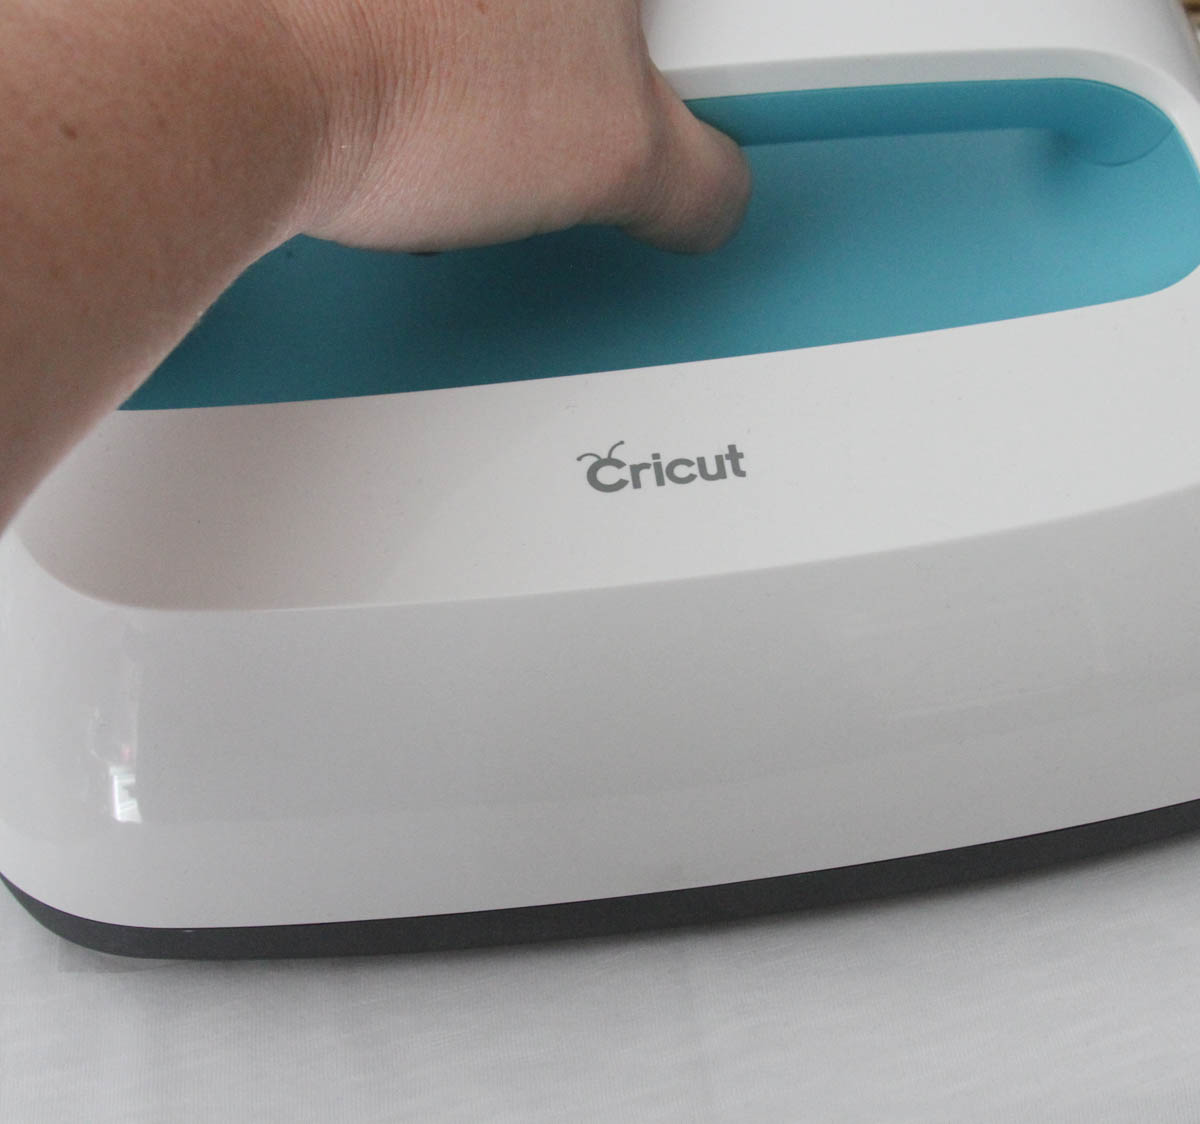
While I weeded the Iron On, I pre-heated my EasyPress. I set it at 340*. Once it was at the correct temperature, I placed the shirt on the EasyPress Mat, and warmed the shirt where the design would go. Next, I placed the dog image on the shirt and pressed it for approximately 30 seconds. I removed the carrier sheet and placed my Iron On Lite text frame where I wanted it. I needed to lower the heat on the EasyPress for the Iron On Lite to 315* before I could apply it. Once the EasyPress was at the correct temp, I placed the curved text Iron On Lite on the shirt and covered the entire design with my Protective Sheet and pressed it again. I flipped the shirt over and pressed the smaller dog onto the front of the shirt. Then, I turned the shirt inside out and pressed the backside of each design.
Finally, I had a darling little shirt perfect for my niece!
This is a sponsored conversation written by me on behalf of Cricut. The opinions and text are all mine.
Tags : Cricut, Cricut Made, Cricut Maker, DIY, DIY Shirt, Dogs, EasyPress, HTV, Iron On, Patterned Iron On, Summer Fun

