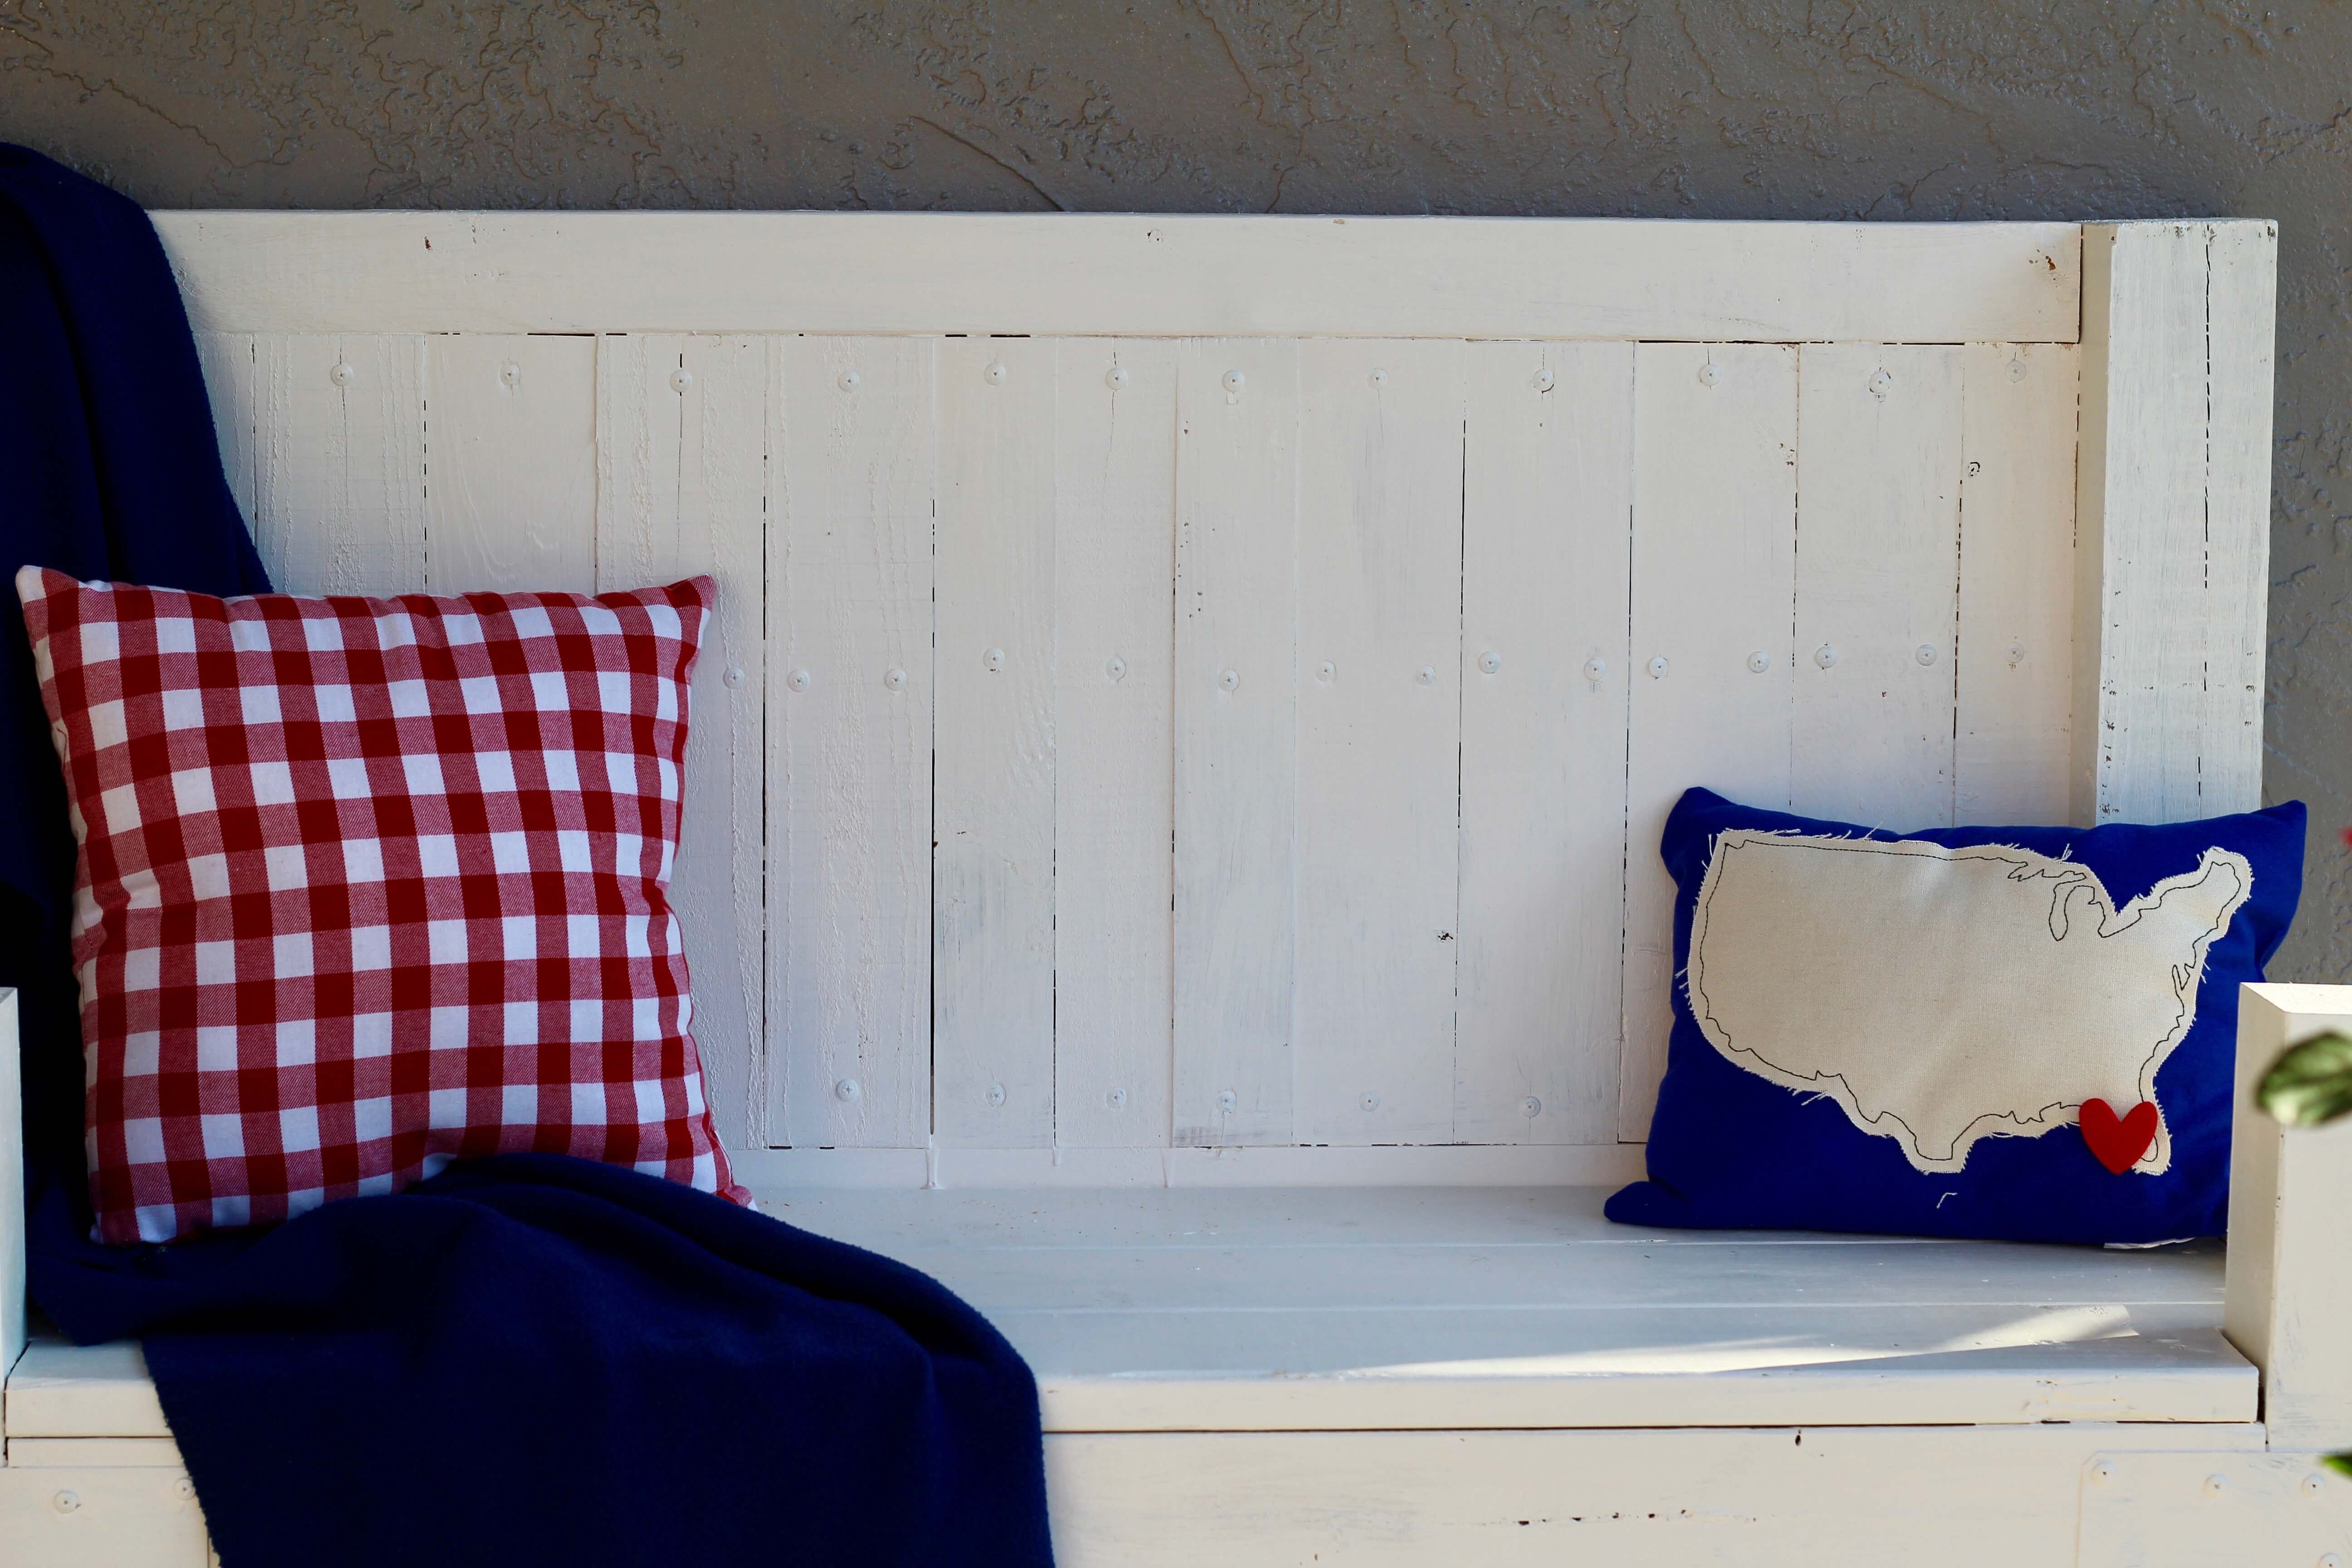
Party Ready Porch
If you decide to make a purchase through my links, I will be paid a small commission for it. This doesn’t cost you anything additional. These commissions help to keep the rest of my content free, so thank you!
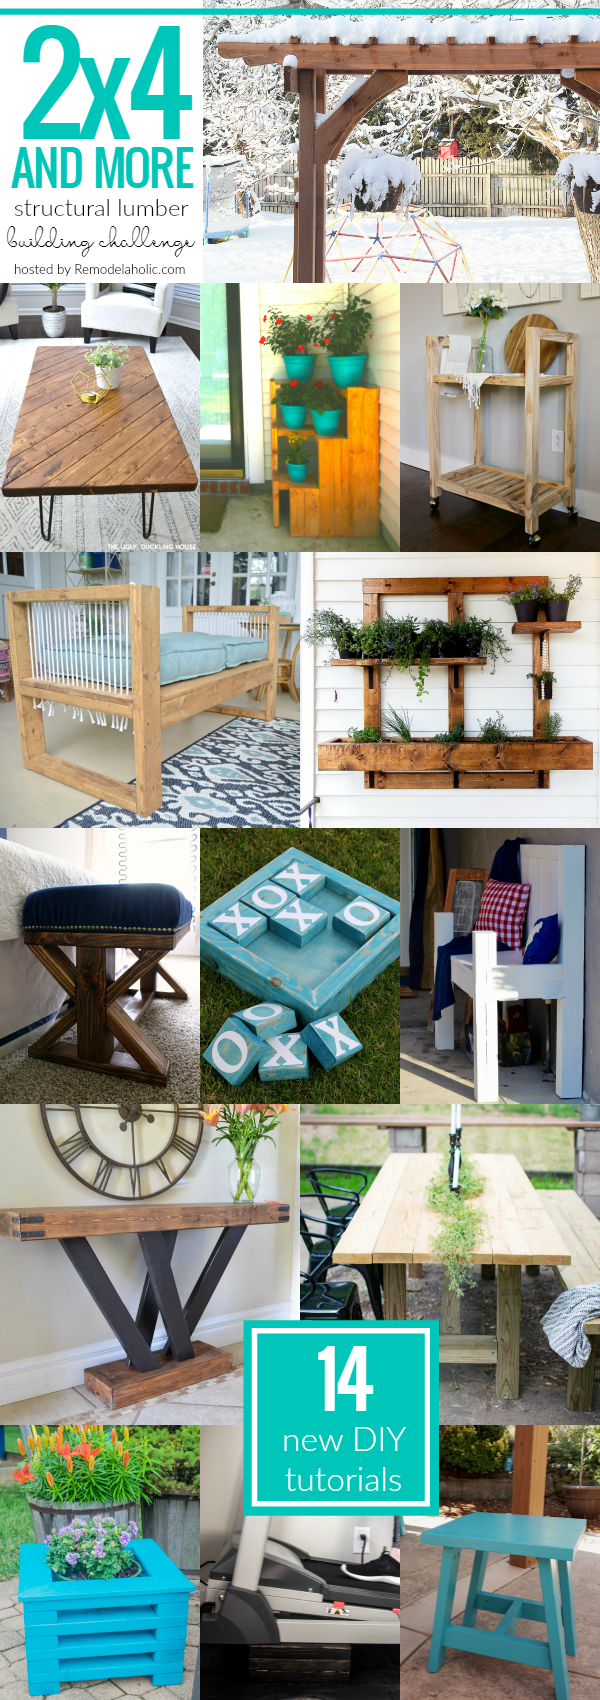
Party Ready Porch. You all, I am SO excited to be a part of the 2×4 And More Challenge hosted by Remodelaholic! I LOVE woodworking as much as I love parties, and I can honestly tell you that I build something for more than half of the parties I host. (Pirate Party?) Be sure to check out ALL of the amazing 2×4 and more projects linked below, and even link your own 2×4 projects up to Remodelaholic’s Linky Party!
garden arbor | Remodelaholic
15 minute coffee table | The Ugly Duckling House
tiered corner plant stand | Charleston Crafted
single-board rolling bar cart | Woodshop Diaries
outdoor bench w/rope detail | At Charlotte’s House
wall planter and herb garden | Making Joy and Pretty Things
upholstered x-base bench | Frazzled Joy
jumbo tic tac toe | Ginger Snap Crafts
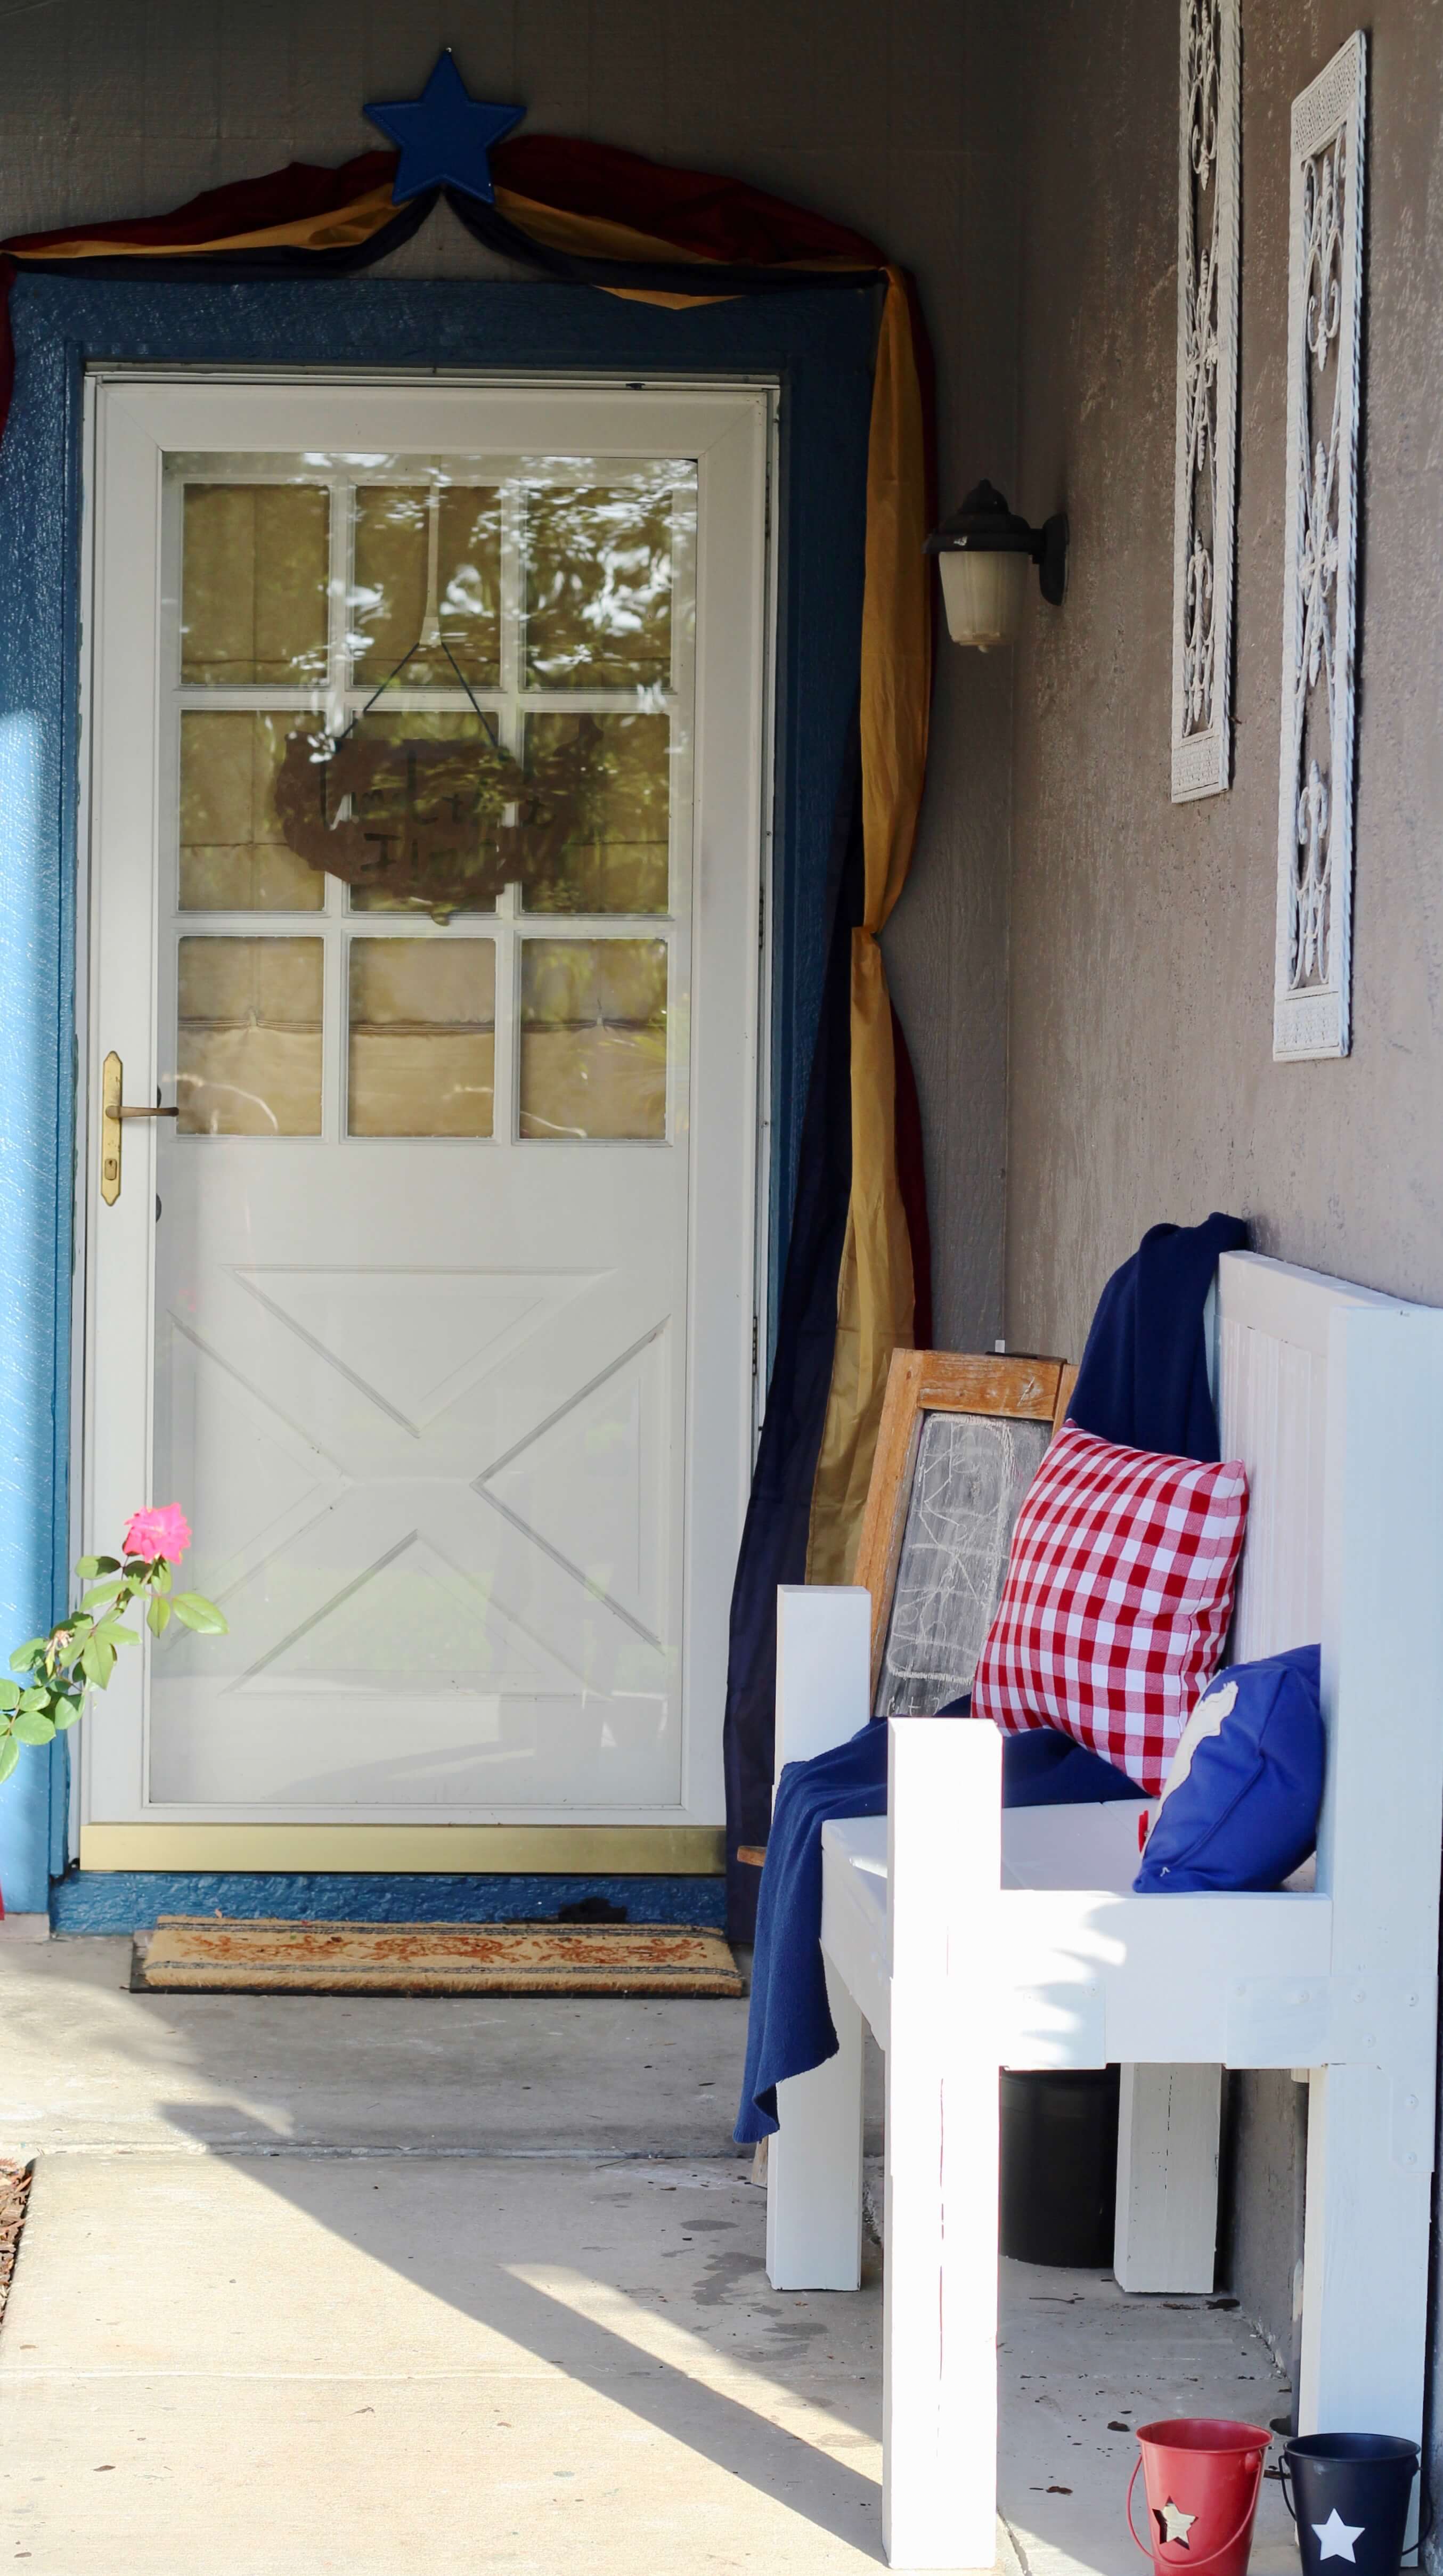
porch bench | Everyday Party Magazine
console table | Hertoolbelt
farmhouse patio table | North Country Nest
easy flower planters | Our House Now a Home
treadmill incline | Practical and Pretty
patio side table | Small Home Soul
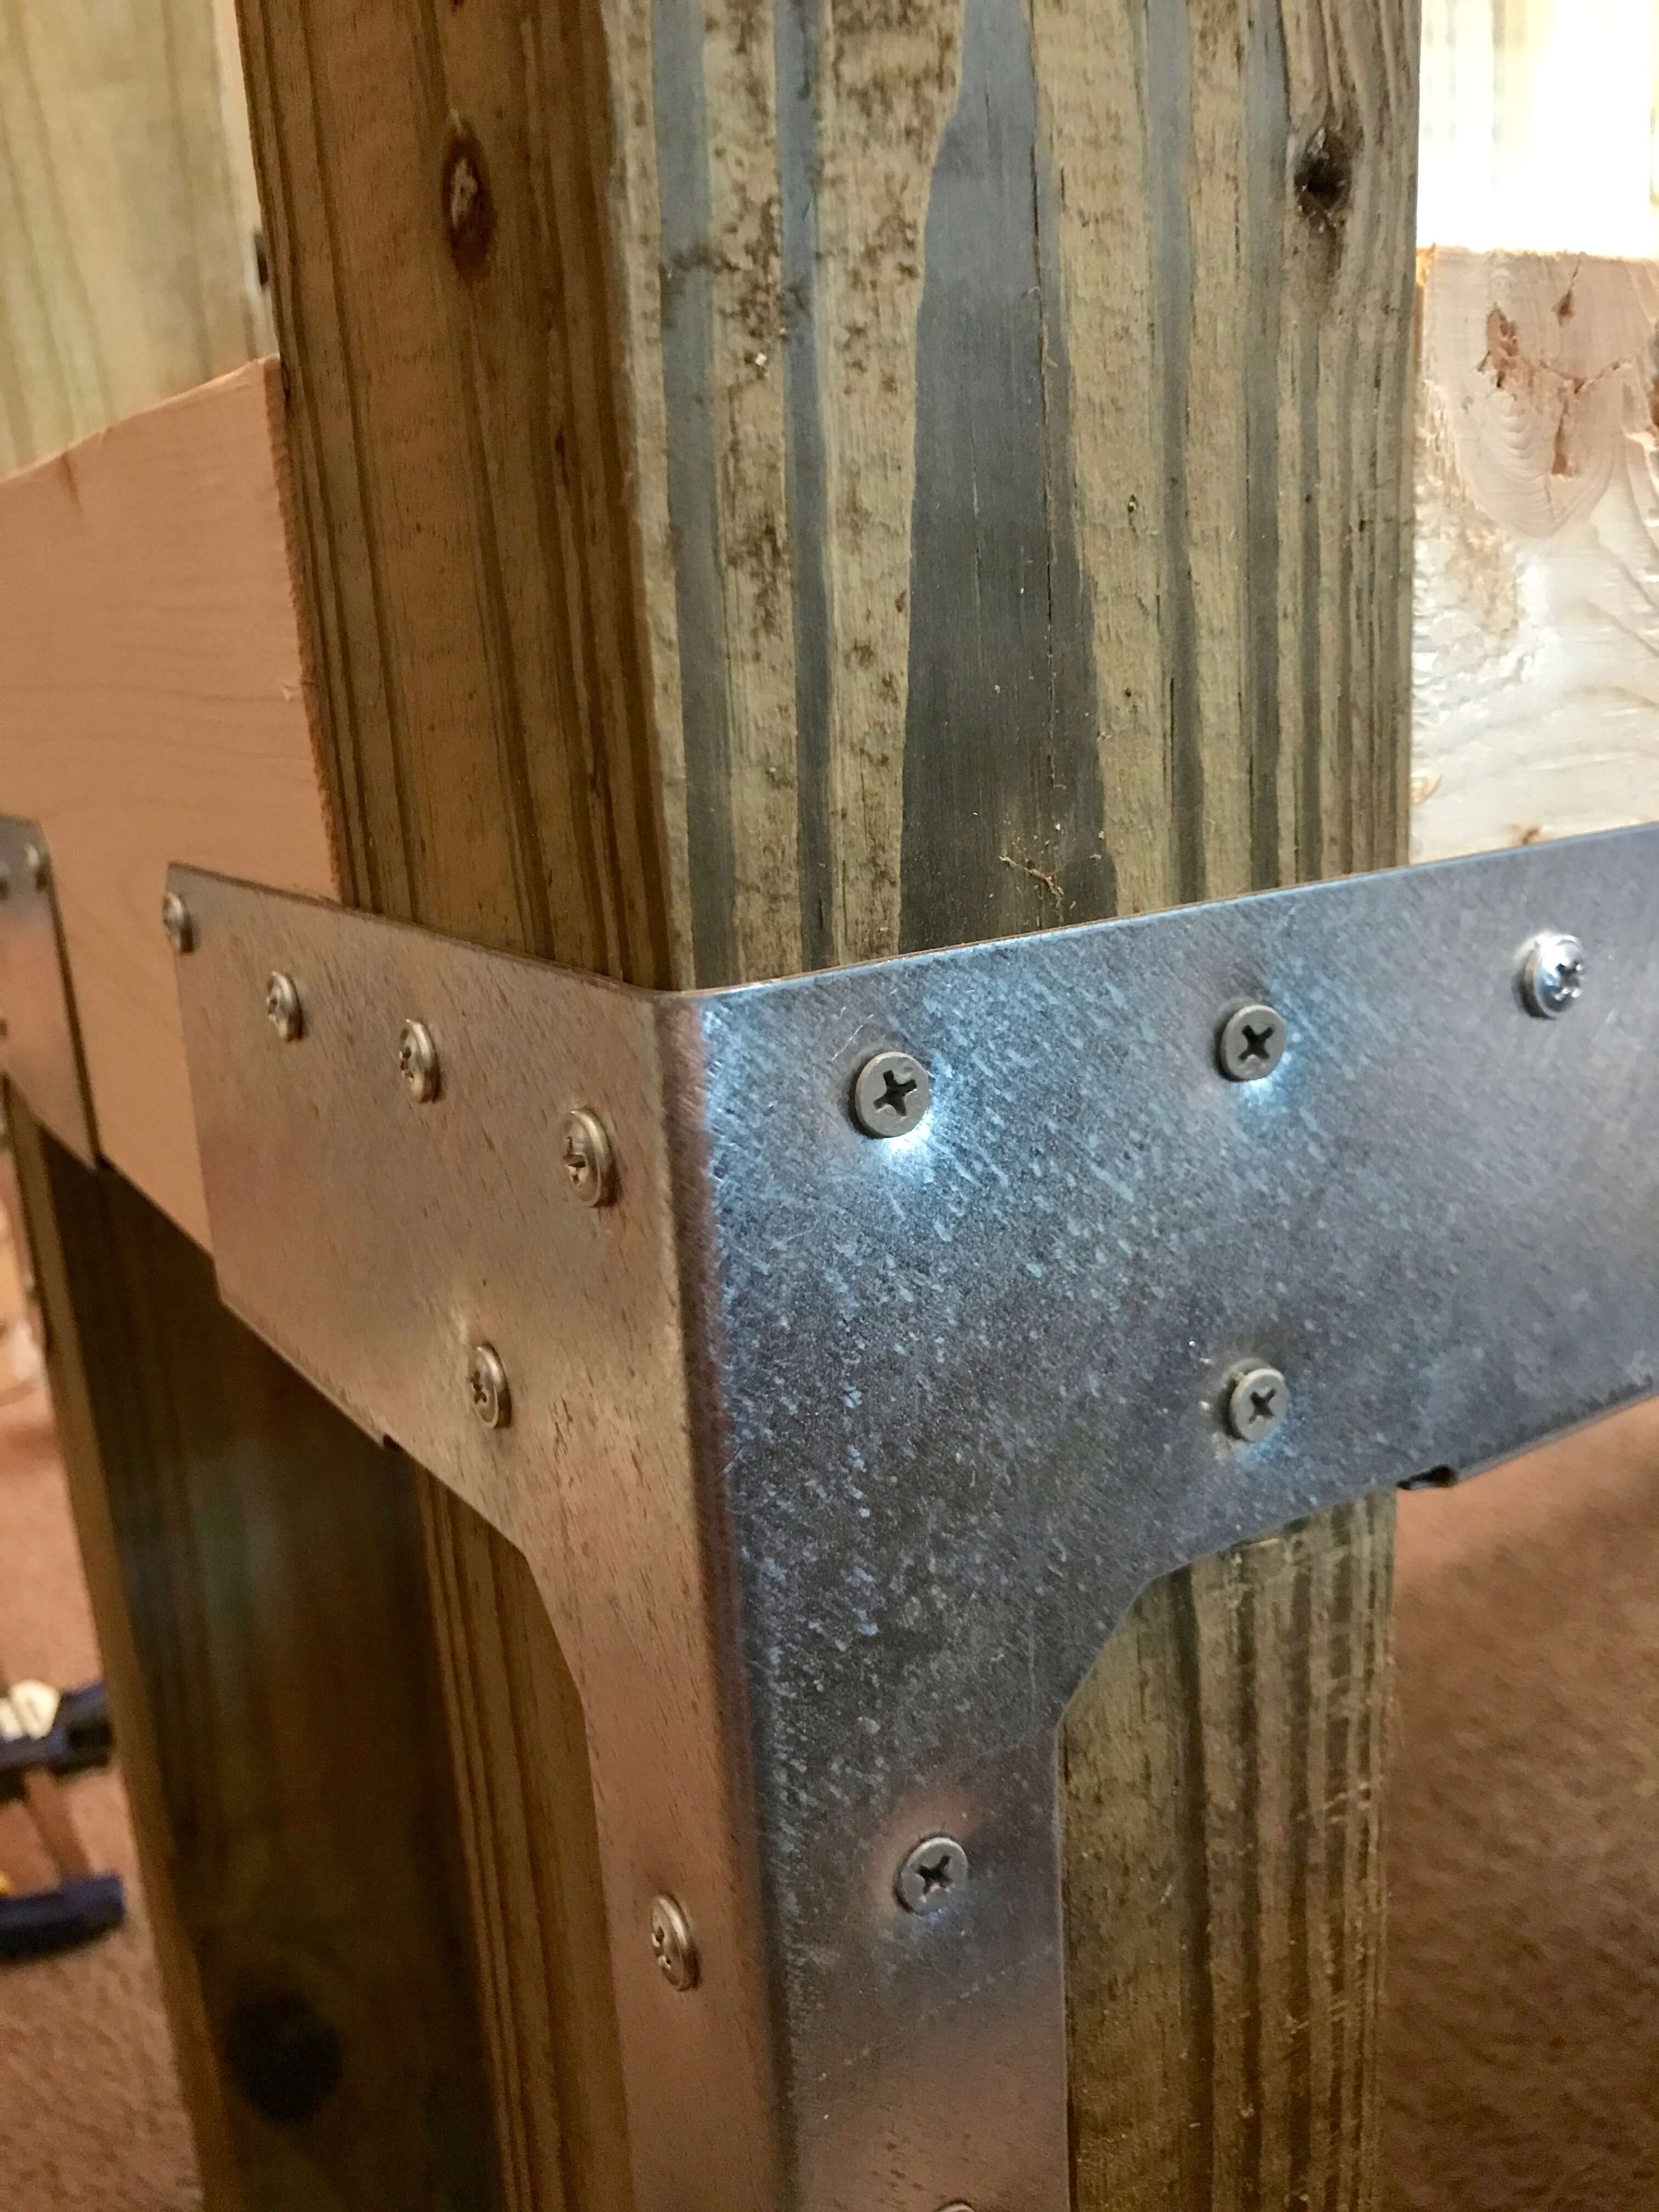
Later today we are hosting a big party for my birthday…and one thing I always strive to do, is make sure my front “porch” entryway is as inviting as possible. Over the years, we have done a lot to the entryway, but nothing I really truly loved…until this. I recently saw a bench online and fell head over heals in love with it. Unfortunately, I had no idea where it was from or even how to really make it myself! So, the hubs and I went to the hardware store, cell phone pic in hand, and asked the guys there for a little help finding hardware to match the bench of my dreams. While they didn’t have an exact match, they did have something similar. We bought 4 brackets, a cart full of wood, and a box of each 9/16″ and 1 1/4″ Wafer Head Screws. (I liked them best because they resembled rivets)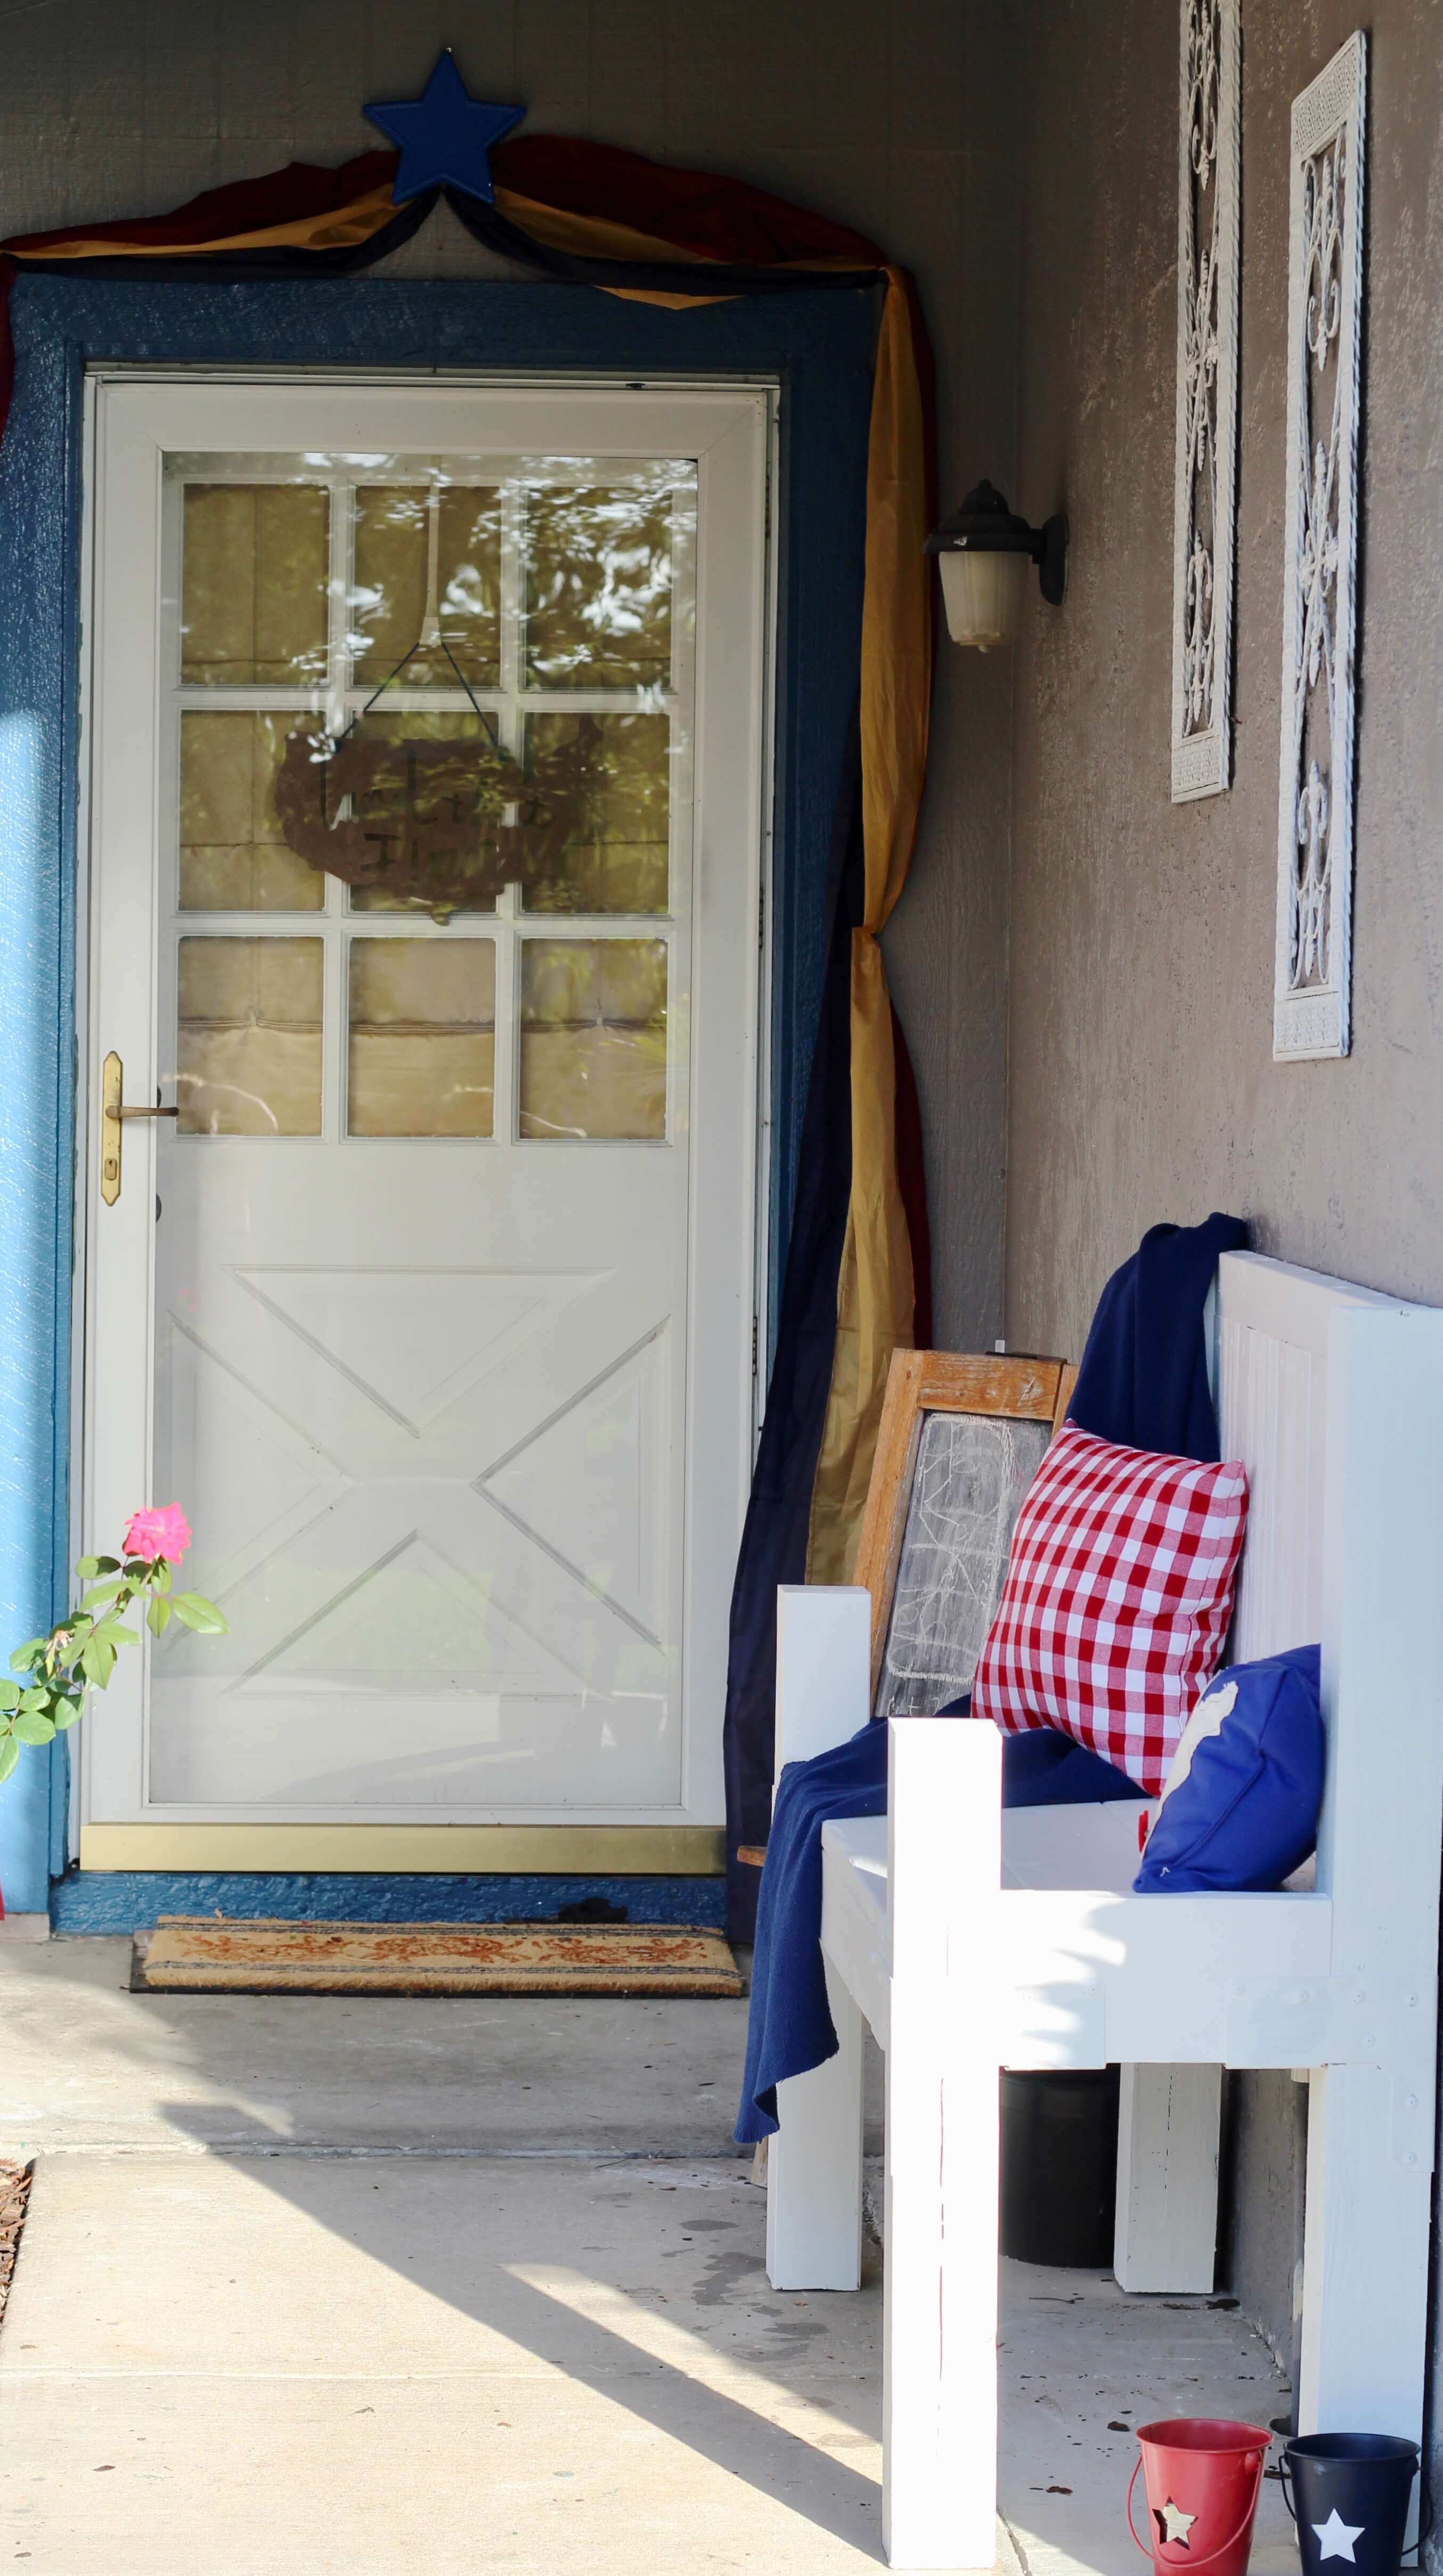
To make your own bench, you will need:
- Saw (We used a miter saw)
- Drill
- Levels
- Kreg Jig or 6 – 13/16 in. x 5 in. Tie Plate (Flat Brackets)
- Paint
- Box of 9/16″ Wafer Head Screws 8 gauge
- Box of 1 1/4″ Wafer Head Screws 8 gauge
- 16 – 2″ Deck Screws
- 4 – 18-Gauge 2X Rigid Tie Connectors
- 4 – 18-Gauge Galvanized Steel Angle Brackets
- 2 – 4×4 posts cut to 28″
- 2 – 4×4 posts cut to 42″
- 1 – 2×6 cut to 41″
- 2 – 2×6 cut to 11″
- 1 – 2×4 cut to 41″
- 2 – 2×4 cut to 15 1/4″
- 4 – 2×2 cut to 11″
- 3 – 1×6 cut to 45 1/4″
- 1 – 2×3 cut to 41″
- 4 – 1×3 cut to 16 7/8″
- 9 – 1×4 cut to 16 7/8″
- Possible 2 – 1×4 cut to 41″
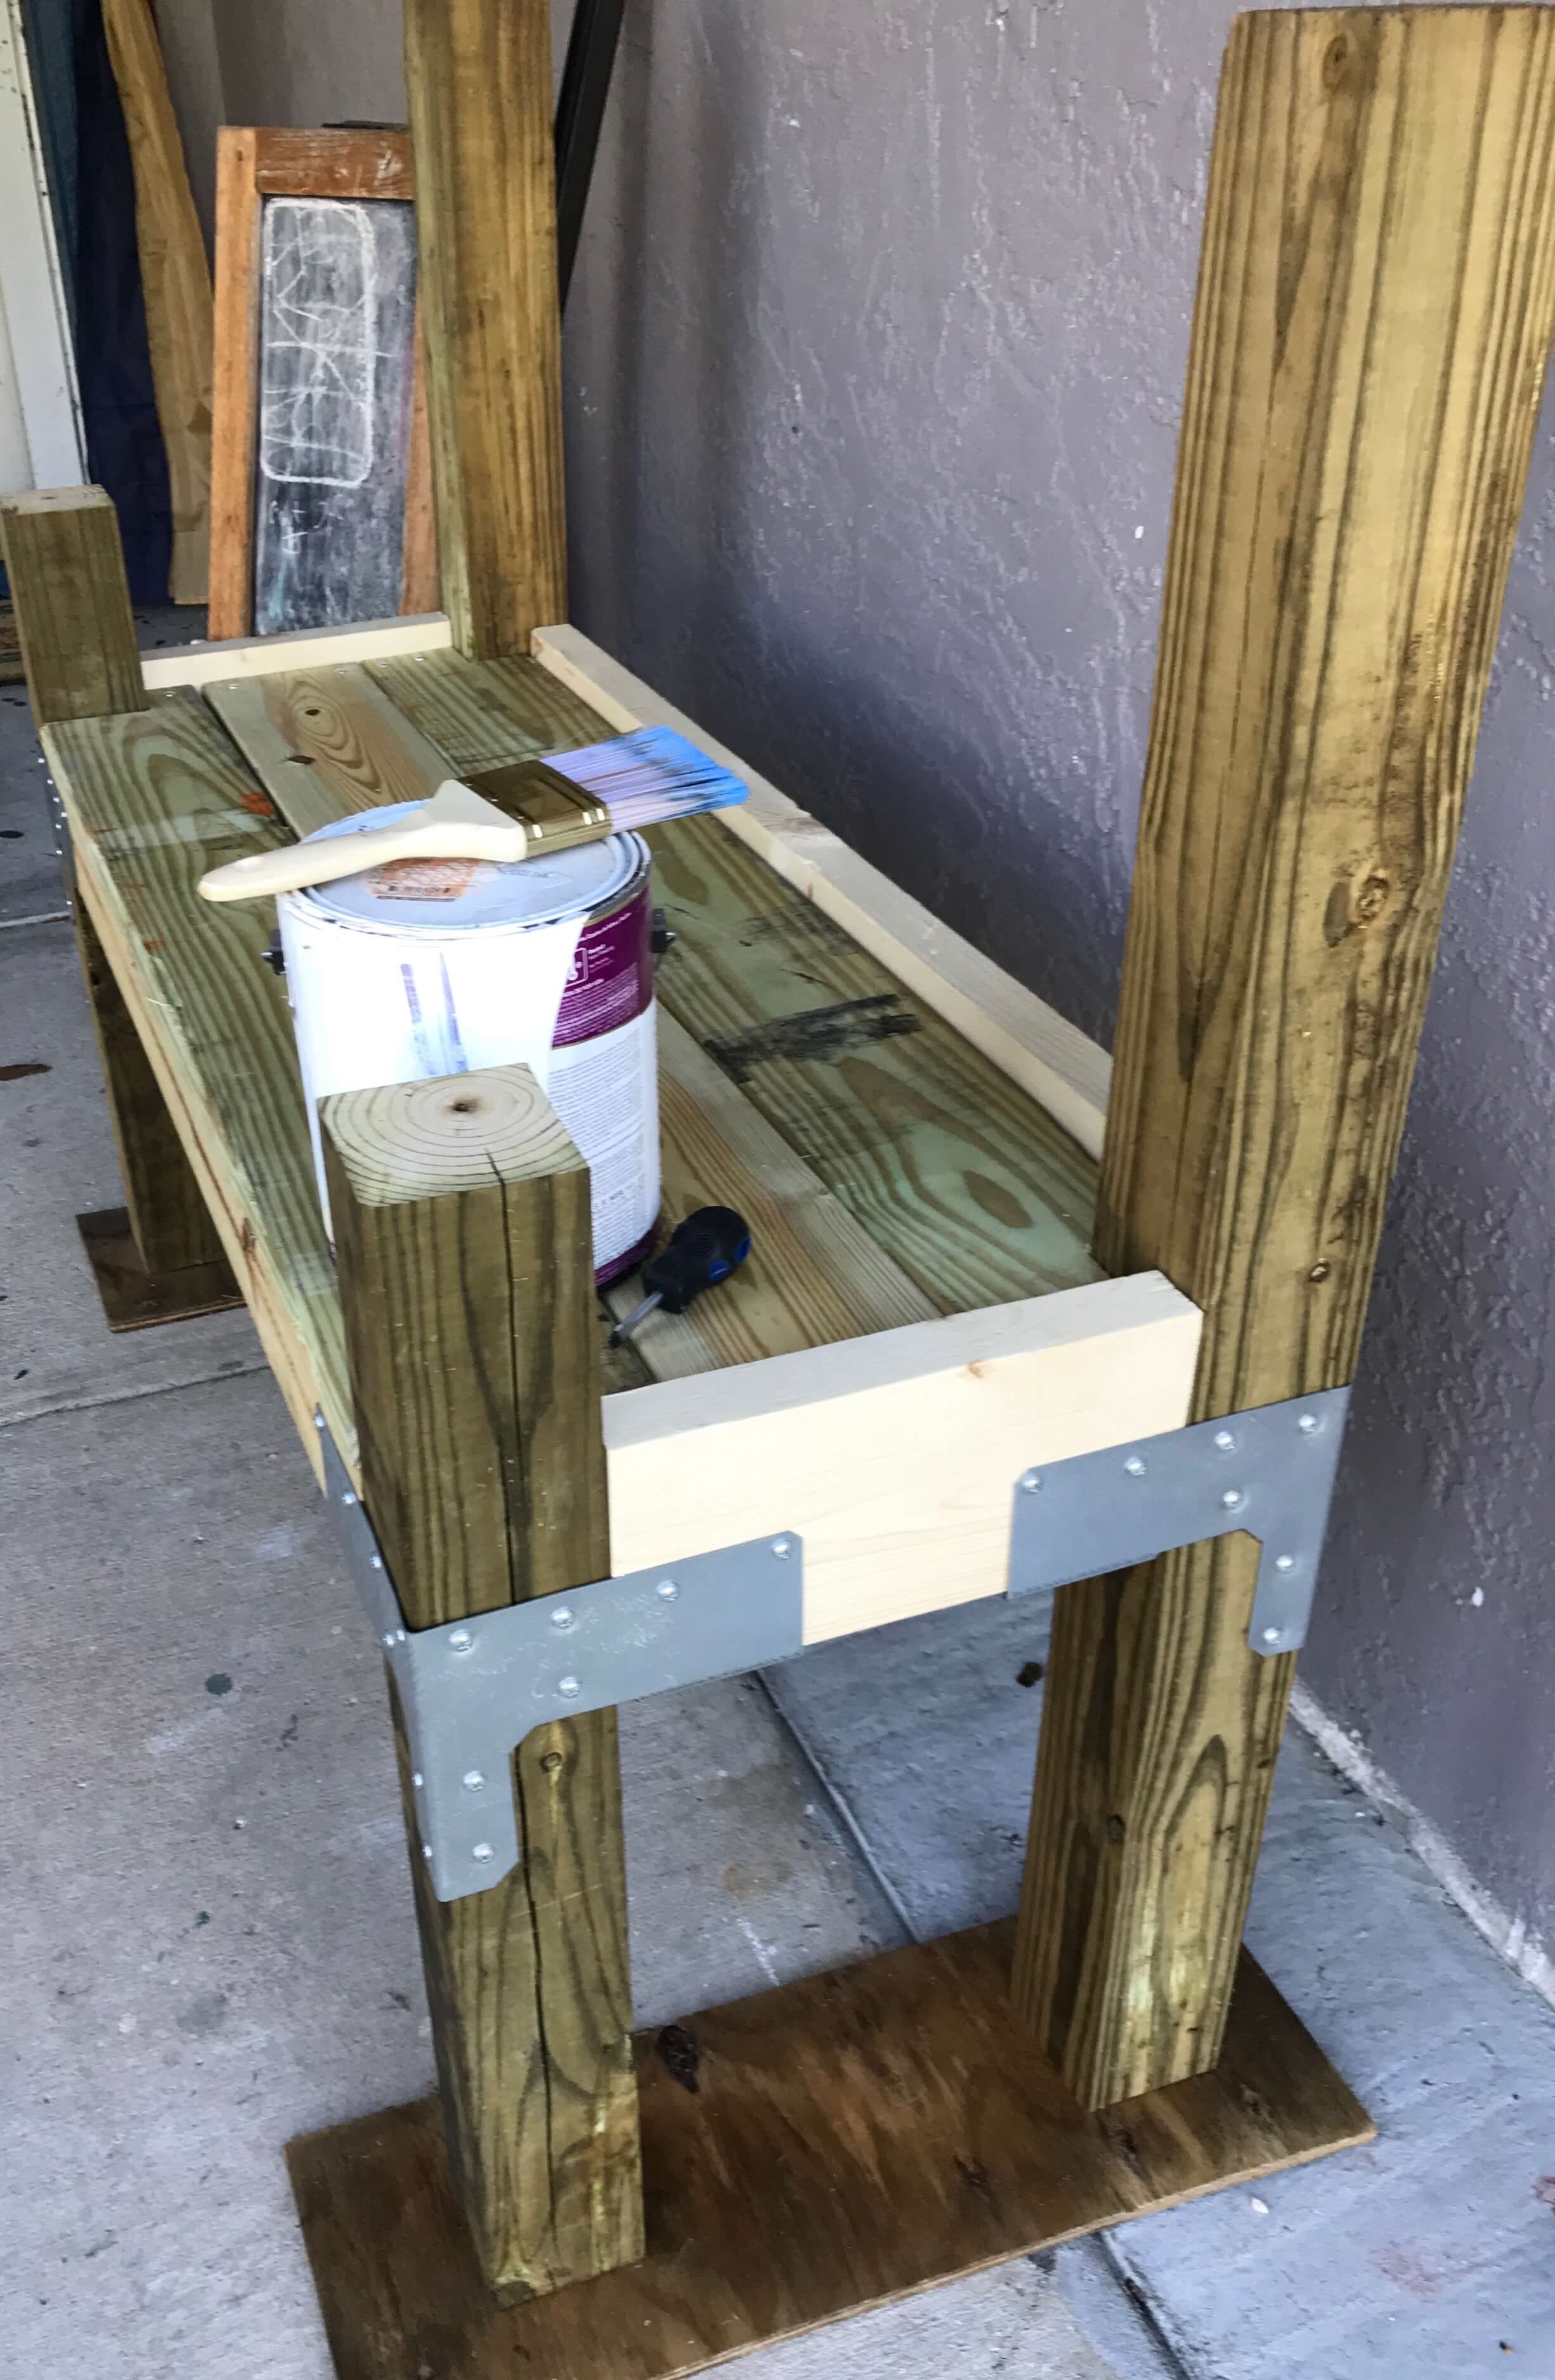
Once all of your boards have been cut, you can begin assembling your bench. We measured the seat height to 17″ from the ground, and screwed our Tie Connectors into each 4×4″. The longer 4×4’s are the back of the bench. Attach the longer 2×6 to the longer 4×4 with the Tie Connector and the 1 1/4″ Wafer Head Screws (We grabbed a few deck screws for one, it’s truly a personal preference), make sure it is level. Do the same for each side with the 11″ 2×6 boards. We used a 41″ 2×4 for the front. Attach it the same way. 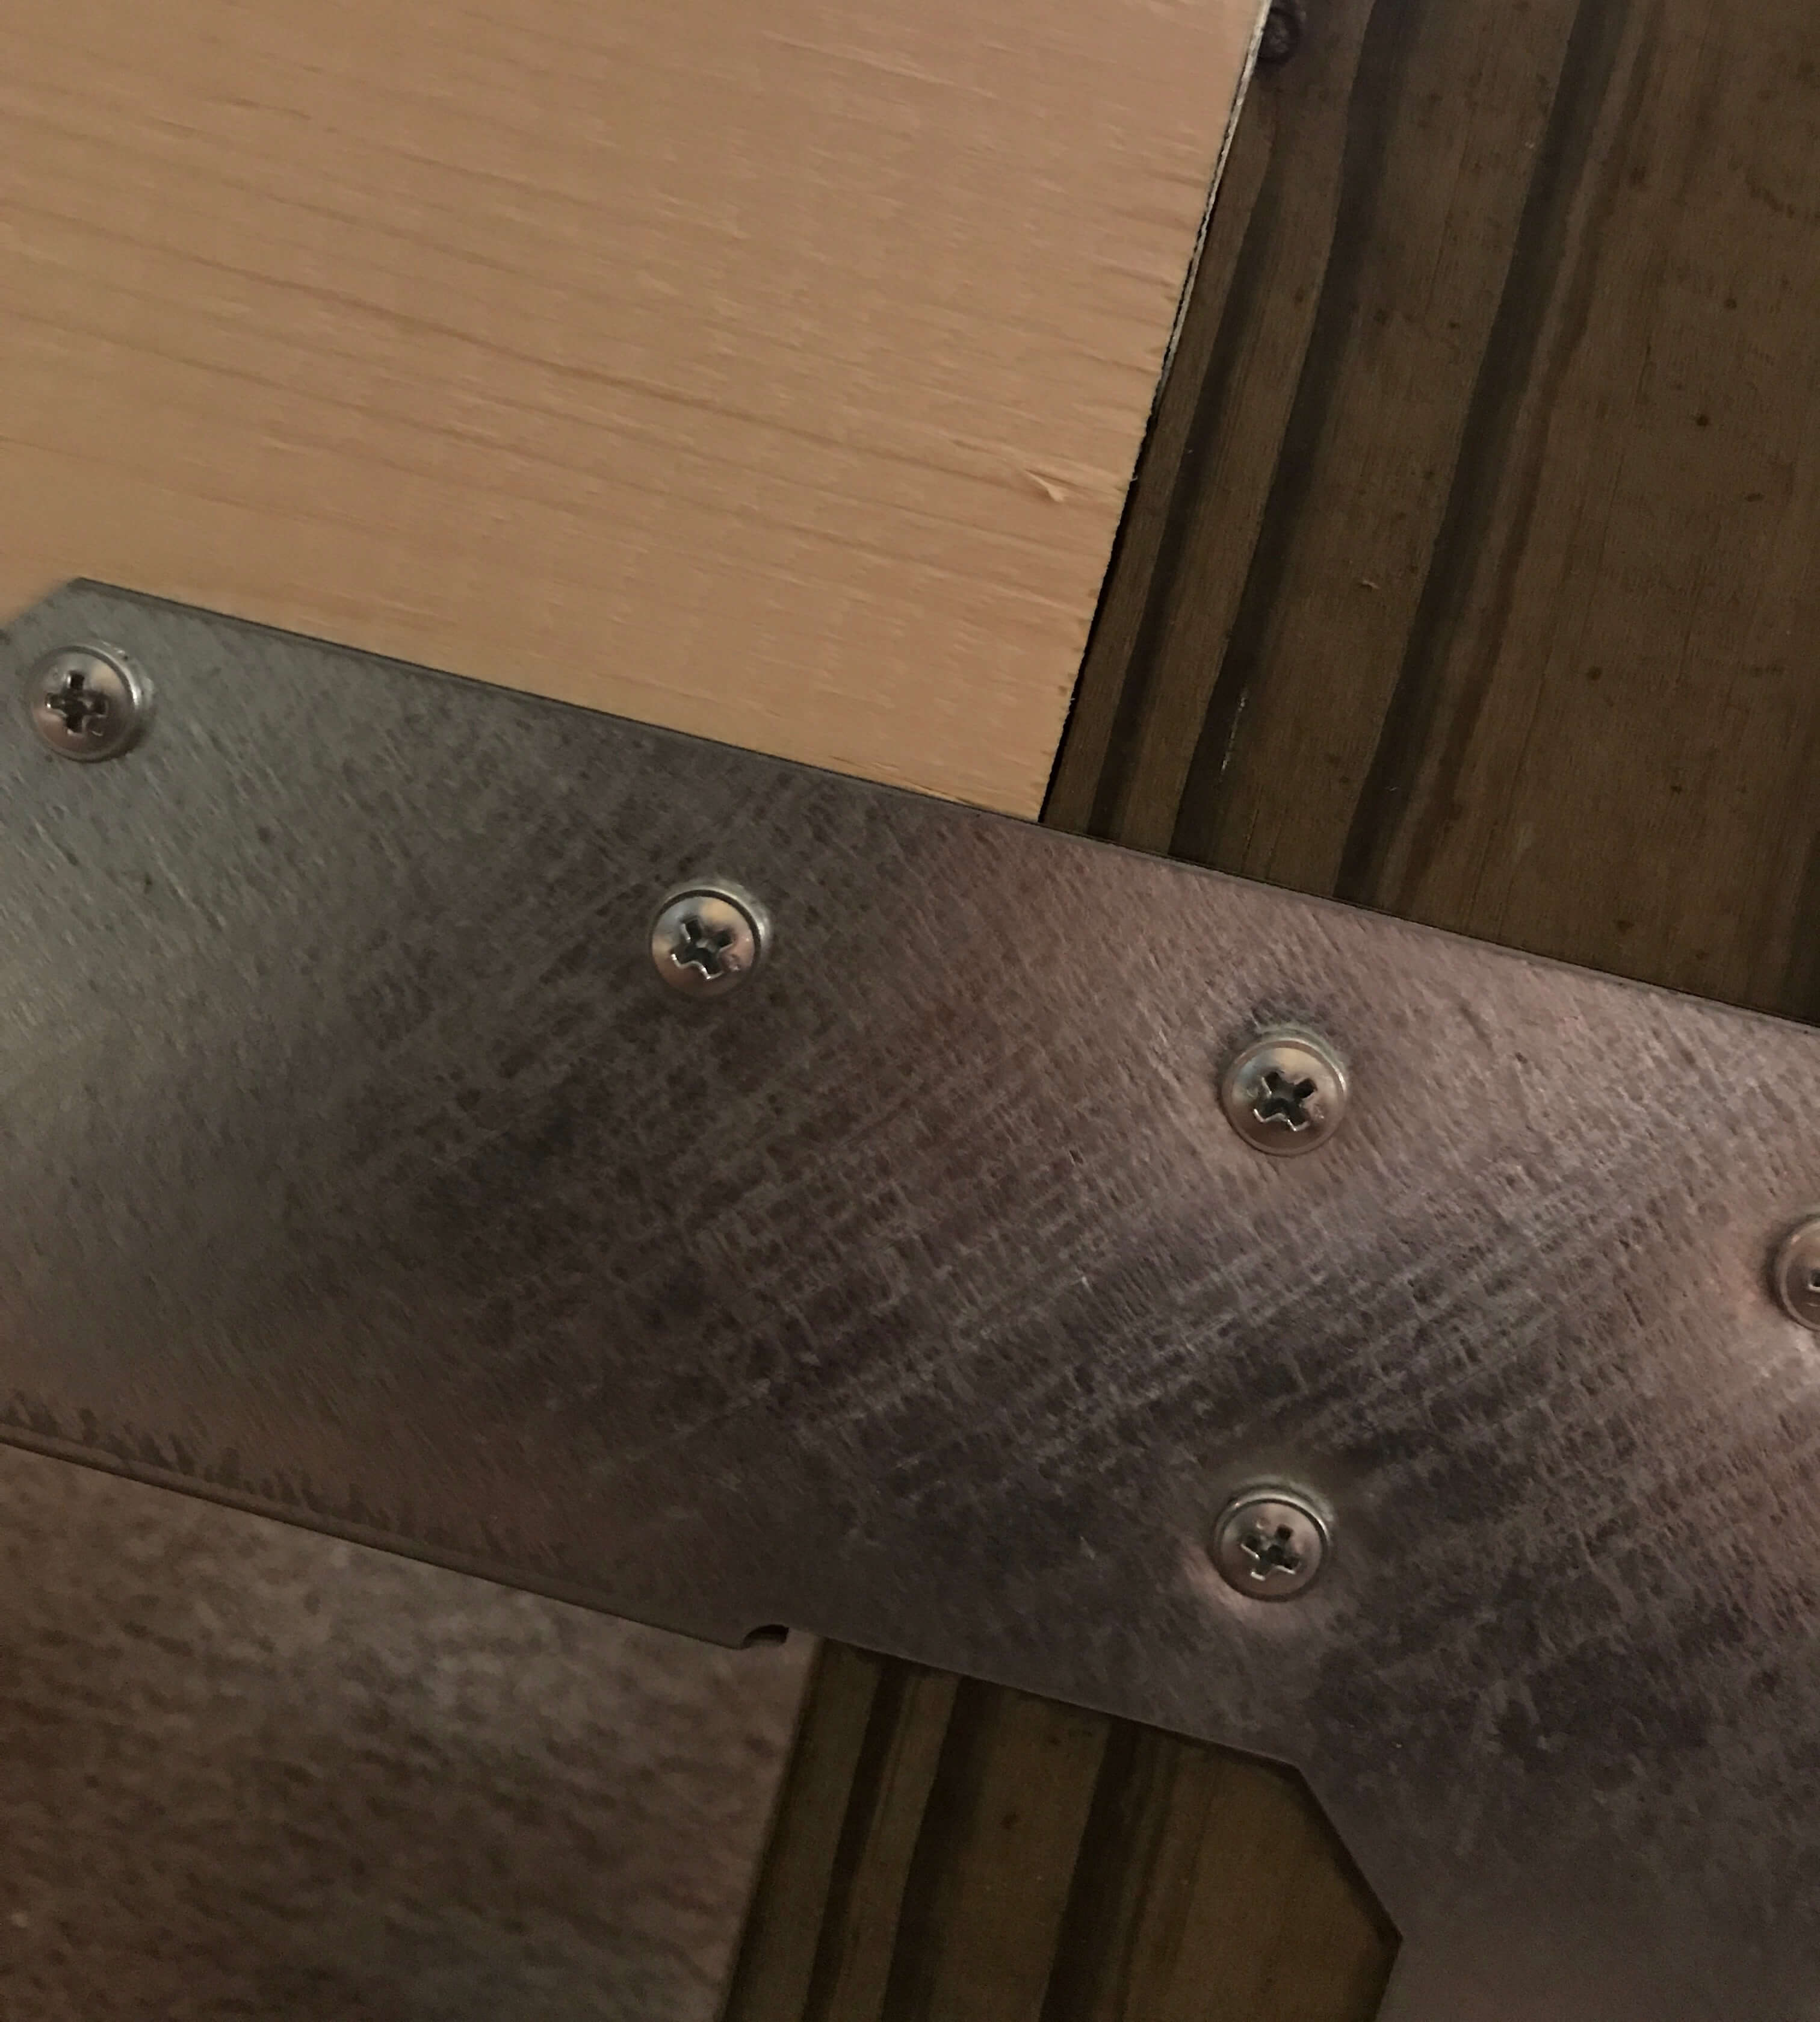
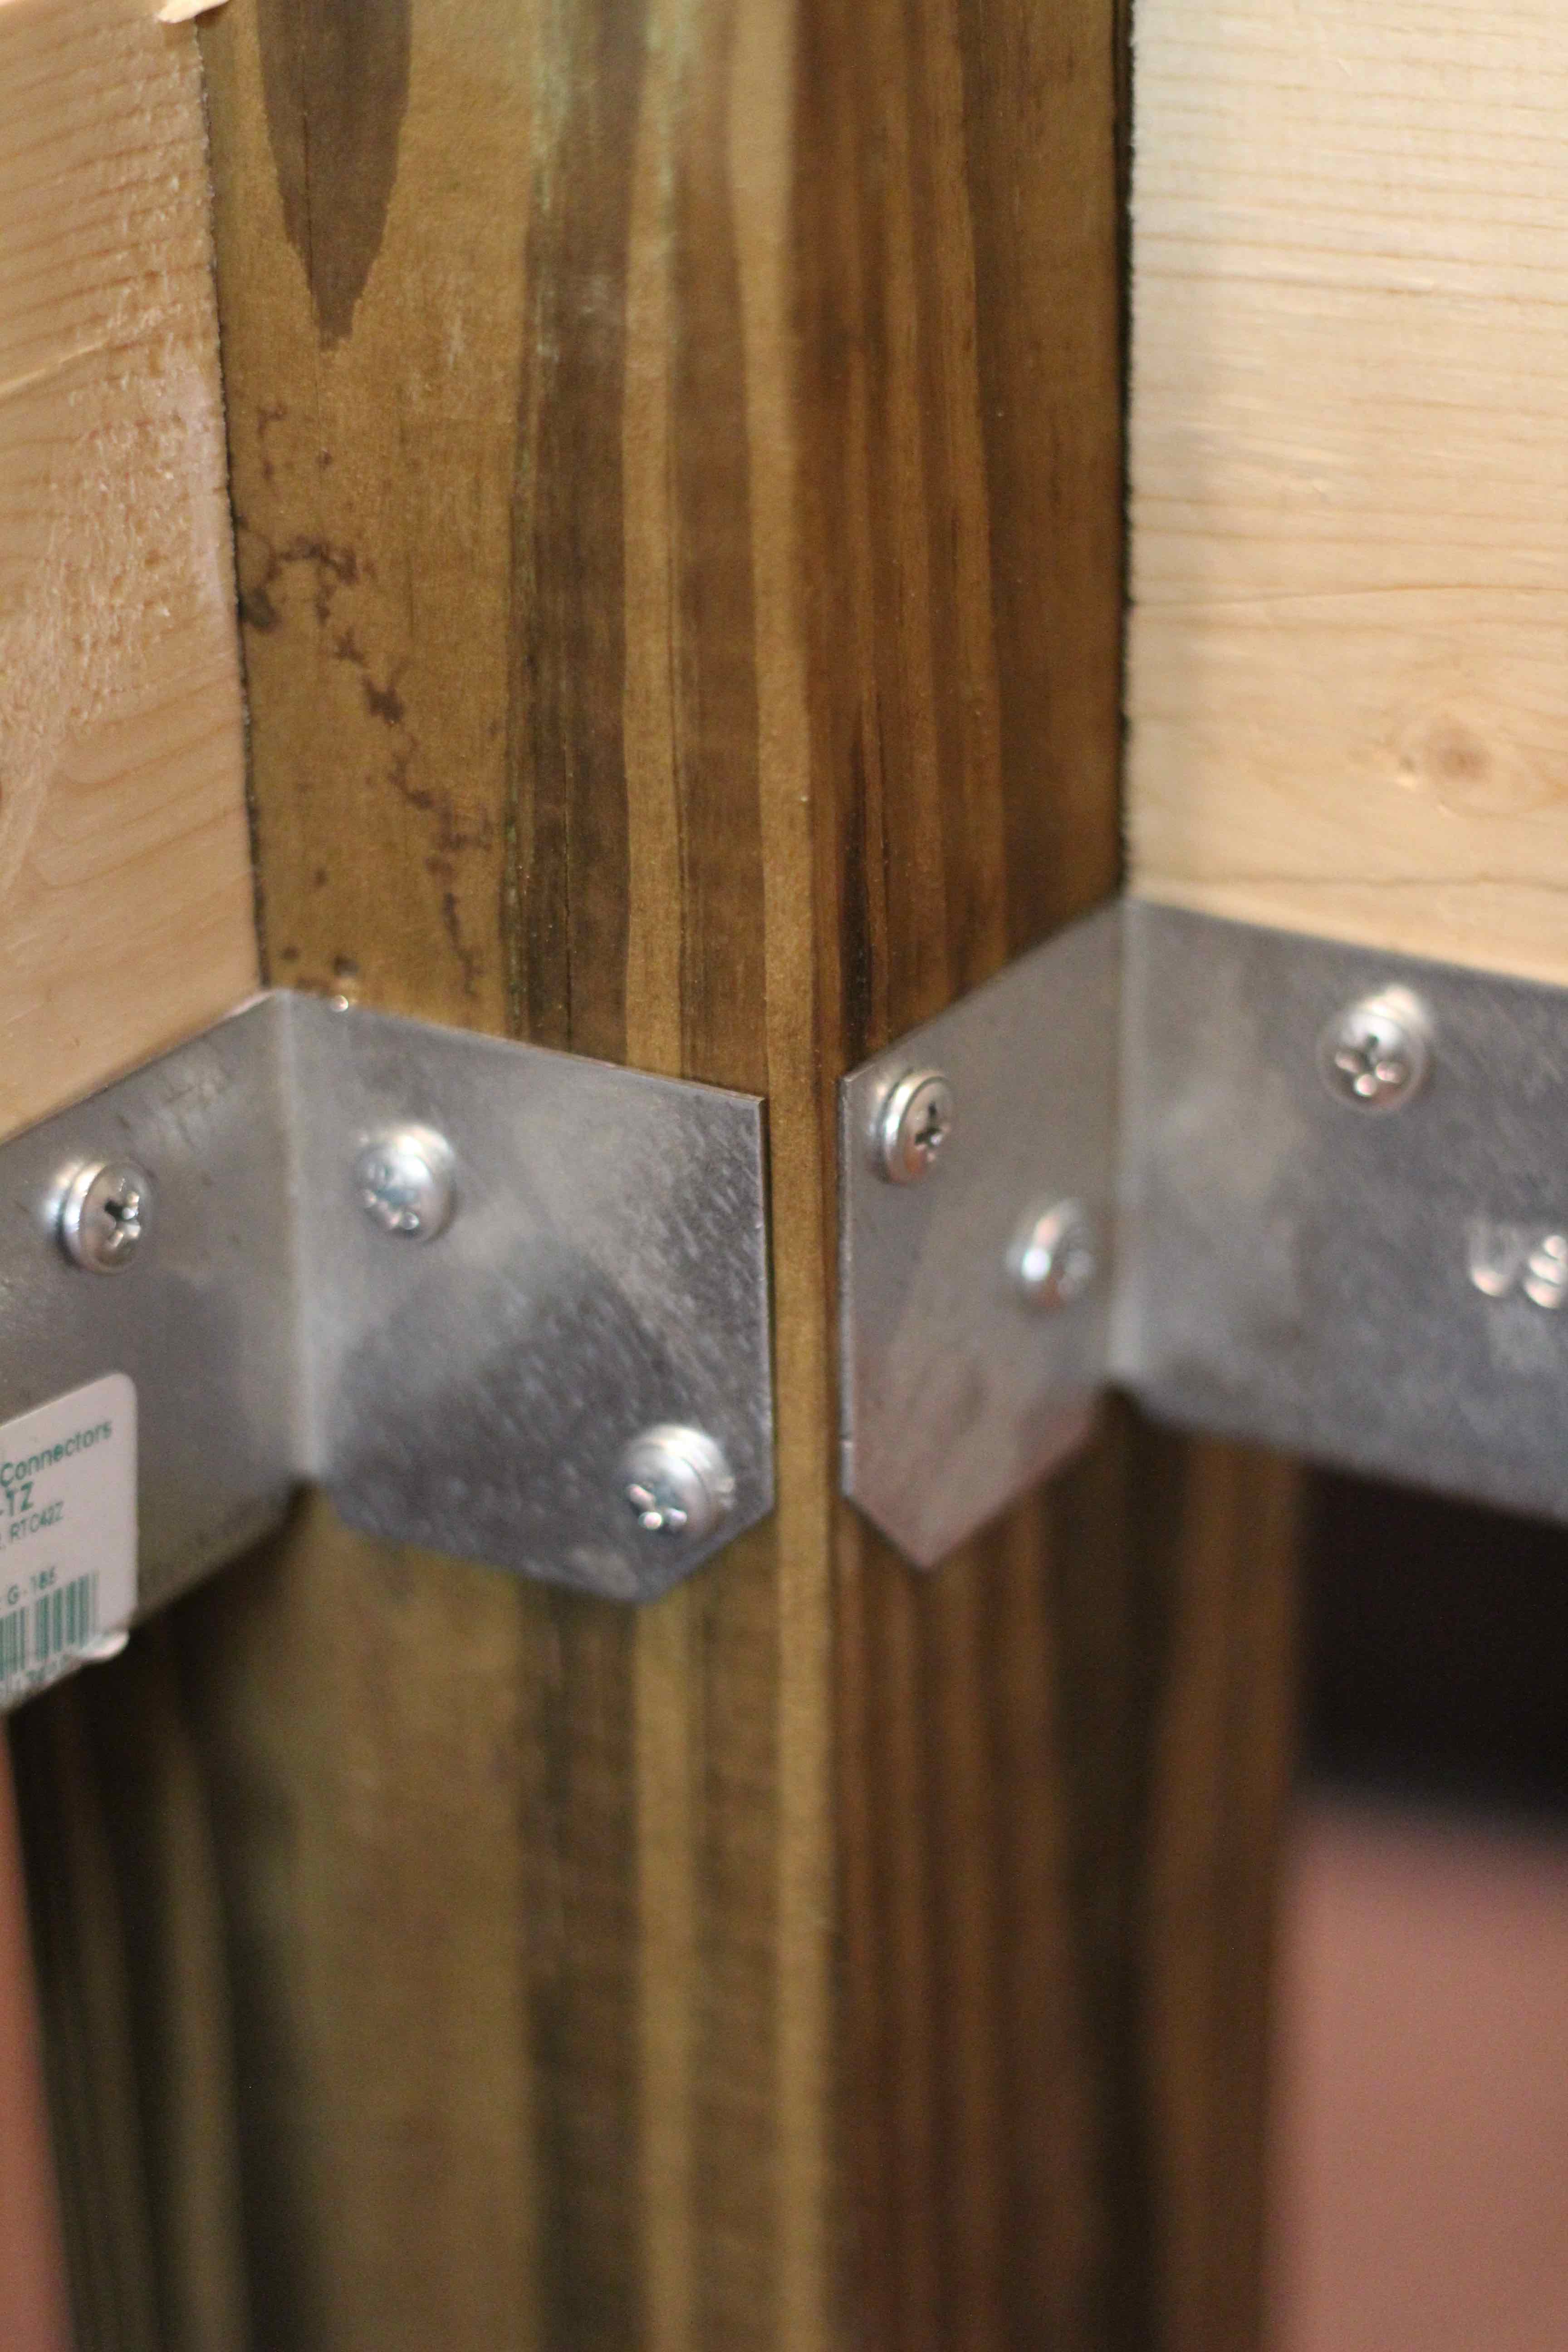 Attach the 11″ 2×2’s to the 2×6 boards as cleats for the seat boards with 2″ deck screws sunk into the wood. Make sure they are level with the top of the front 2×4 and each other. Add the 15 1/4″ 2×4″ supports in between the cleats. We drilled them directly into the back of the 2×6″ with 2 deck screws for each board, and used angle brackets in the front. (You could use the Kreg Jig for this)
 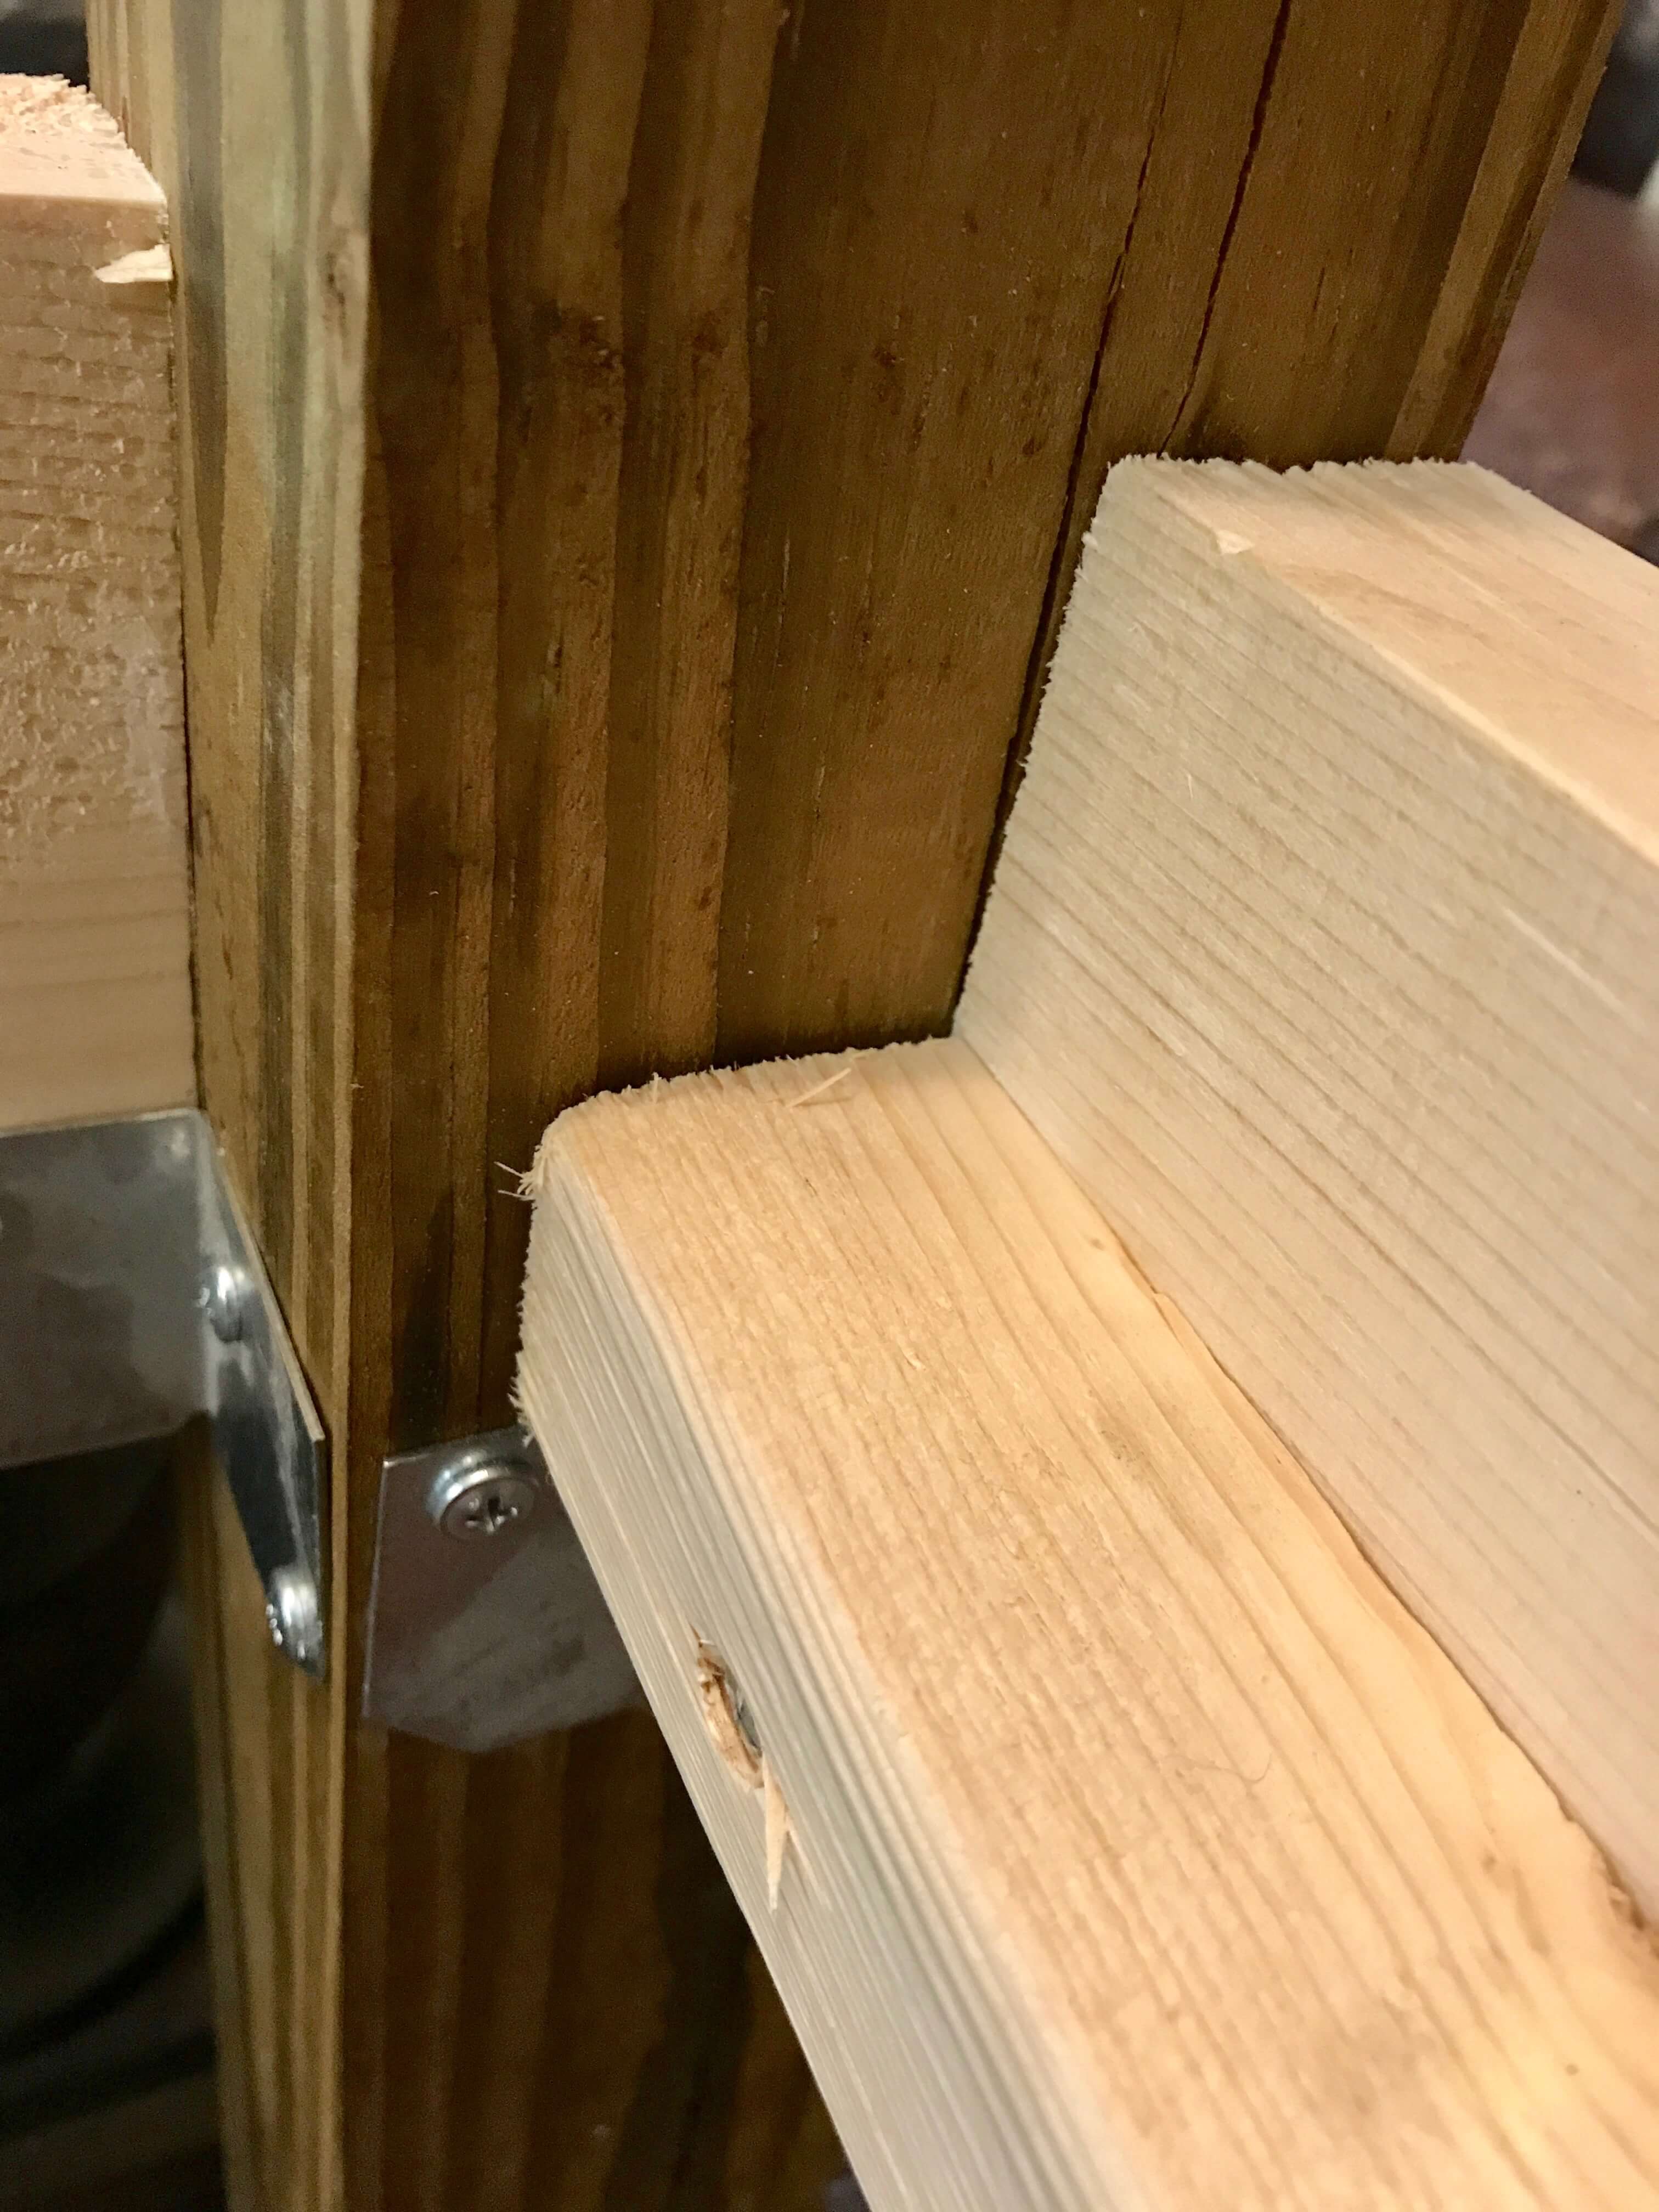 Next, attach the 1×6 seat boards. You will need to notch the front and back boards to allow for the 4×4 posts. (It finally stopped raining, so we moved outside for the remainder of the build…we started it in the living room, LOL)
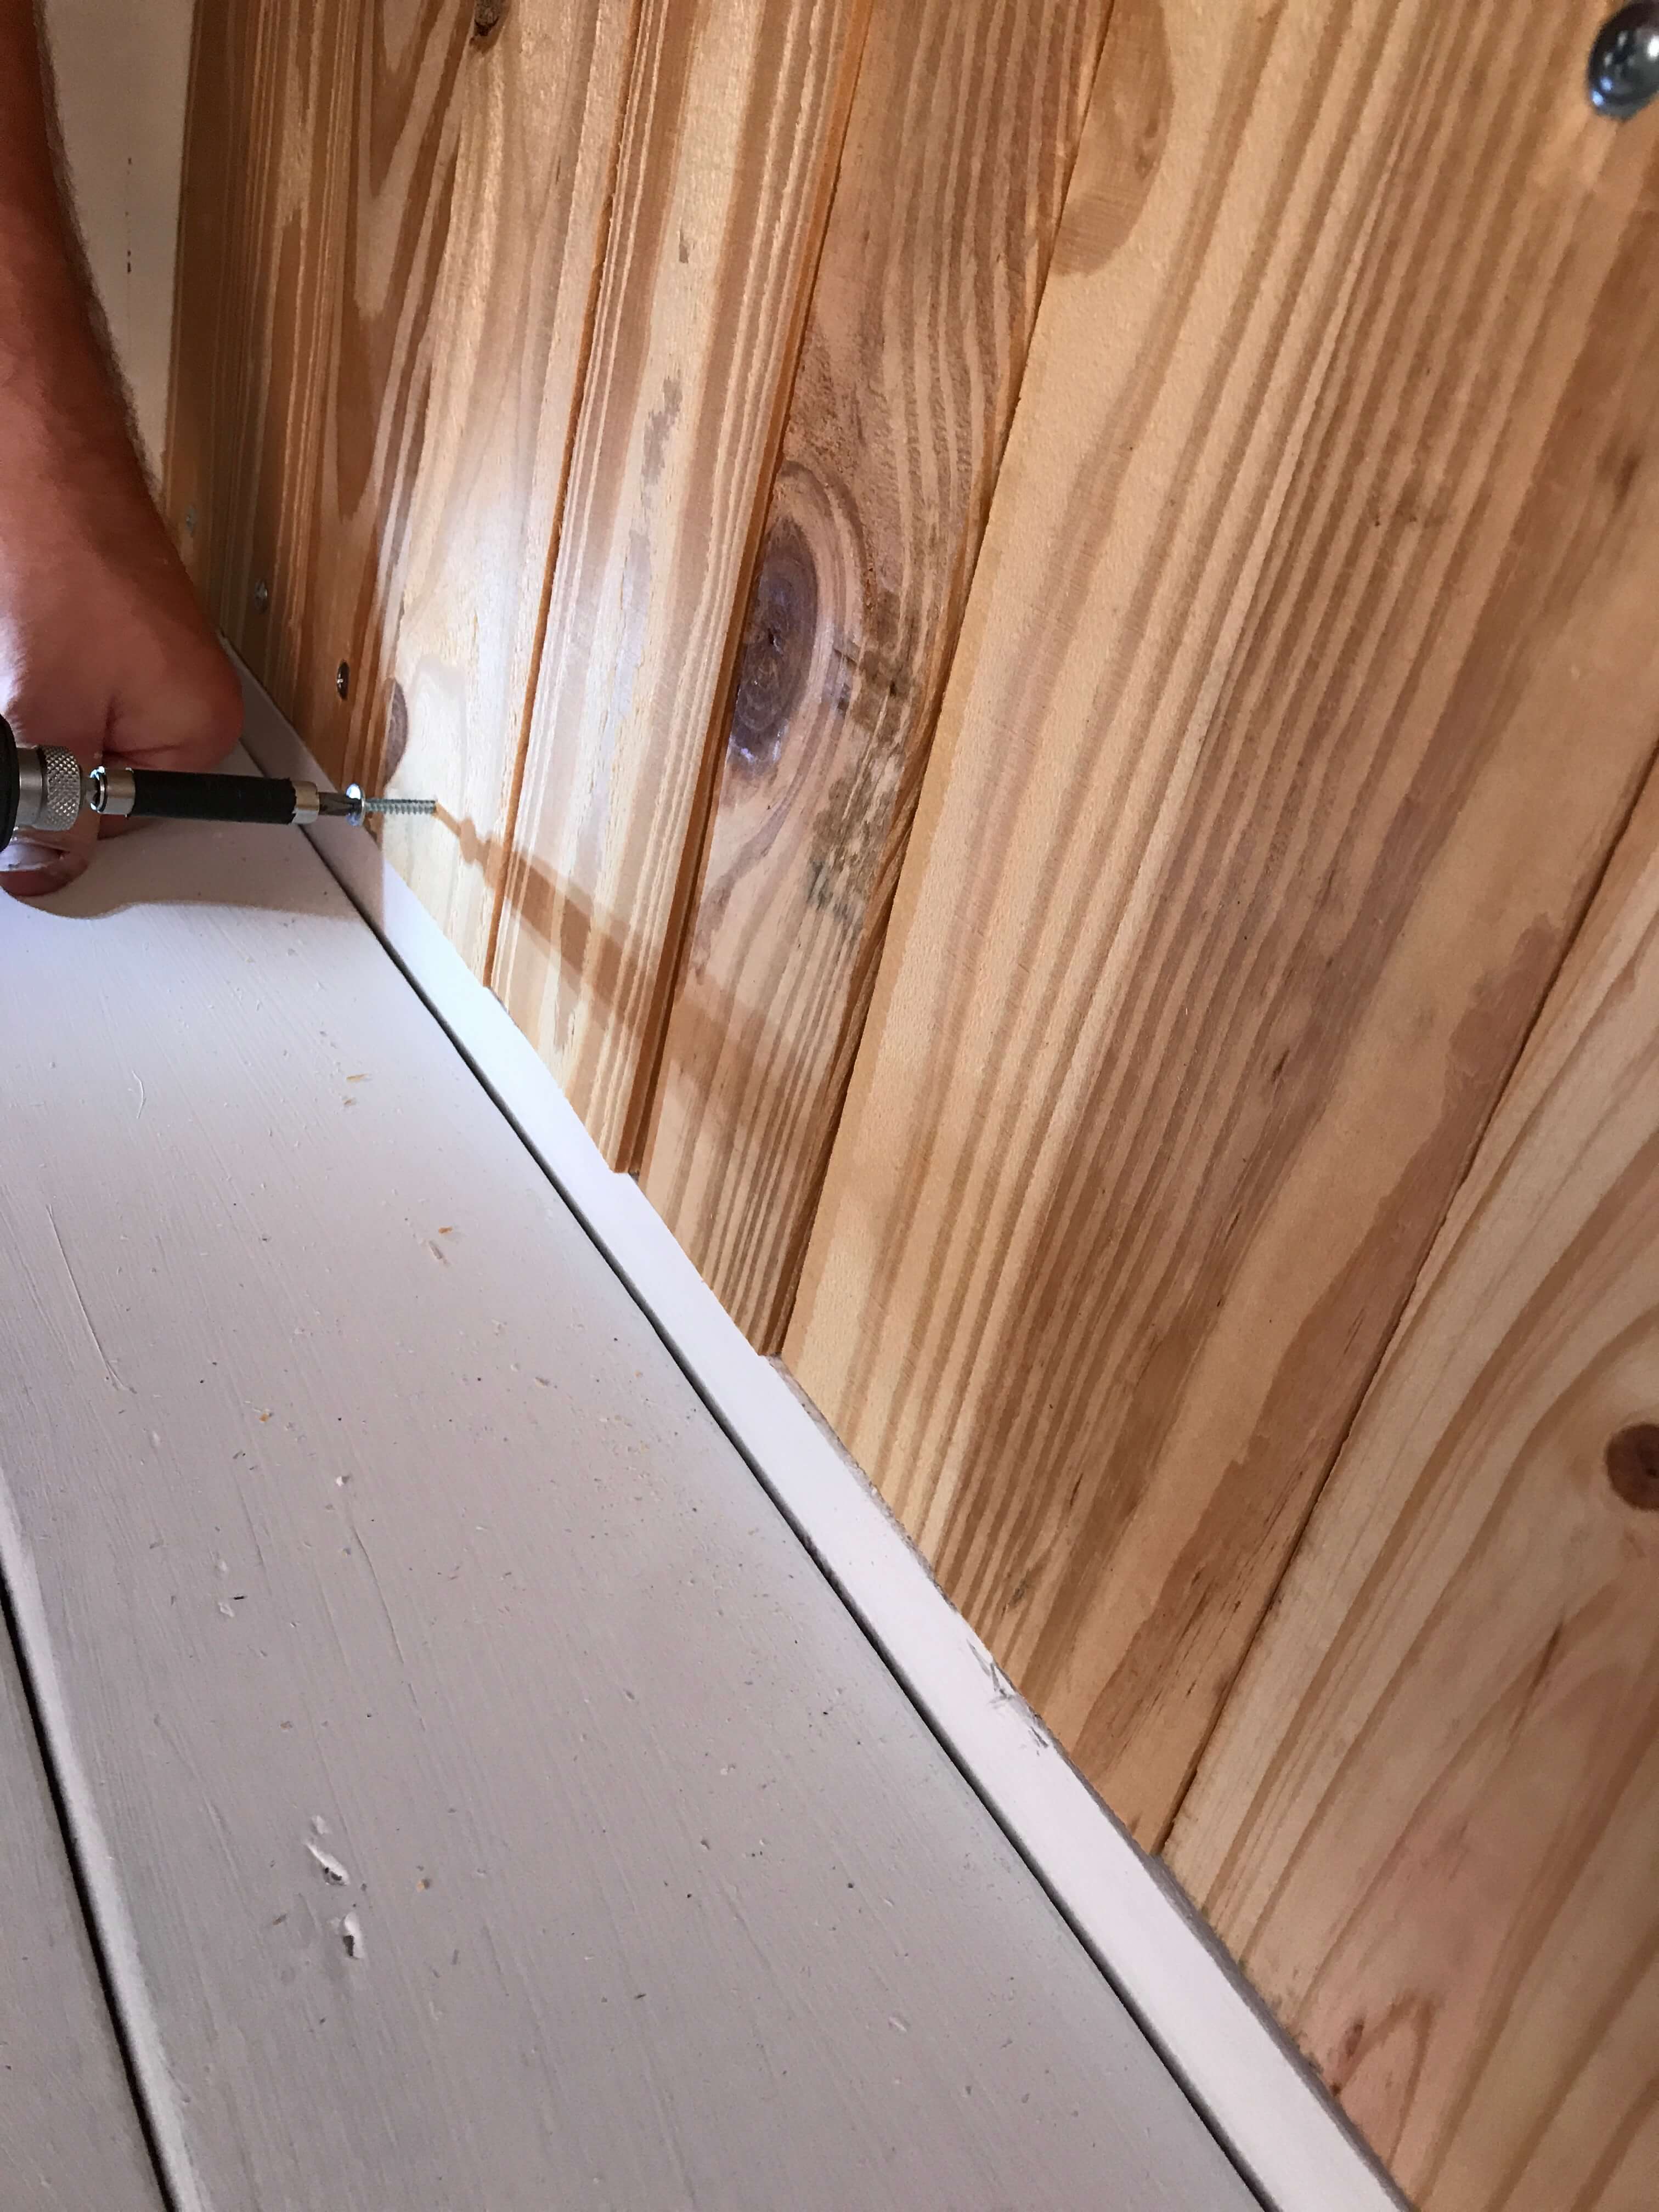
 If you have a Kreg Jig, drill pocket holes in each end of the 2×3, and the 1×3 and 1×4 boards. If not, you can use flat brackets to attach them to the back of the back 4×4 posts. Attach the 2×3 at the top of the 4×4 with the brackets or pocket holes, being sure to keep it level. If you are not using pocket holes, add a 1×4 just above the back 2×6 and halfway between the 2×6 and the 2×3. Attach the back support 1×3’s and 1×4’s using 9/16″ wafer head screws. Since our son has taken over our garage with his endless amount of hockey equipment, we couldn’t find either of our Kreg Jigs for this project…
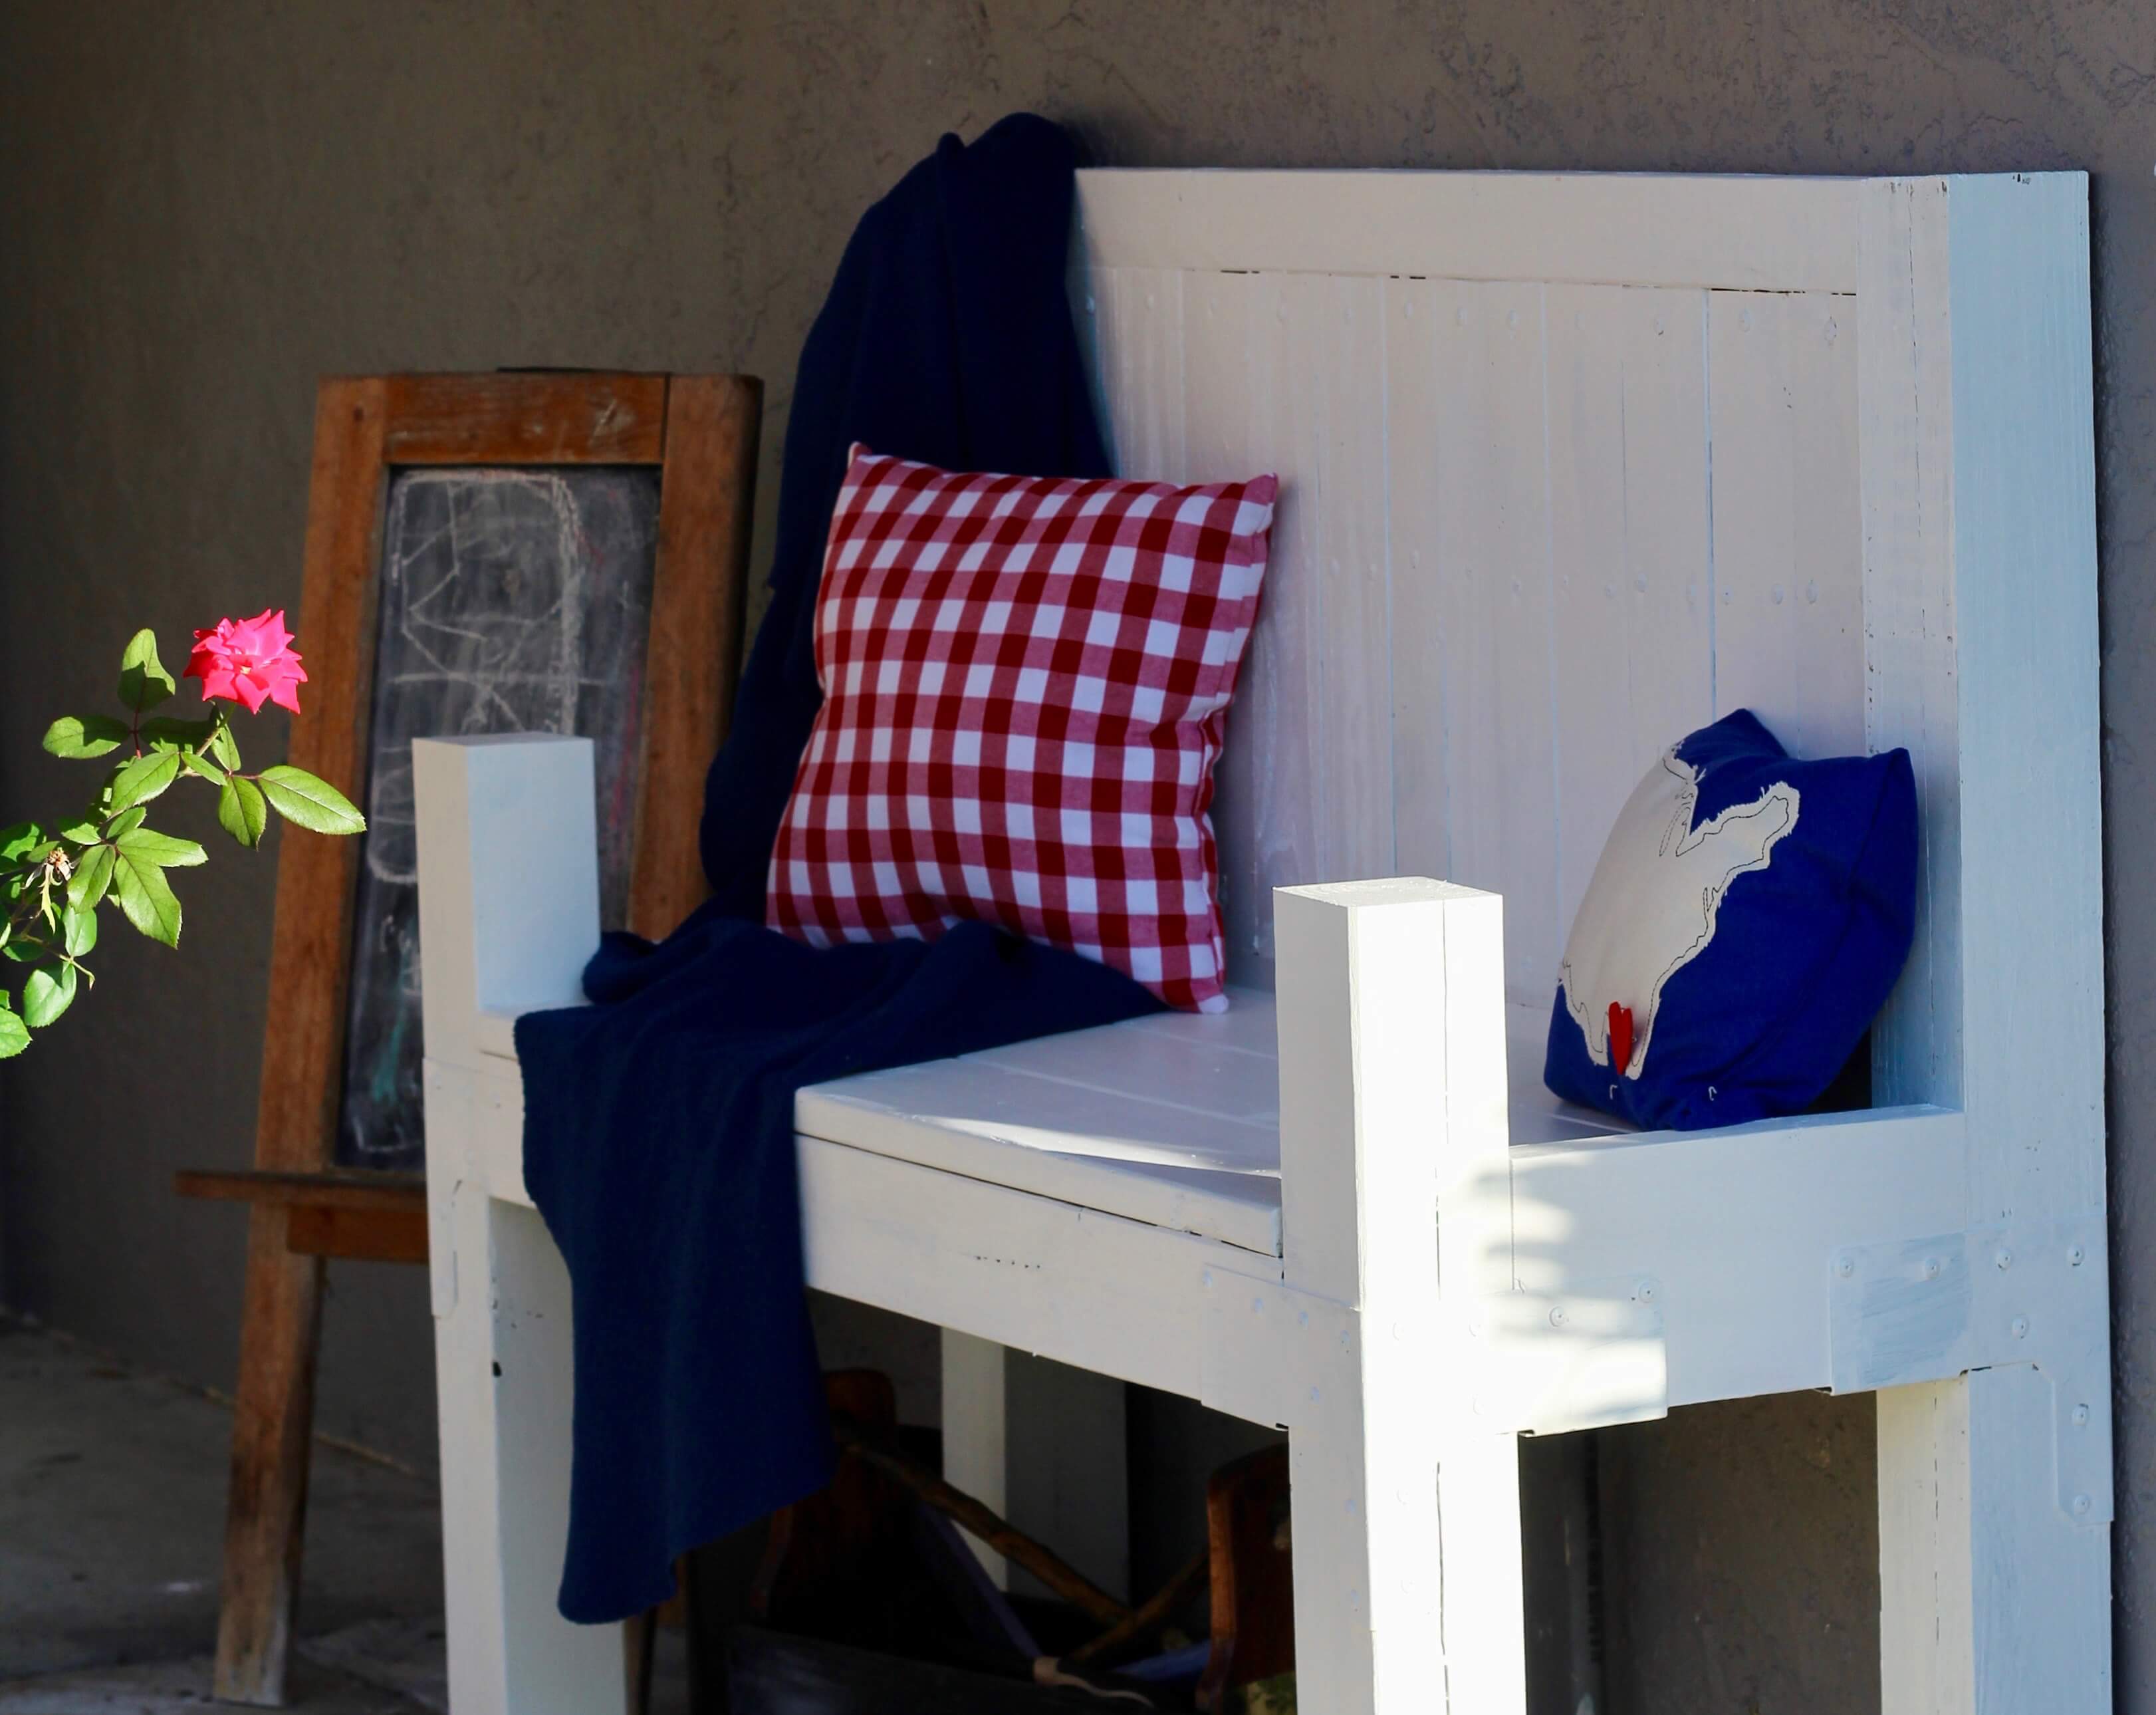
 Finally, paint the bench, and distress it if you want. Add an inexpensive throw blanket and some pillows to your bench. Decorate with colorful flowers and your porch is ready to welcome guests!
Tags : 2x4 And More Challenge, Build, DIY, Remodelaholic, Wood Working





I love this really simple looking design of the bench! So sleek. Who wouldn’t love this on their front porch?
Thanks!
I love this bench! Thanks for the tutorial. 🙂
Thank you so much!
I love that hardware! Seems like it makes the construction super sturdy… good to know!
My hubby and I joked that it will be the only thing standing should a hurricane come through the area, LOL It is very sturdy!
First of all, Happy Birthday 😀 and second, I love your bench, it fits perfectly on your front porch. It says, “come sit a minute for a visit.” I’ve been looking for a perfect size bench to make for my porch and this looks like a perfect fit.
Thank you!
Cute bench! It looks perfect on your porch! Great job 🙂
absolutely LOVE your bench! Such a creative idea and it looks so warm and welcoming!