DIY Valentine’s Day Shirt
This review is based strictly on my opinion. Others may have a different opinion or experience with the product listed above. I was provided the sample free of charge by the company or PR agency and I have given my honest opinion. No other type of compensation was received for this review.
DIY Valentine’s Day Shirt. It’s no secret I love my Cricut machines. I really do! I love the product, I love the brand, and more importantly, I love the people that work for the company. I get a smile on my face every time I create something! I love being able to make something special for my friends and family. This cute little shirt is no exception.
I am lucky enough to have reconnected with an elementary school friend, and her parents, my math teacher (also the school principal) and my language arts teacher. It’s a crazy cool coincidence that they have a vacation cabin just one town over from us, and are up in Tennessee when we are. We meet them for lunch and catching up each summer, and I can truly say it is the highlight of our trips. But, I haven’t seen my friend since elementary school, though we talk all the time. However, that is about to change, she is taking her little one to Disney for the first time in a few weeks and we are going to meet her there. I am so excited to finally see her again and hug her! And, of course I cannot go empty handed. So, I made her little guy a sweet little Valentine’s Day Shirt.
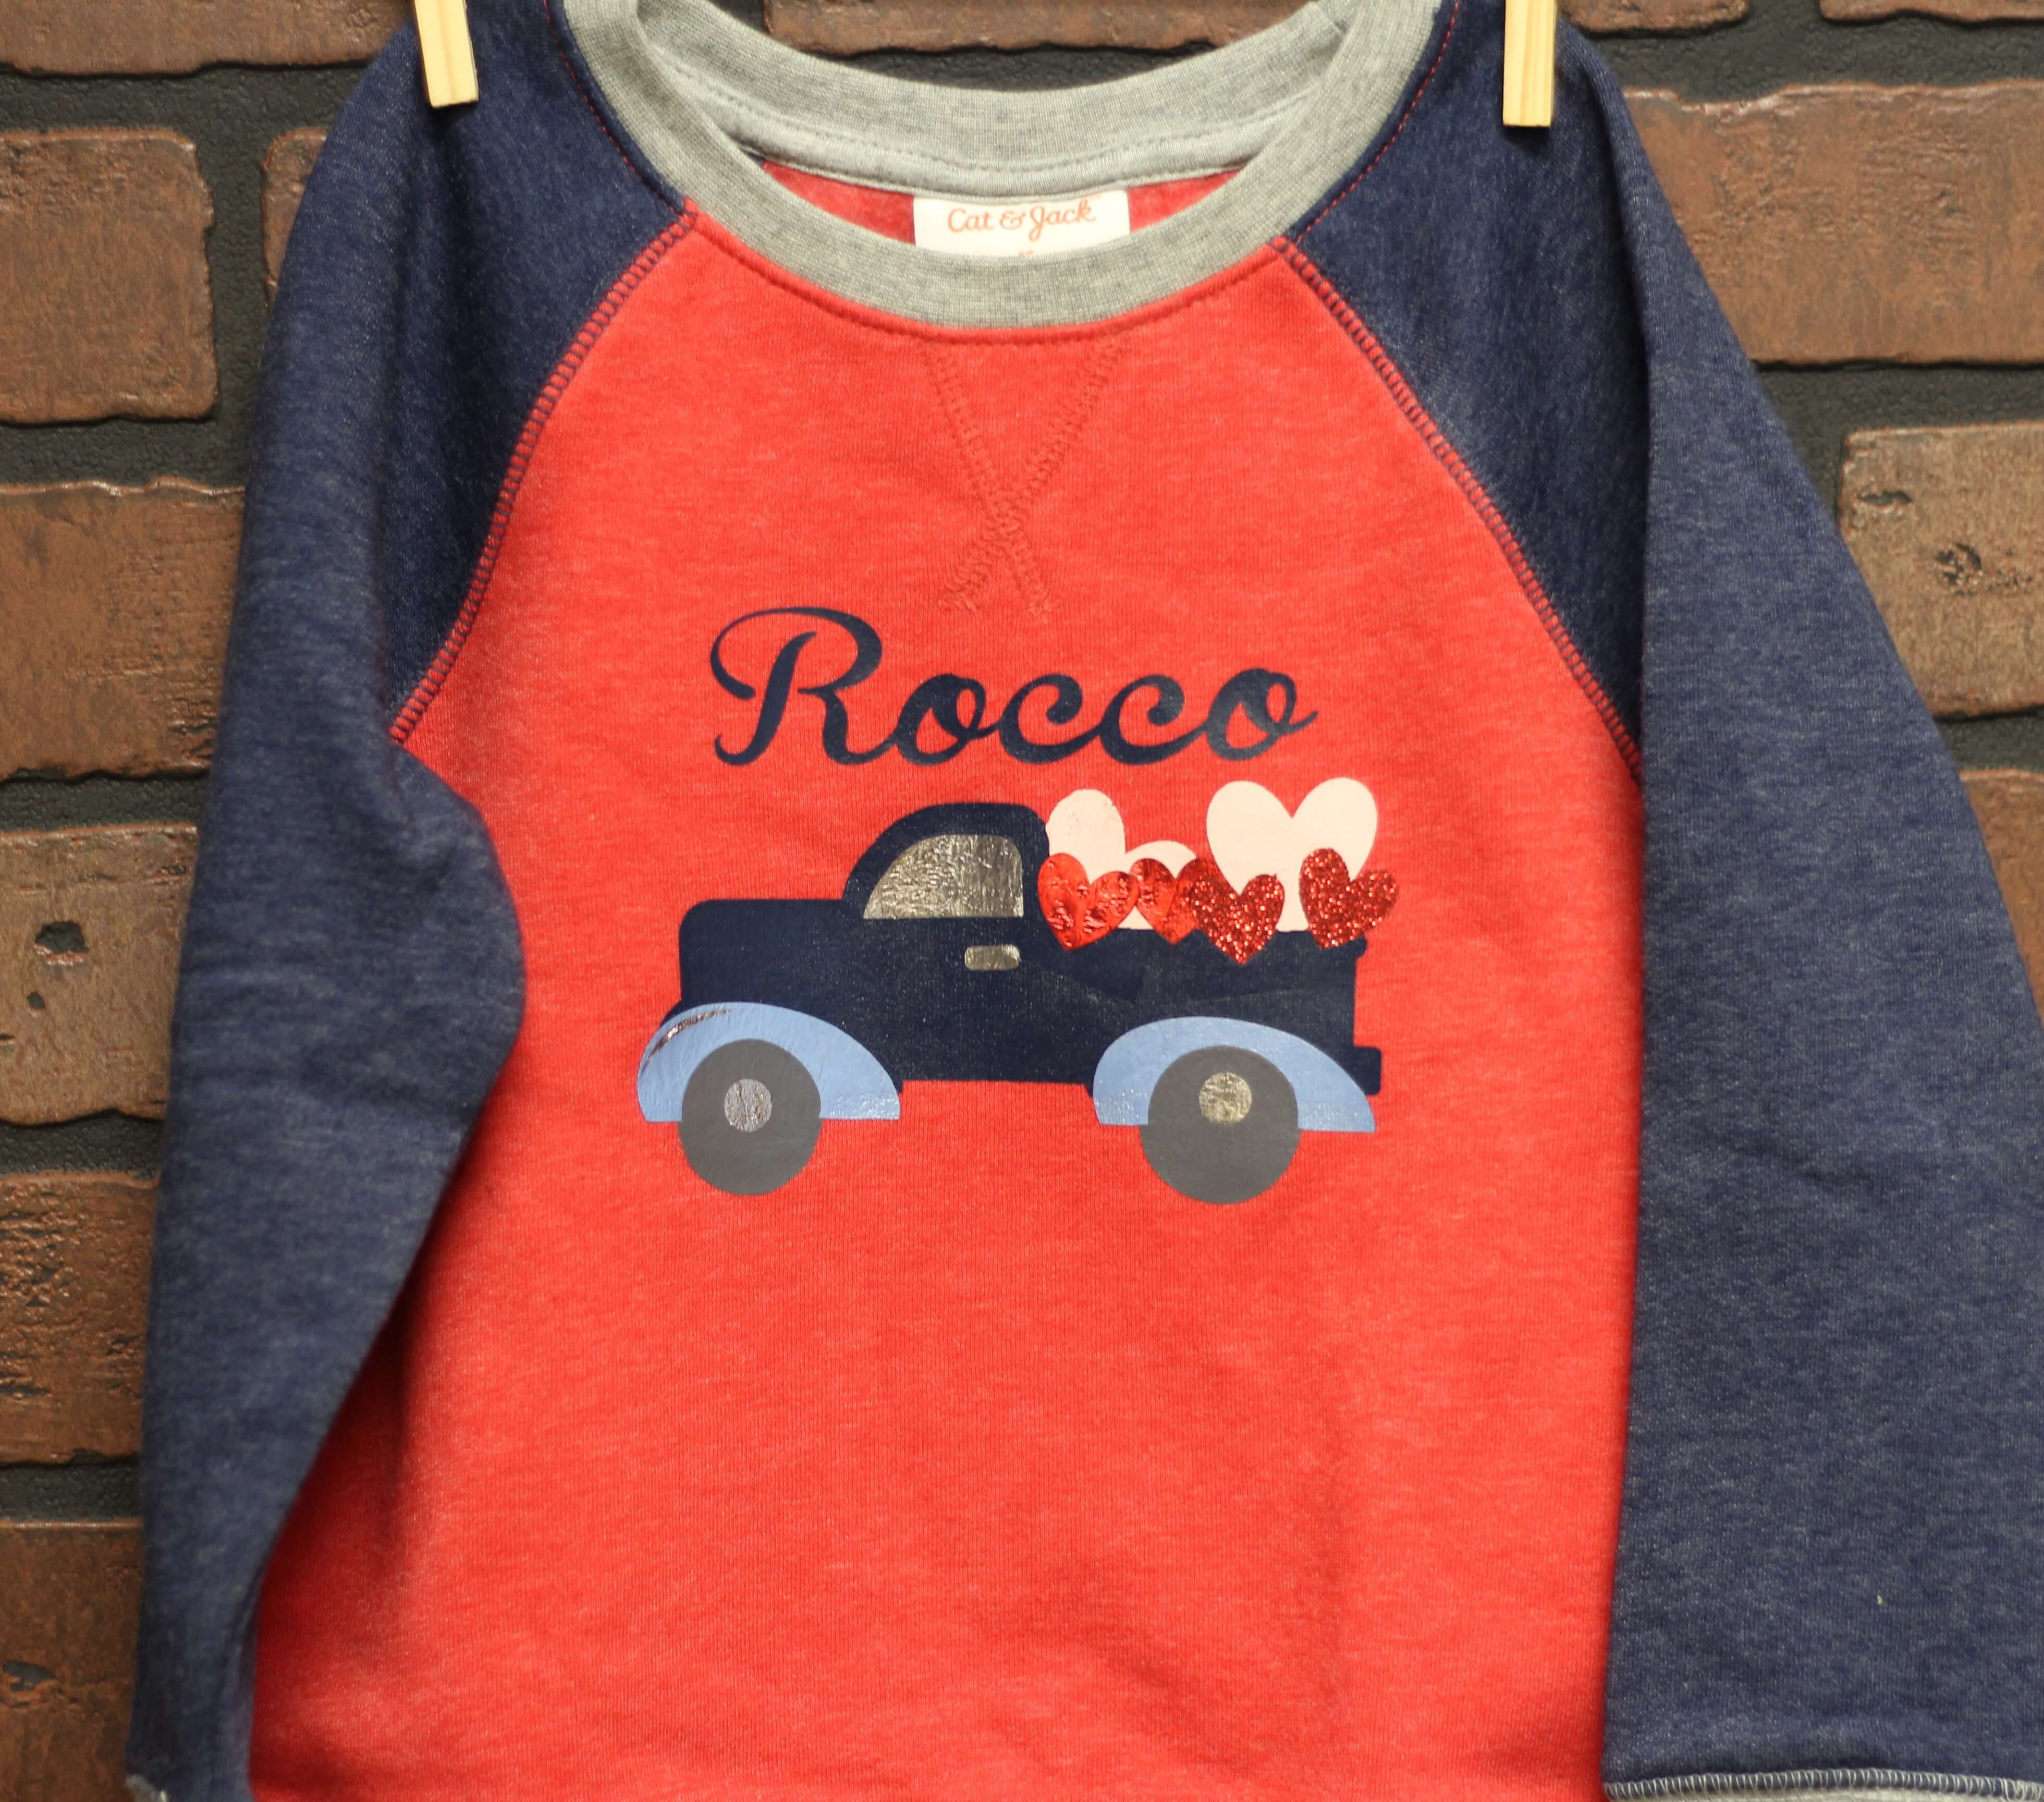
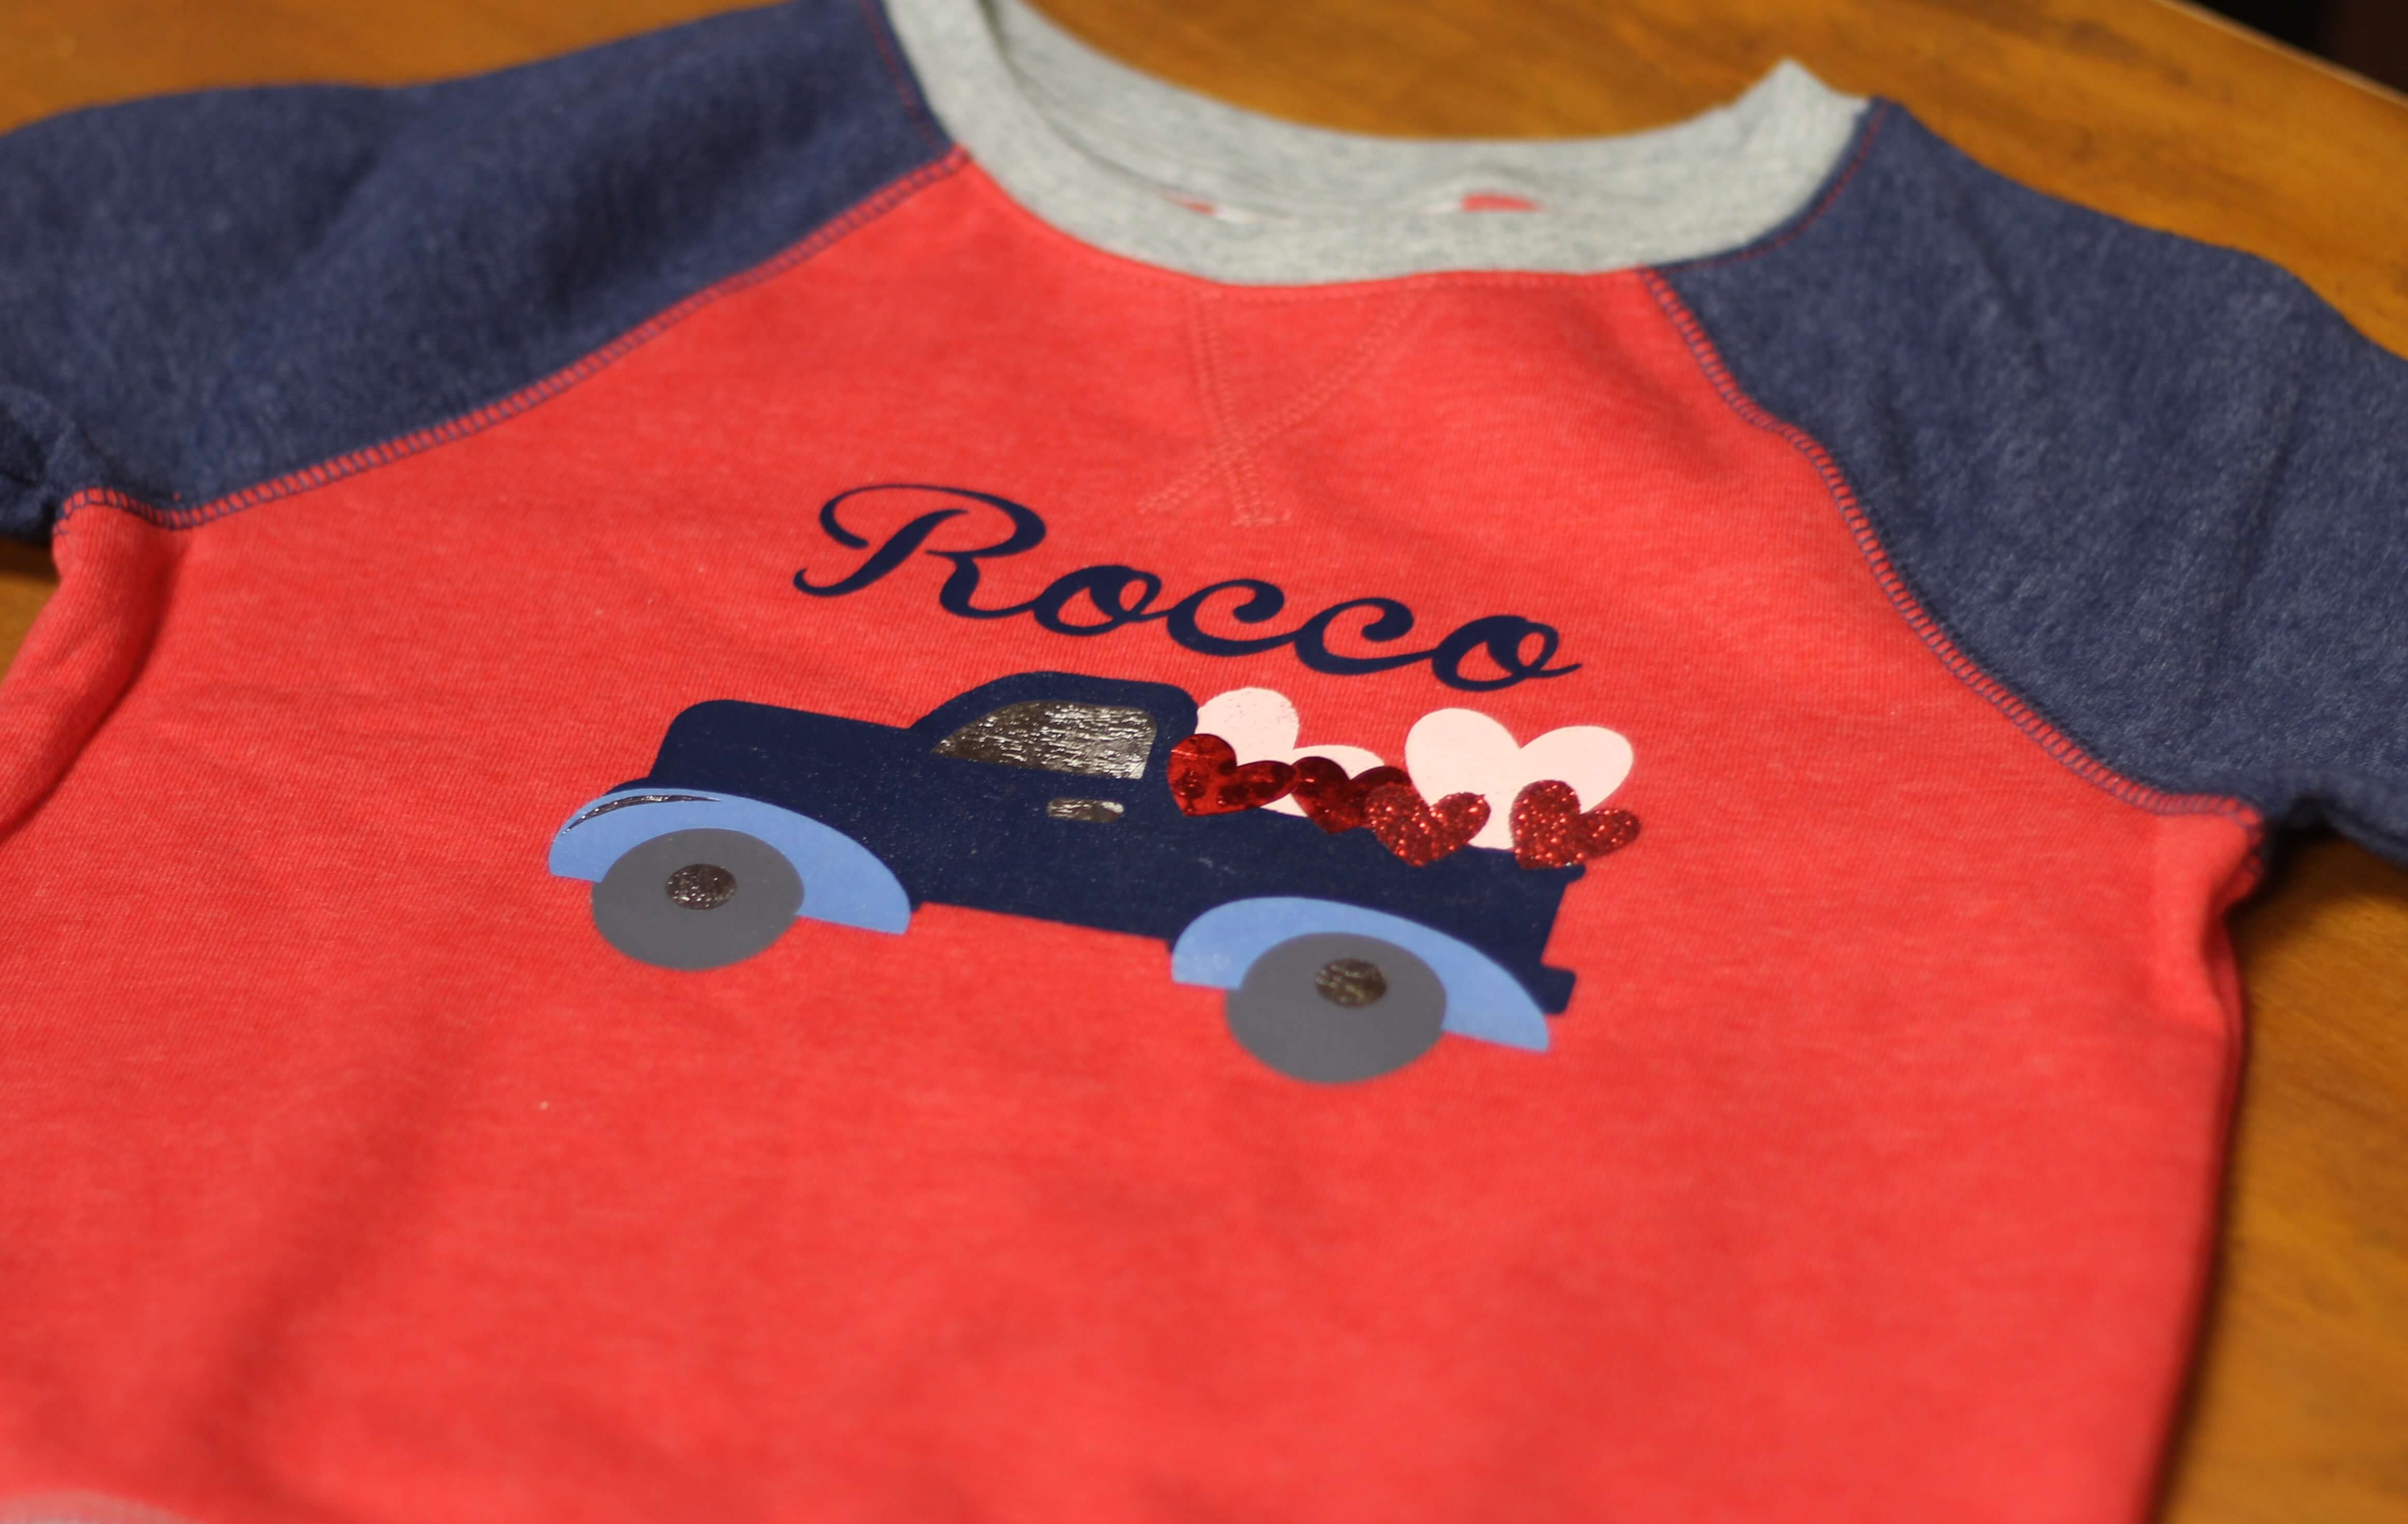
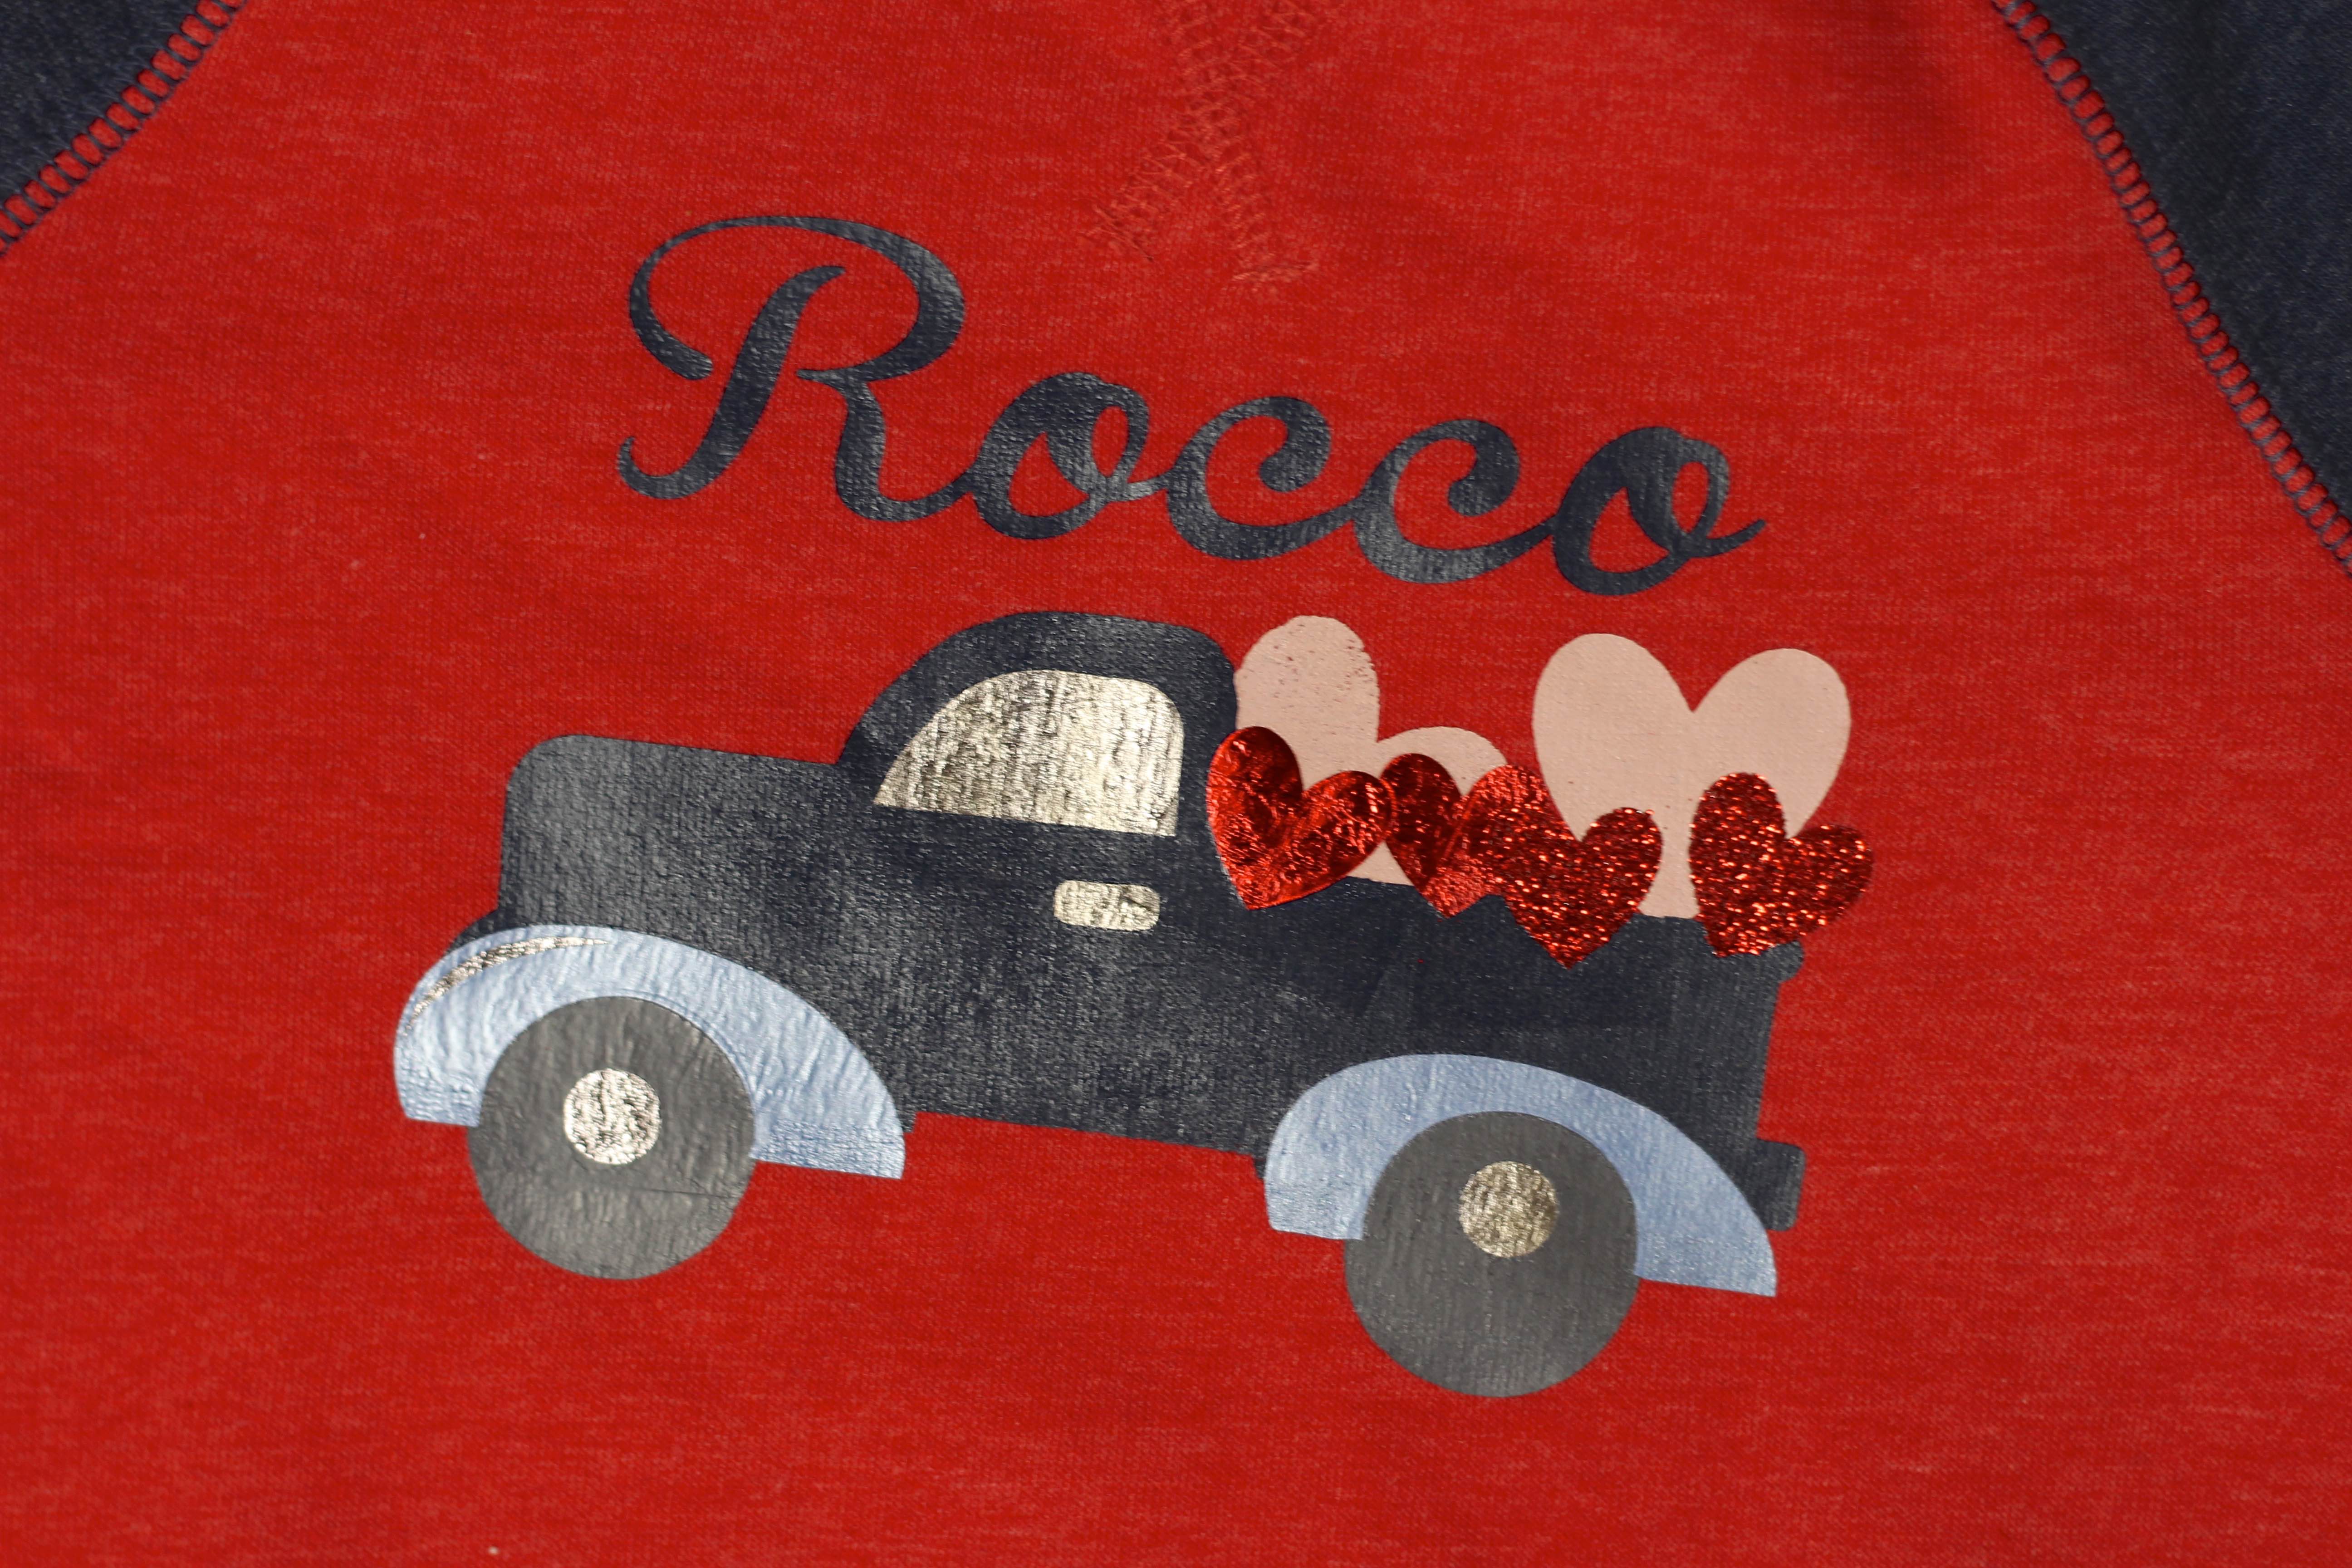
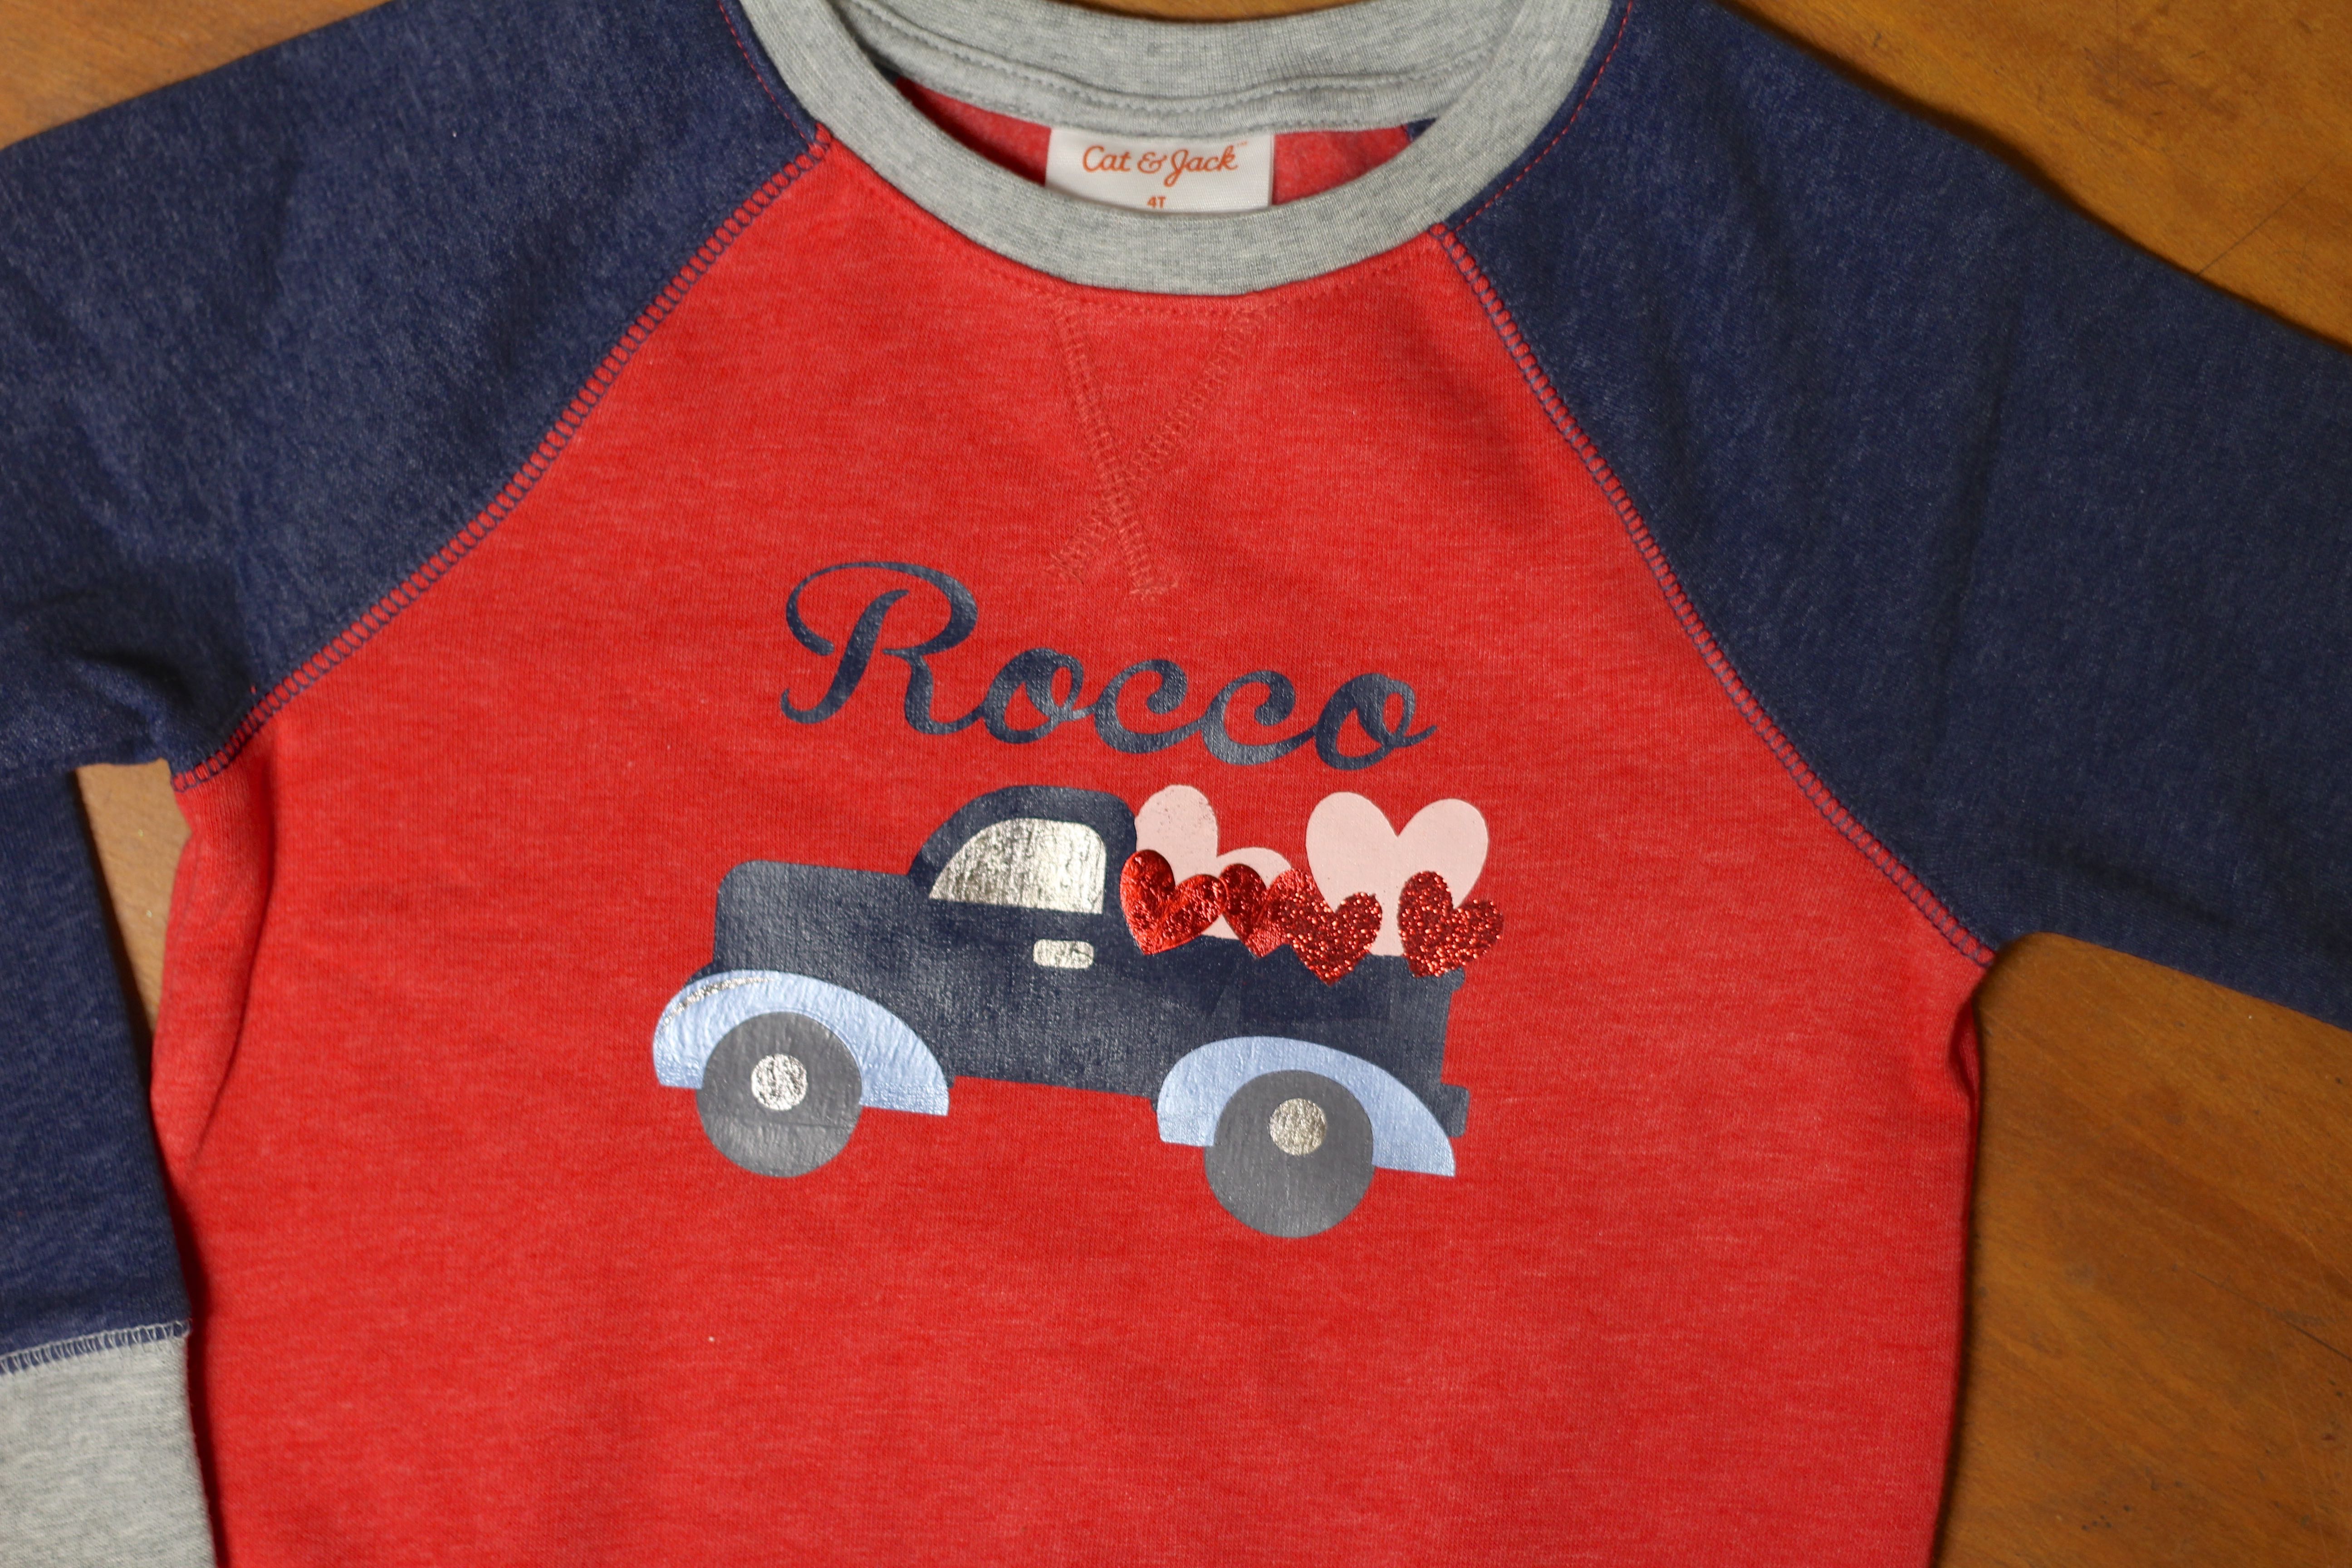
I found the little raglan sweatshirt at Target on clearance for just a few dollars. (Don’t you love Cat and Jack?) I love raglan style shirts, and this was perfect for Valentine’s Day. I created my own design for the shirt using Cricut Access images. I love the vintage trucks (and so want to own a real one of my own one day for my imaginary farm in TN), so I found one I liked and altered it to fit my needs. Then, I added some hearts to the truck bed in varying sizes. I also added his name to the shirt. I used Cricut Iron On Vinyl, Foil Iron On Vinyl, and Glitter Iron On Vinyl and layered them.
Supplies:
Cricut Machine and Cutting Mat
Iron On Lite, several colors
Iron
Cotton Tea Towel
Shirt
Open the cut file, and edit to suit your style. Send to cut, don’t forget to mirror the image. Iron on the bottom layer, place the cotton tea towel between the iron and the vinyl. (The truck body) Then add each layer, one at a time, until done. *Ironing layers over glitter can be tricky, so I try to make that the top layer* Flip inside out and iron the inside of the shirt. I use parchment paper instead of a cotton tea towel, a pillow case would work too. I iron each layer for about 15-20 seconds, and check to see if it has stuck. Be sure to use a firm level surface and heavy pressure when you iron on, and don’t move the iron like you would when you iron a shirt to remove wrinkles.
That’s it, it’s ready to give to your little sweetheart! I cannot wait to see little man Rocco in this sweet Love Truck Valentine’s Day shirt! This DIY Valentine’s Day shirt took less than 30 minutes to make!
*If you like this post, you will enjoy these as well!*
Tags : Cricut, DIY, Valentine, Valentine's Day, Valentines

