This post is sponsored by Mondelez. All ideas are my own.
Halloween is a season in my family. And, it is one of our favorite seasons. We decorate early, we have themed dinners, we always have Halloween treats, and Trick or Treating is a BIG deal in our neighborhood. As a family, we make Halloween goodies for our friends and family throughout the season. And, they don’t have to be difficult or even super fancy. Keep reading to see some really fun Halloween Candy Ideas and Tips for sharing the fun this Halloween season!
Halloween Candy Ideas
This Halloween is a little different for us, and I am more busy than ever before. With three teenagers home schooling, one of them is graduating this year and the other two are in advanced curriculum at magnet schools, running three businesses, trying to save my sanity is a priority!
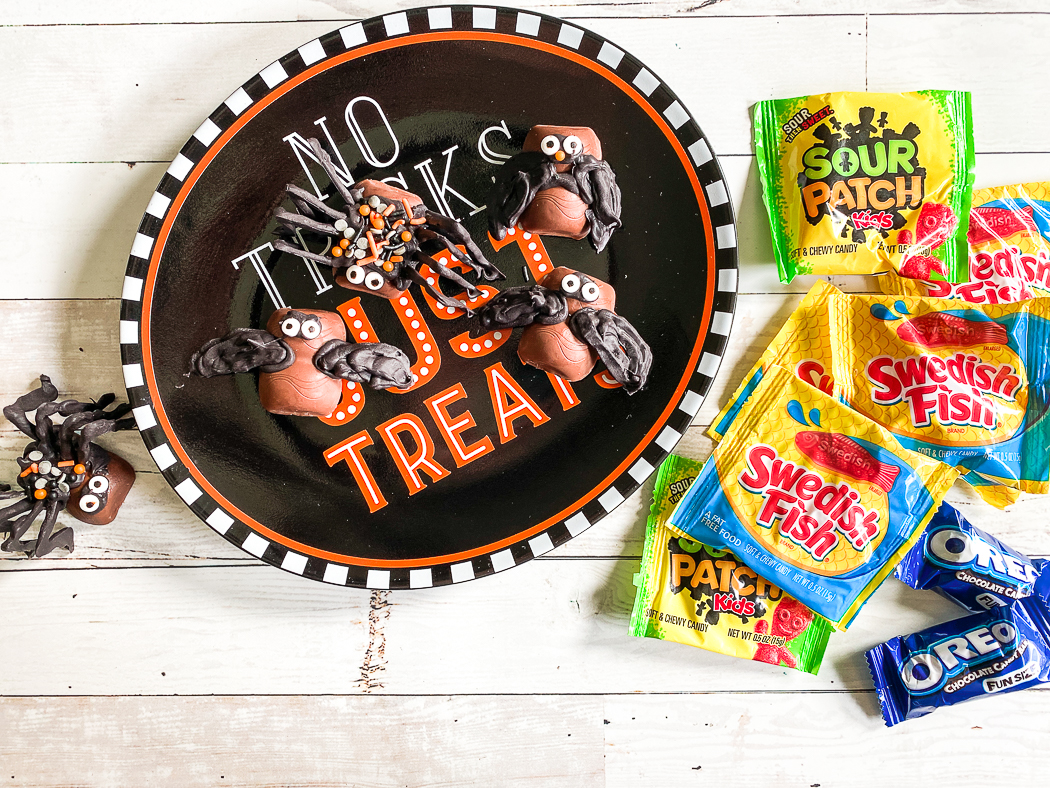
So, we took a break from online schooling recently to have a little fun. The boys and I gathered some fun (click here to add them to your Walmart Cart) OREO Chocolate Candy Bar Seasonal Halloween Packs, Sour Patch Kids & Swedish Fish, candy melts, and cookie sprinkles from our local Walmart store to make some fun Halloween themed snacks.
And, we also bought a few things to make delivering Halloween candy a little more fun and a lot more safe!
Candy Recipes
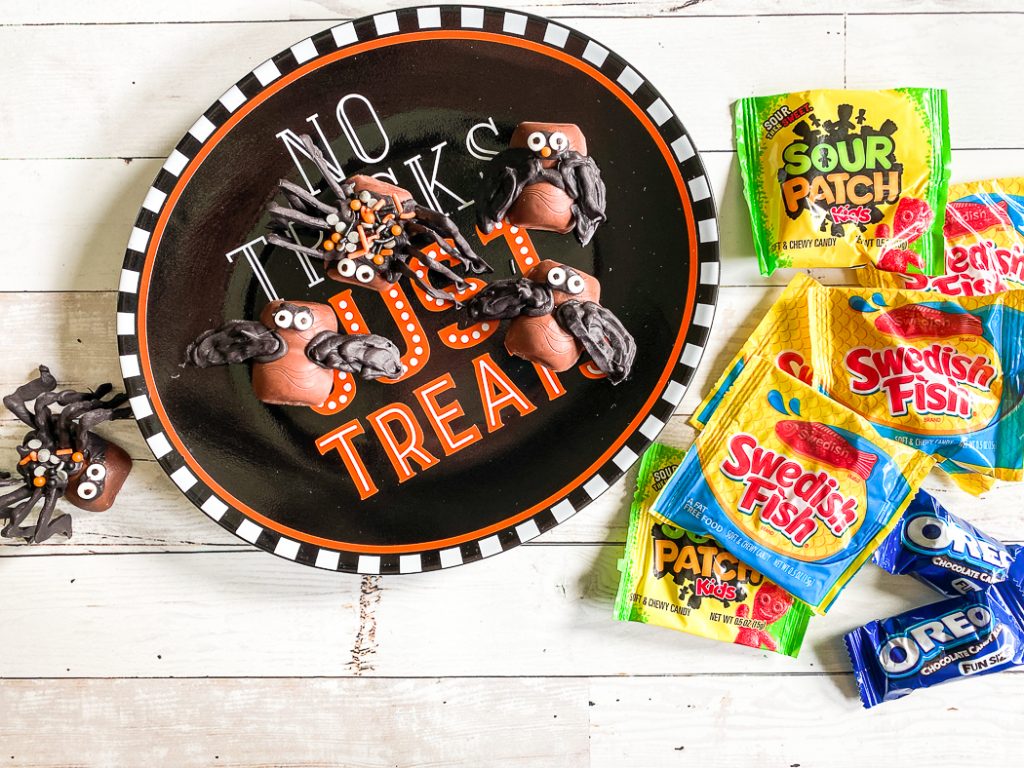
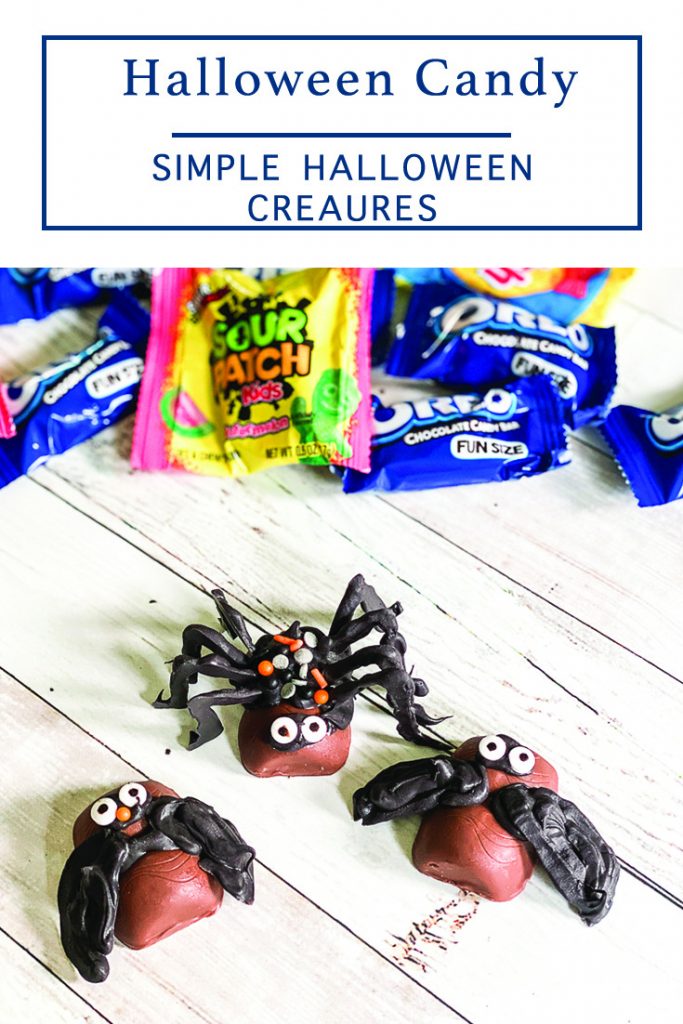
Since we are all super busy right now, we needed our recipe to be really easy! As soon as we opened our OREO Chocolate Candy Bars we thought they would make adorable (and delicious) candy bats, spiders, and owls. We quickly made several of each to share and enjoy for ourselves!
Halloween Candy Critter Supplies
These couldn’t be easier to make, and they are too cute not to! And, you only need to make a quick trip to Walmart to get everything.
- OREO Chocolate Candy Bar Seasonal Halloween Packs
- Candy Melts or Chocolate Melts
- Halloween Cookie Sprinkles, and Candy Eyes
- Sour Patch Kids & Swedish Fish Halloween Packs to snack on while you work!
- Zip Top Baggies
- Silicone Baking Mat or Parchment Paper
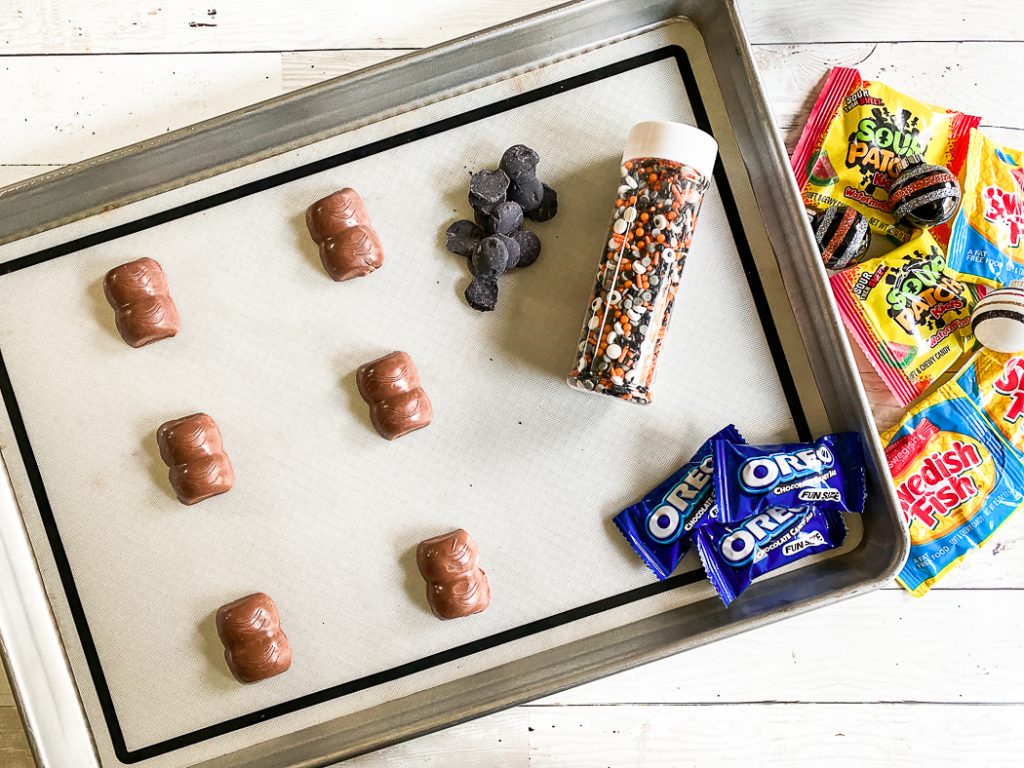
Begin by gathering all of the supplies. I used a baking tray with a silicone baking mat on it to help contain the mess a little. We opened the OREO Chocolate Candy Bar Seasonal Halloween Packs and placed them on the baking trays. Then, we filled zip top baggies with a small handful of candy melts and microwaved it according to the package directions. (Usually about 30-60 seconds) While the melts were in the microwave, we filled a small bowl with sprinkles and candy eyes.
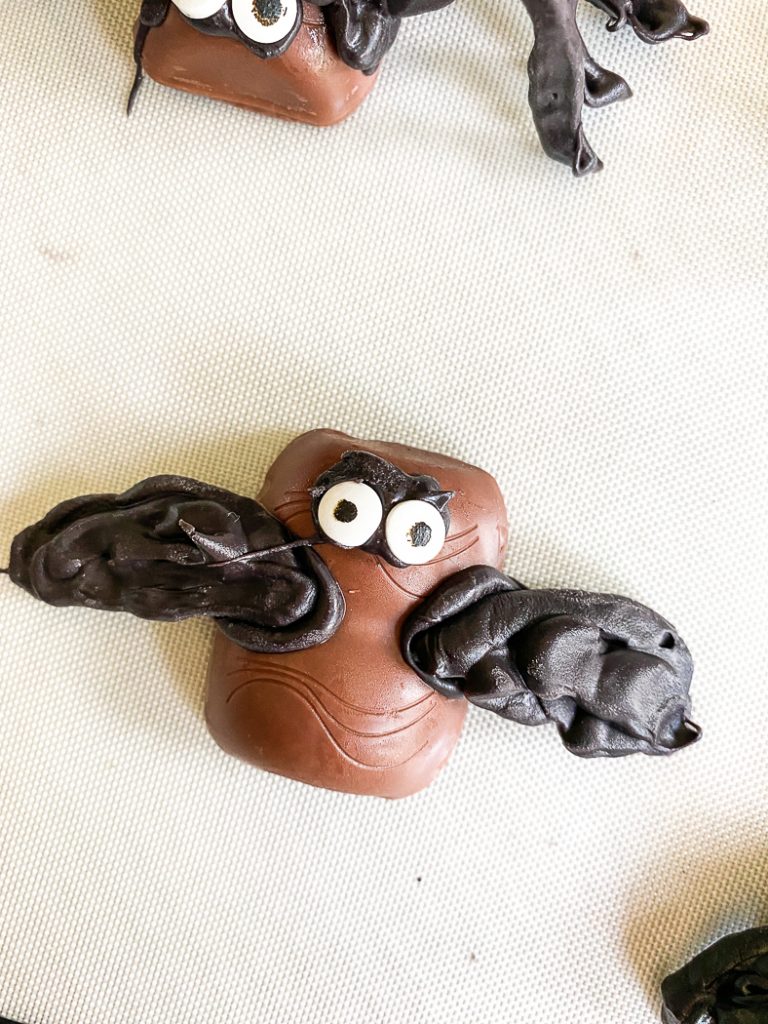
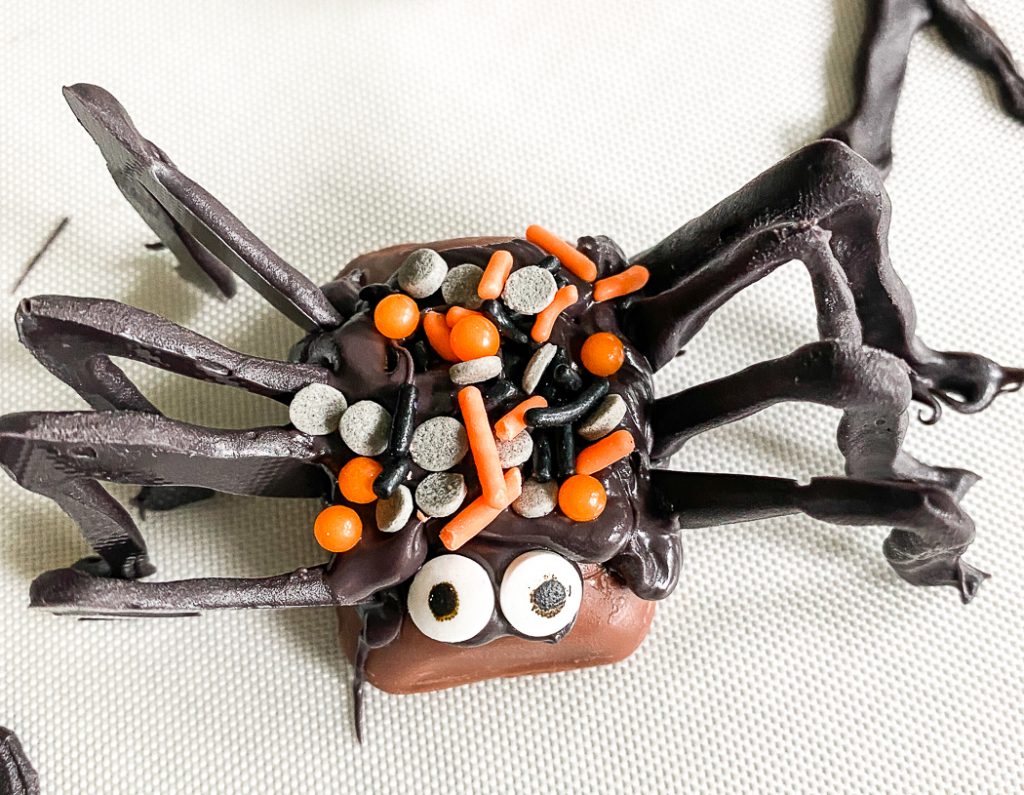
After the candy melts were fully melted and soft, I snipped the corner off of the zip top bag and we got to work. We made candy melt wings and spider legs on the silicone mat, and then placed it in the fridge for a few minutes to harden.
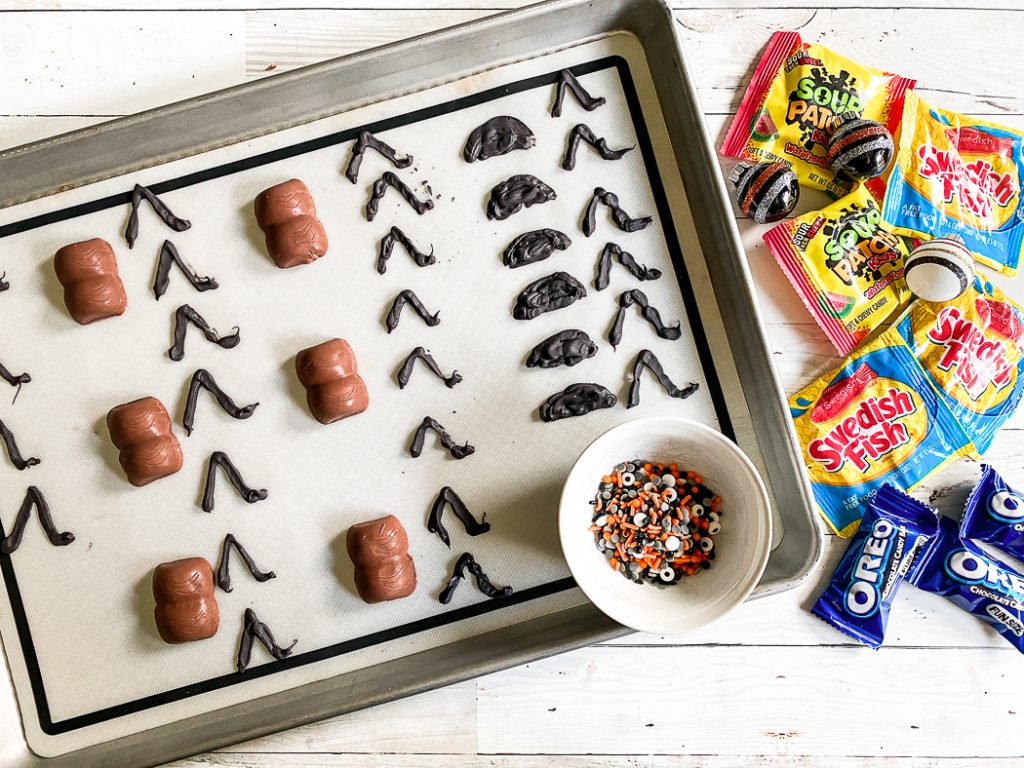
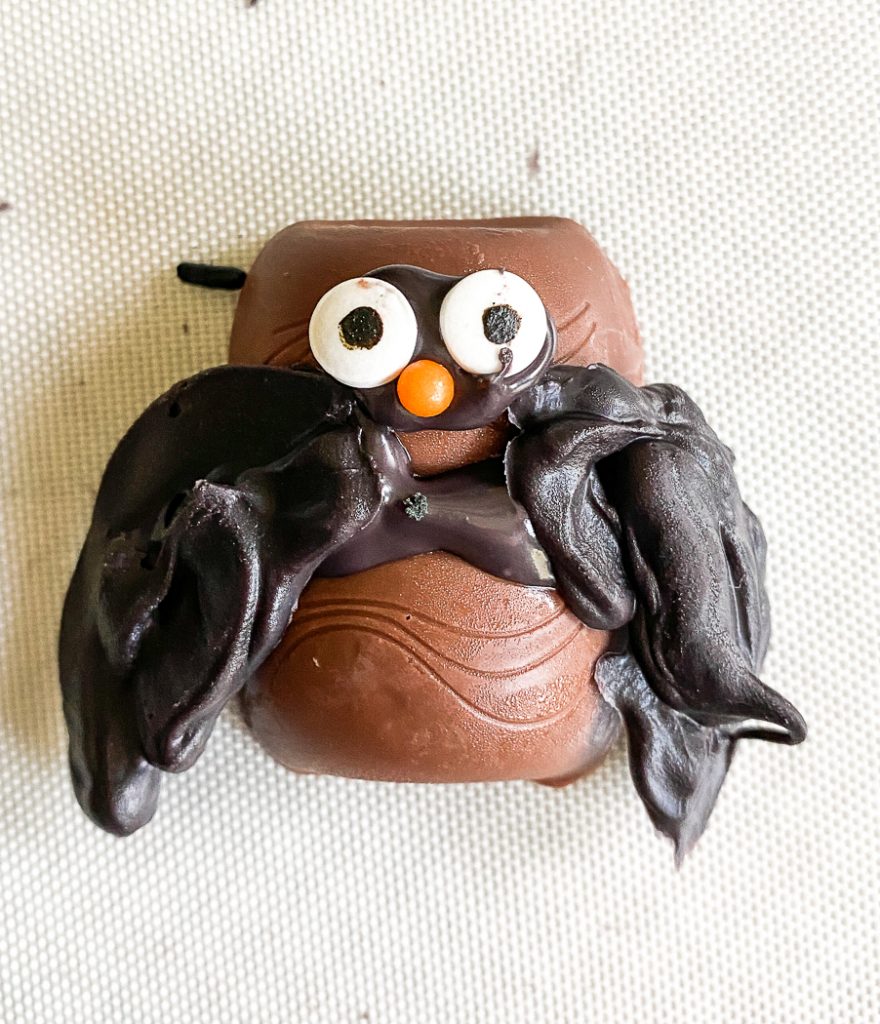
Once the legs and wings were set, we microwaved the remaining candy melts in the zip top bag. Then, we added candy melt dots to some of the OREO Chocolate Candy Bars for bat and owl wings. Next, we placed the wings on the OREO Chocolate Candy Bars in the candy melt and held them in place for a few seconds to allow them to set. We did the same thing for the bats’ eyes and owls’ eyes and beaks. But, we covered the whole OREO Chocolate Candy Bar with candy melt for the spiders. Then, we added the legs on each side, some cookie sprinkles on top, and two candy eyes.
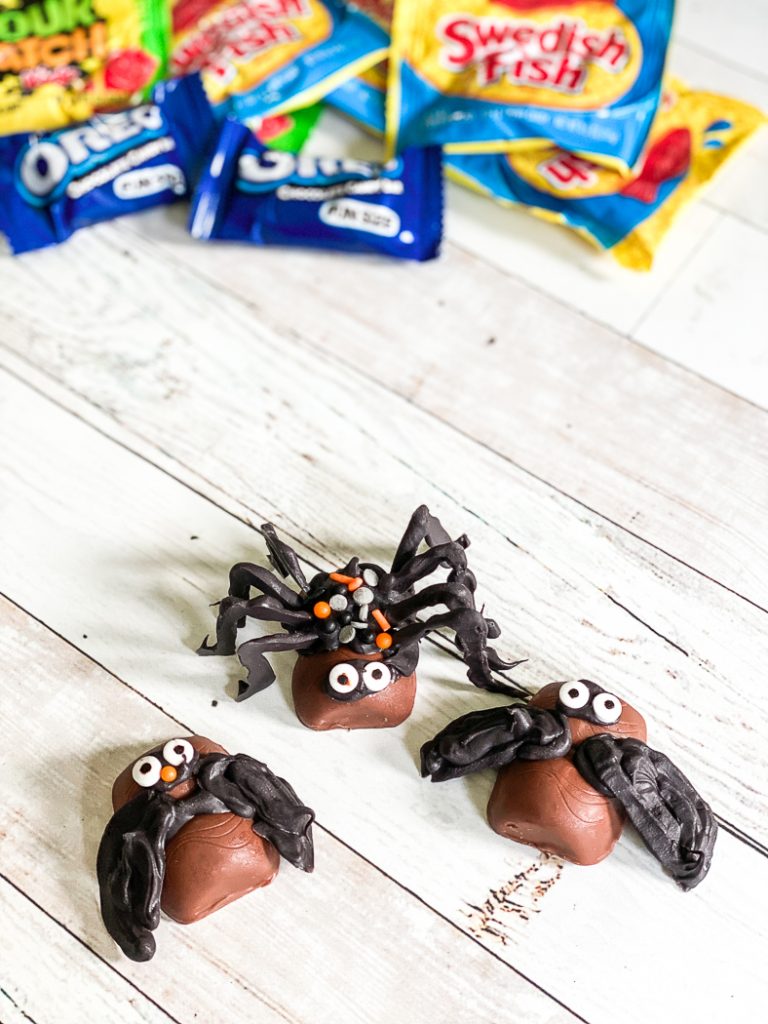
The boys really had fun making these, and they are looking forward to delivering some to their cousins this week!
Halloween Candy Tips
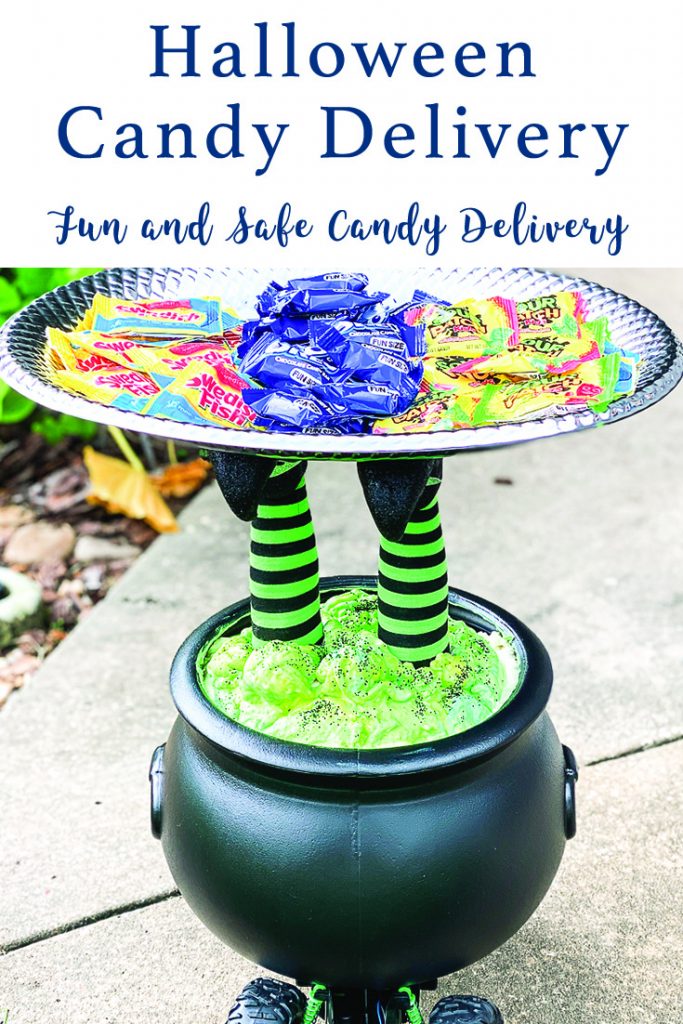
A few of my boys are immunocompromised, so we have been extra cautious this year with them. But, they cannot stand the idea of not celebrating Halloween in some way. So, before I went to Walmart, I talked to them about how we should pas out candy and treats to our neighbors and trick or treaters this year. We decided it would be fun to have some kind of Halloween remote control. And, we created a simple, affordable, and really fun way to pass out Halloween treats this season!
Halloween Candy Delivery
This project took a little more time to make than our cute little candy creatures, but we had just as much fun making it!
You will need a few more supplies, and a drill to make this, but it’s so much fun, you won’t mind the extra tools and supplies, I promise.
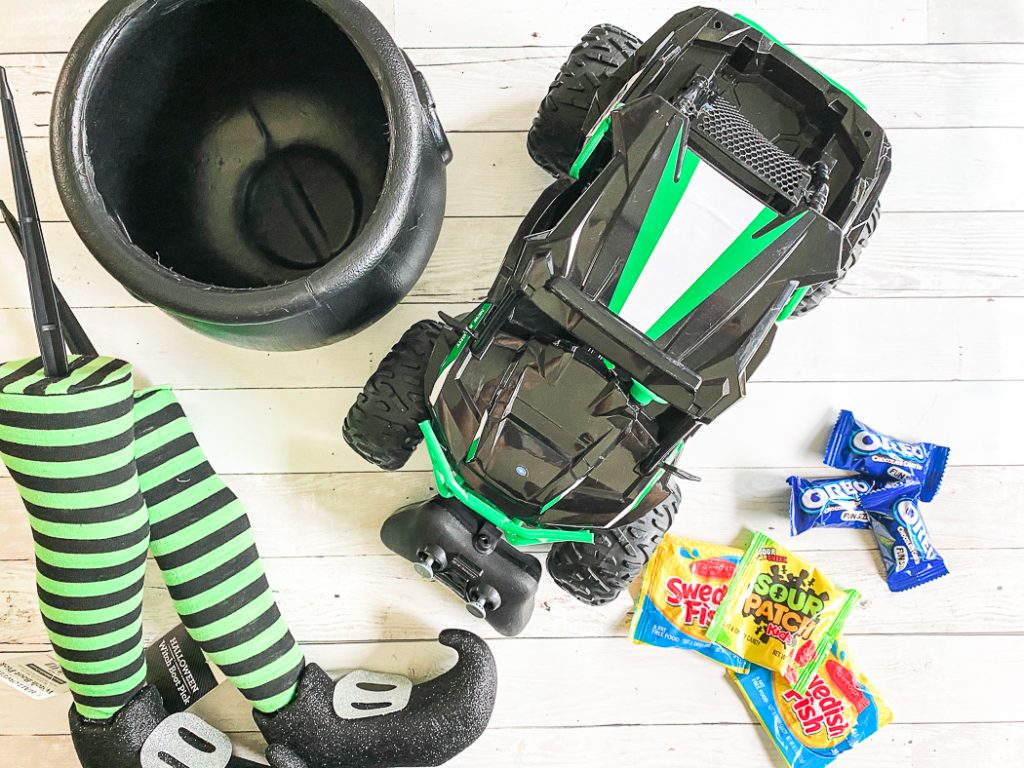
- Remote Control Car – we had to buy one, but you can use one you have at home.
- Plastic Cauldron – we used one we had
- Witch Legs – these are yard stakes from Walmart.
- Spray Insulation Foam
- Craft Paint
- Screw Driver
- Two bolts and locking nuts
- Drill and bit to fit the bolts
- Socket Set to fit the nuts or pliers
- OREO Chocolate Candy Bars and Sour Patch Kids & Swedish Fish Halloween Packs to snack on while you work.
- Serving Tray
- Foam Mounting Tape or Hot Glue
- Optional – Tape, glitter
Let’s get started! The first step is removing the car body from the frame of the RC Car. Usually this is held on with a few screws. Once the body has been removed, you can place the cauldron on top of the frame and see where to place the bolts to hold it in place. I added one to the front and the back of the car frame. We used 2.5″ bolts, but that may vary depending on the RC Car you have.
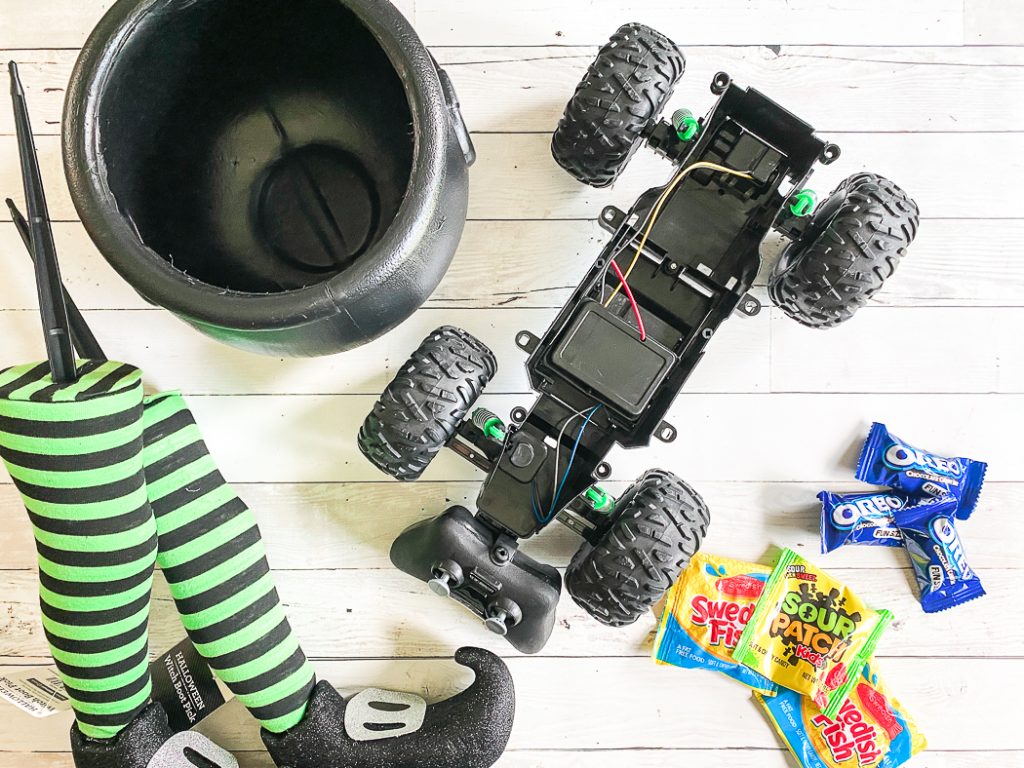
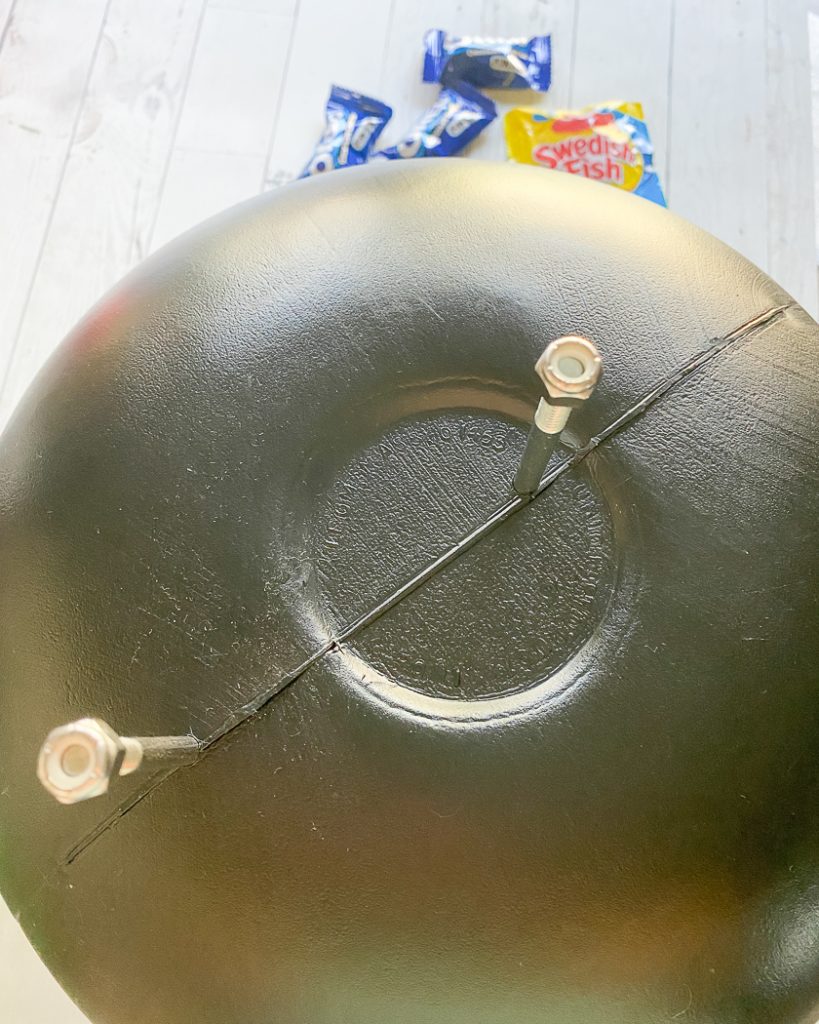
Once we decided on the best place for the bolts, I drilled a hole from the bottom of the RC car frame and into the cauldron. It helps to have an extra pair of hands, but f not, place the cauldron on a table upside down, and put the car frame upside down on the bottom of the cauldron. Then drill the holes in the frame where they won’t damage the battery area and are away from wires.
Next, place the bolts into the holes in the cauldron. I taped them in place and added the nuts so I didn’t misplace them. To make it a little easier for the next step, I cut small holes in a box to stick the bolts into while I filled the cauldron with spray insulation.
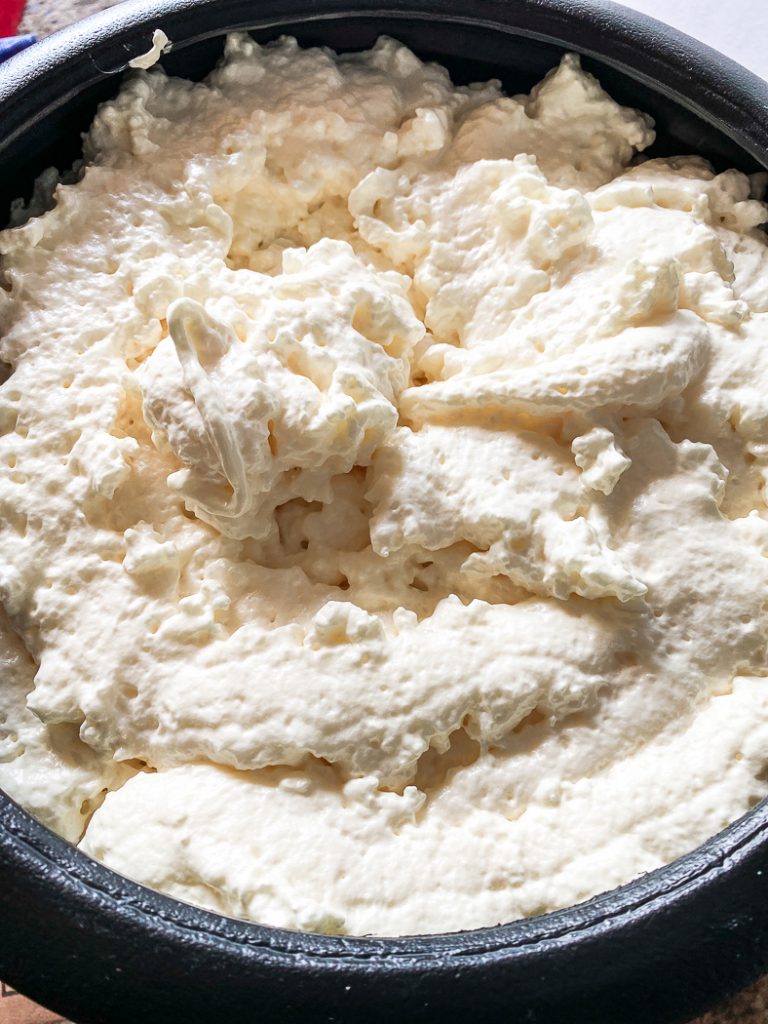
After the cauldron was full of foam, I allowed the foam to set a little. Before it fully set, I added the witch legs. (You may need to add a little more foam around the legs later) Try to make sure they are as level and straight as possible.
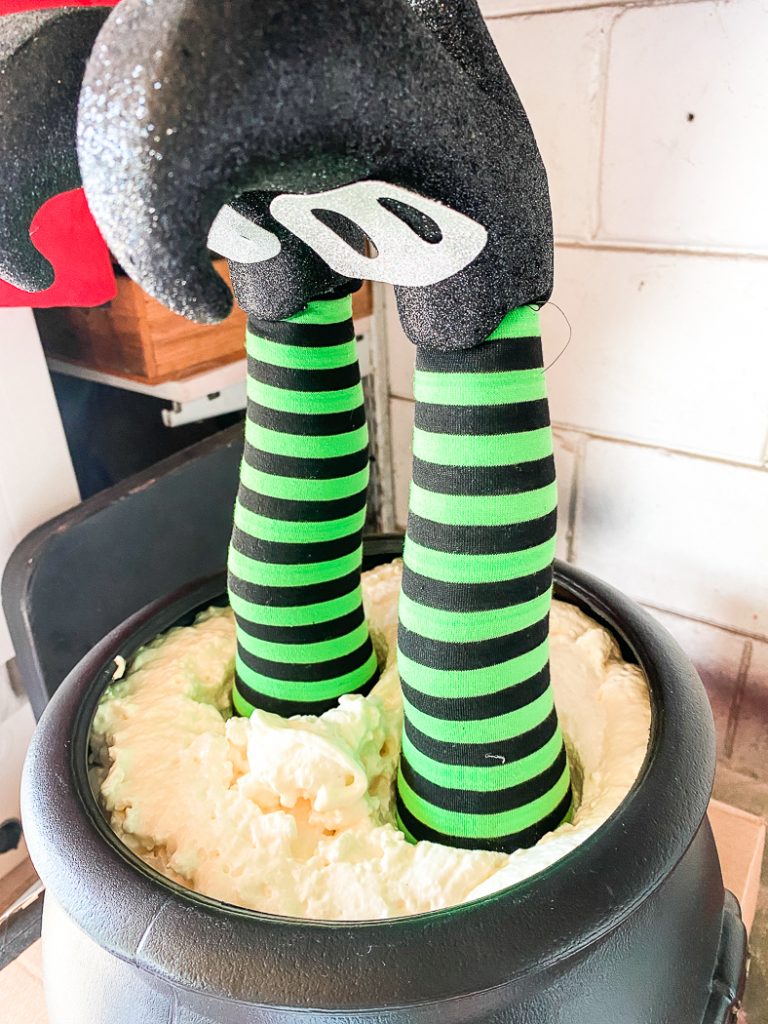
At this point, you will be anxious to get it all done. But, allow the foam to fully dry.
Now, feed the bolts into the holes you drilled in the frame of the RC car, and secure the locking nuts on the bottom. A socket wrench would be helpful, but it can be done with pliers.
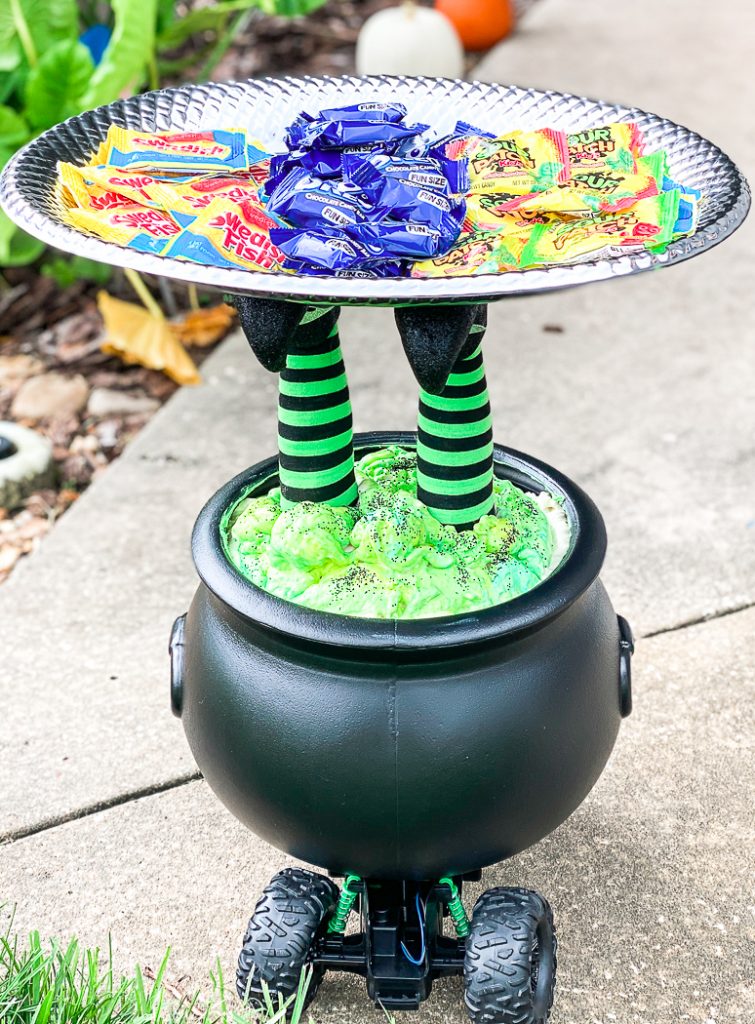
Then, paint the spray foam. I mixed greens and purple paint with glitter and just dapped it on to the foam with a paper towel.
Next, add a dollop of hot glue or mounting tape to the bottom of the witch feet and place the tray on top.
Finally, fill the tray with OREO Chocolate Candy Bars and Sour Patch Kids & Swedish Fish Halloween Packs and you have a super fun Halloween Candy delivery cauldron!
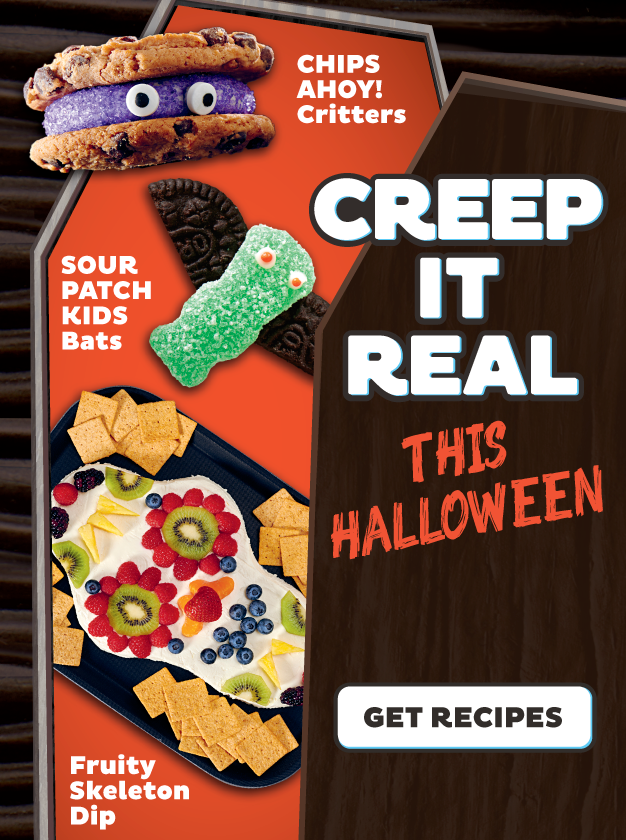
Head to CreepItRealHalloween.com for more ideas!
If you enjoyed these fun Halloween Candy Ideas, be sure to check out these posts too!
The Best Halloween Cookie Recipes


[…] Halloween Candy Critters […]