No Sew Table Runner
This review is based strictly on my opinion. Others may have a different opinion or experience with the product listed above. I was provided the sample free of charge by the company or PR agency and I have given my honest opinion.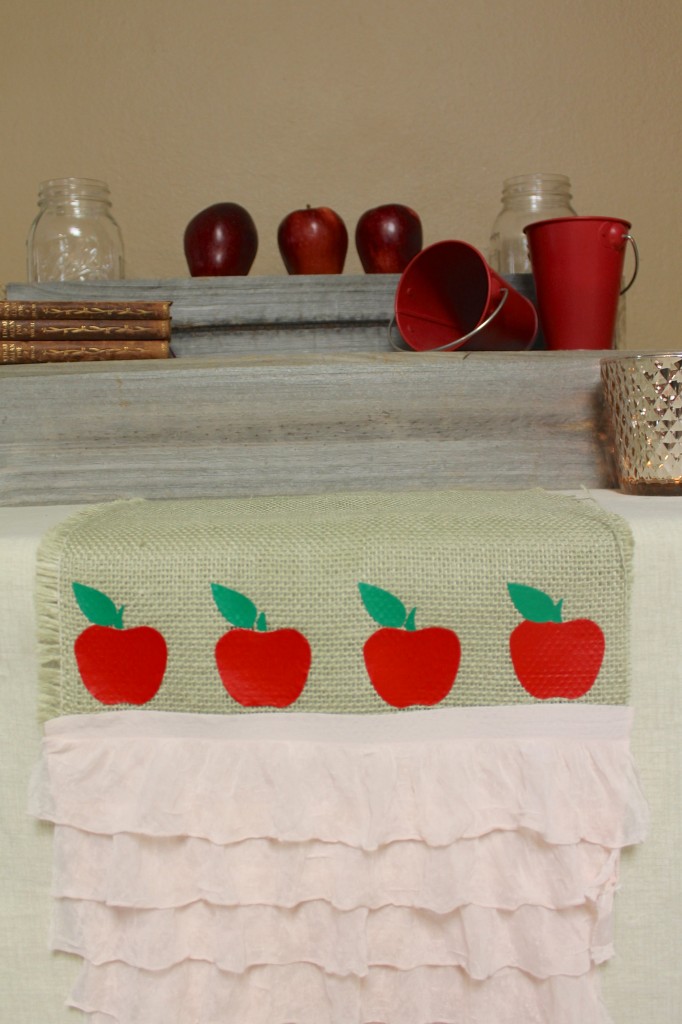
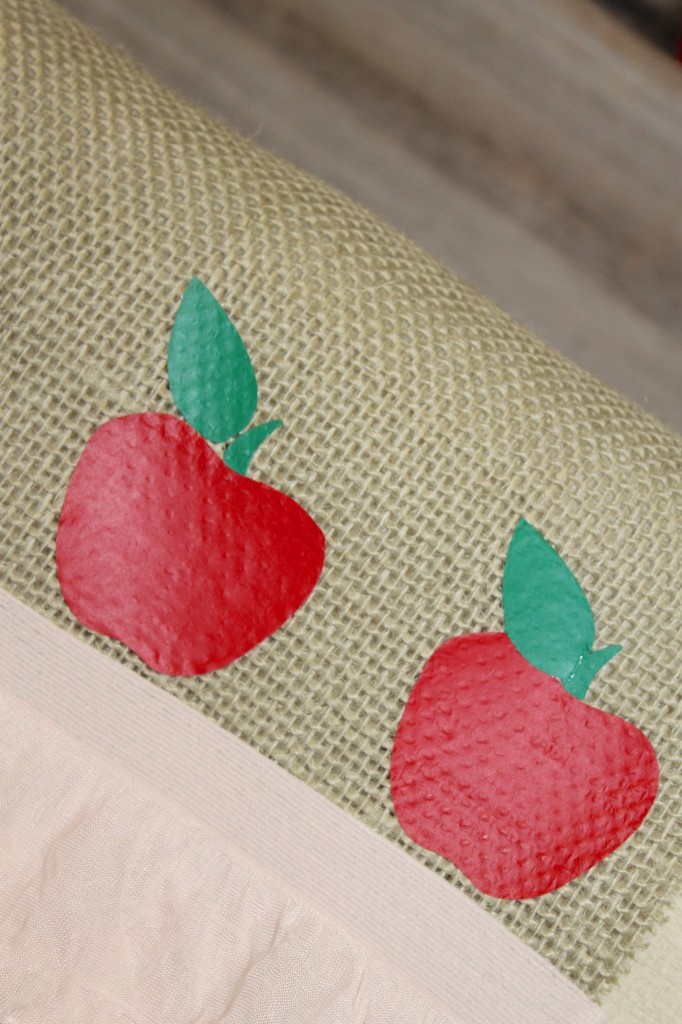
I wish I could sew, I really do…and I am sure with enough time and practice, I could at least be an ok seamstress. However, time is not on my side, and I cannot always beg my friends to sew for me. I wanted a ruffled rustic table runner, I knew I couldn’t sew one, I also knew I might be pushing the boundaries of my friendships if I asked them to sew me a ruffled table runner. I needed a no sew table runner!! I also wanted more than just burlap and ruffles on my runner…Check out those adorable little apples! So easy, so cute! I just adore the final result of this little runner! Be sure to look for it in a fall party soon!
I happened to have a ruffled scarf I knew I wouldn’t ever wear, so I cut it, and voila, my ruffles were DONE! Next, I gathered some burlap from my fabric stash and cut it to the width of my ruffled scarf. I purchased some no sew heat bond at JoAnn’s Fabric…I can tell you that is a non-sewers best friend!
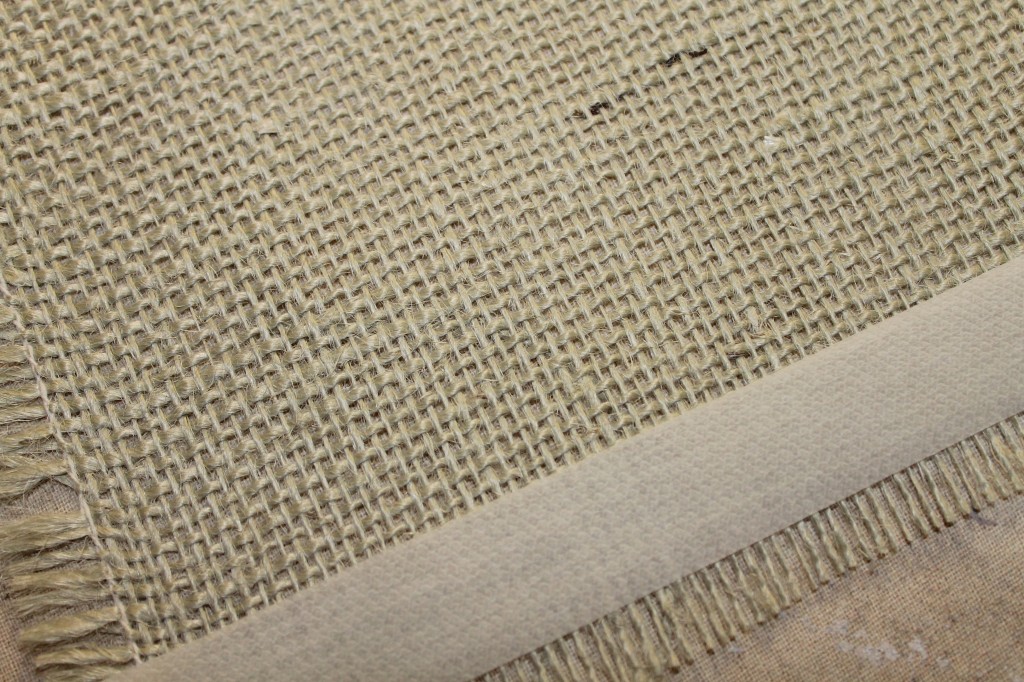 Add the heat and bond to your base fabric.
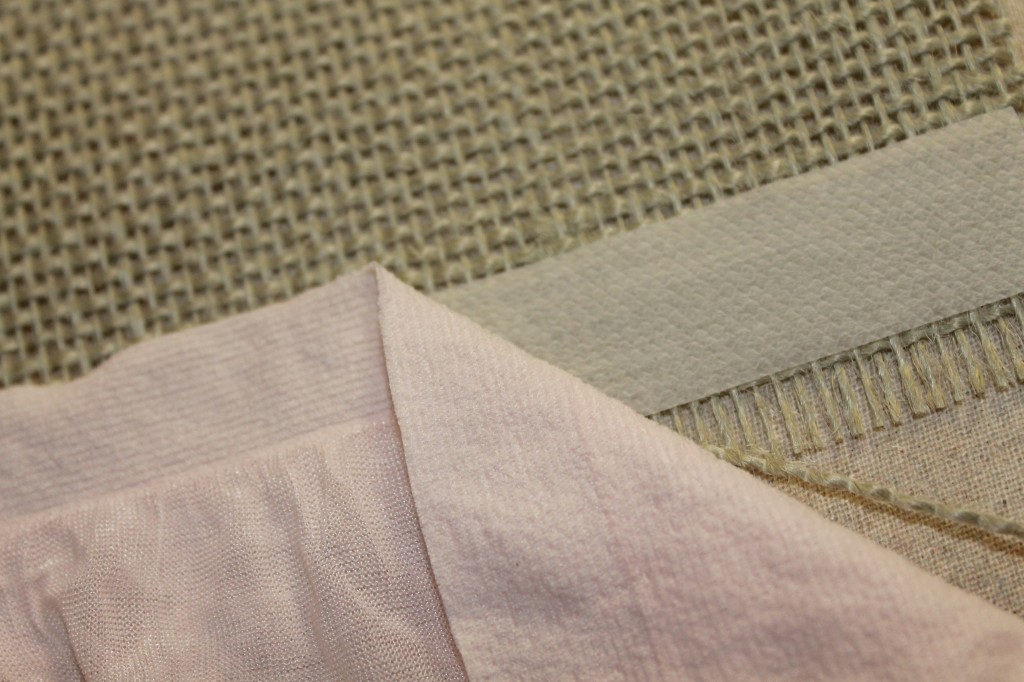 Add your second layer of fabric carefully on top of the heat and bond and base fabric.
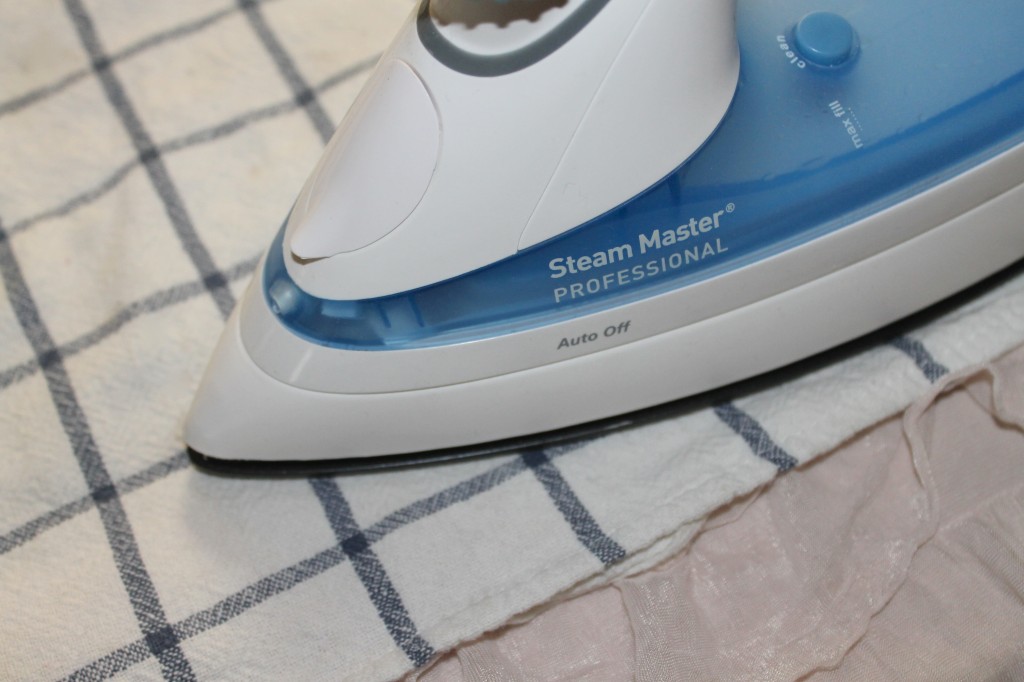 Now, you can iron your two fabric pieces together. Since I was ironing onto a delicate fabric, I used a tea towel between the iron and the ruffled fabric.
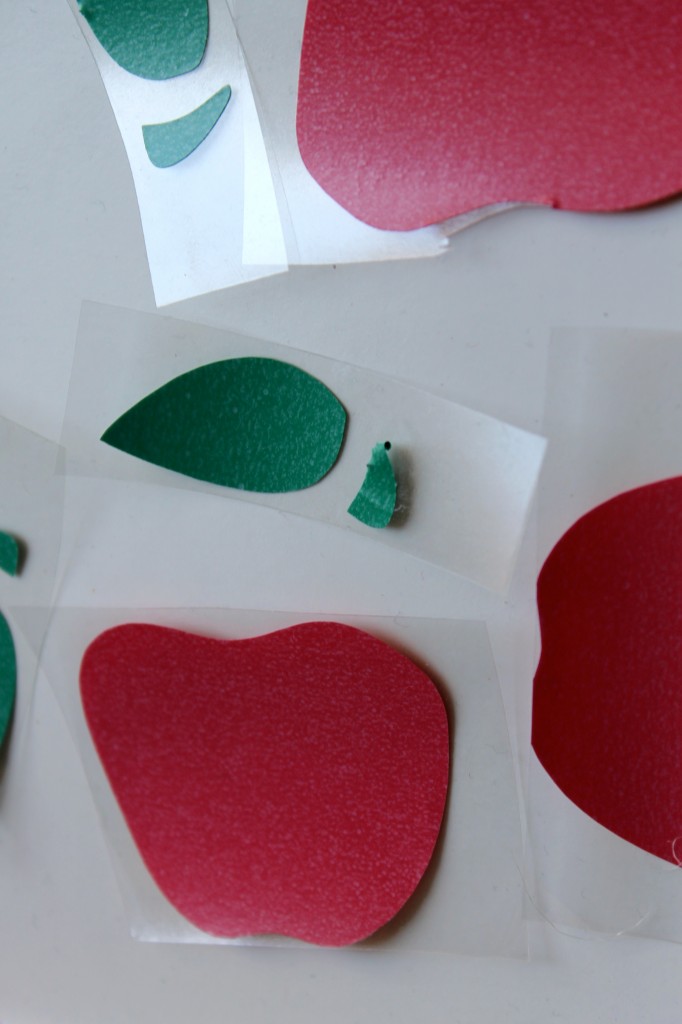 Now that the ruffles were on the burlap, I wanted to add some cute fall apples! I used Expressions Vinyl Heat Transfer red and green vinyl from the Lego pack. I haven’t ever used heat transfer vinyl before, so I was a little nervous. However, I quickly discovered that it is very easy to use! I used my Cricut to cut out several apples. (*TIP* place the vinyl shiny side up, and mirror your image) Once I cut the apples, stems, and leaves, I carefully pulled away the excess vinyl, leaving the excess clear adhesive on the image.
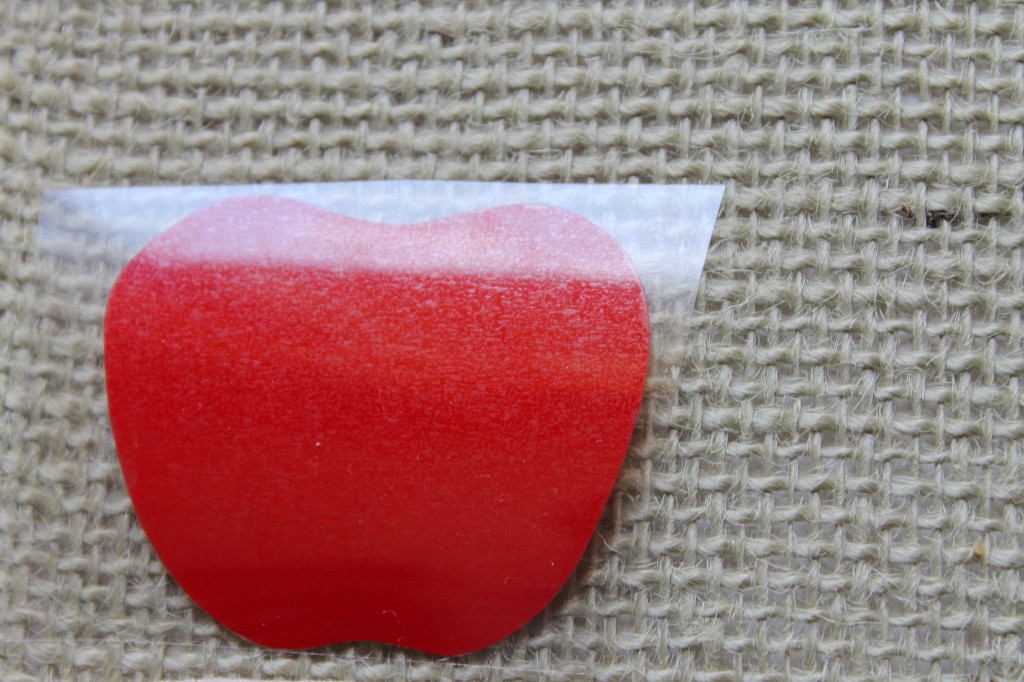 Can you see the clear adhesive? Carefully layer your colors…
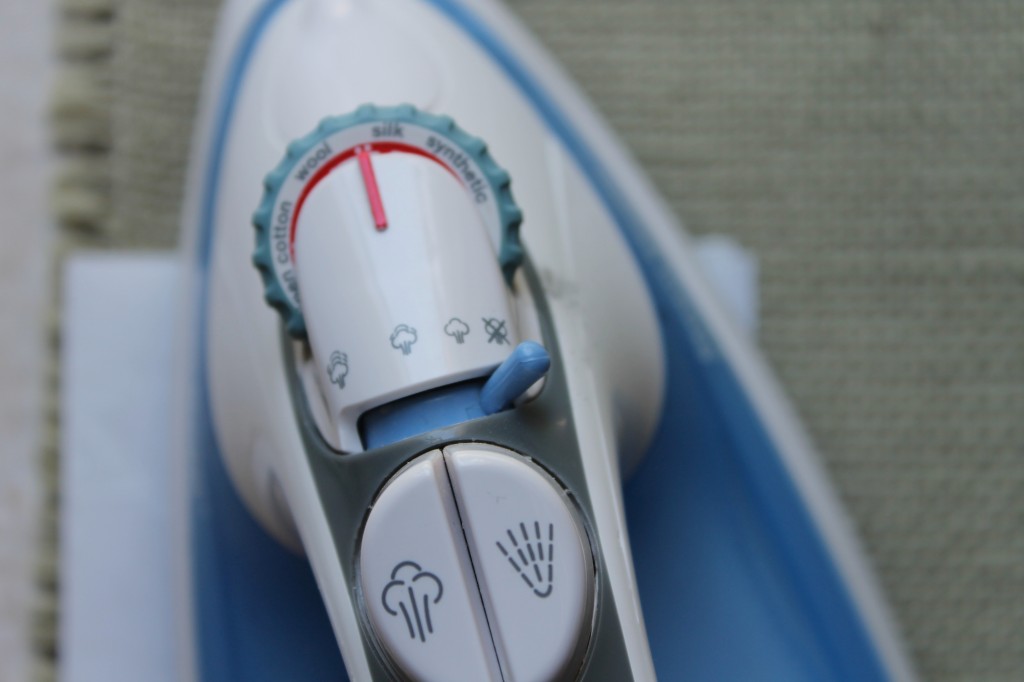 Iron on. I placed the runner directly onto our tile floor, and pressed VERY hard on the iron for about 30 seconds. I peeked to make sure it was ironed on, and if it needed a little more time, I held the iron on for a few more seconds. I repeated this step for each apple.
I am SMITTEN with my no sew ruffled table runner!

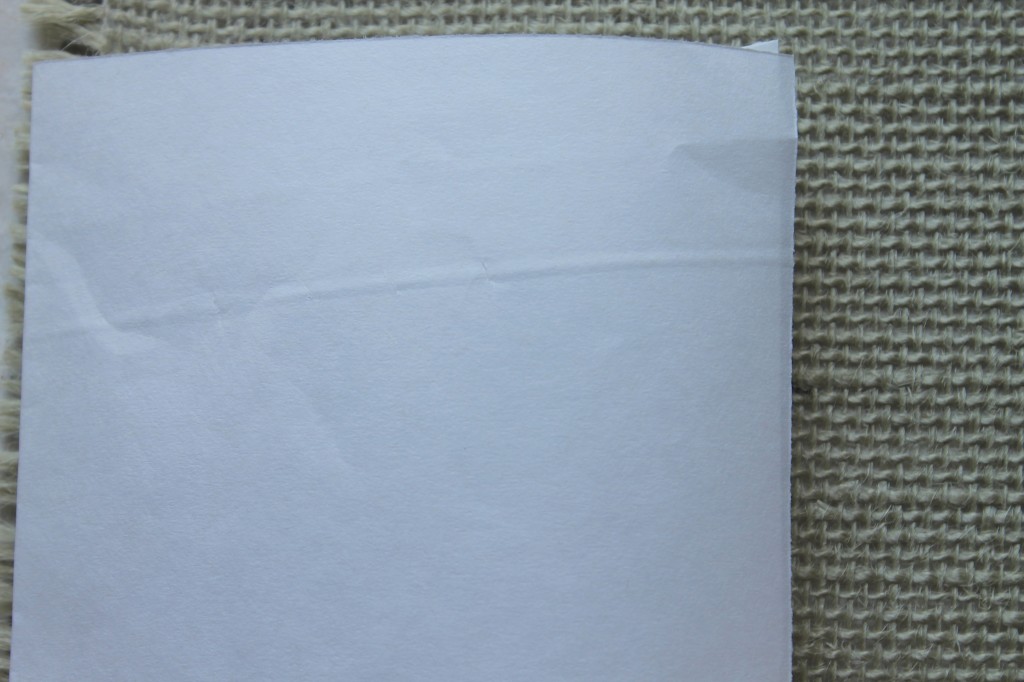
[…] with the design. If you need more instructions for heat transfer vinyl, be sure to check out this post with step by step instructions. Since this project was on a frame without a solid base under […]