Cookies and Milk Party
Anyone that knows me knows that warm chocolate chip cookies are my kryptonite. Add a glass of icy cold milk, and I would probably break the law for you…I seriously have no will power when there are warm chocolate chip cookies nearby. {Fun fact, I actually wanted to open a drive through cookie shop before I had kids…I would still kinda like to have one} Despite my cookie weakness, I never had a cookies and milk themed party for any of my boys.
Cookies and Milk Party Theme:
When Cricut asked me to share a life event post, I immediately thought of hosting a cookies and milk toddler birthday party. But, as I thought on it more, I realized it would be a fun baby shower theme, graduation party theme {Smart Cookie}, or even as part of a wedding dessert bar {if it was styled differently}. Either way, I don’t know anyone that doesn’t smile when they are handed a delicious cookie, so this party will surely have many happy guests.
The Cookie Bar:
The great thing about this party theme is it can be super simple to do, or you can use some old family recipes and bake yummy cookies from scratch. Initially, that is what I planned to do, and share our family’s favorite chocolate chip cookie recipe, but we haven’t had a functioning kitchen in over a month, so I went with store bought cookies, and it worked just as well for this party!
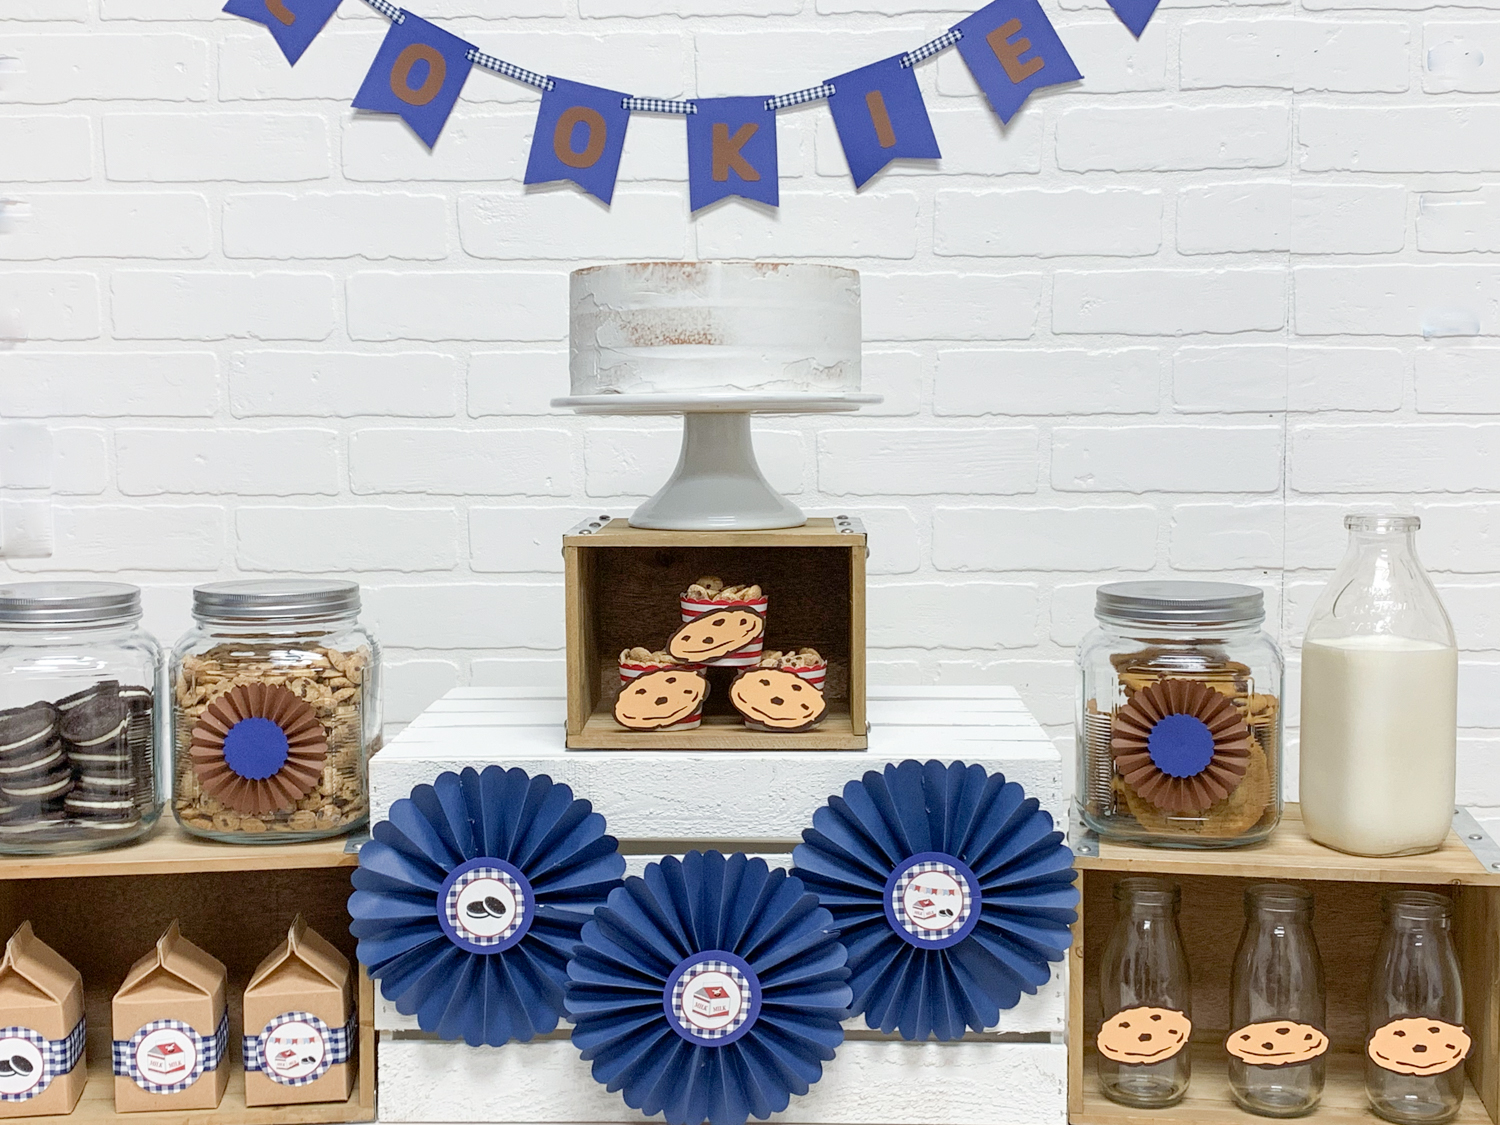
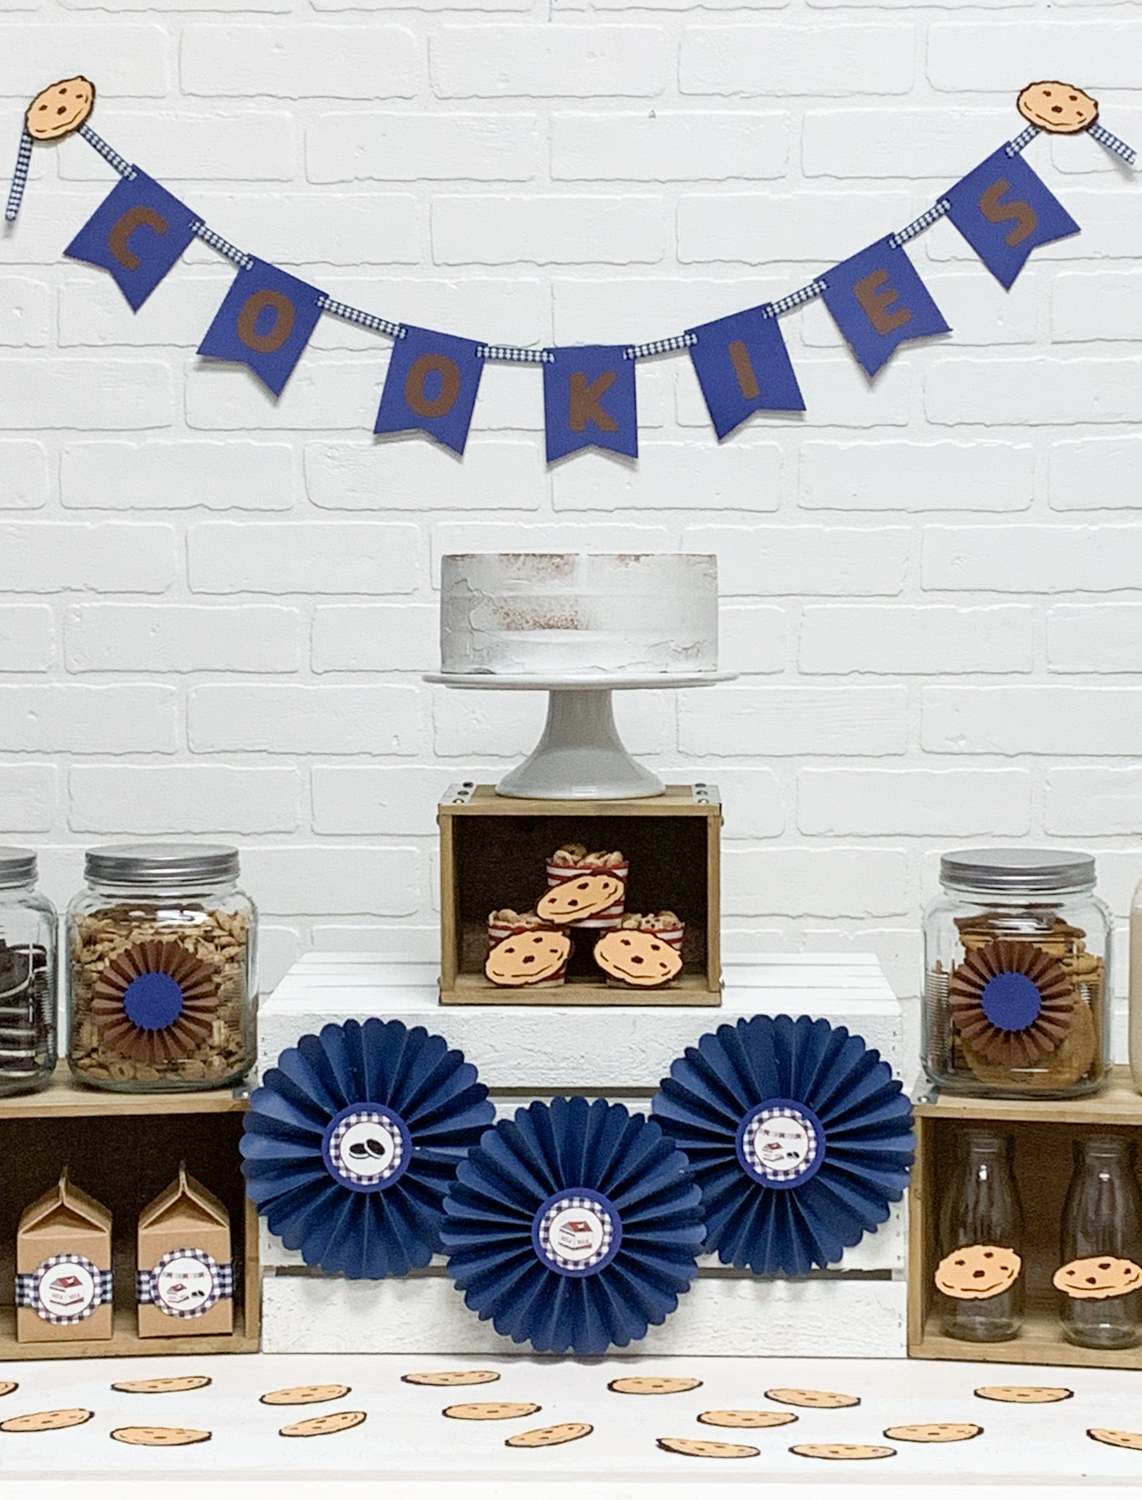
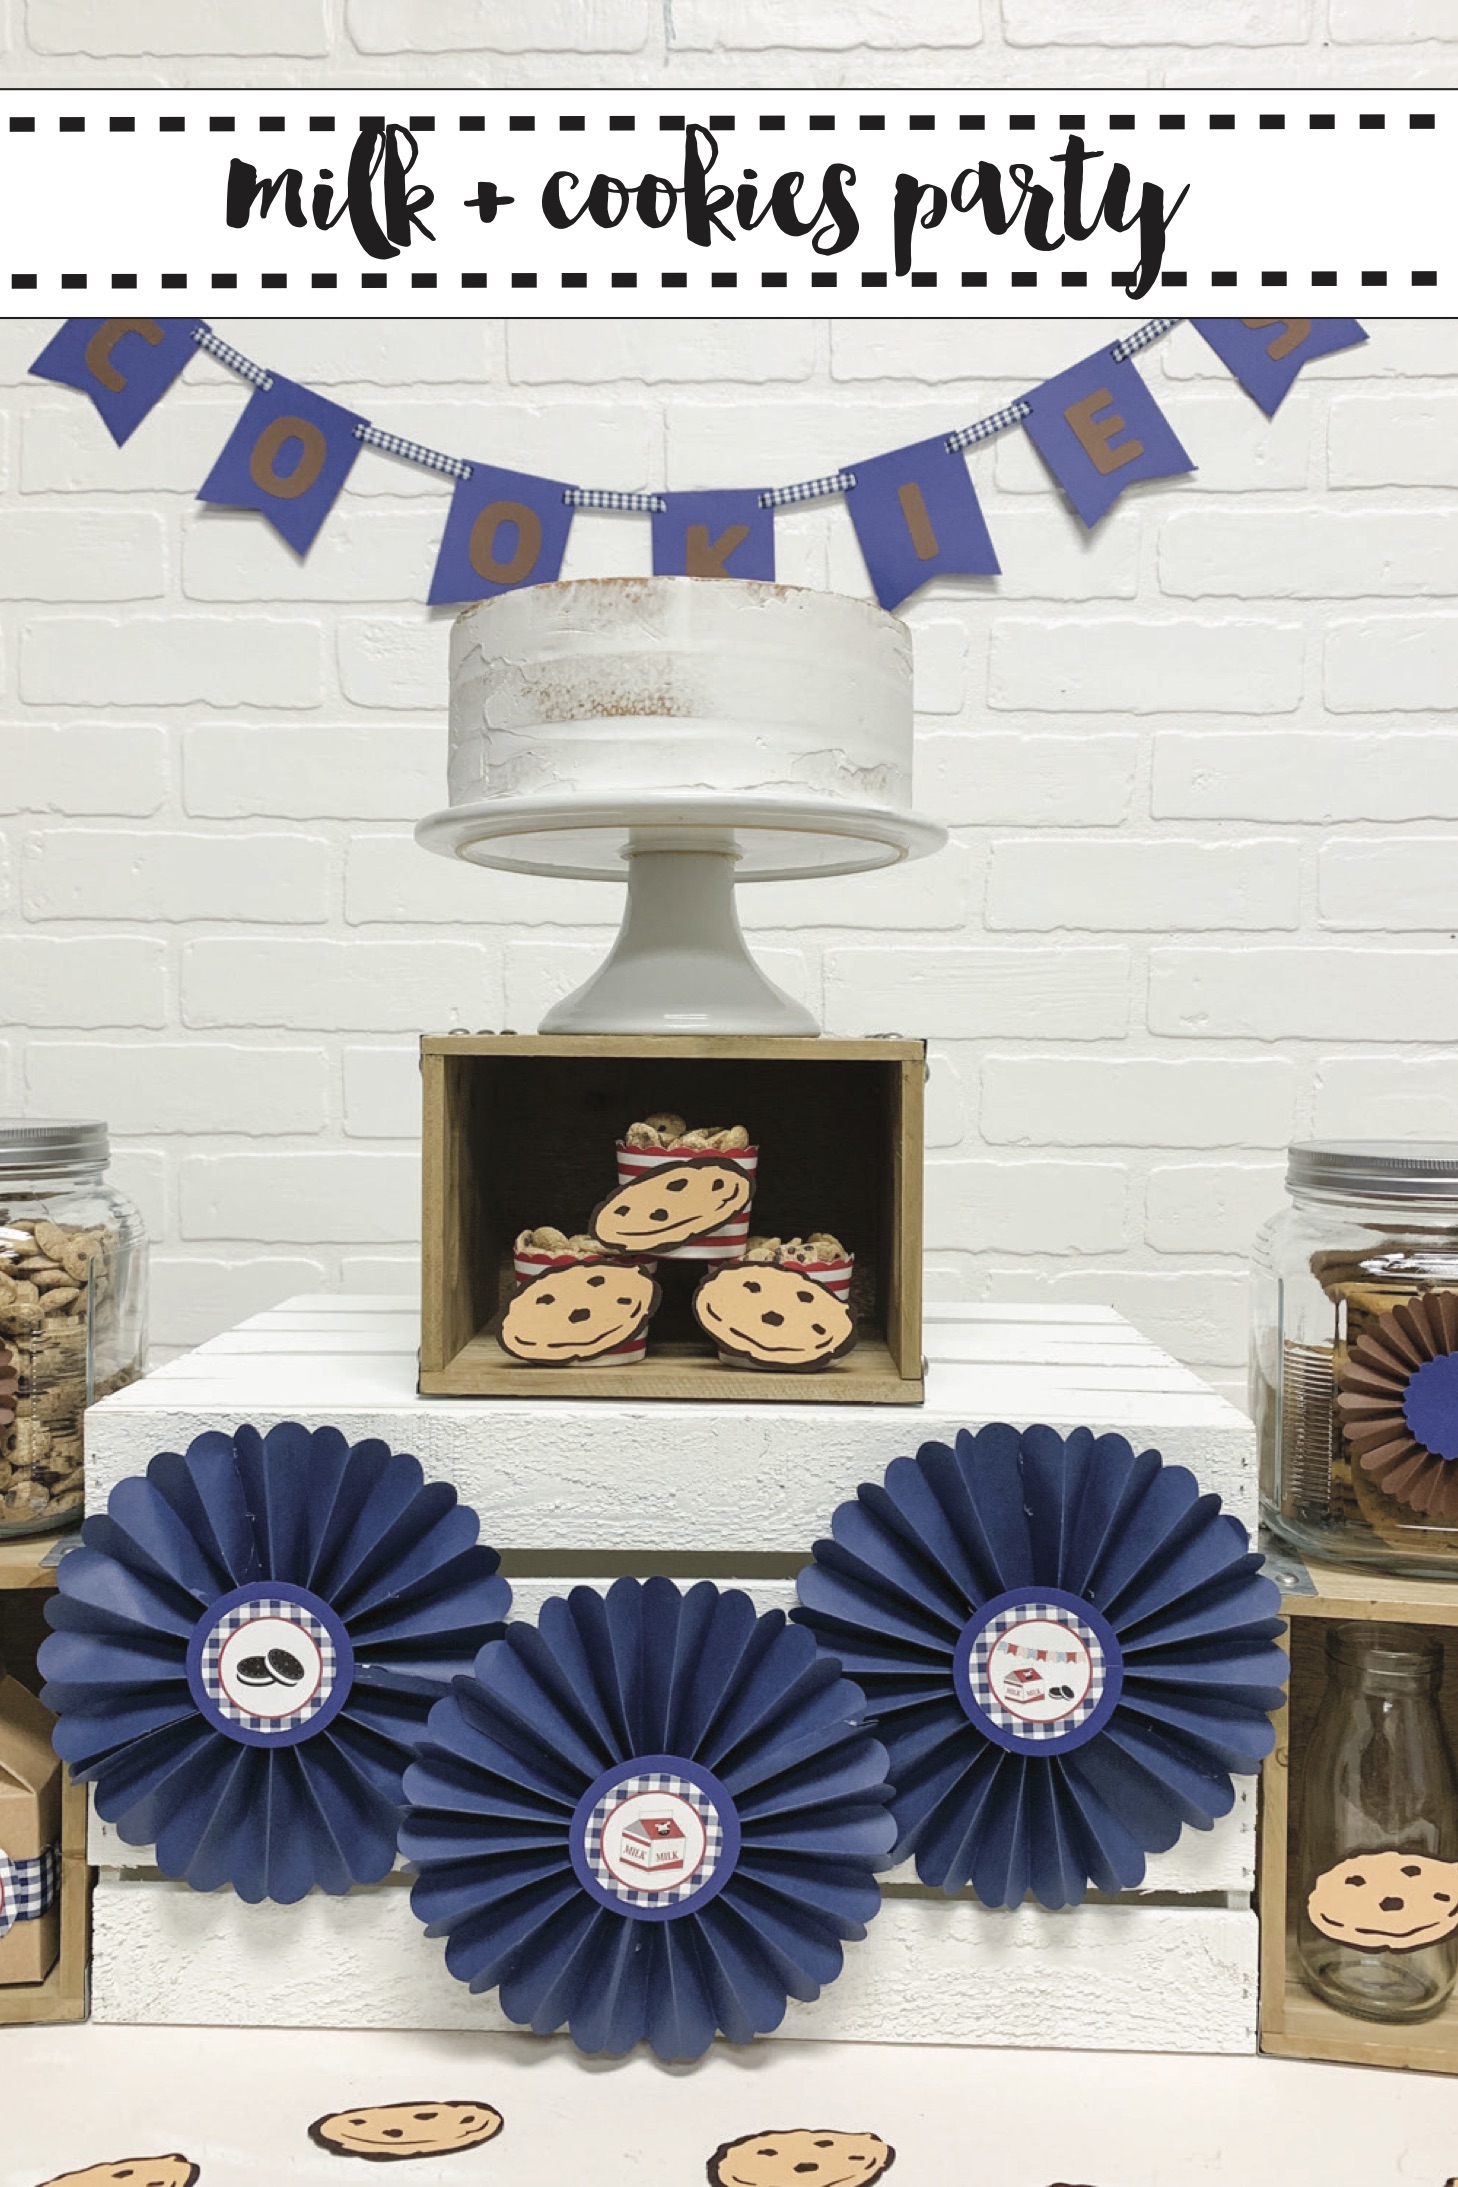
I love vintage, gingham, and rustic vibes, so my Cookies and Milk party had all of those elements, and I LOVED it! I used my Cricut Maker to make small paper cookies to use as table scatter and bottle “wraps”. My Maker was busy for this party, because I also used it to make Kraftboard milk carton favor boxes, paper rosettes, and a banner. Once I finished making all of the decor and party favor pieces, I was ready to set up the party!
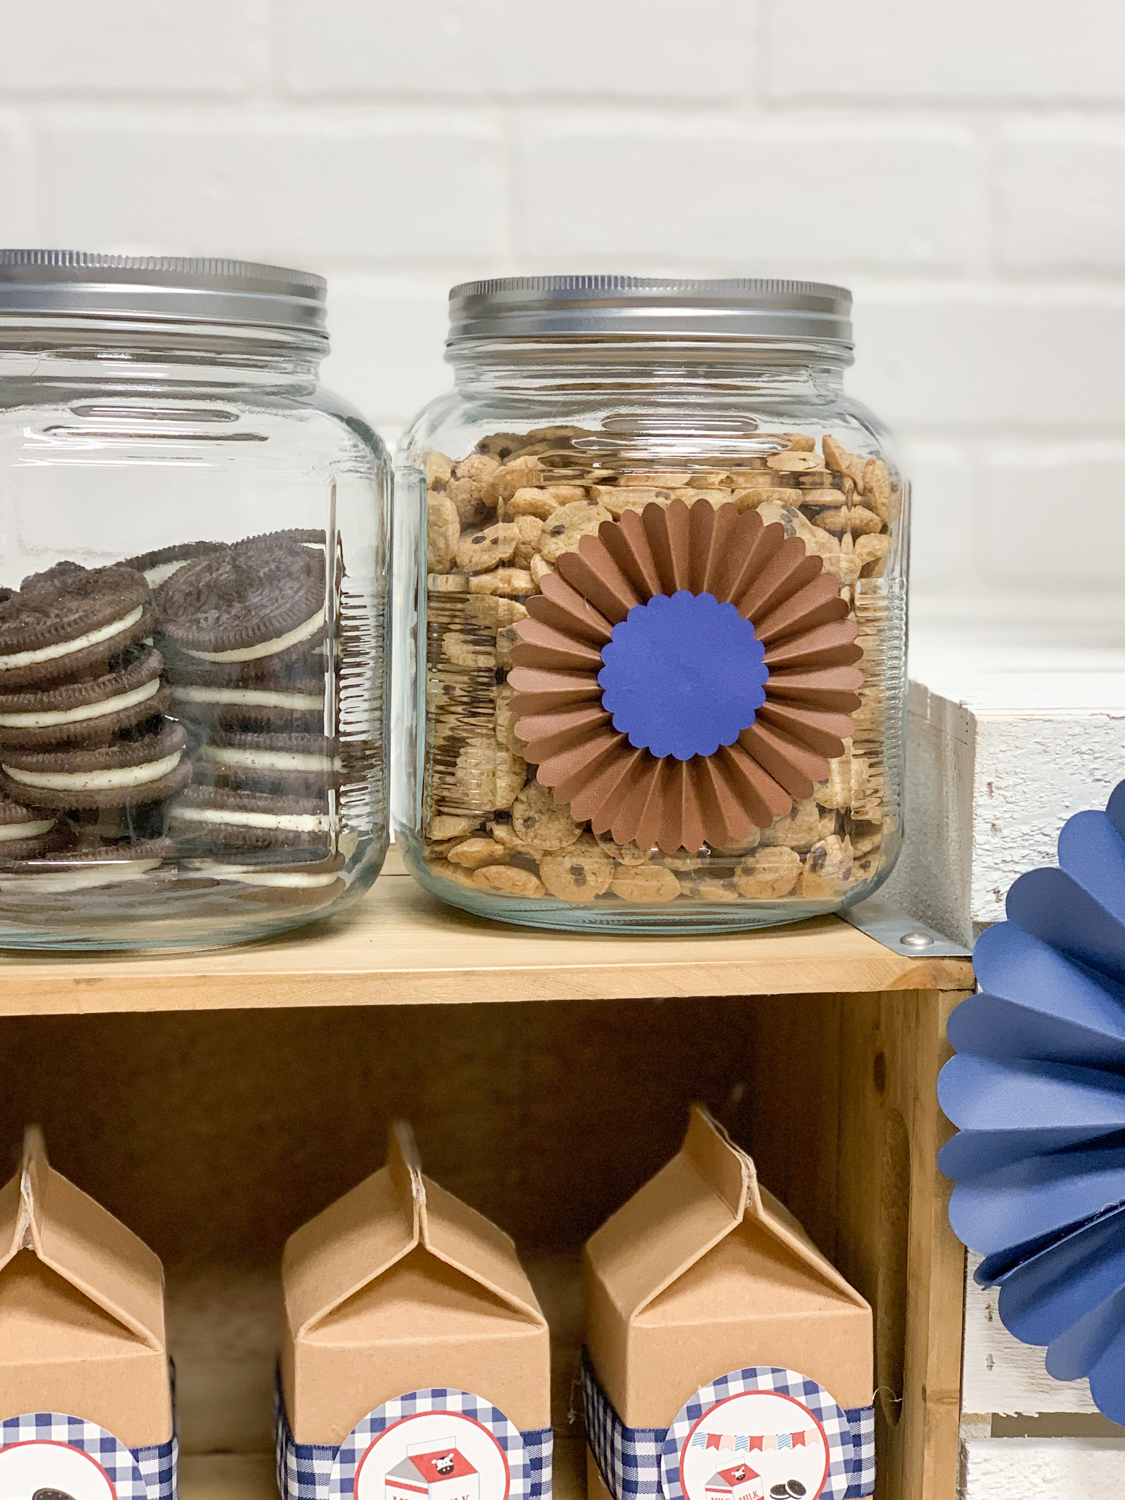
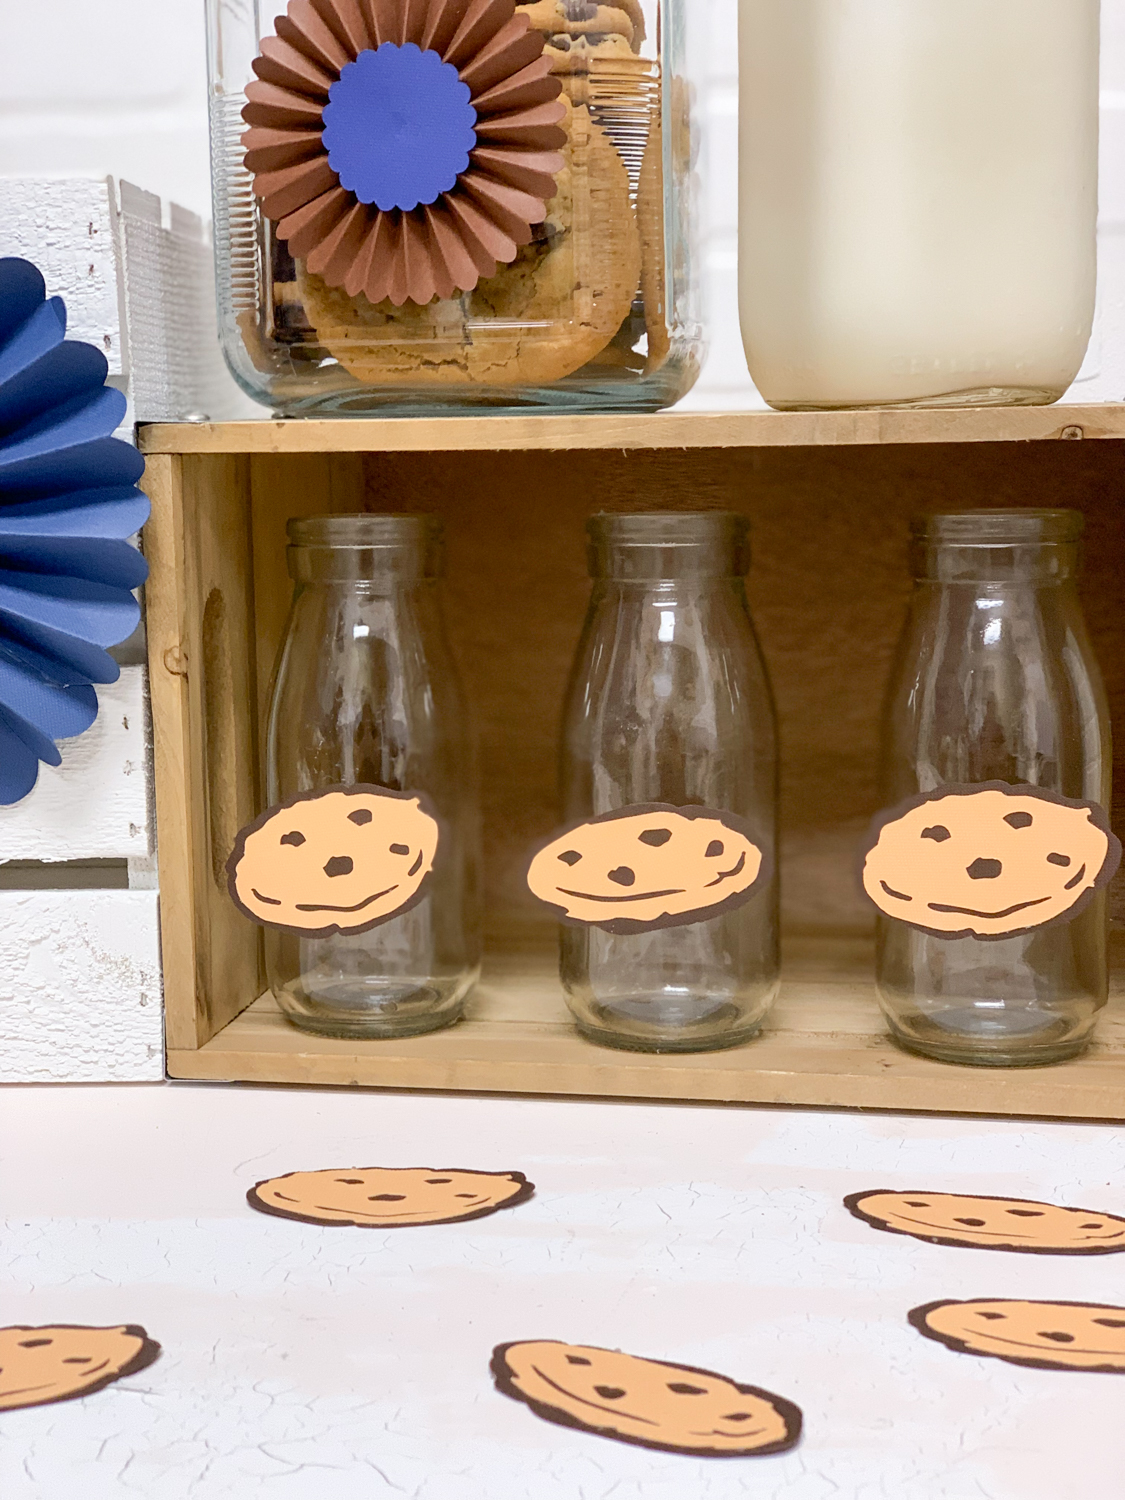
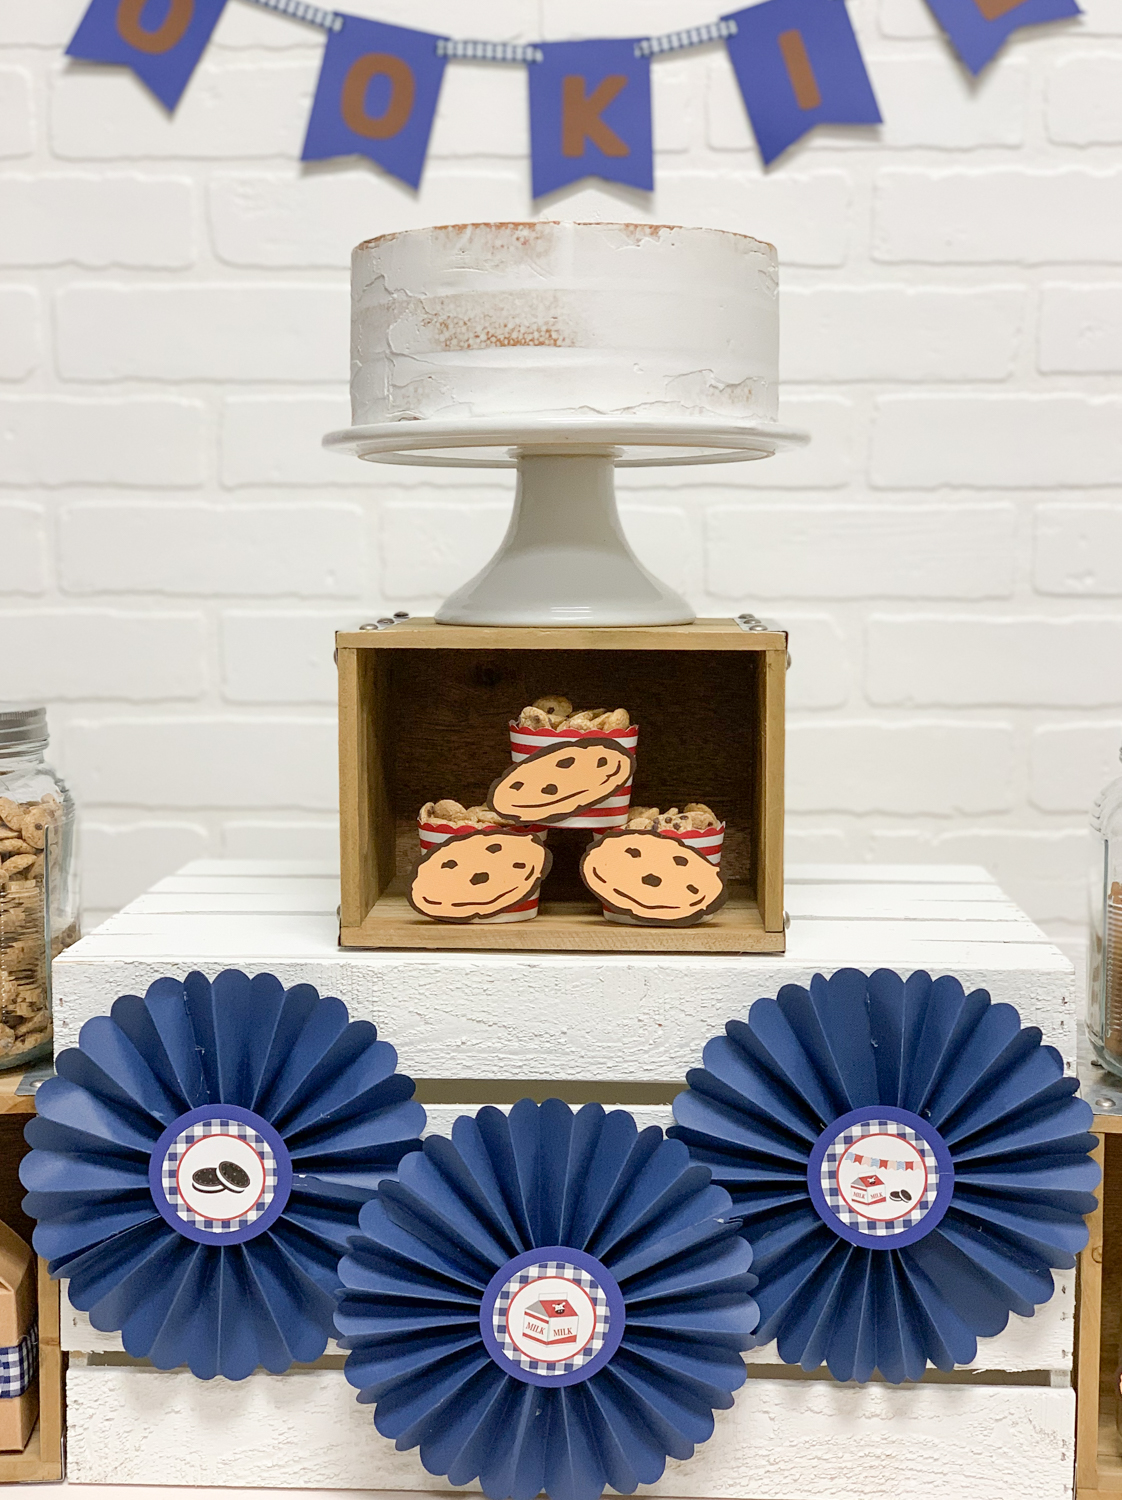
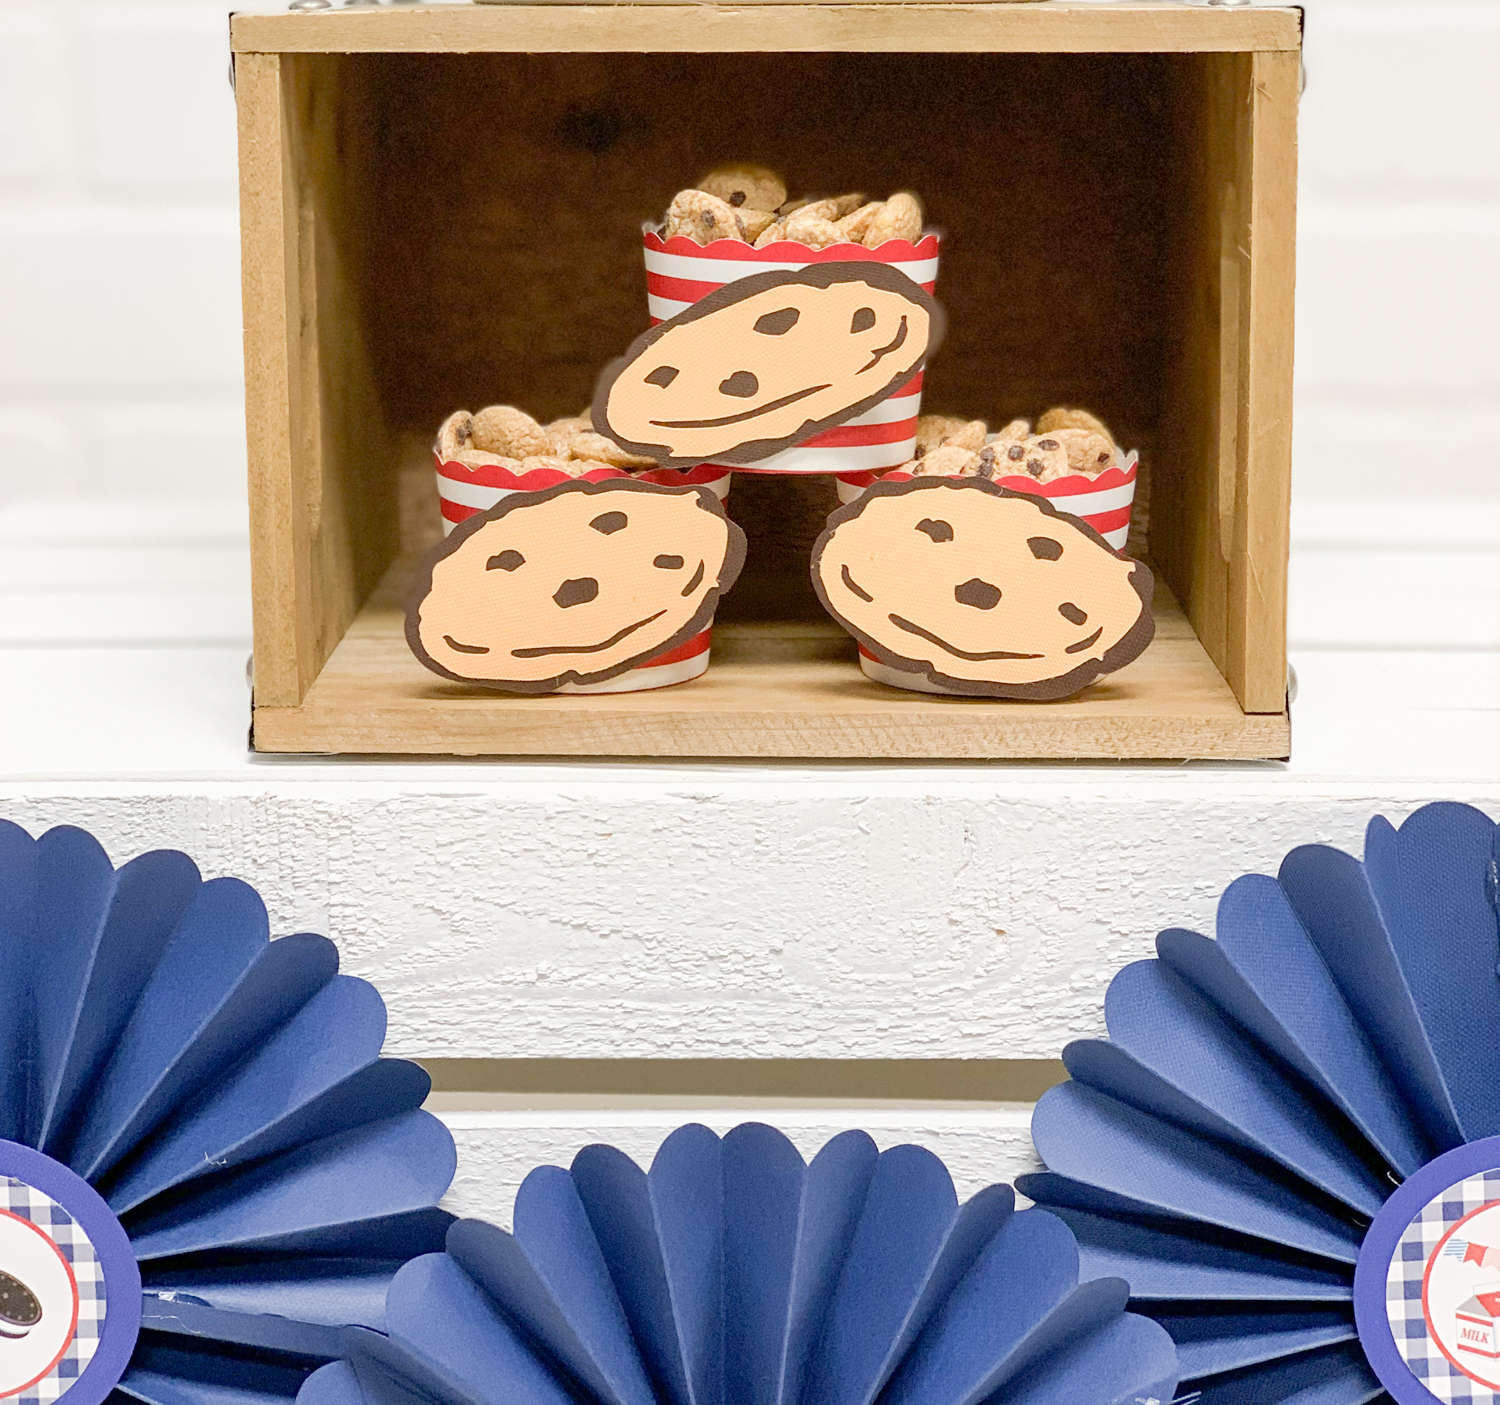
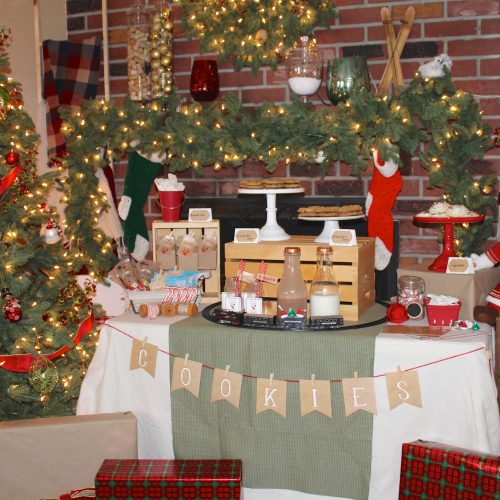
I bought a variety of cookies from the grocery store and displayed them in glass jars on the party table. Some of the jars were decorated with small rosettes, others were left plain. To add height to the table, I arranged vintage looking milk crates on their sides and stacked the cookie jars on top. Inside the crates, I added glass milk jars with paper cookie bottle “wraps” and darling kraftboard milk carton favor boxes.
I wanted the cake to be simple, maybe a stacked cookie cake or a semi naked white cake. In the end, I used a white cake. For a pop of color, I hung a COOKIES banner above the cake, and added more paper cookie cut outs to cover the tacks.
Milk and Cookie Party Favors:
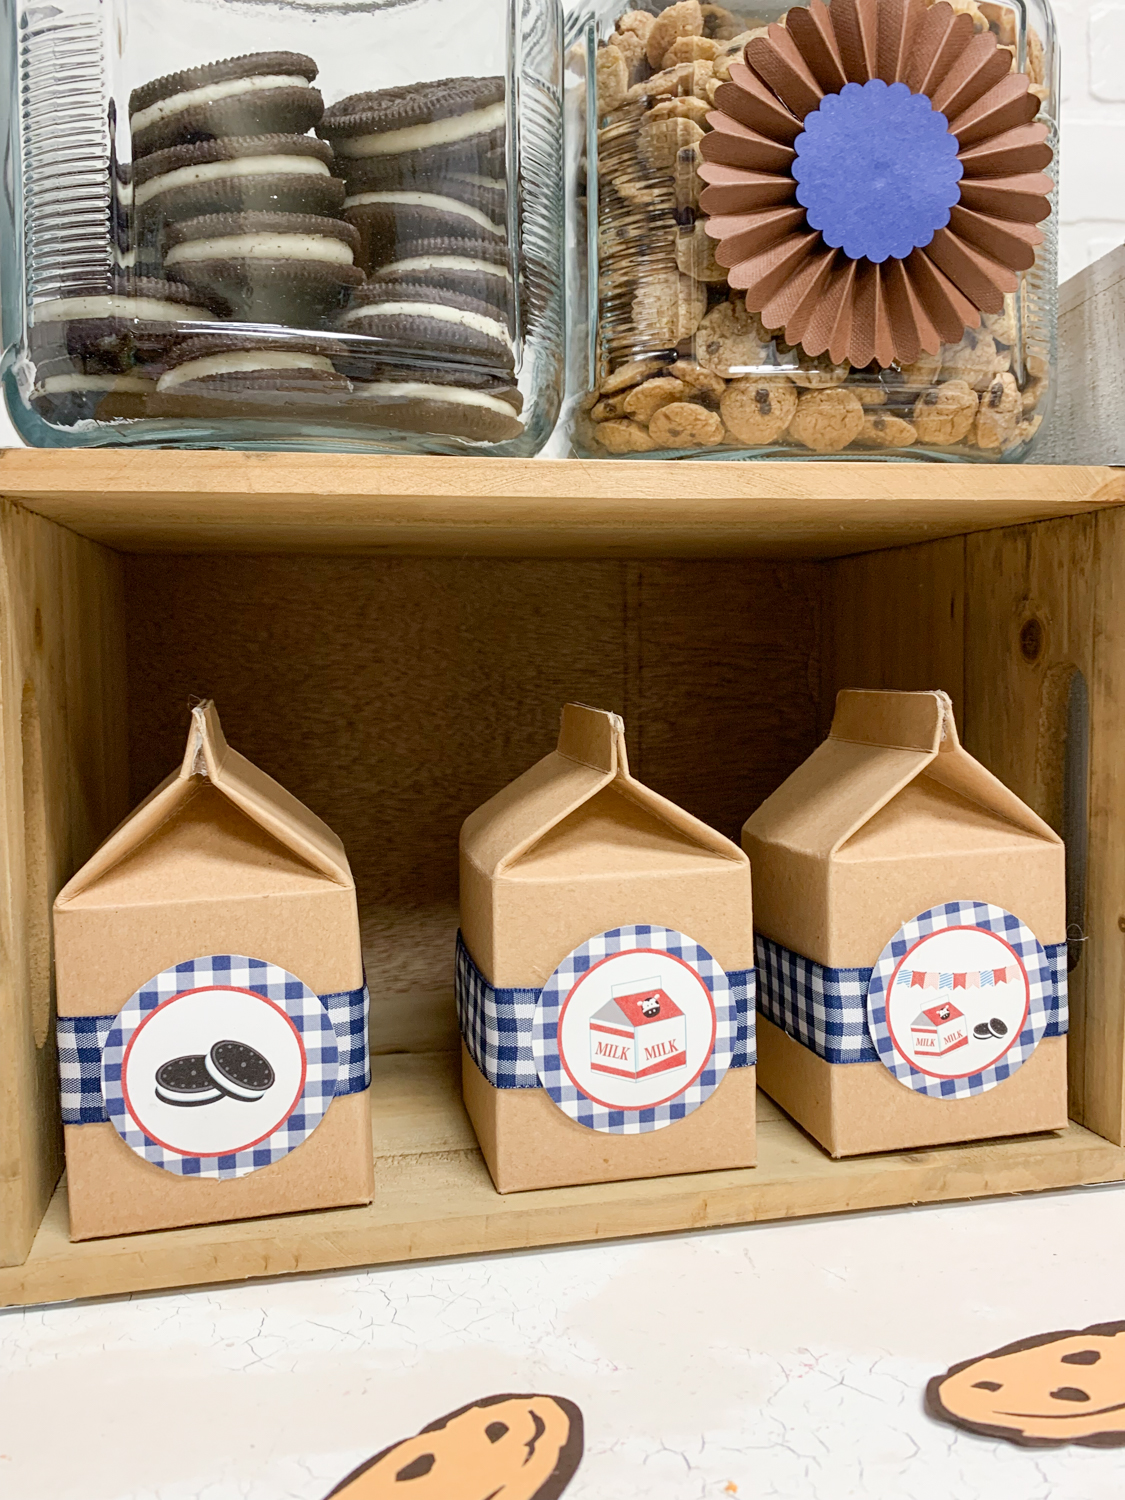
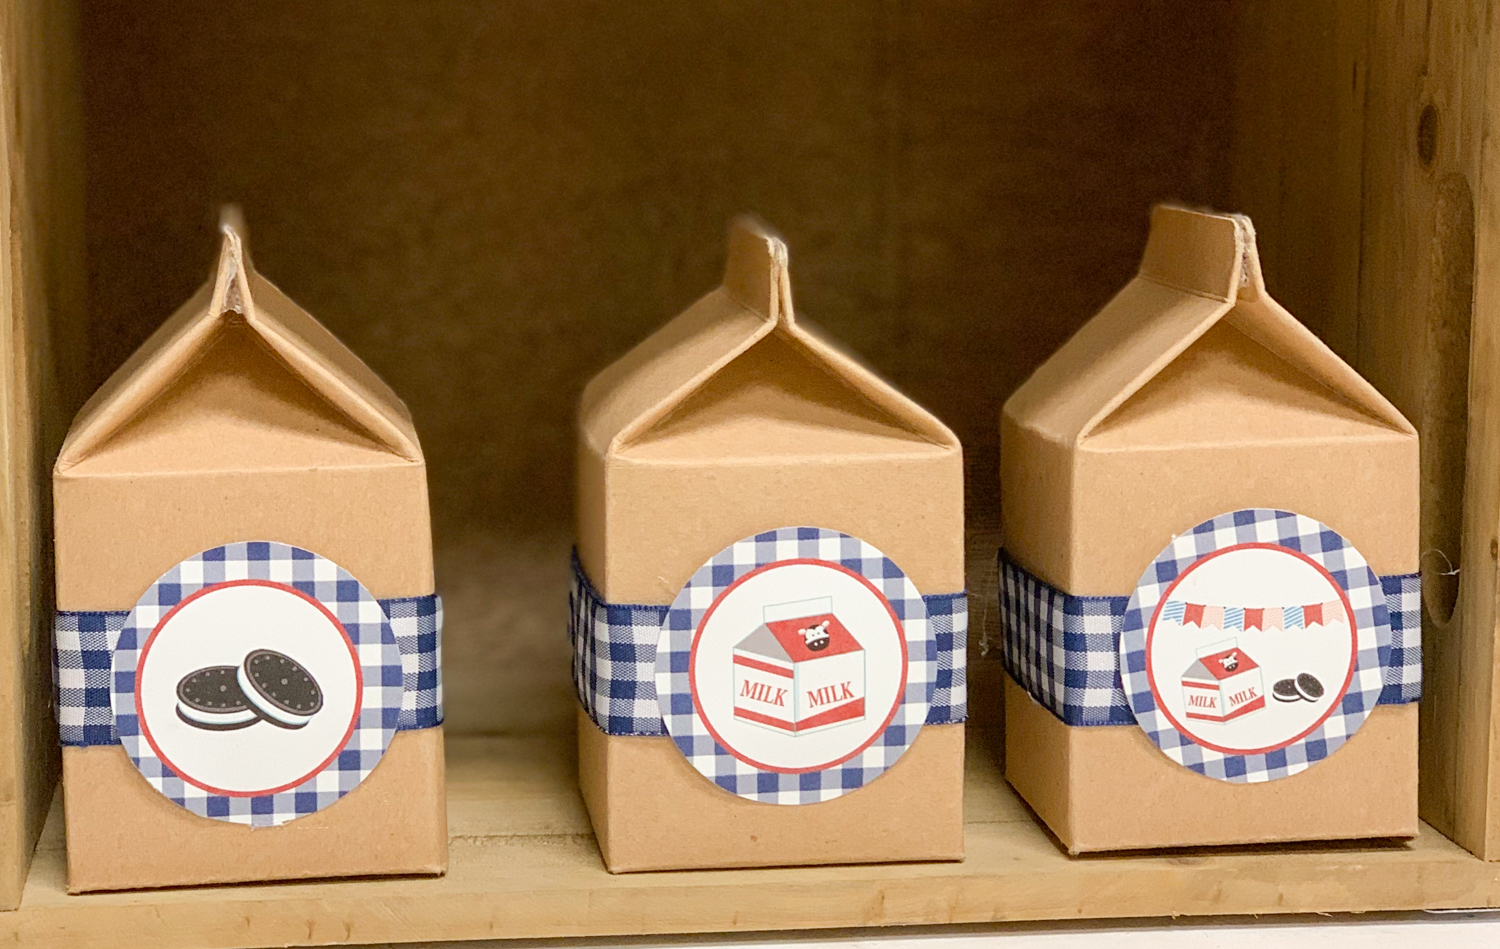
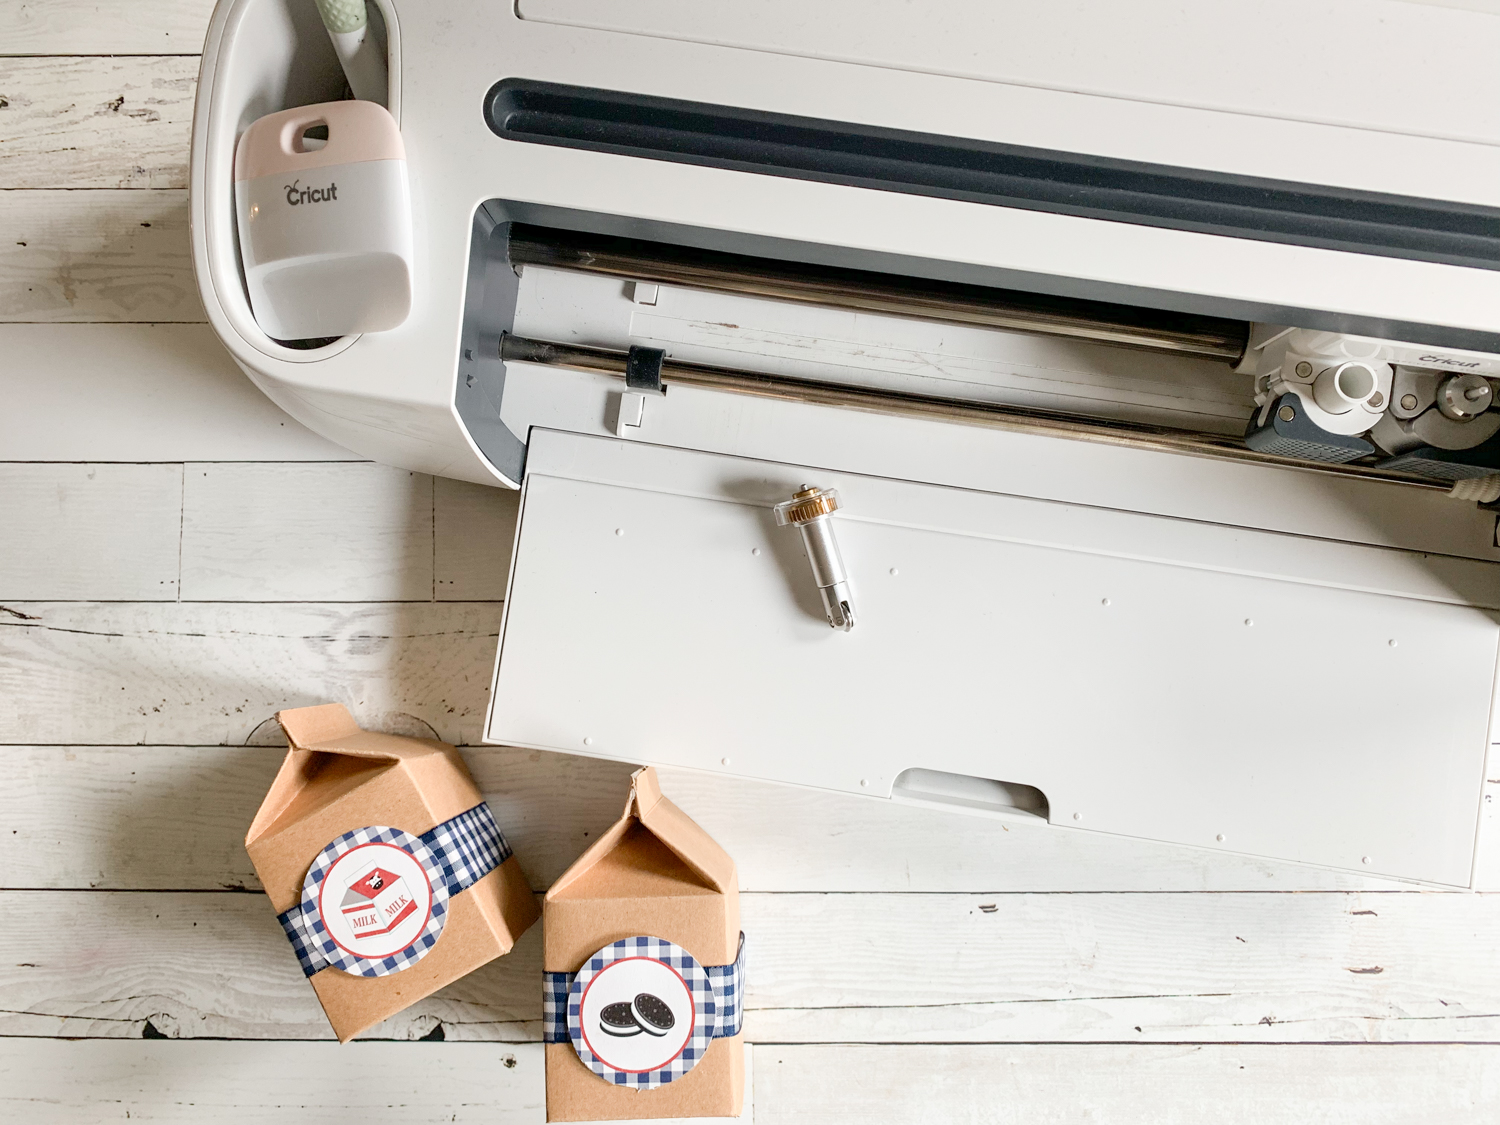
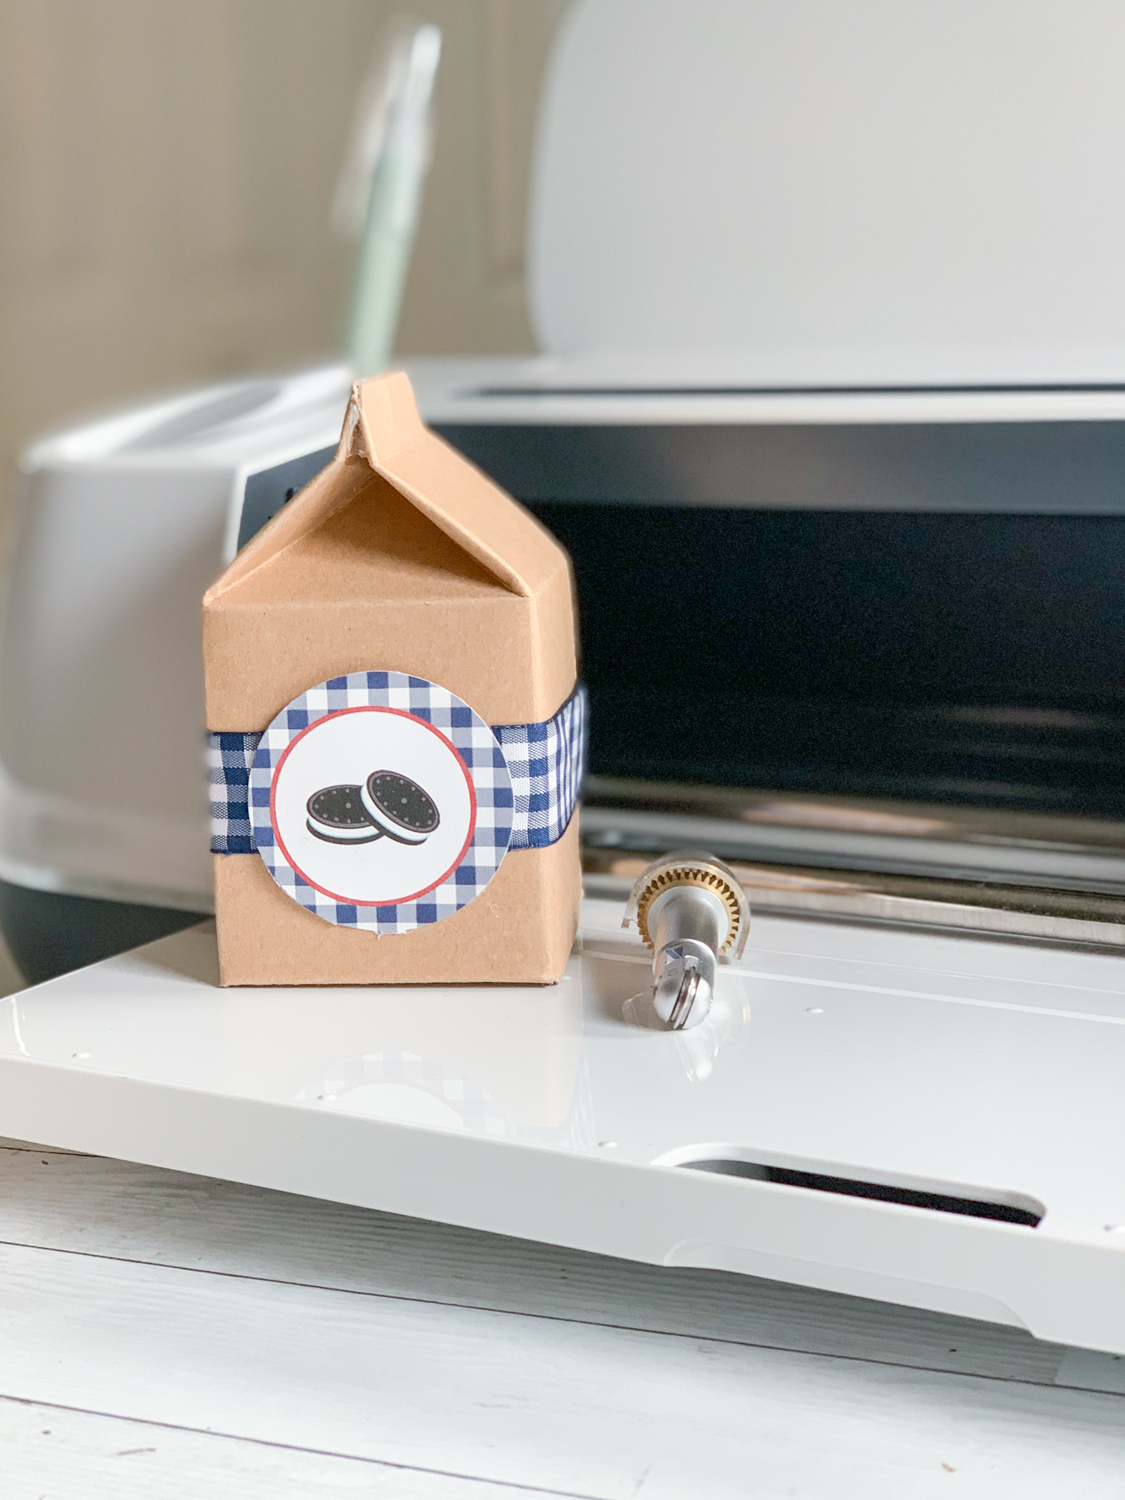
Party favors are super important to me, and I want them to match the theme AND be useful…For this party them, I used my Maker to cut out kraftboard milk cartons. I filled the cartons with cookies to take home {In food safe cello bags}. Then, I sealed the boxes, and added gingham ribbon and a party circle to the front of each carton.
Make the Decor:
My Cricut Maker was a work horse for this party, like it usually is. I used it to make paper rosettes, the banner, and the favor boxes.
Supplies:
The Rosettes:
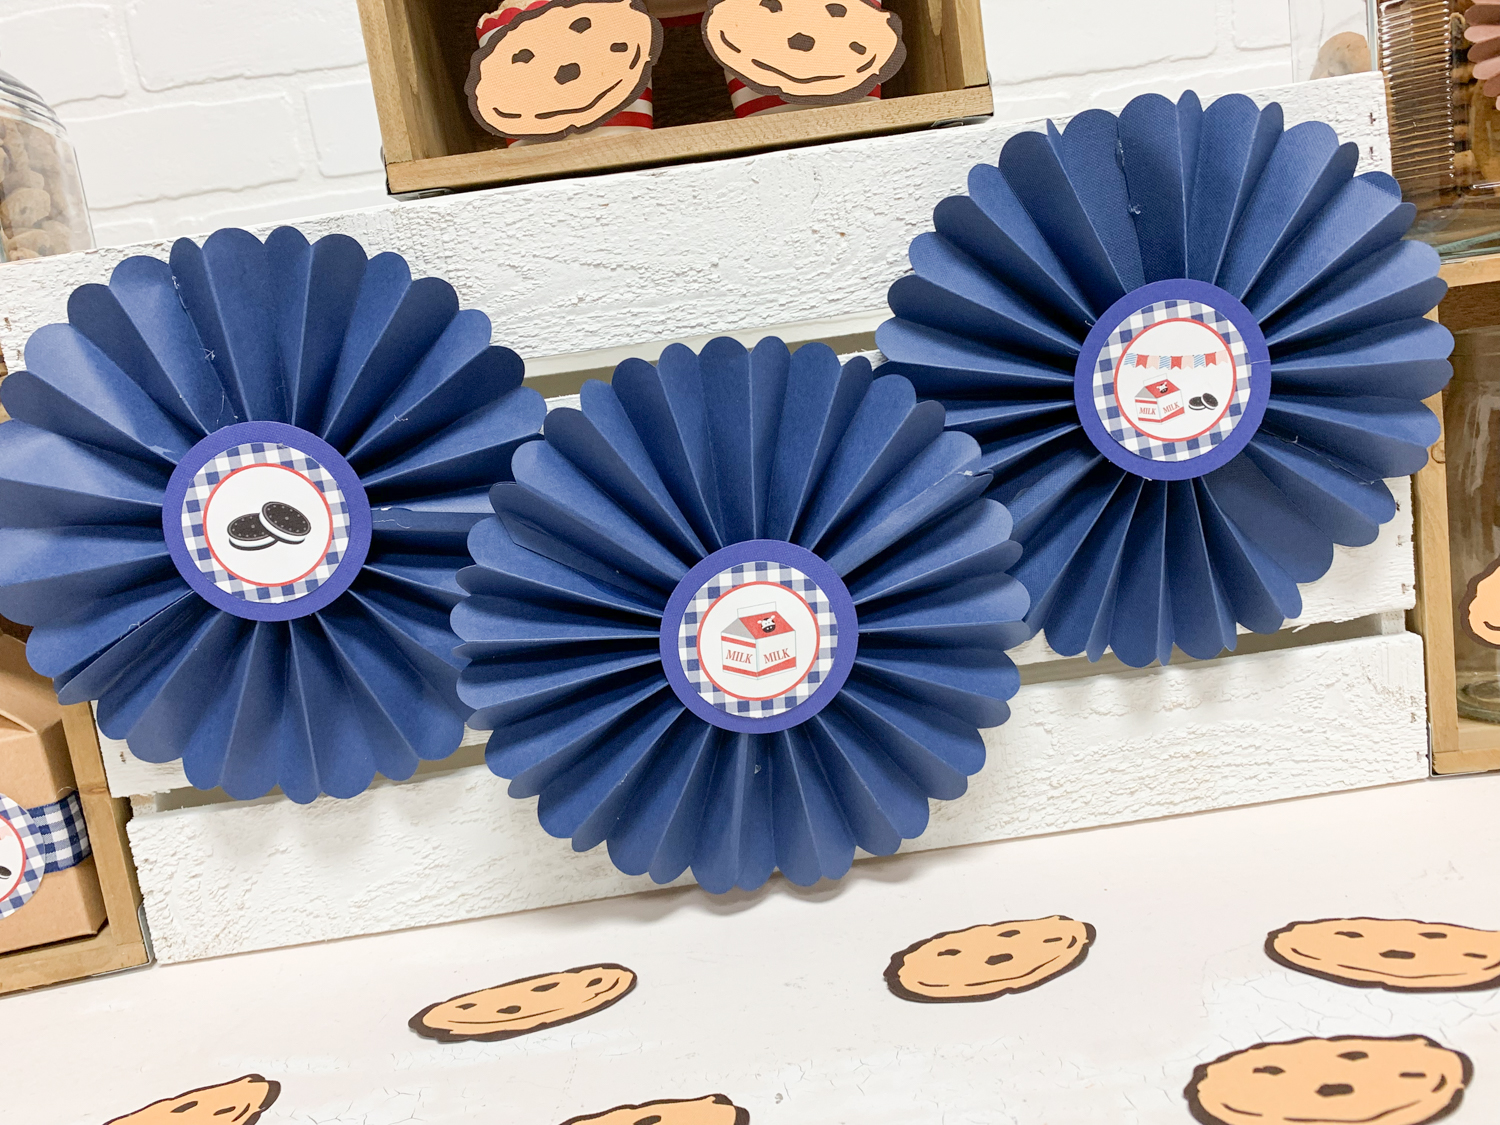
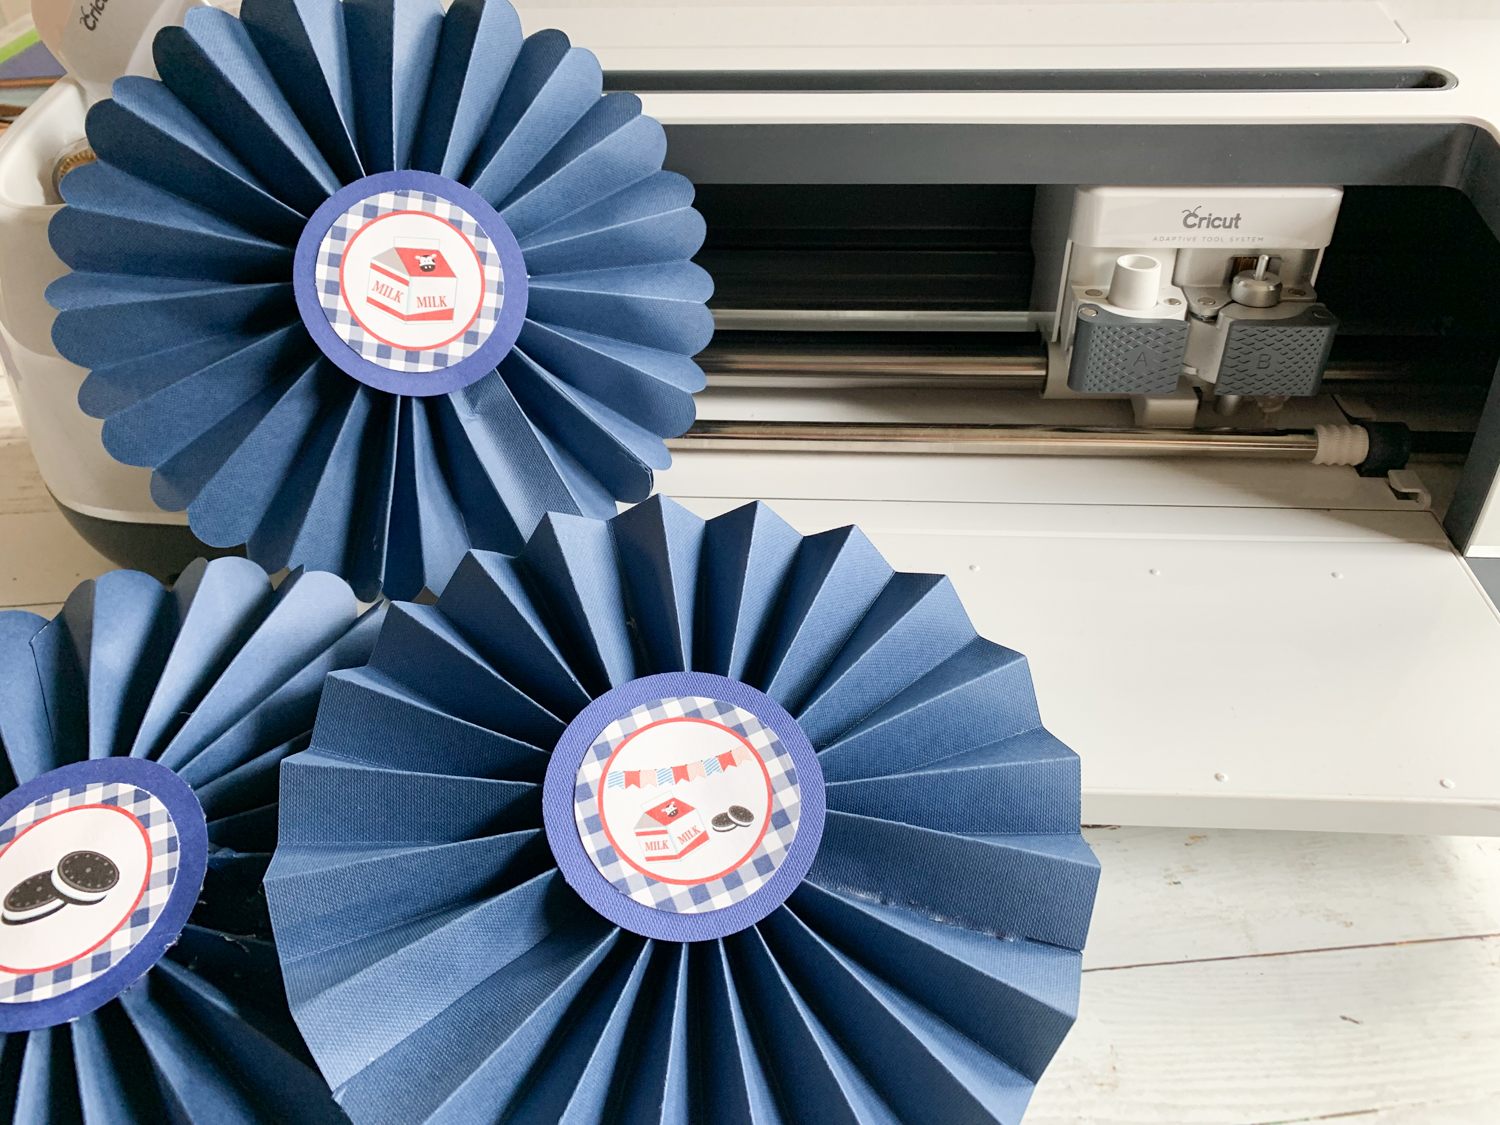
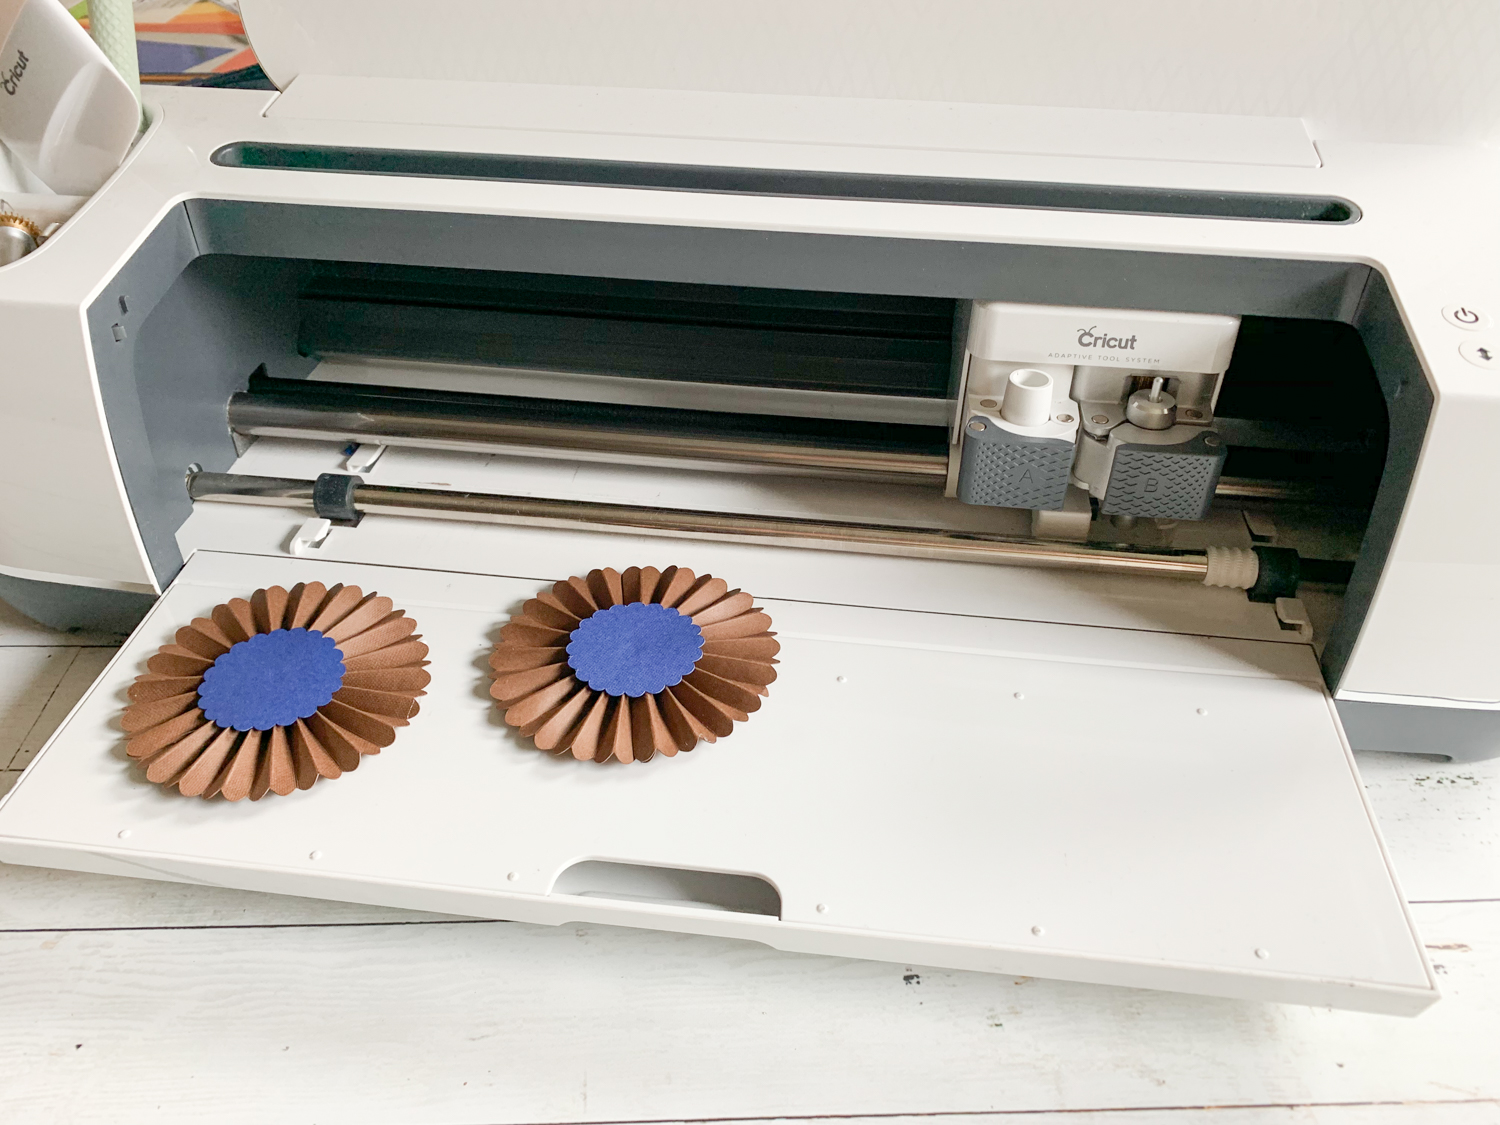
The scoring wheels made quick and easy work of the rosettes. They worked some crazy wizard magic and scored the paper perfectly. I cannot even begin to describe the distain I had for making rosettes before the scoring wheels.
Since I used a heavier paper for the rosettes, I hot glued them together. Just score and cut the paper, fold it like an accordion, and glue the ends together. Next, pinch the folds together in the center and hot glue in place. I add a simple circle to the front and back to add more stability. Then I added a party circle to the fronts of each large rosette.
Get the cut file for the large rosette here, and the smaller one here.
The Banner:
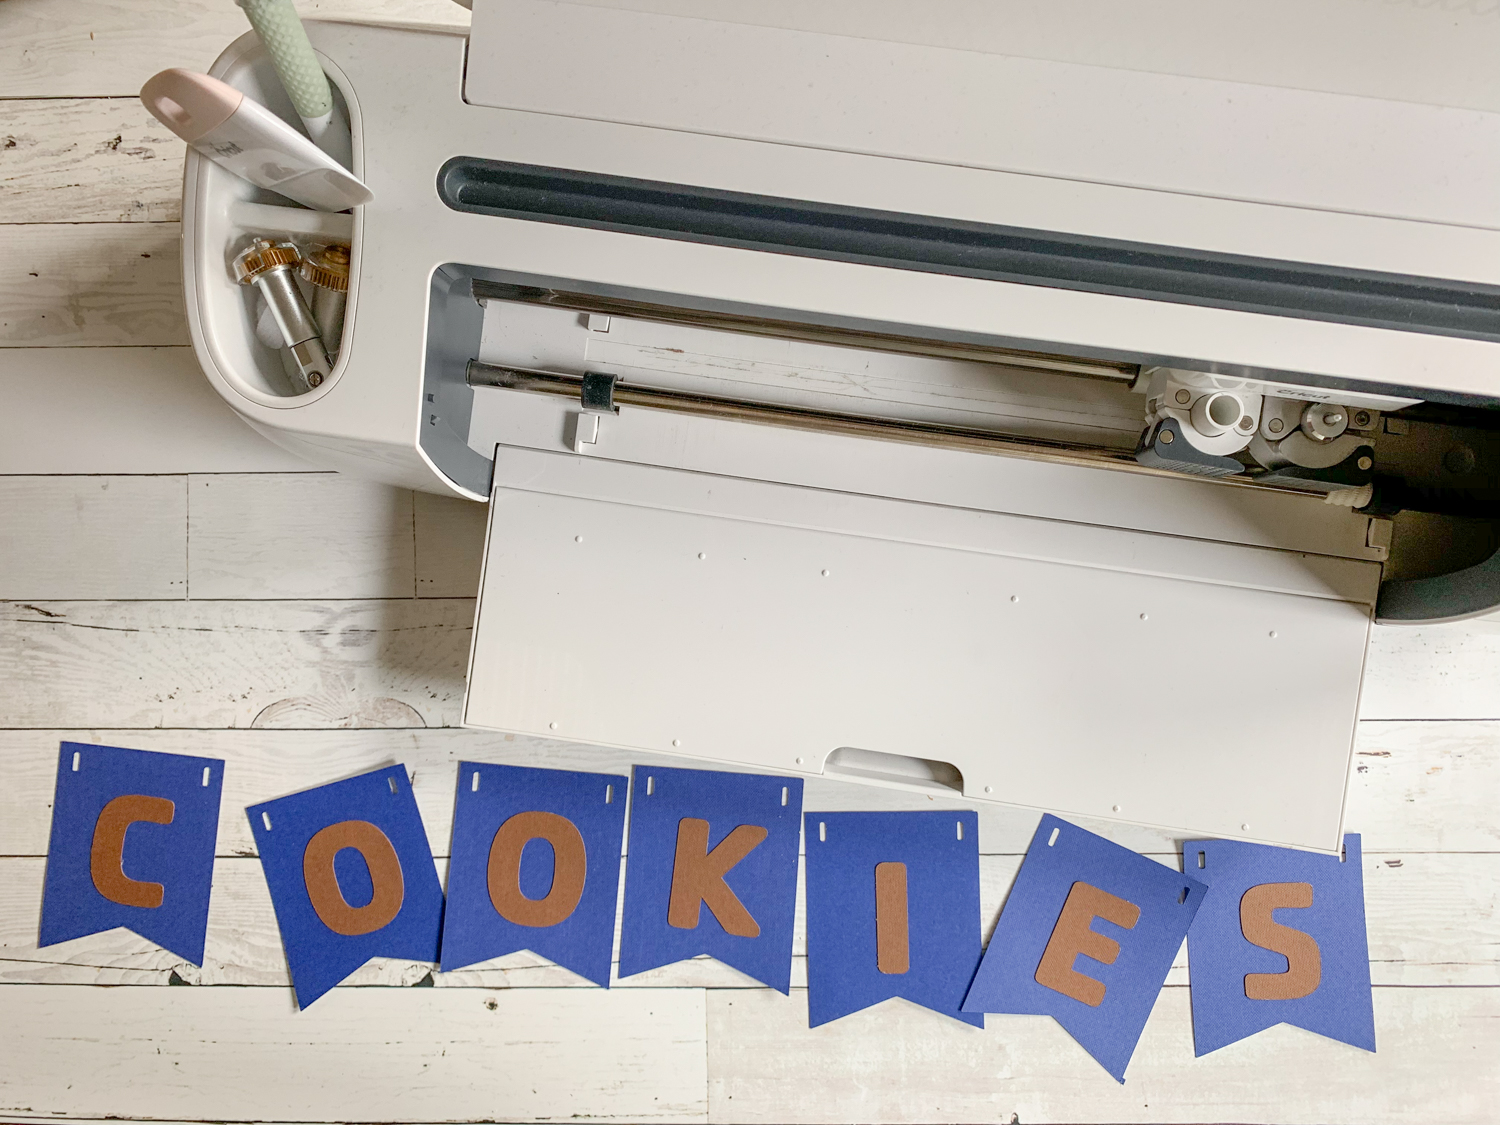
I wanted a pop of color on the back wall above the cake, so I cut a simple blue cardstock banner and added paper text to it.
Get the cut file here.
The Cookies:
The cookies were made from layered cardstock, and I used them for table scatter, bottle wrappers, and even to hide thumbtacks on the wall.
I used this cut file, and cut dark brown cardstock for the bottom of the cookie, and light brown for the tops. Once they were all cut, I used my Xyron Creative Station to add adhesive to the cookie tops and stuck them onto the bottoms. It was super easy!
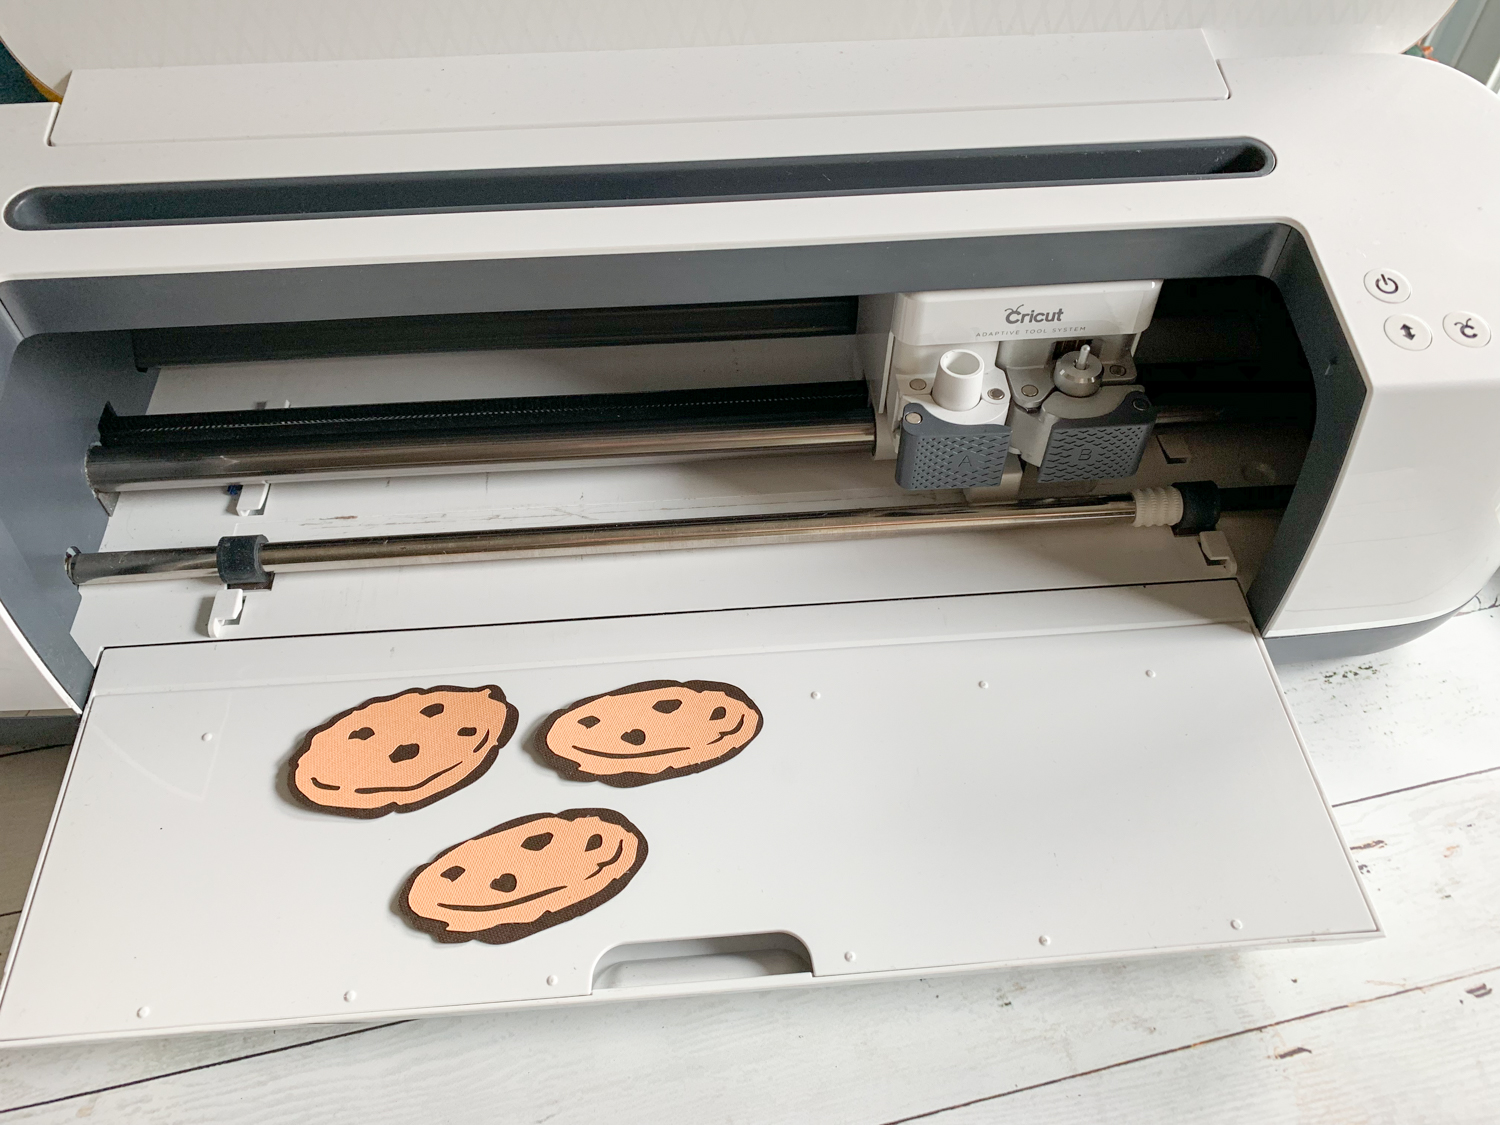 Get the cookie cut file here. {These are not part of Cricut Access and they will be an additional cost}
The Milk Carton Party Favors:
I have a thing for little boxes, especially cute little favor boxes that match party themes perfectly. Since they would be “to go” boxes for cookies, I wanted them to be a little more sturdy. I used my Maker to cut Cricut Kraftboard and the double scoring wheel to create perfect lines for folding.
After I cut and folded all boxes, I used hot glue to secure the edges. Then, I added a bag of cookies to each box, and hot glued the tops of the cartons closed.
Finally, I added a piece of ribbon around the box and a party circle to the front.
Get the cut file for the Milk Carton Favor Boxes here.
If you liked this party, be sure to check out these too!
This is a sponsored conversation written by me on behalf of Cricut. The opinions and text are all mine.
Tags : Baby Shower, Cookies, Cookies and Milk, Cricut Maker, DIY, Kids Party

[…] shared a sweet vintage style blue and tan Milk and Cookies party, and the blue gingham printable party circles were absolutely the perfect finishing touches on […]