Franken Awesome Shirt DIY
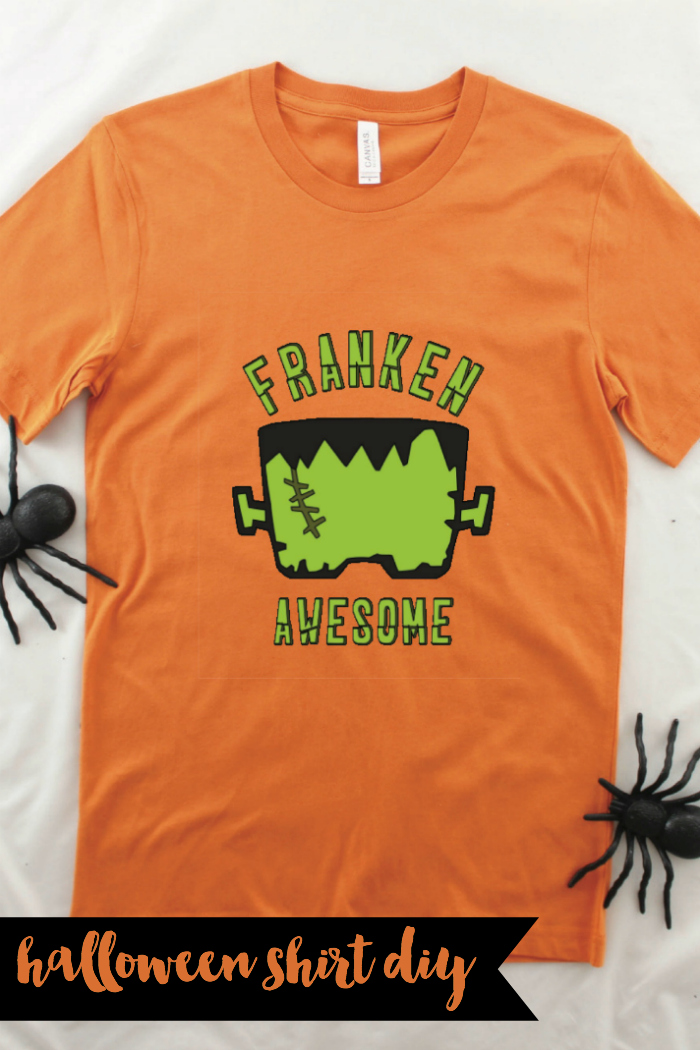
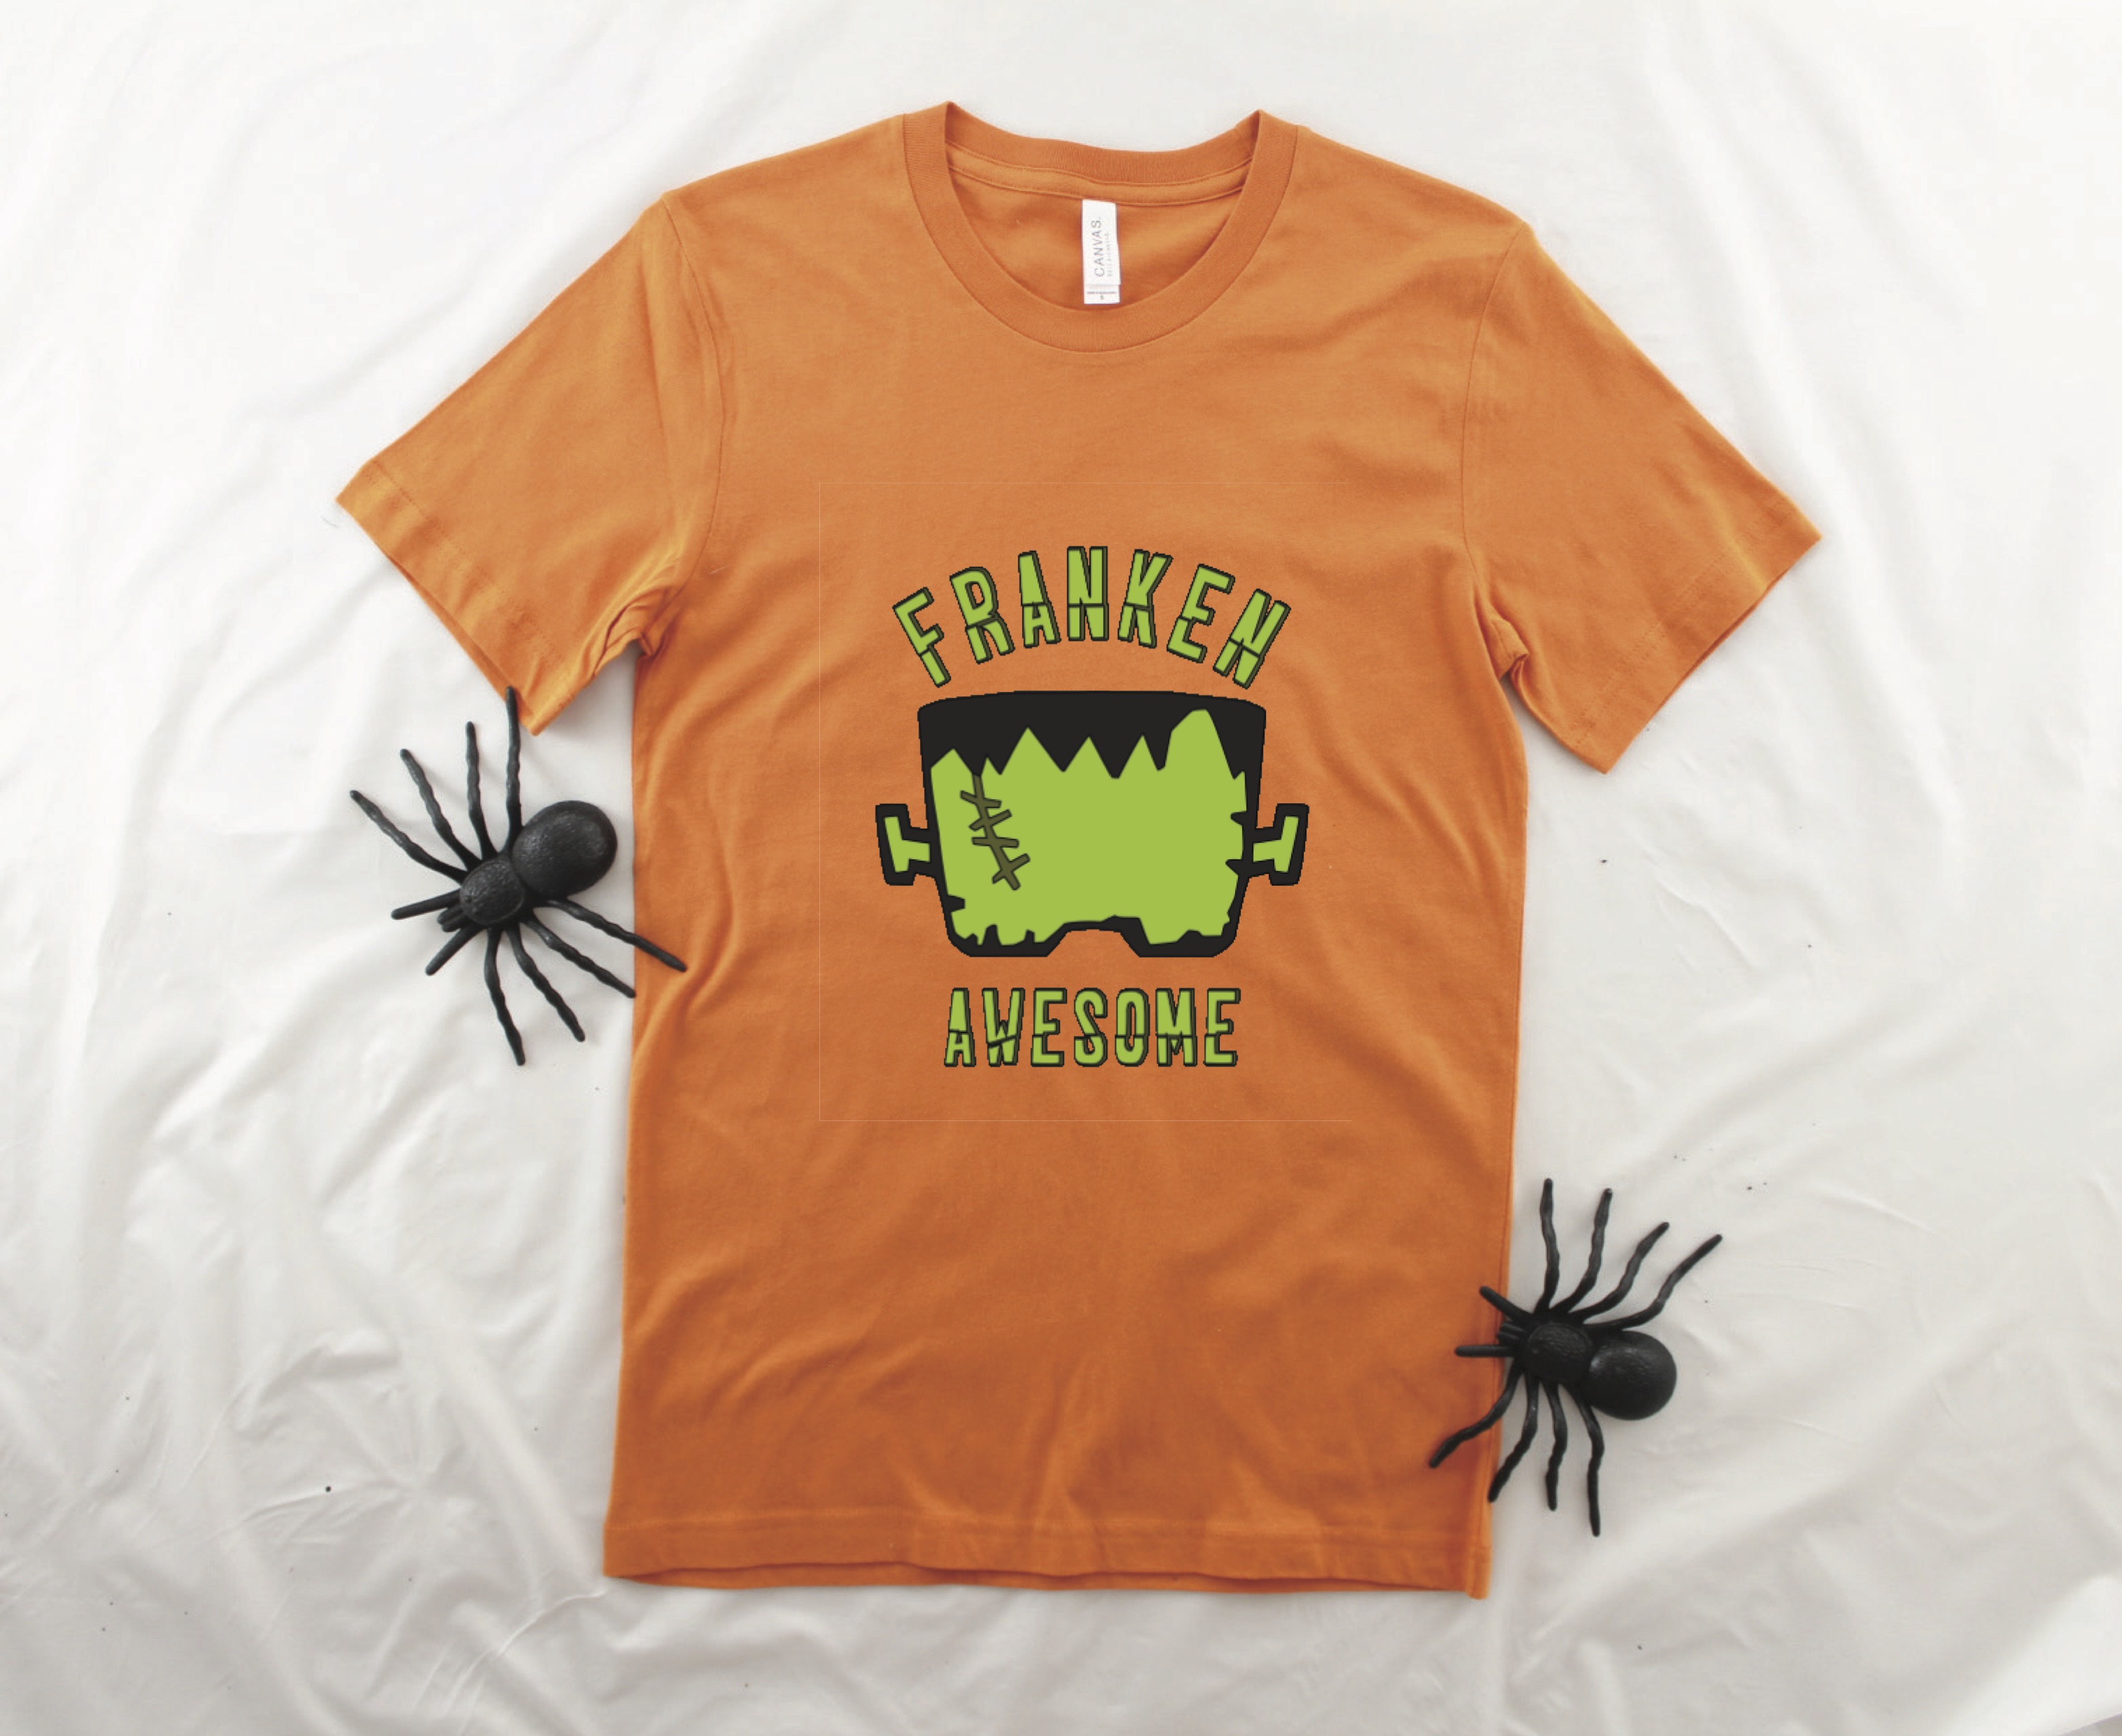
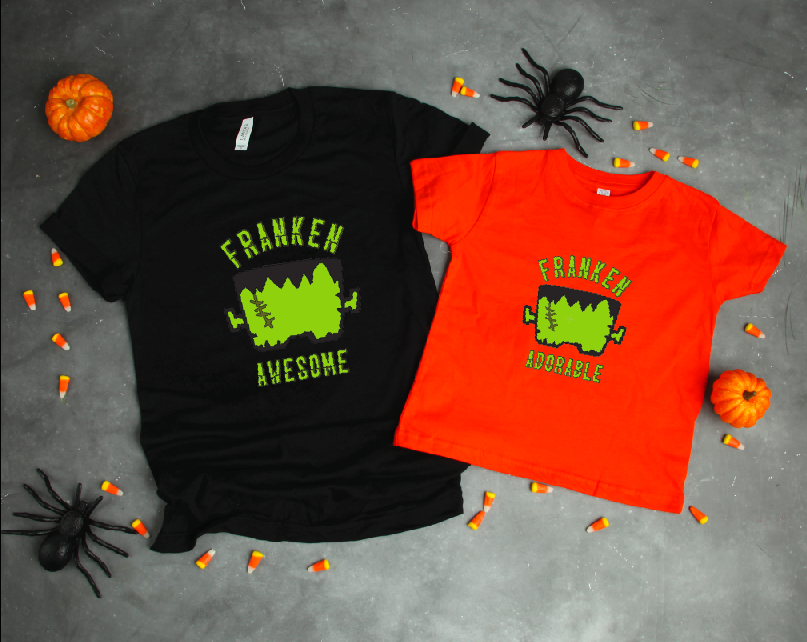
Franken Awesome Shirt DIY. My boys (even in middle and high school) still like to wear seasonal shirts, and they really like to wear seasonal shirts they help design!
This review is based strictly on my opinion. Others may have a different opinion or experience with the product listed above. I was provided the sample free of charge by the company or PR agency and I provided my honest opinion. No other type of compensation was received for this review.
If you decide to make a purchase through my links, I will be paid a small commission for it. This doesn’t cost you anything additional. These commissions help to keep the rest of my content free, so thank you!
Last year’s Frankenstein knockout bag is still one of their favorite Halloween designs, so we decided to use Frank again, but for shirts!
To make your own Franken Awesome shirts, you will need:
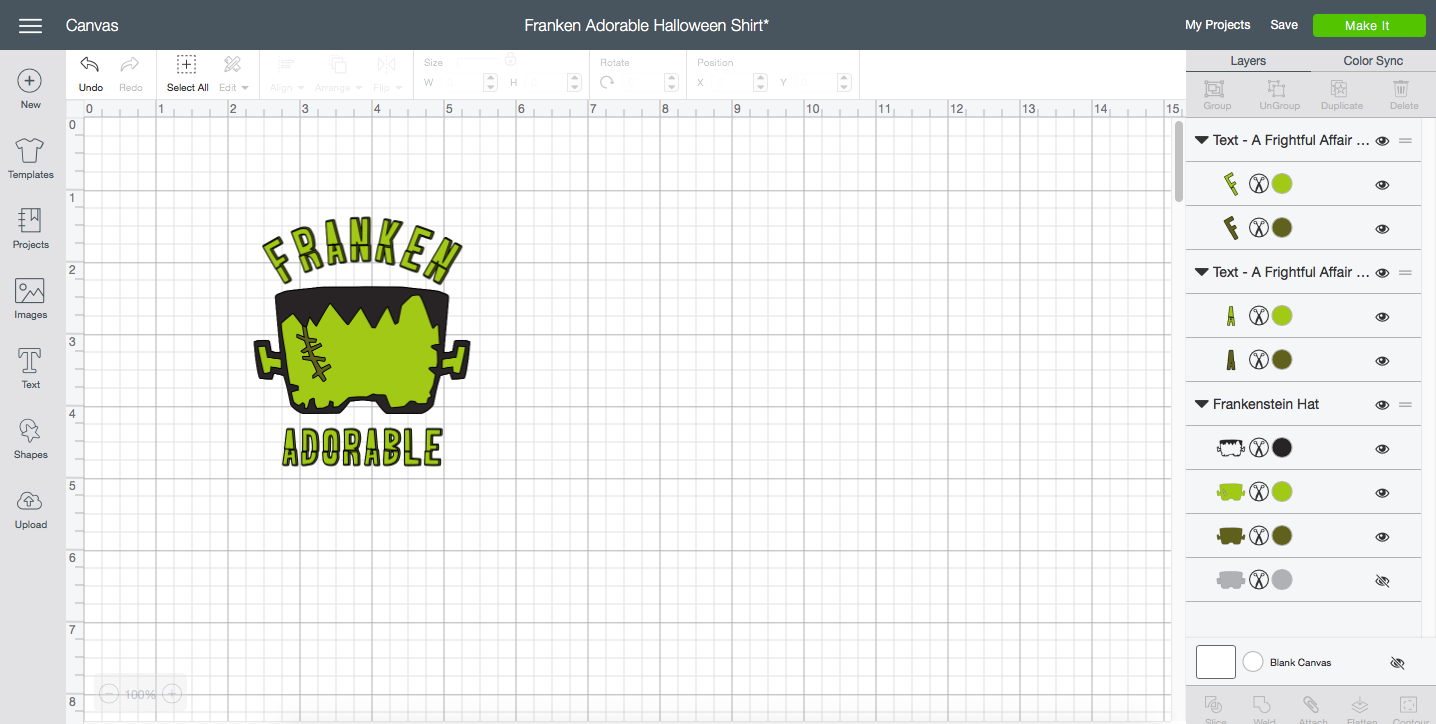
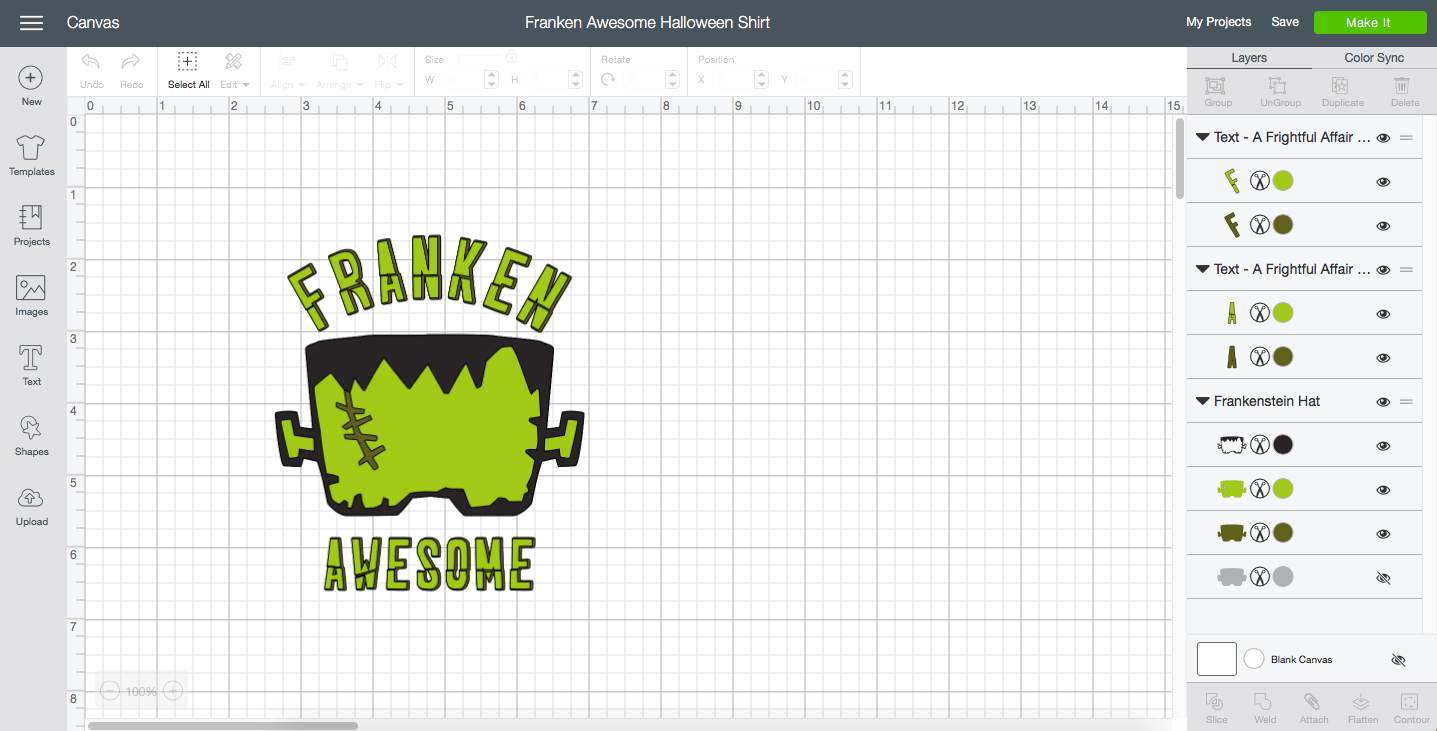
Open design space, and size the Franken Awesome or Franken Adorable cut file to fit your shirt.
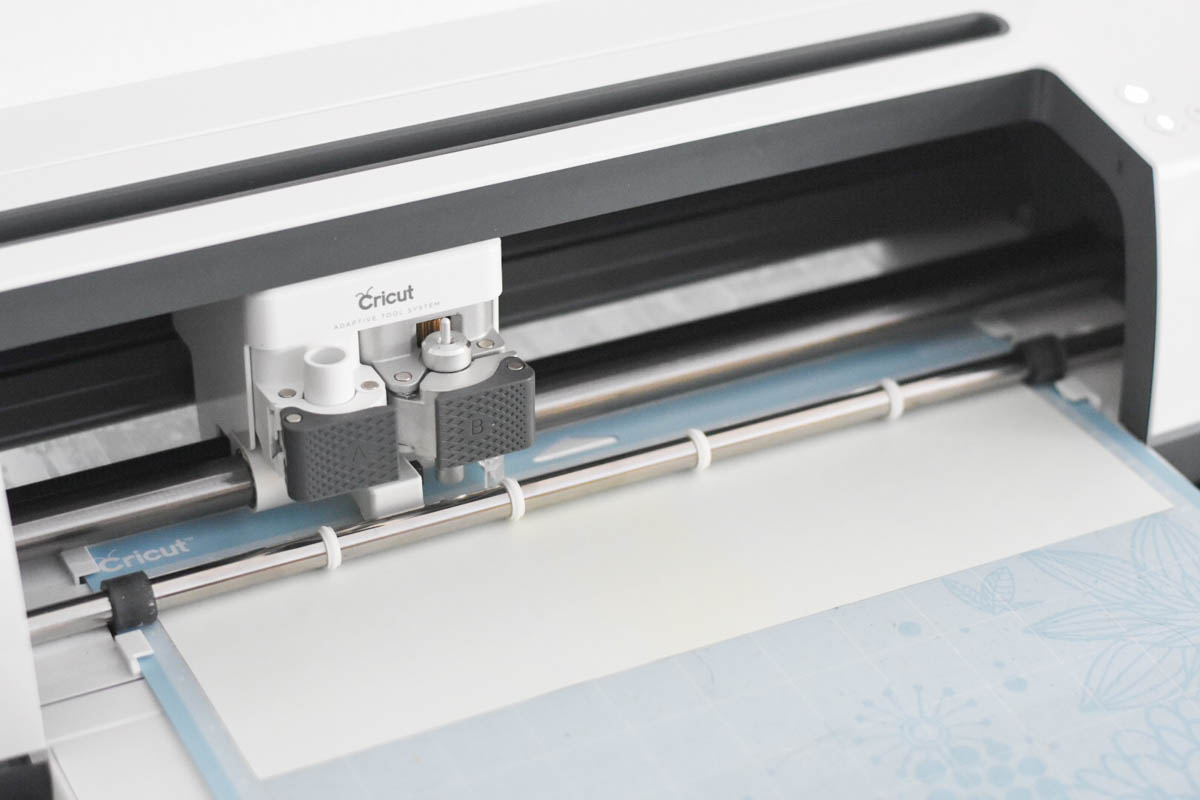
Send the file to cut. (Don’t forget to place the Iron On on the mat shiny side down and mirror the cut)
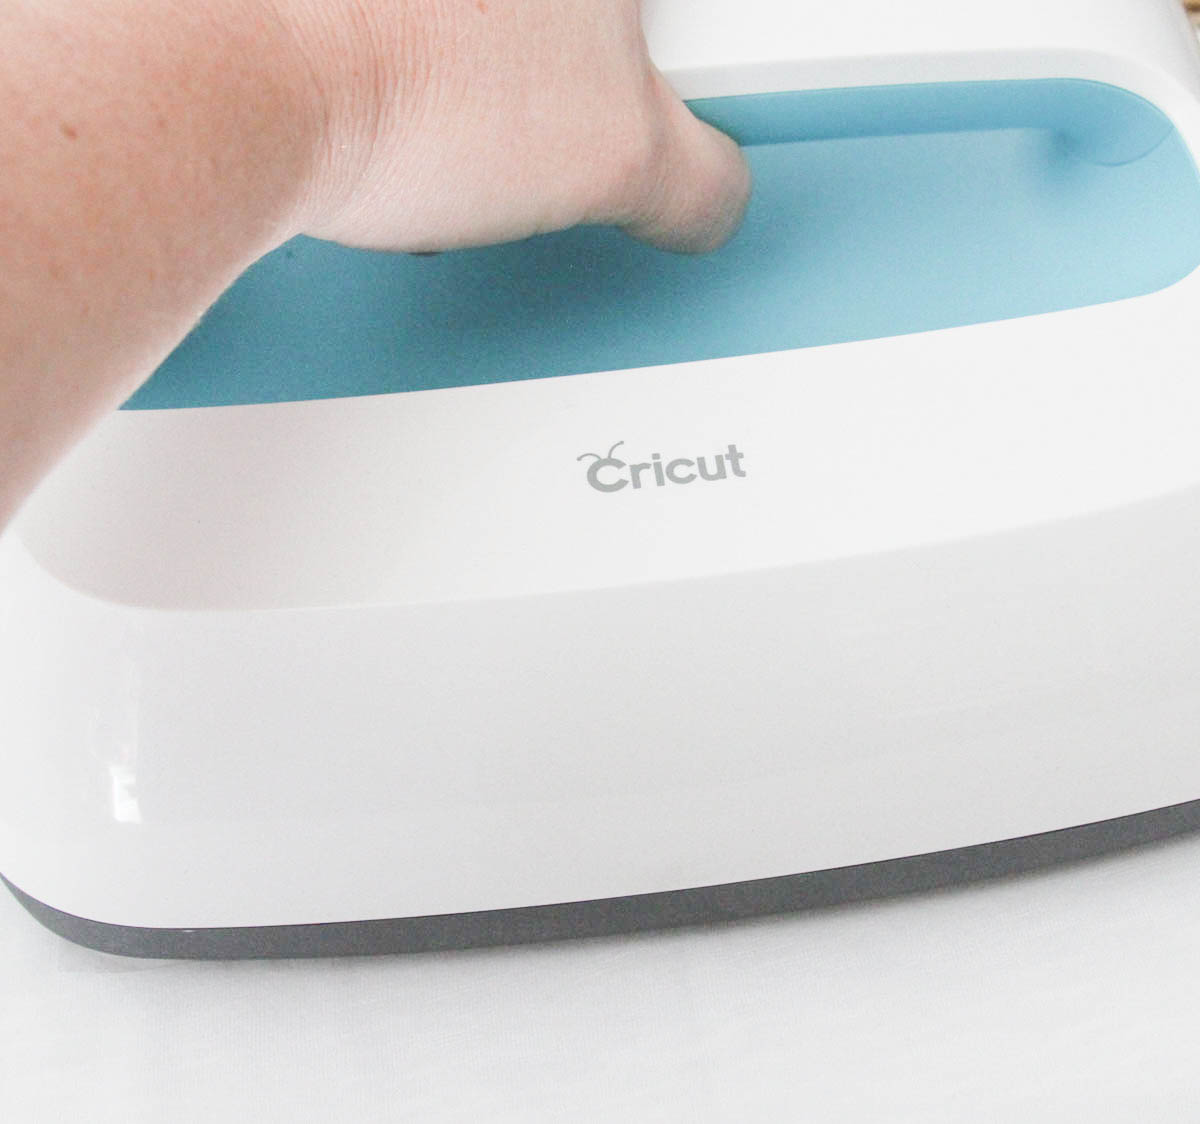
Weed the excess Iron On, and place the bottom layer of Iron On on the shirt and press according to Cricut’s recommended guidelines for your Iron On and shirt material. Repeat for each layer. Patterned Iron On cannot be layered, so if you want to use that, you will need to slice your image. Glitter Iron on needs to be on the top, or sliced. Other Iron On can only be layered three times.
Turn the shirt inside out, and press the backside of the image.
Proudly be Franken Awesome and or Franken Adorable all season long!
Tags : Cricut Blogger, Cricut EasyPress, Cricut Maker, DIY, DIY Shirt, EasyPress, Frankenstein, Halloween, Shirt
In DIY

