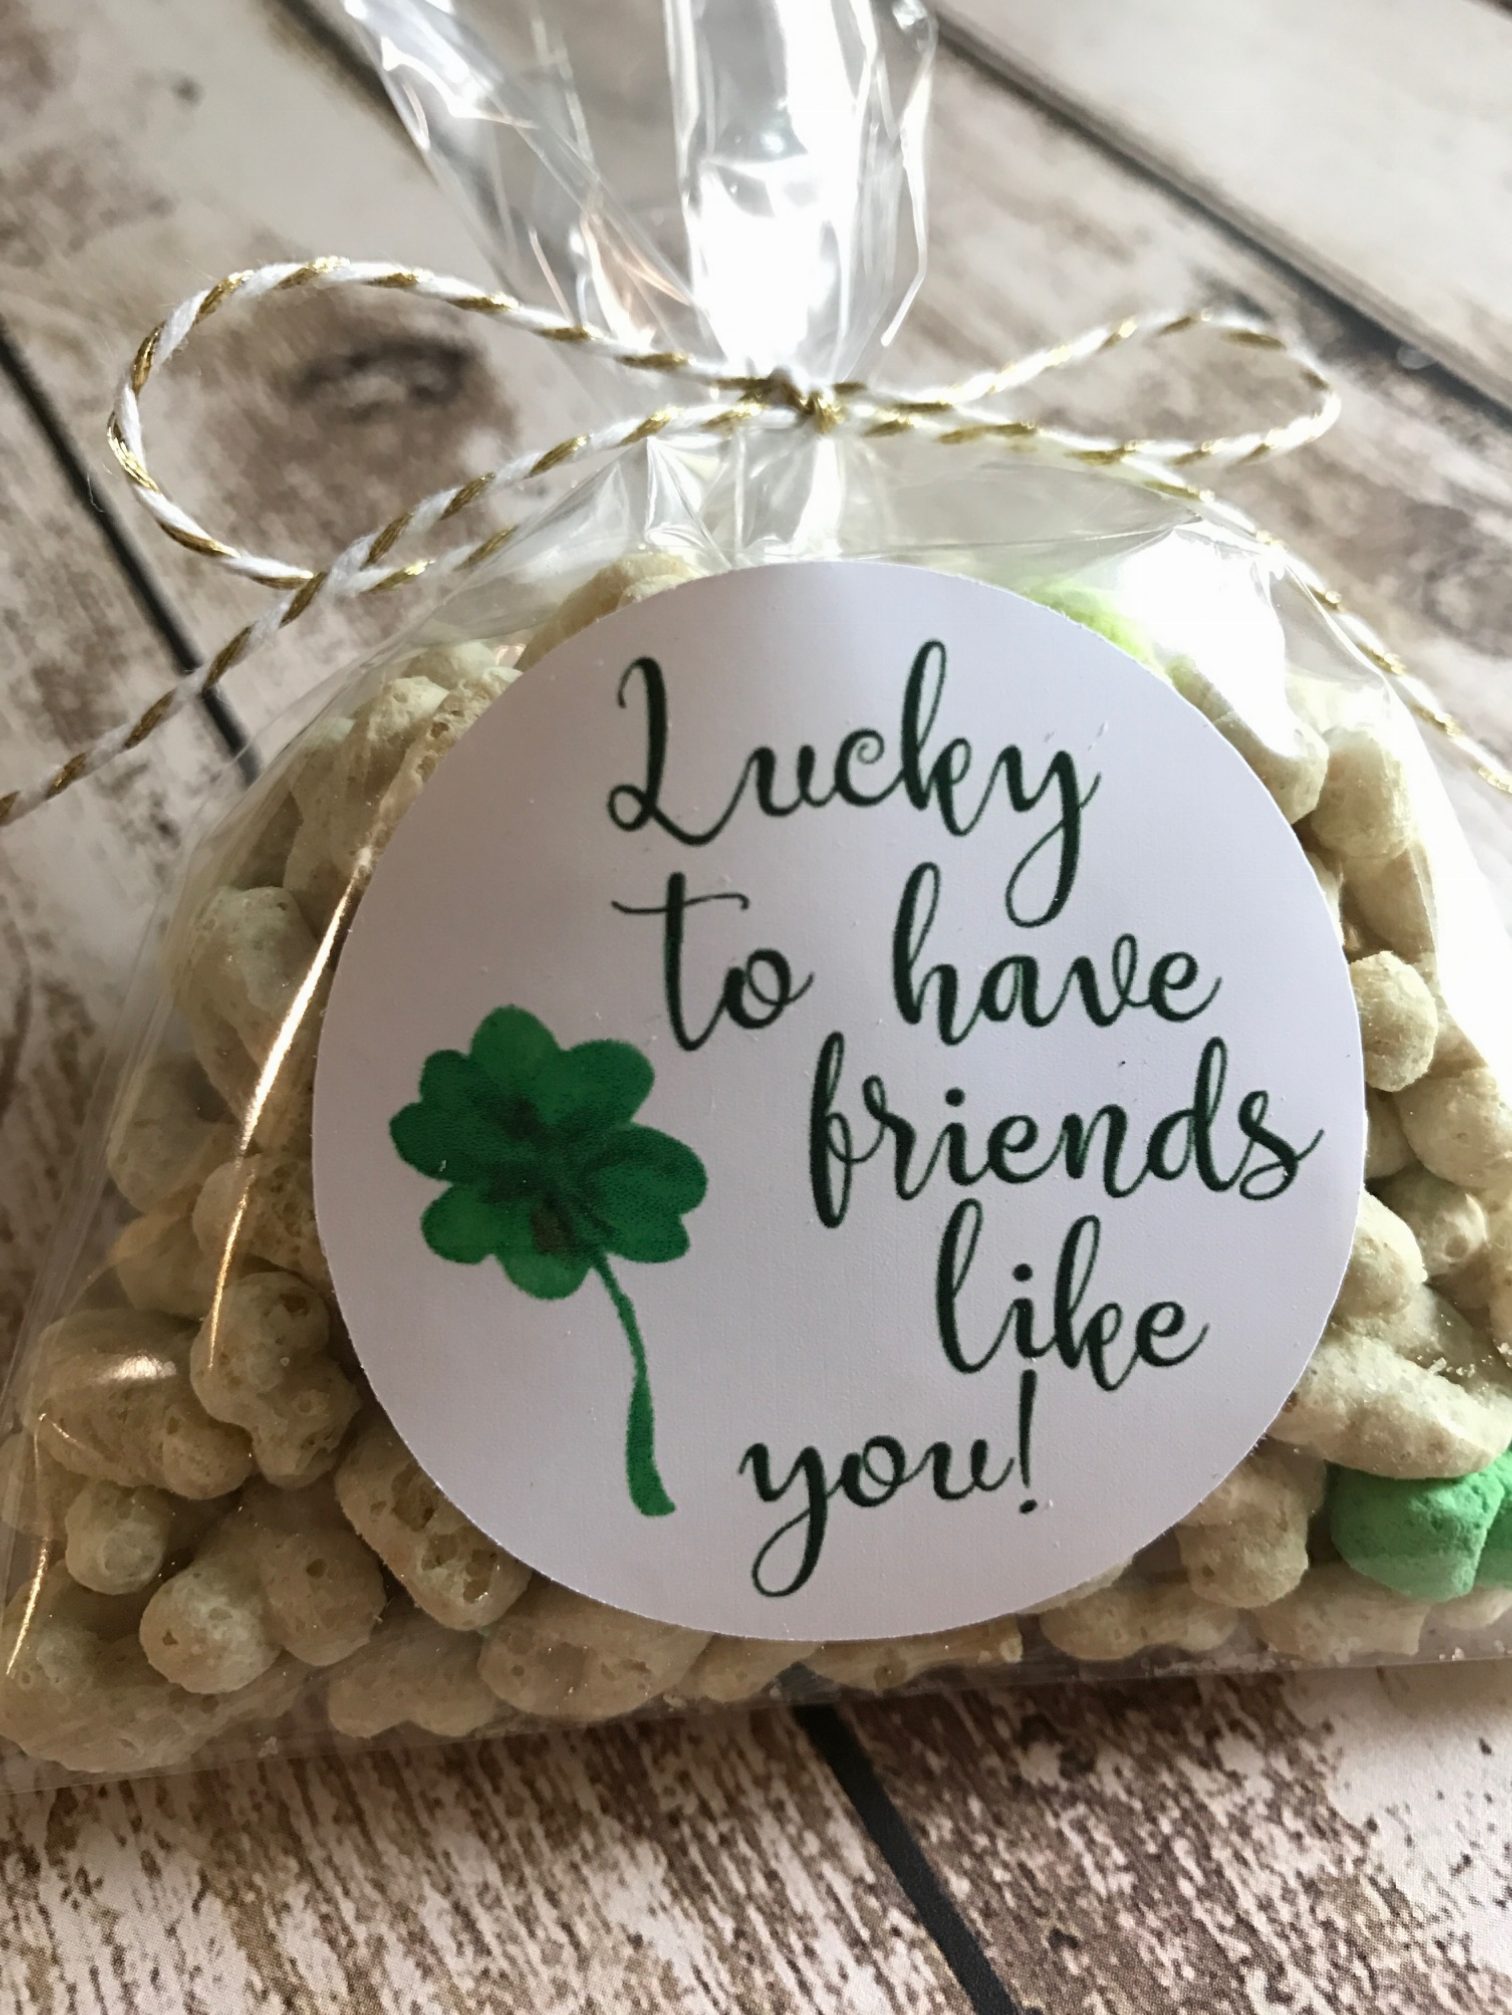
Lucky to Have Friends Like You Cricut Project
This review is based strictly on my opinion. Others may have a different opinion or experience with the product listed above. I was provided the sample free of charge by the company or PR agency and I have given my honest opinion. #Ad
If you decide to make a purchase through my links, I will be paid a small commission for it. This doesn’t cost you anything additional. These commissions help to keep the rest of my content free, so thank you!
Lucky to Have Friends Like You Cricut Project. I am so lucky to be a part of the Cricut community of bloggers. So, when I was asked to share a blog post, answering some of their more frequently asked questions, I thought it would be fun to share a St. Patrick’s Day design.
 One of the first questions I asked when I joined the Cricut team was, can I upload my own images? It seems like the answer could go either way…right? The answer is a resounding YES. Yes, you absolutely can upload your own images. It is crazy simple too. The only thing you cannot do with your uploaded images is *share* the cut file via Cricut Design Space. But, I can share the PNG file with you here, and you can upload it and design St. Patrick’s Day stuff until your heart is content.
  The first thing you will need is an image. You can buy one from ETSY or a graphic designer. You can create your own in a design program, or paint/draw/doodle an image, scan it, and upload that. You can even grab an image off the web, but, there are legal concerns there…soooo… That said, you can download my shamrock at the end of this post.
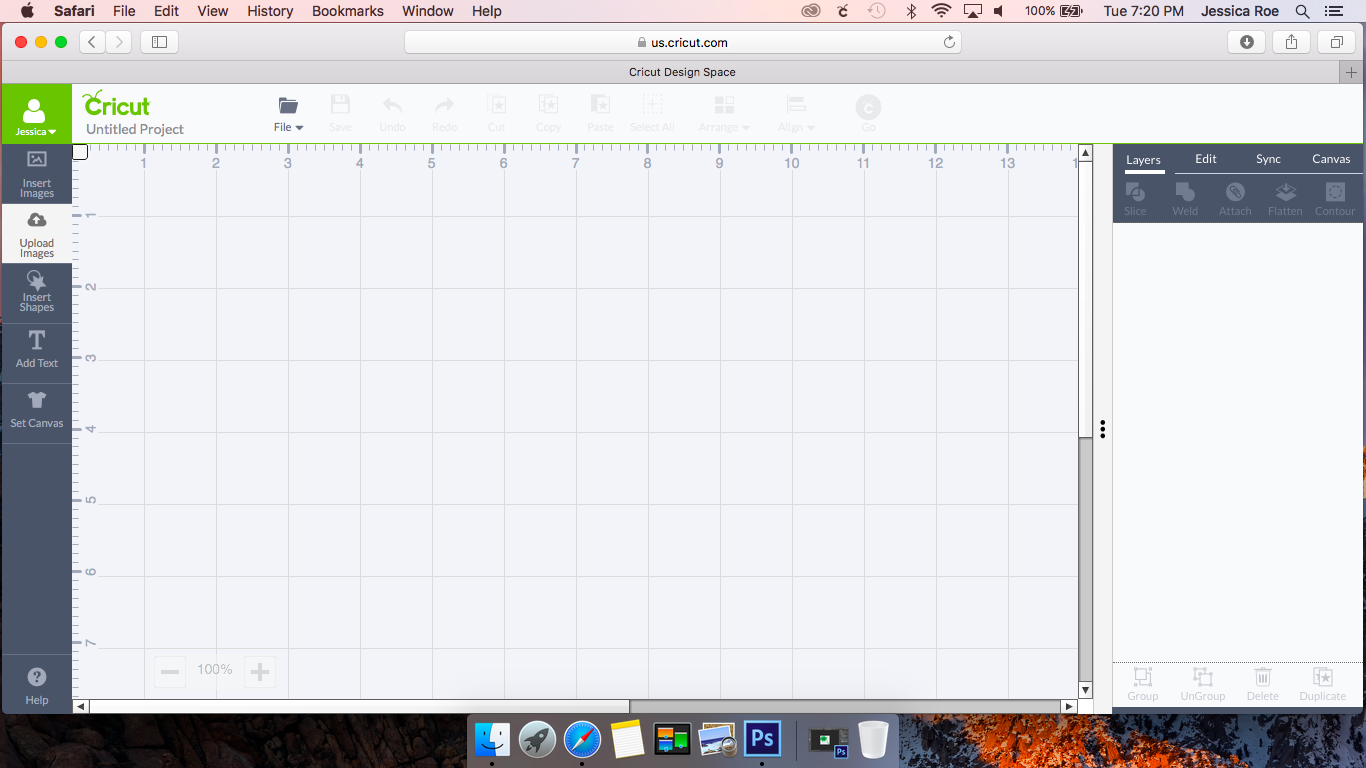
 Next, open Cricut Design Space, and click on UPLOAD IMAGE.
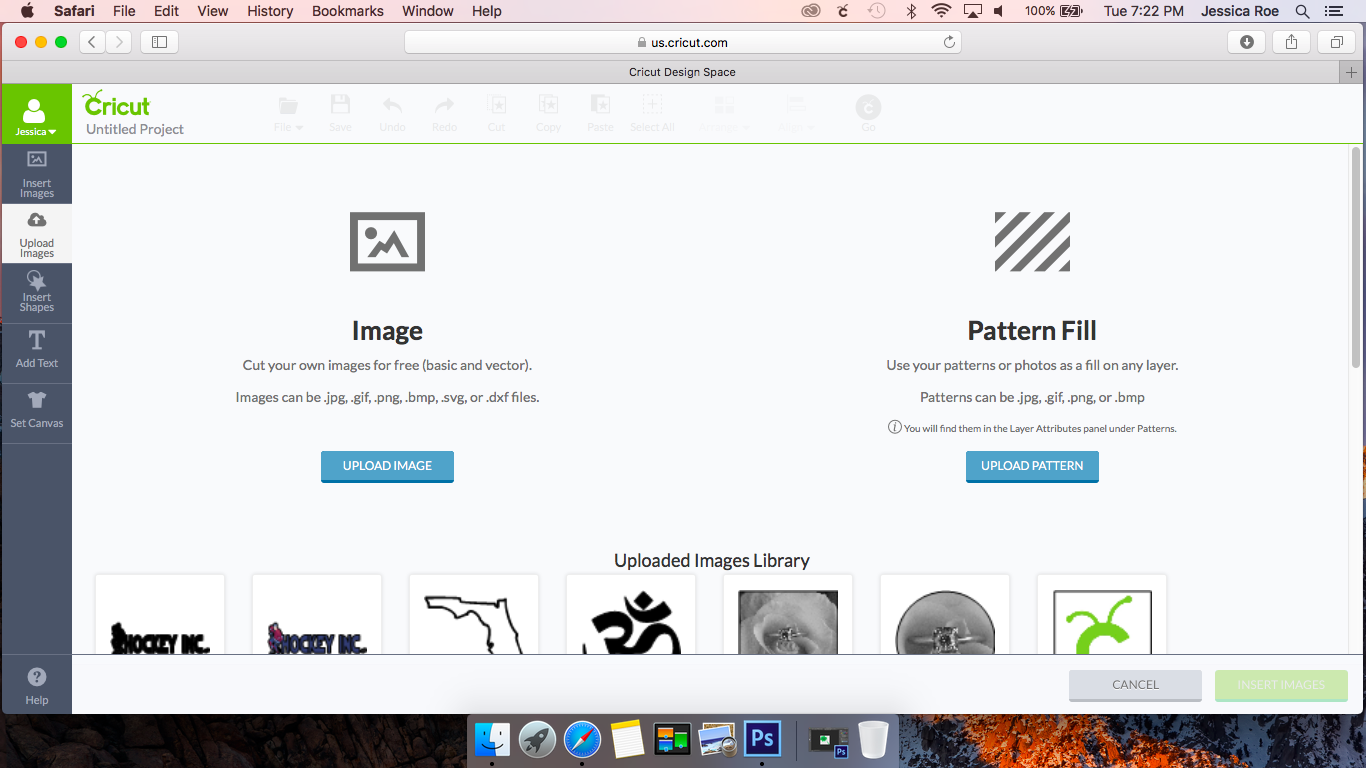
  On the next screen, you will click UPLOAD IMAGE again.
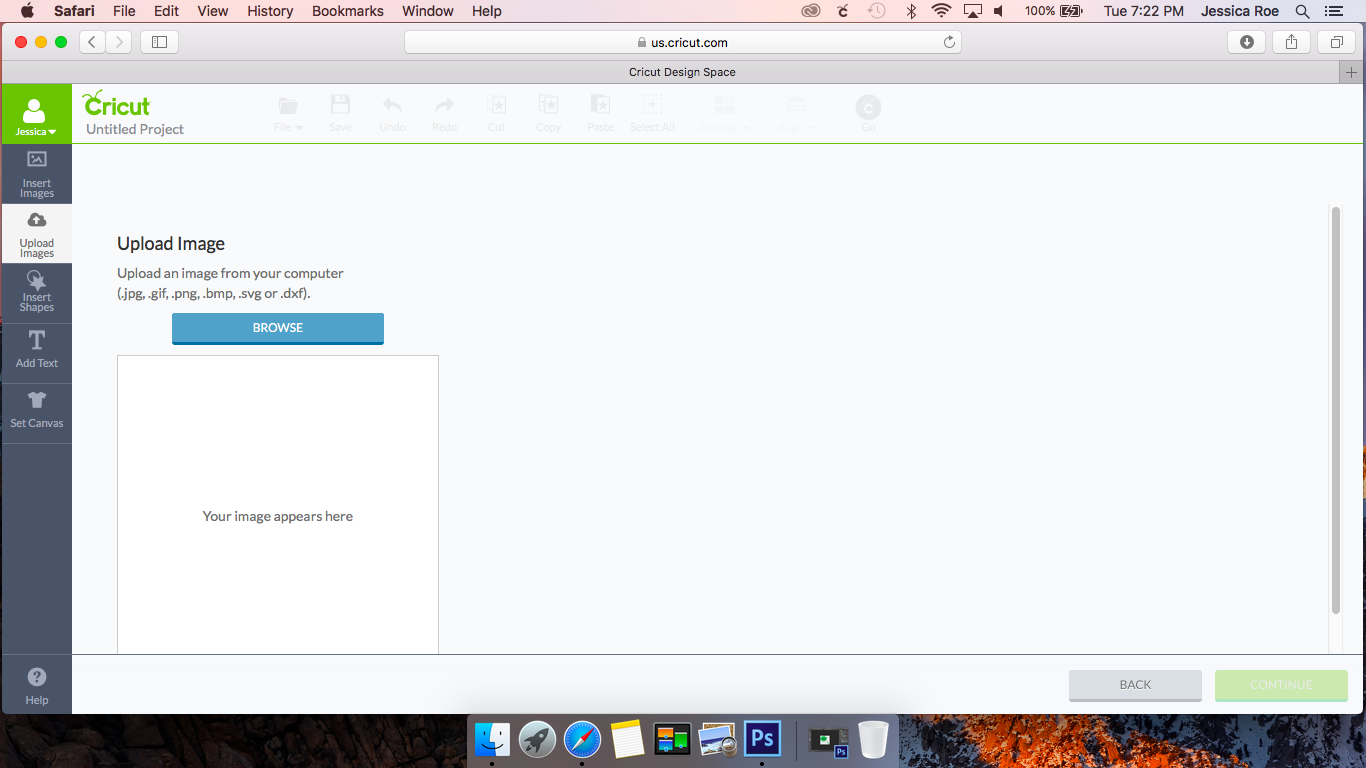
  Then, browse through your images. In my case, it was a shamrock watercolor image.
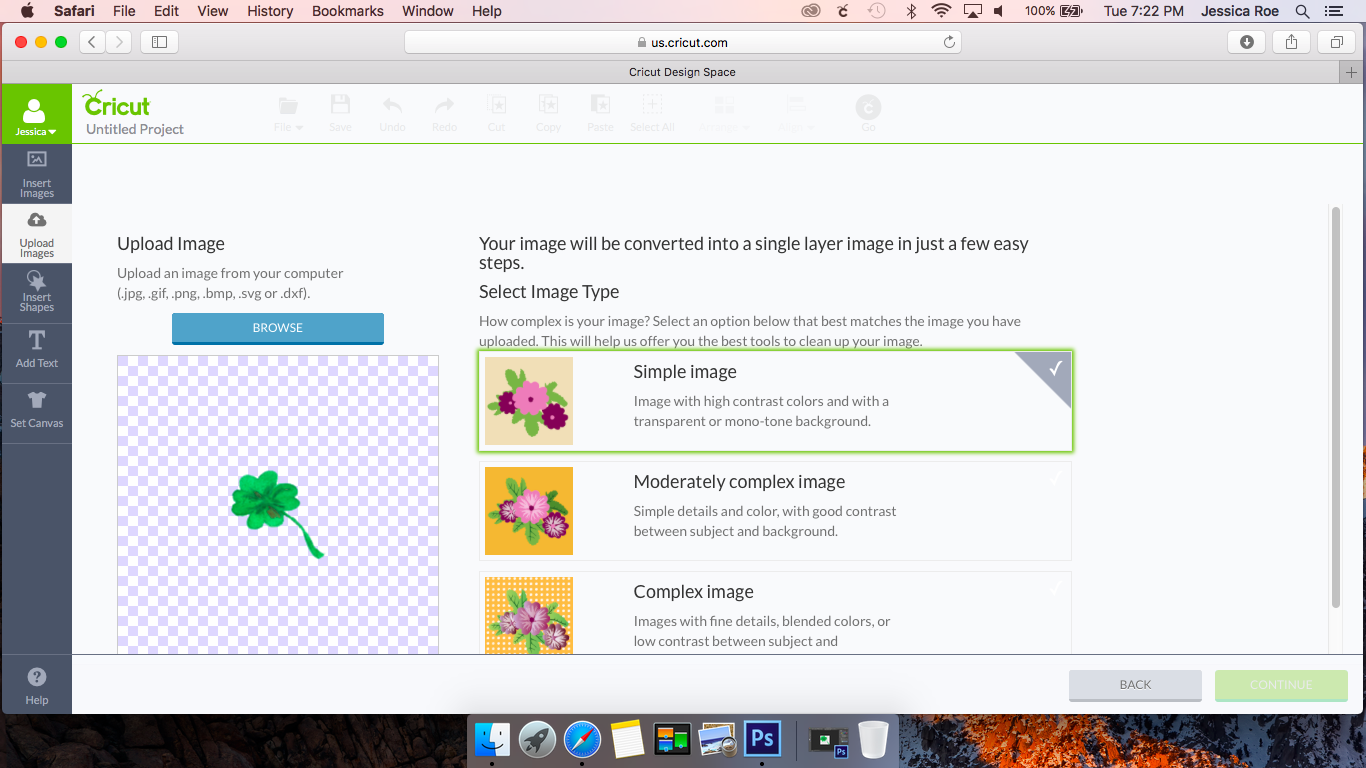
  Next, since mine is a PNG with a transparent background, I don’t need to edit anything. If you do, it’s very simple and there are step by step instructions to help you.
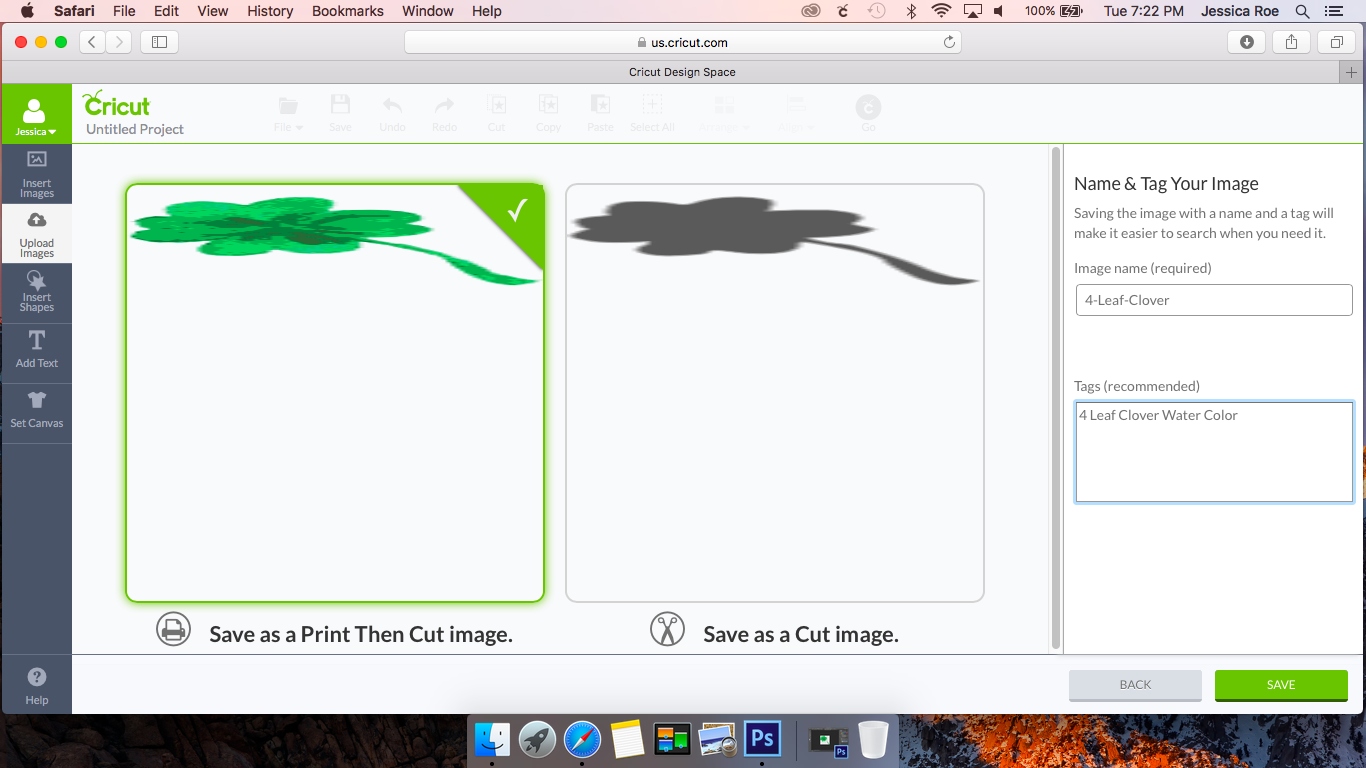
  Once your image is uploaded and edited (if needed), a preview will pop up, this one looks way strange, but the file is tiny and I think that is why. Name and tag your image. This will help you find it when you go back and use it again.
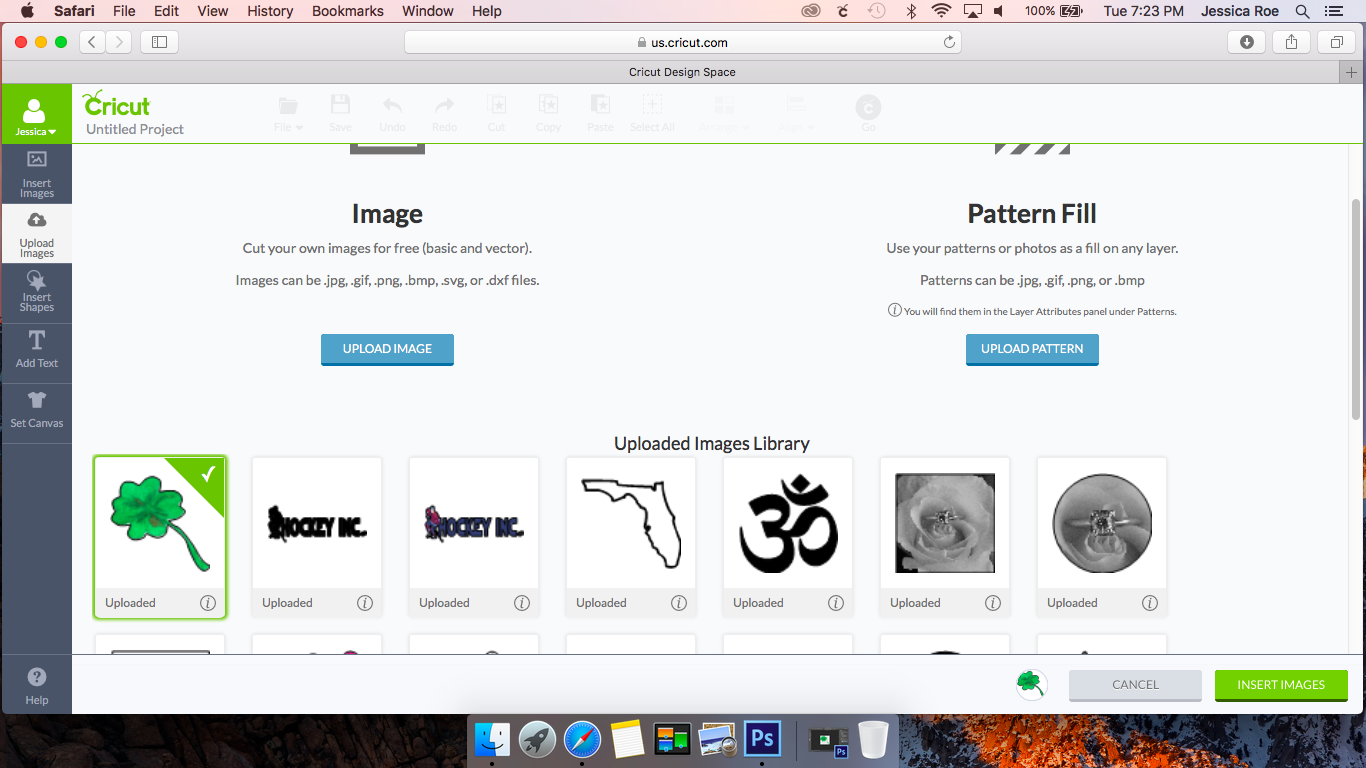
 Now, the image is uploaded, and you can select to add it to your Design Space page by highlighting the image and clicking INSERT IMAGES. You can see I have added photos to my uploaded image library too.
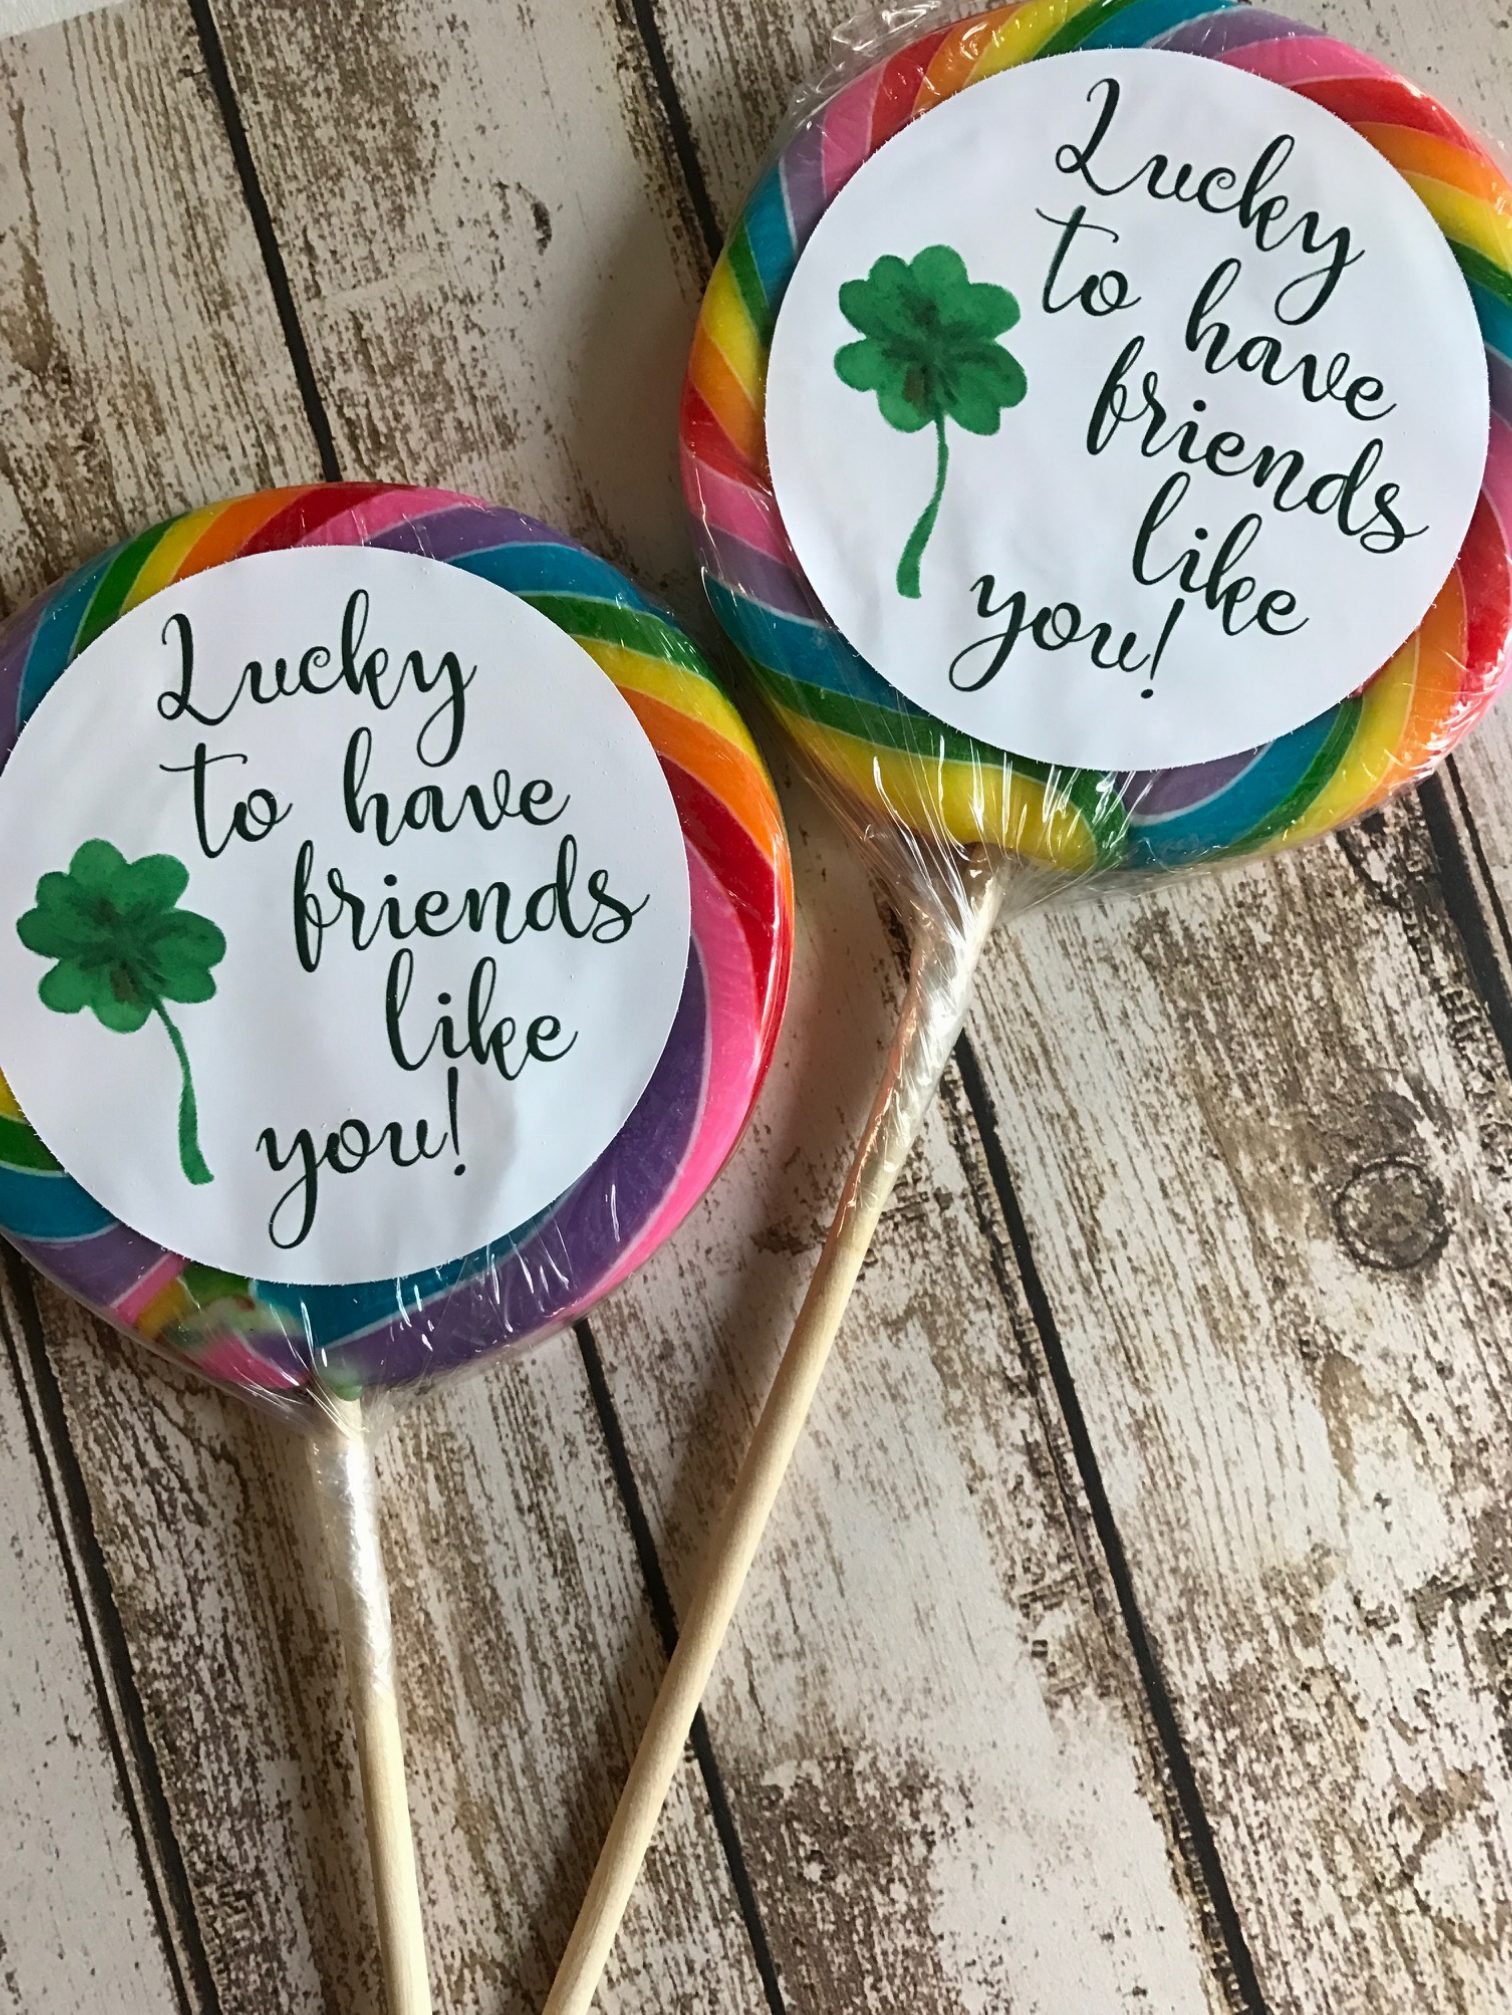
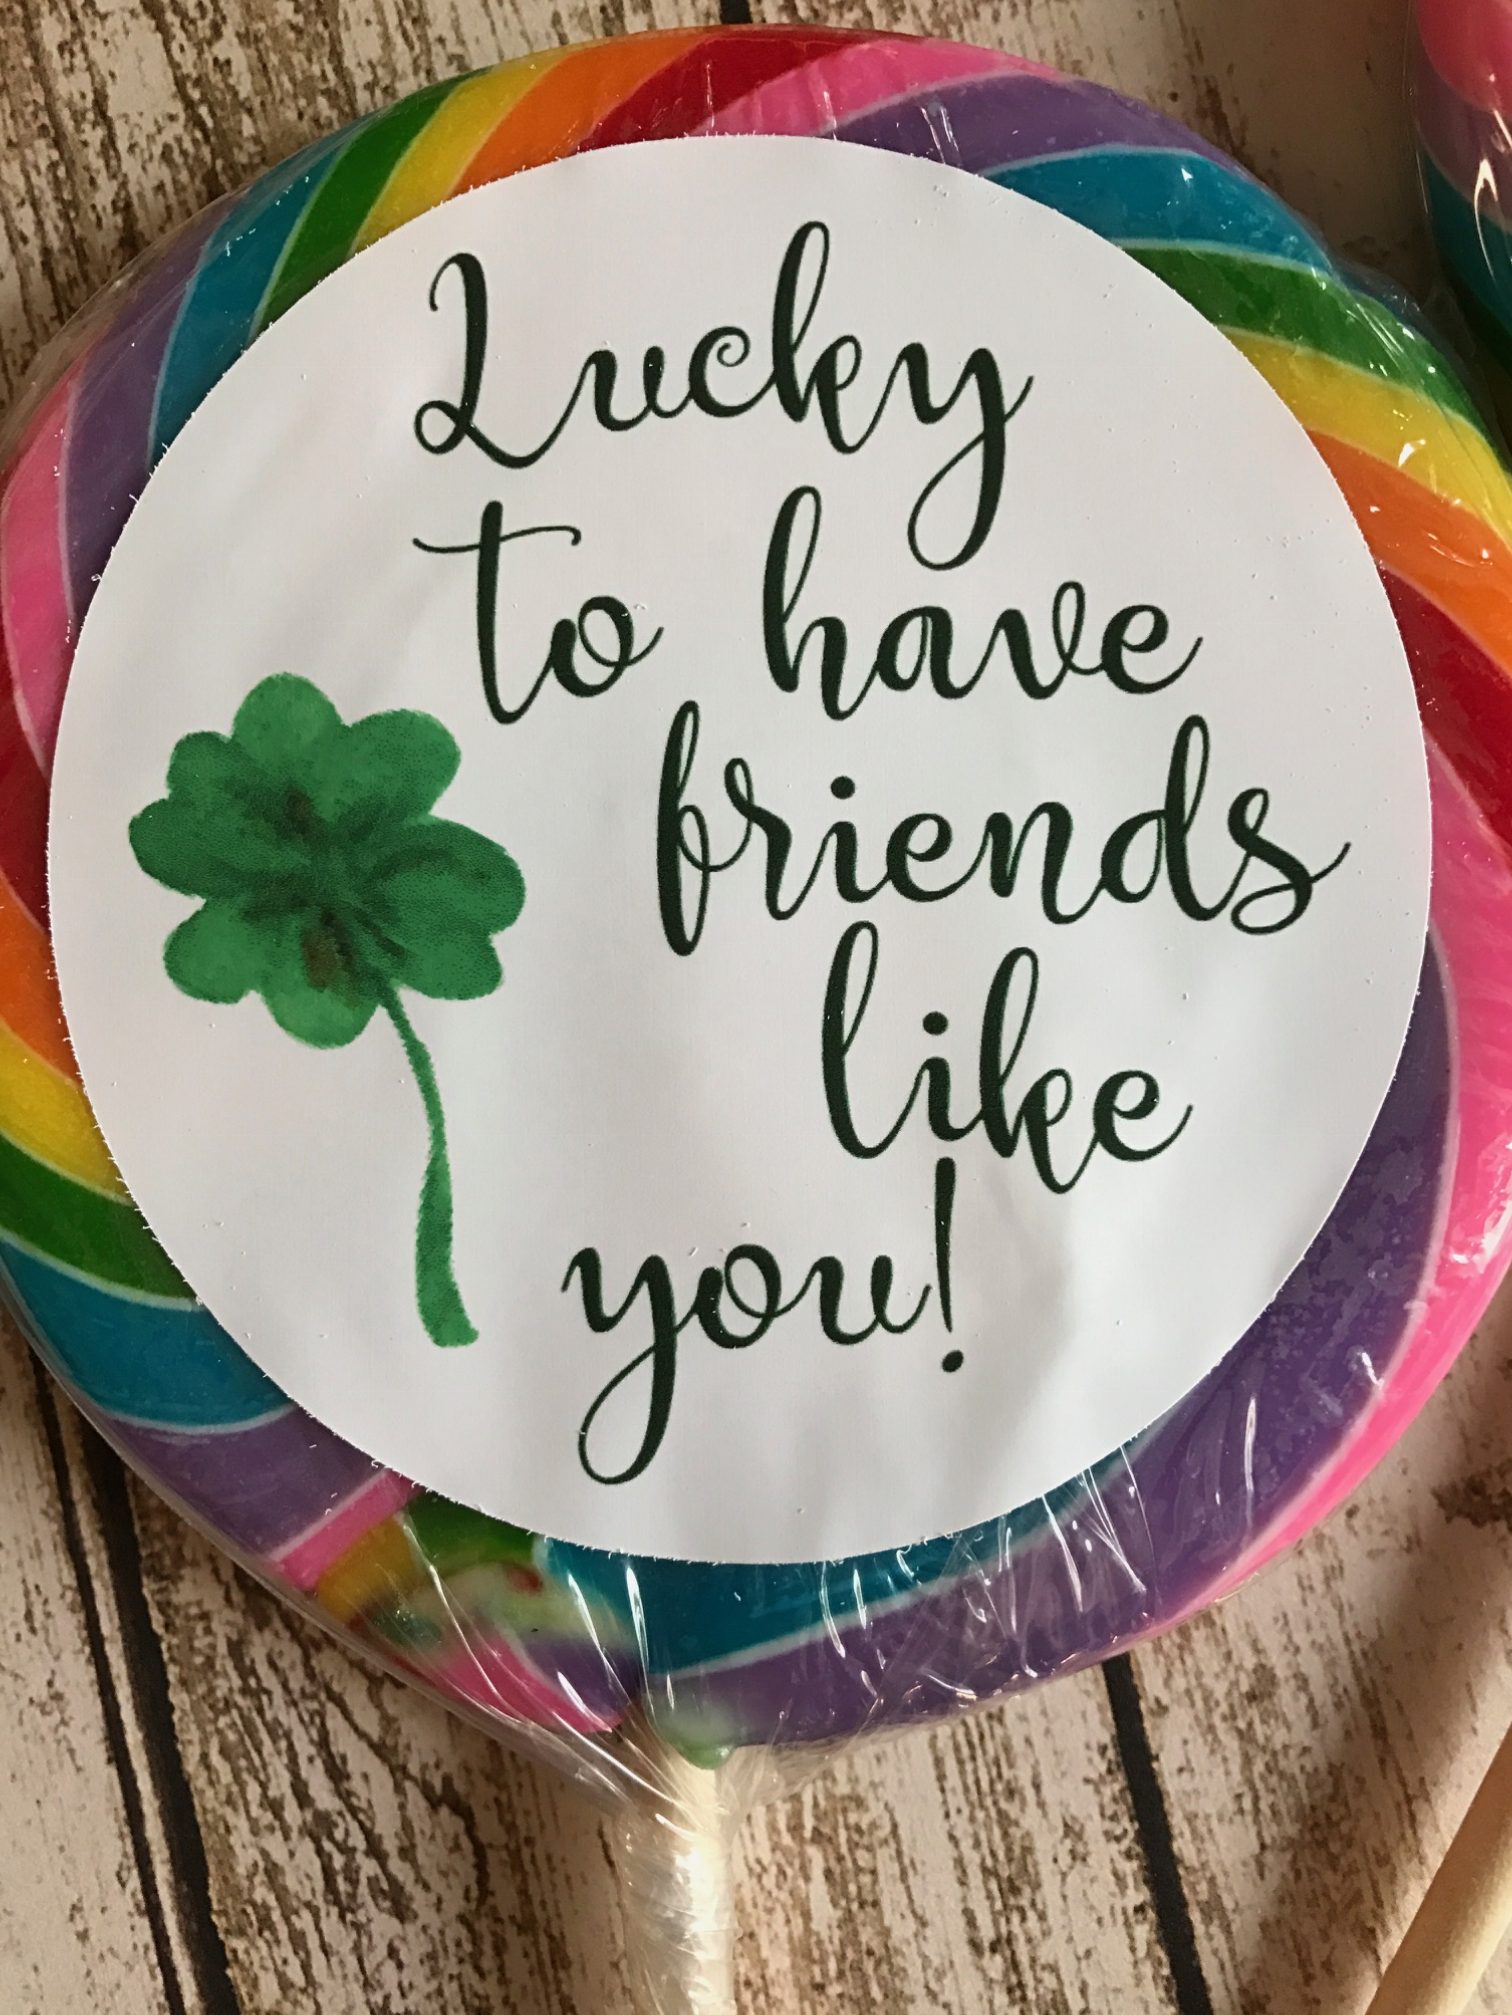
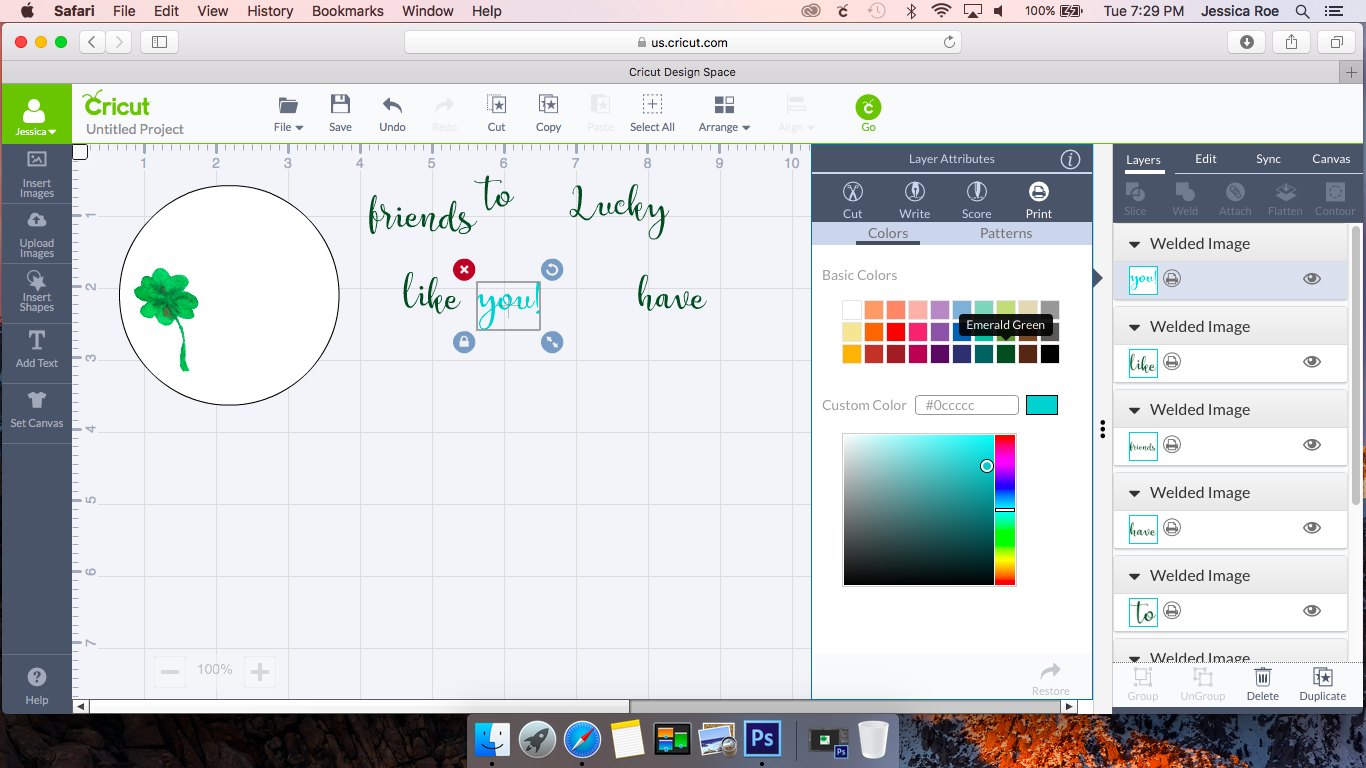
  Now, you can start designing. I placed my shamrock and a circle to make party circles/favor tags. I added text (Catherine Font…your Cricut Design Space can access all the fonts on your computer) to the circle too. I ungrouped the text, and then connected the letters for each word, and welded them. Then, I changed the color and chose the print option. I added the text where I wanted it, and then selected the entire image and flattened it so it would be a print, then cut design. You don’t have to print then cut uploaded images, you can chose to make them cut files too.
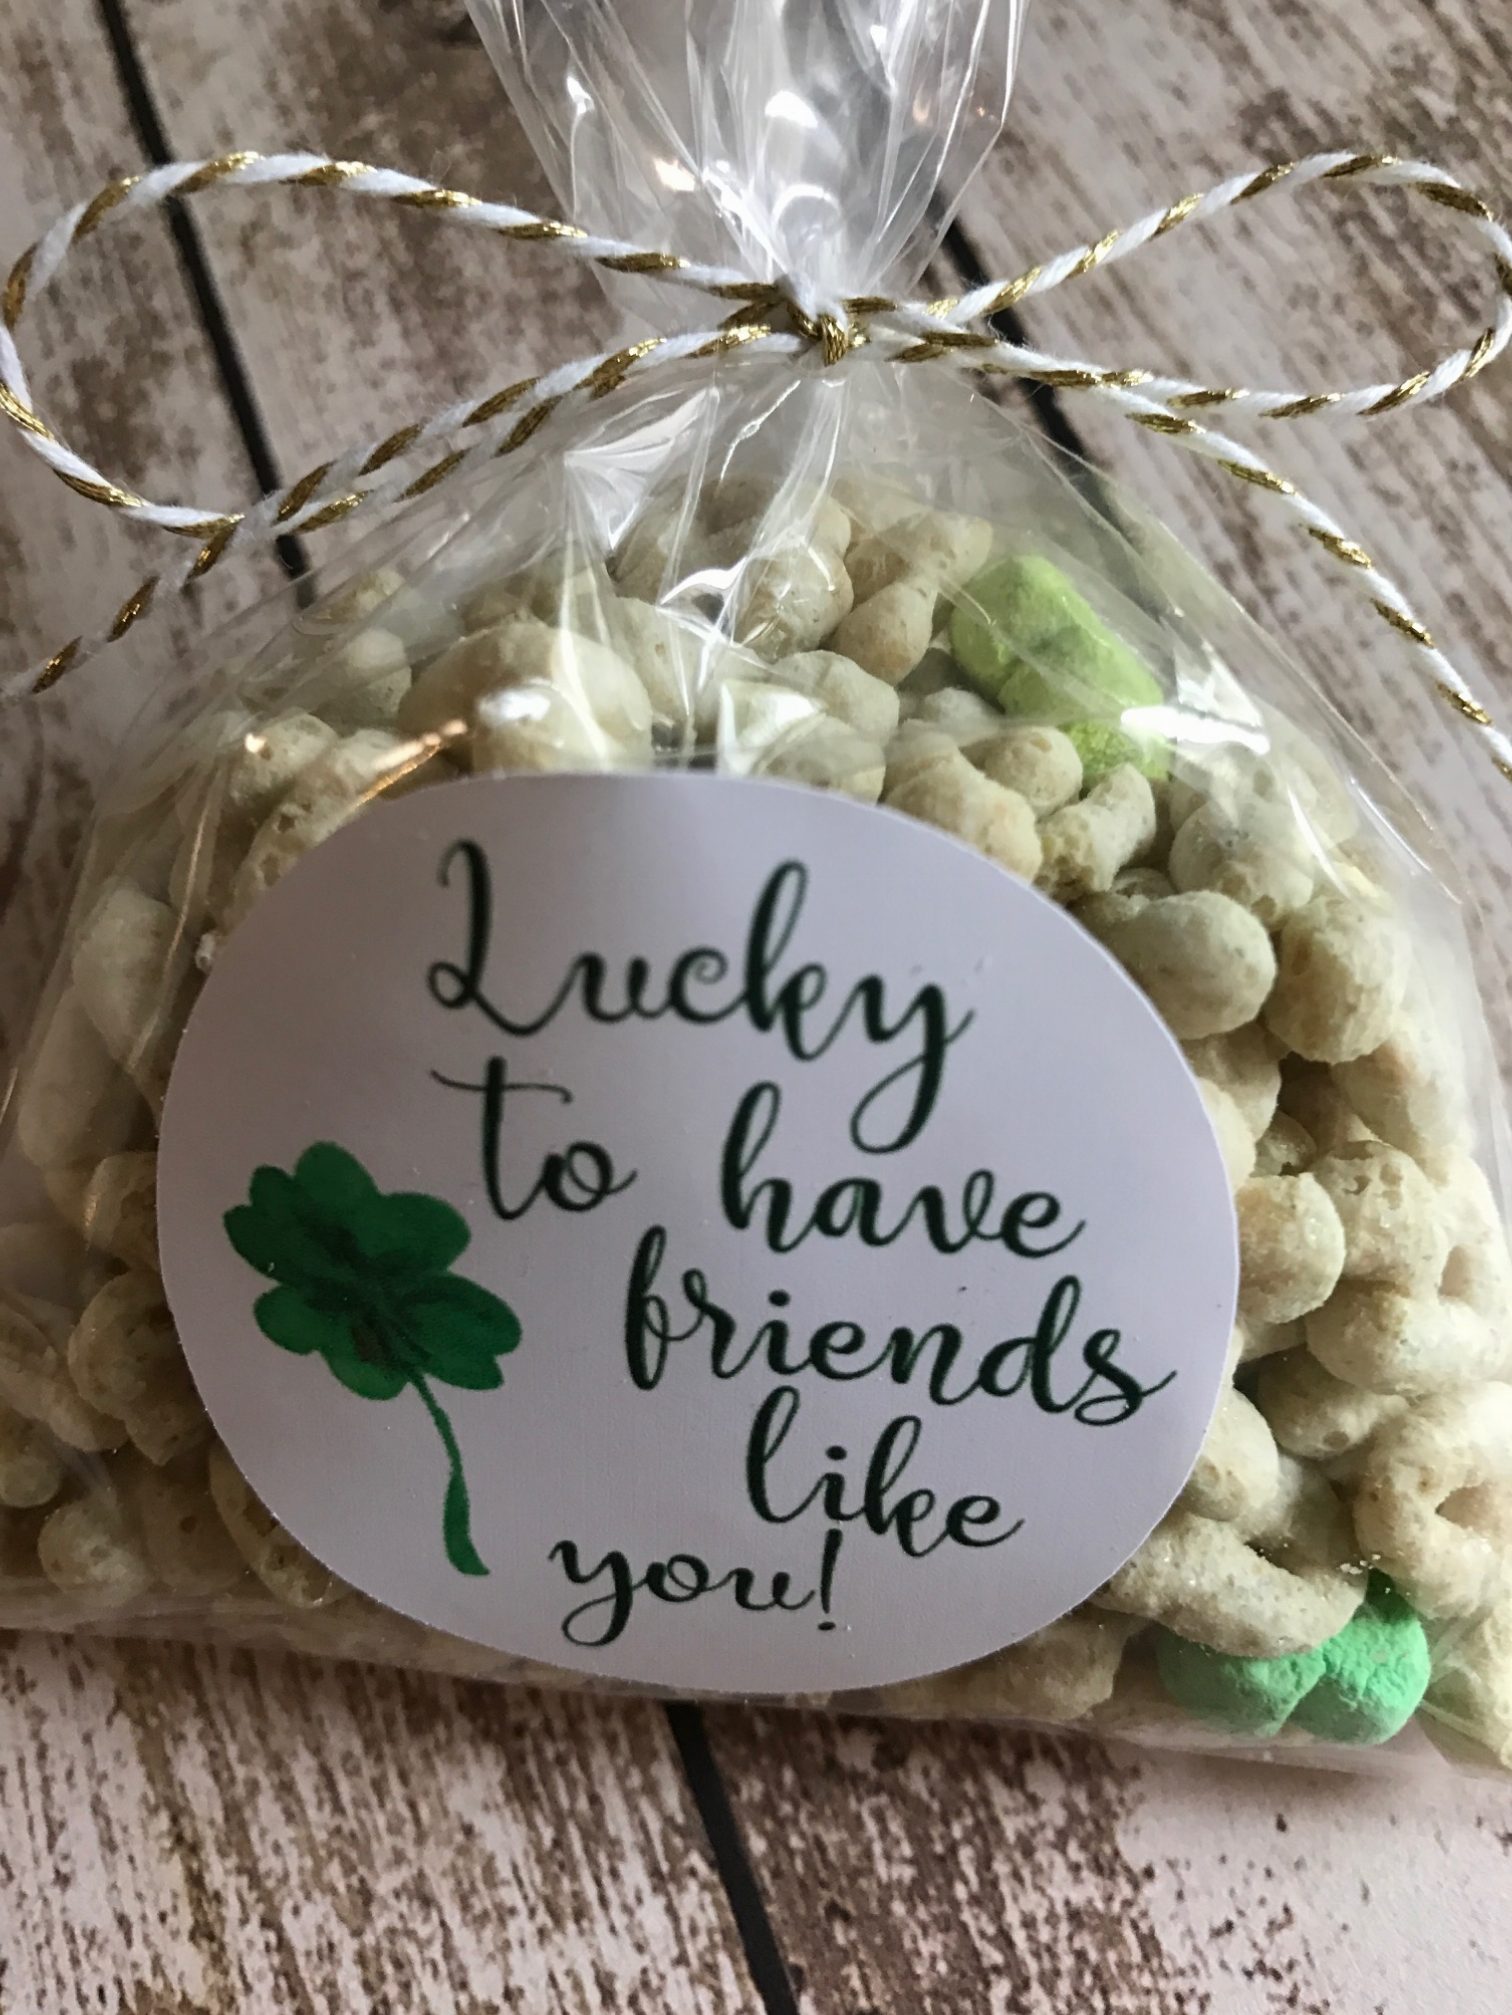
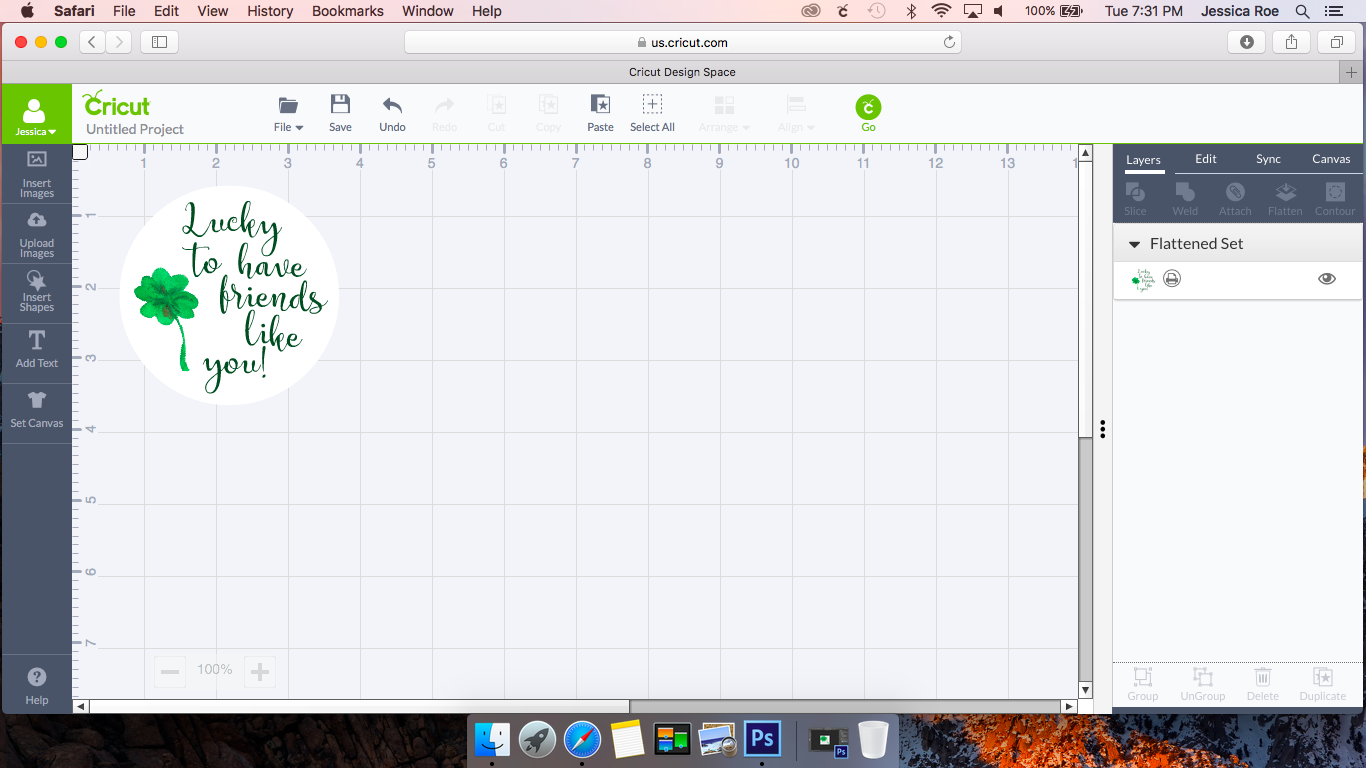 Next, I sized the circles to the correct size, and sent them to print, then cut. If you are using Safari, switch to Firefox for the print then cut portion….it works much better! I made two sizes, one smaller for small bags of Lucky Charms Cereal, one larger for giant rainbow lollipops.
 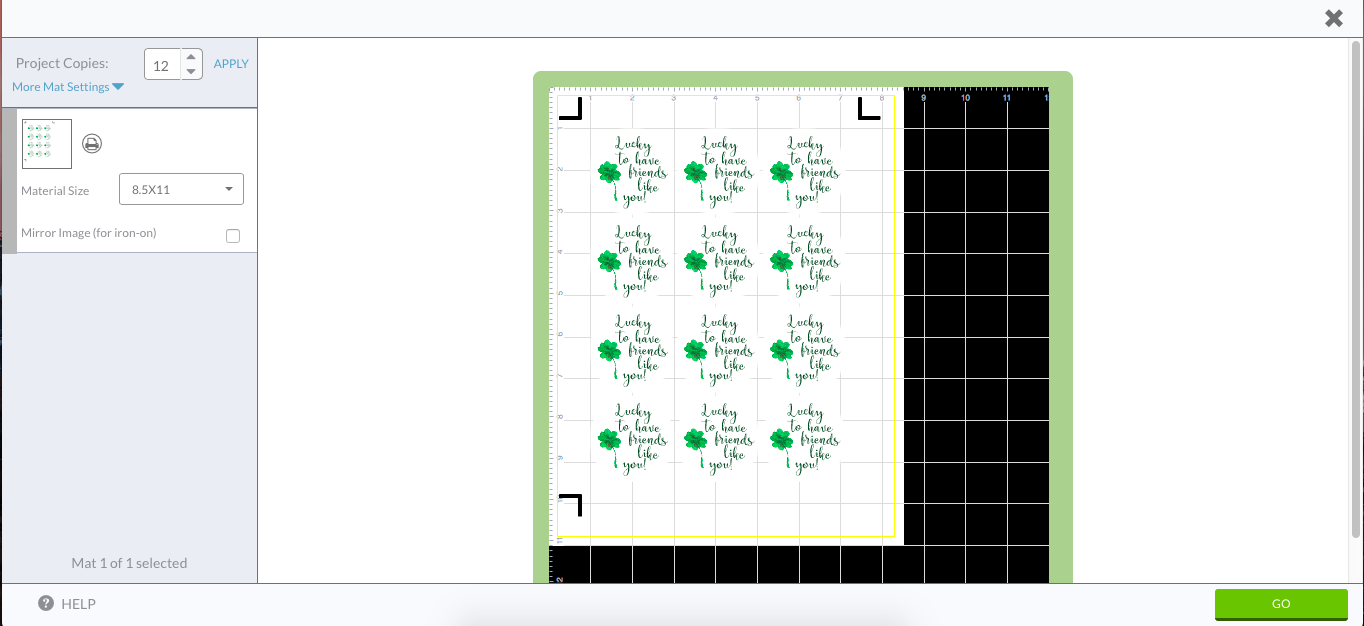 Voila! That’s all you have to do! So simple! I LOVE being able to make custom tags and projects with my Cricut!
Supplies:
Cello Bags
Baker’s Twine
Lucky Charms Cereal
Lollipops
And the Shamrock Image
This is a sponsored conversation written by me on behalf of Cricut. The opinions and text are all mine.
Tags : Class Gift, Class treats, Cricut, DIY, Party Favors, St. Pat, St. Pat's, St. Pat's Day, St. Patrick's Day


