Simple Paperback Pumpkin DIY
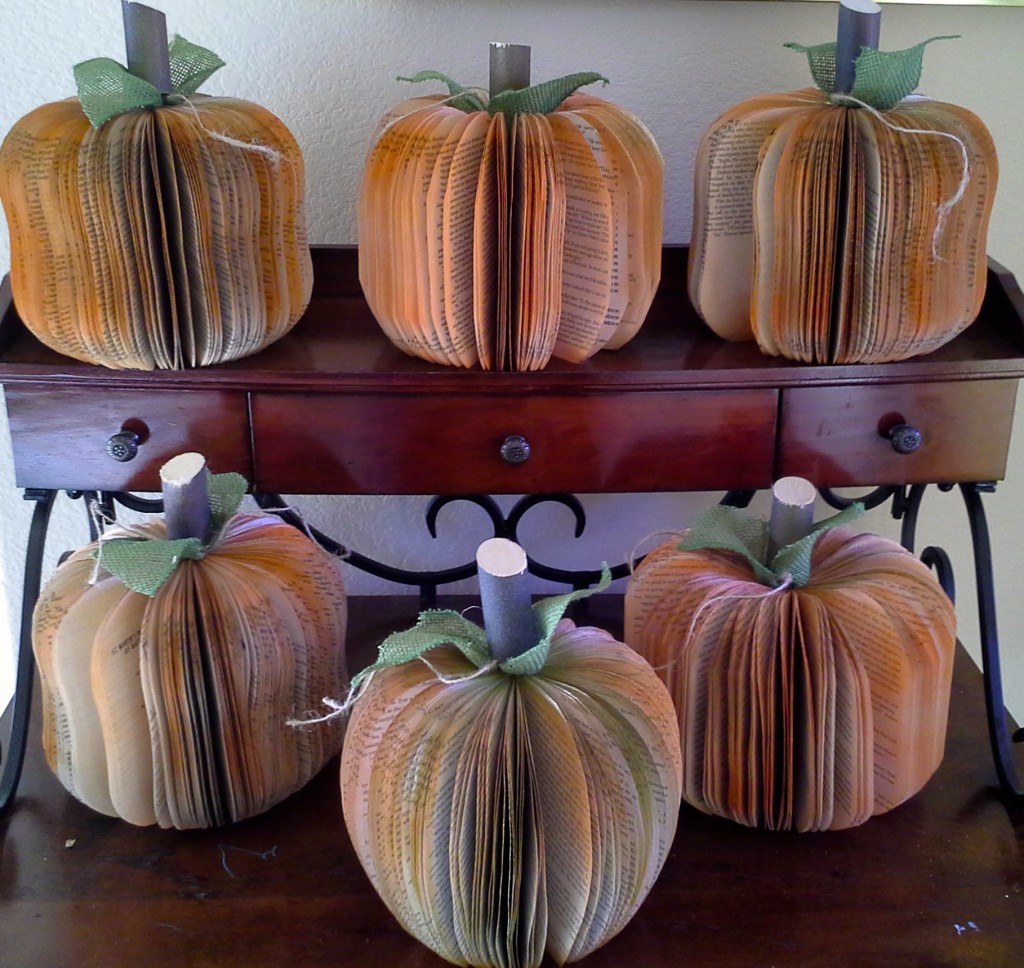
My Thrifty Sister is sharing a fabulous, simple paperback pumpkin DIY. These are such a great and fun addition to your fall decor!
Paperback Pumpkins Supplies:
I—2” piece of 1” dowel :: 1– 3” 1/4” dowel
6” piece of burlap ribbon :: 12” piece of jute
Hot glue Gun
I paperback book (minimum 400+ pages)
Spray Paint for dowel stem and pumpkin color.
One paperback book ( the more pages the fuller the pumpkin)
Directions:
1. Tear off the cover and cut a pattern for your pumpkin, curves and dips make your pumpkin creative.
2. Lay the pattern on the book and cut a small group of pages at a time. You’ll get the feel of how many pages you can cut at once. I cut approximately 7-10 pages at a time . Continue to trace the pattern on the next uncut page and cut the entire book. Each book is all hand cut.
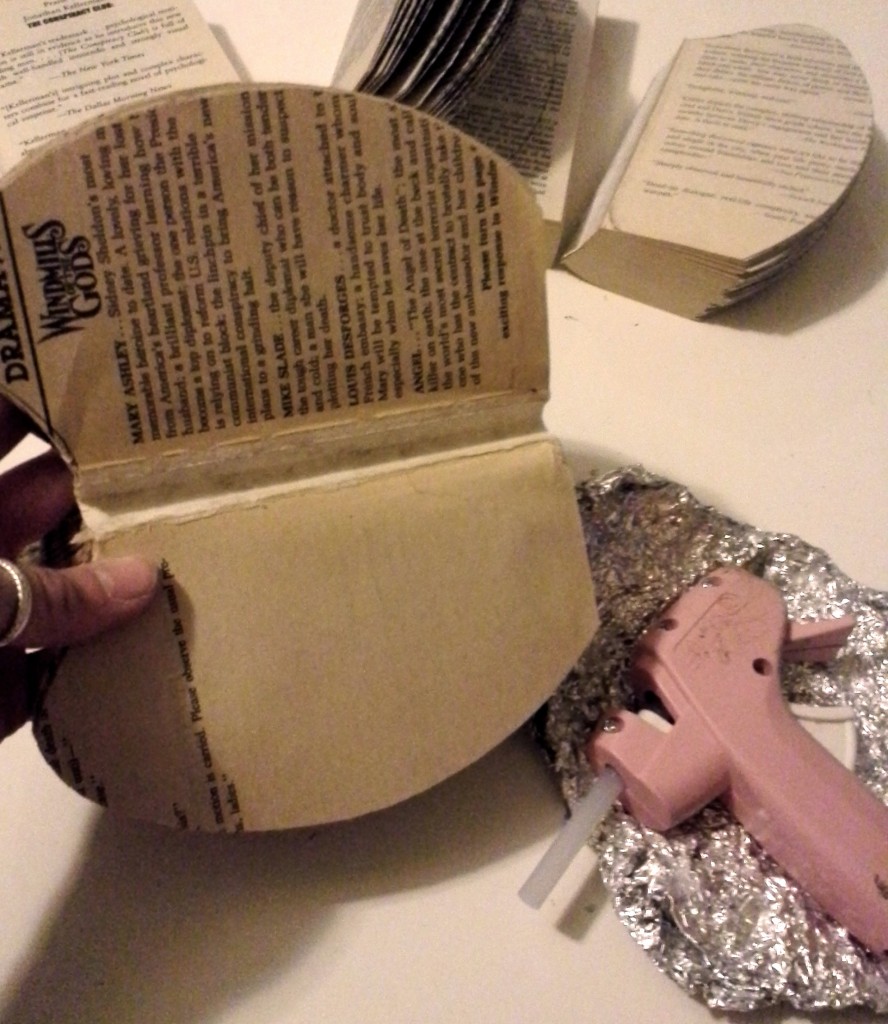
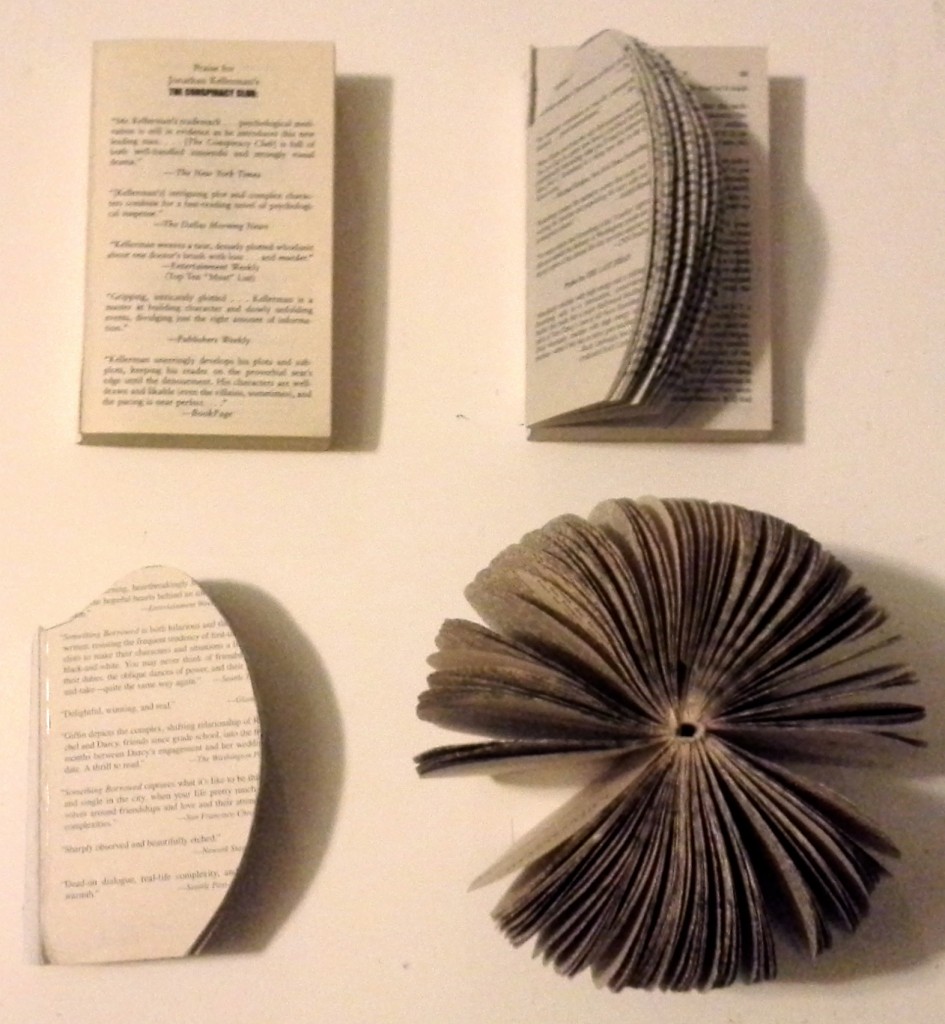 3. Open book and hot glue along the two bindings on the book to completely open the book.
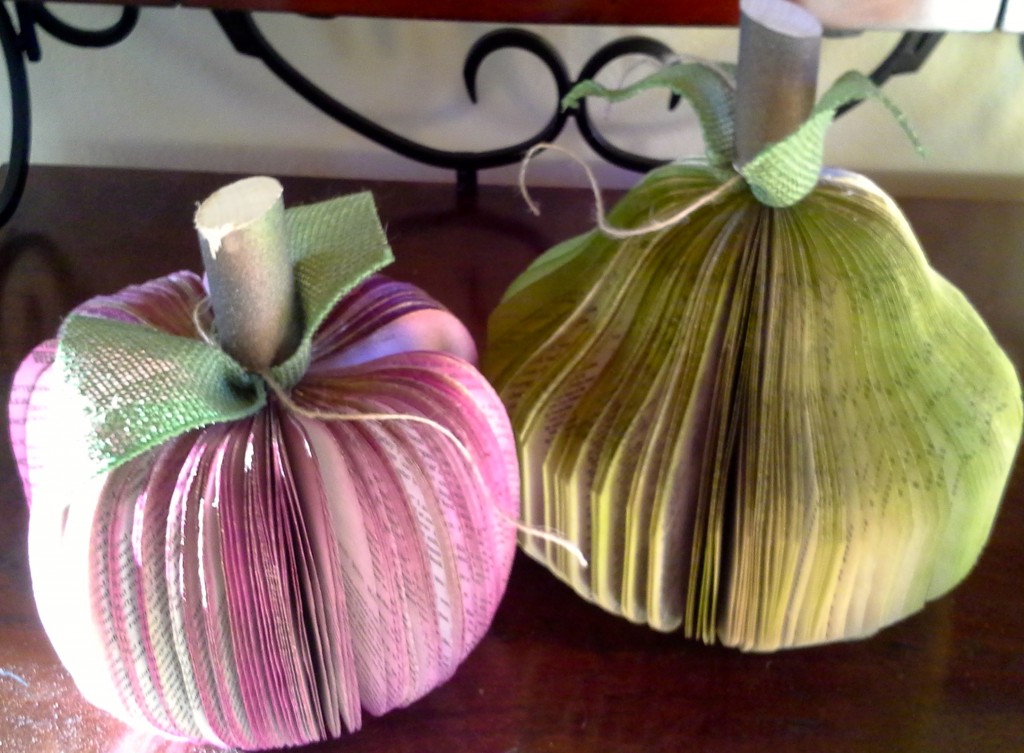
 4. Paint your pumpkin with orange/ brown/ green/ gold. Be as creative as you want. I love the look of gold on each of my pumpkins.
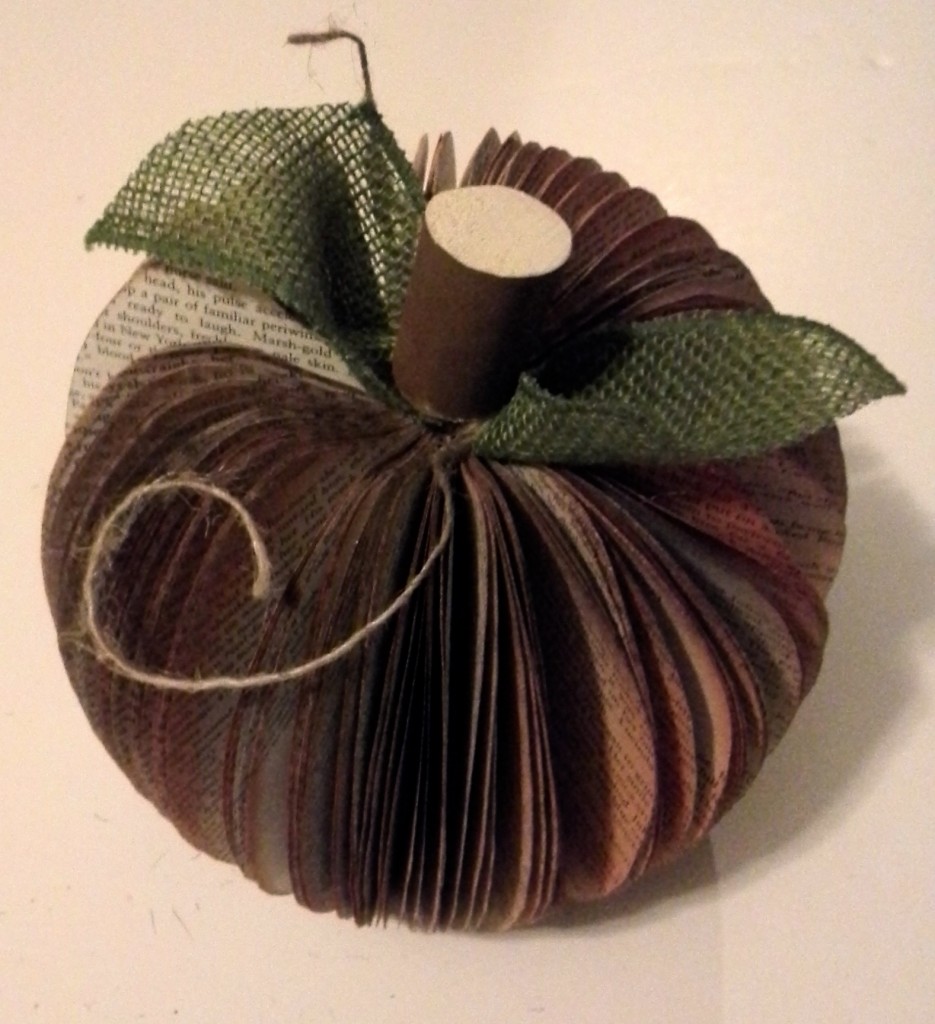
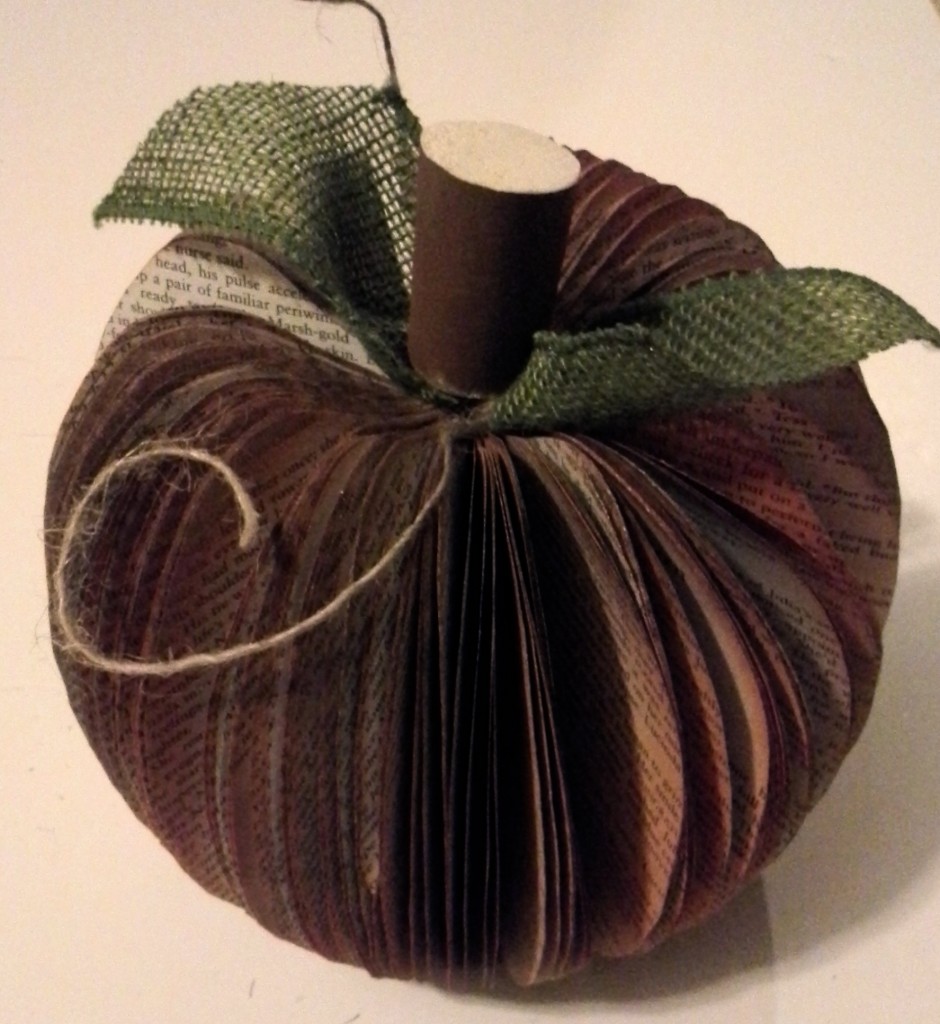
5. Take your 6” cut burlap ribbon and make a hole in the center of the ribbon for the dowel to go through . I push my scissors into the ribbon to make a hole. Put your 1/4” dowel through the ribbon and tie the ribbon around the dowel with the 12” piece of jute.
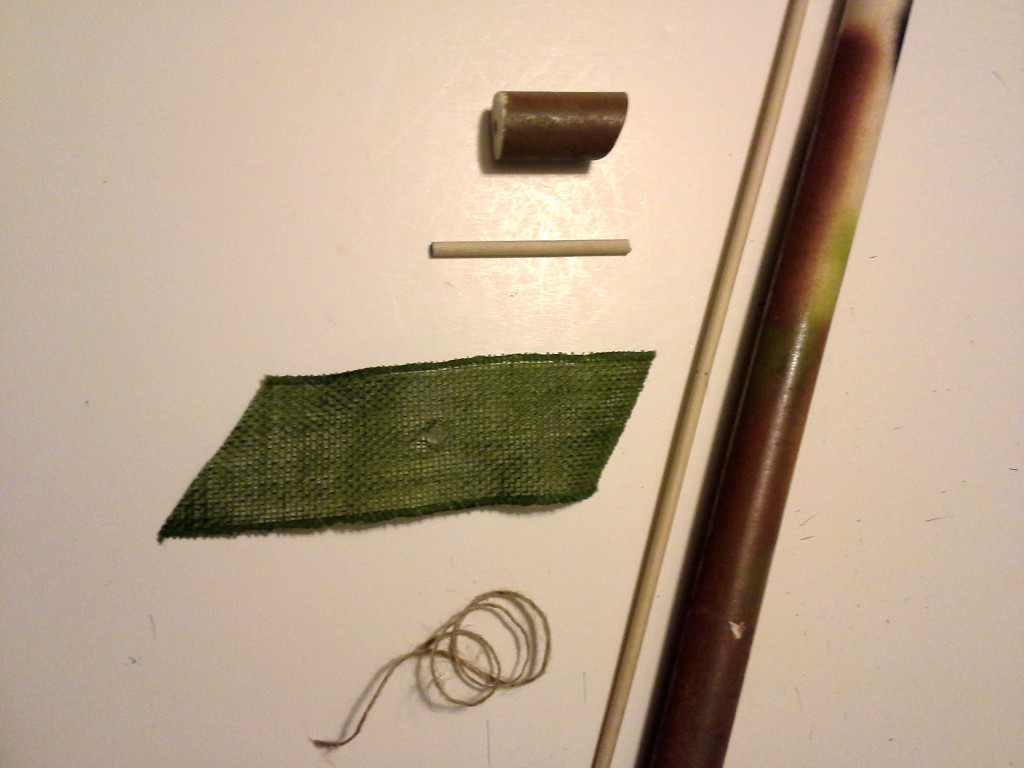 6. One 2” piece of dowel painted brown on the outside, with miter cut on one end for the pumpkin stem. Drill a 1/4” hole for the small dowel and glue into the stem and into the book binding.
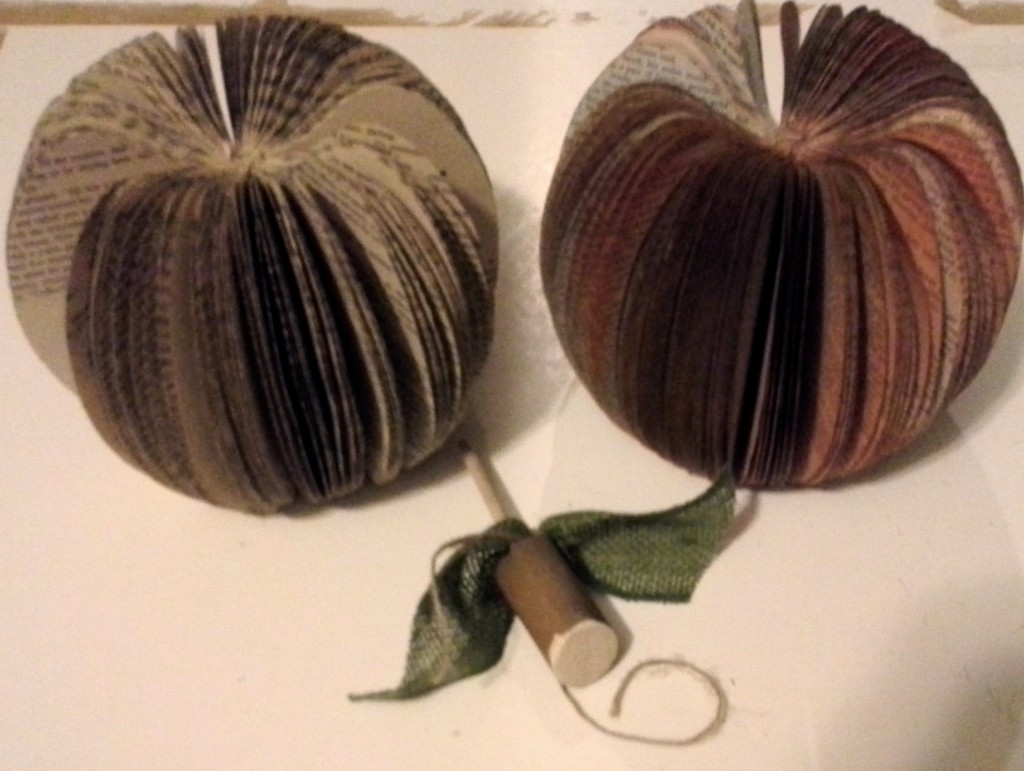 7. Enjoy recycling an old book and have a fun creative pumpkin for your fall décor.
Tags : DIY, fall, My Thrifty Sister

