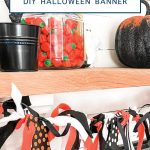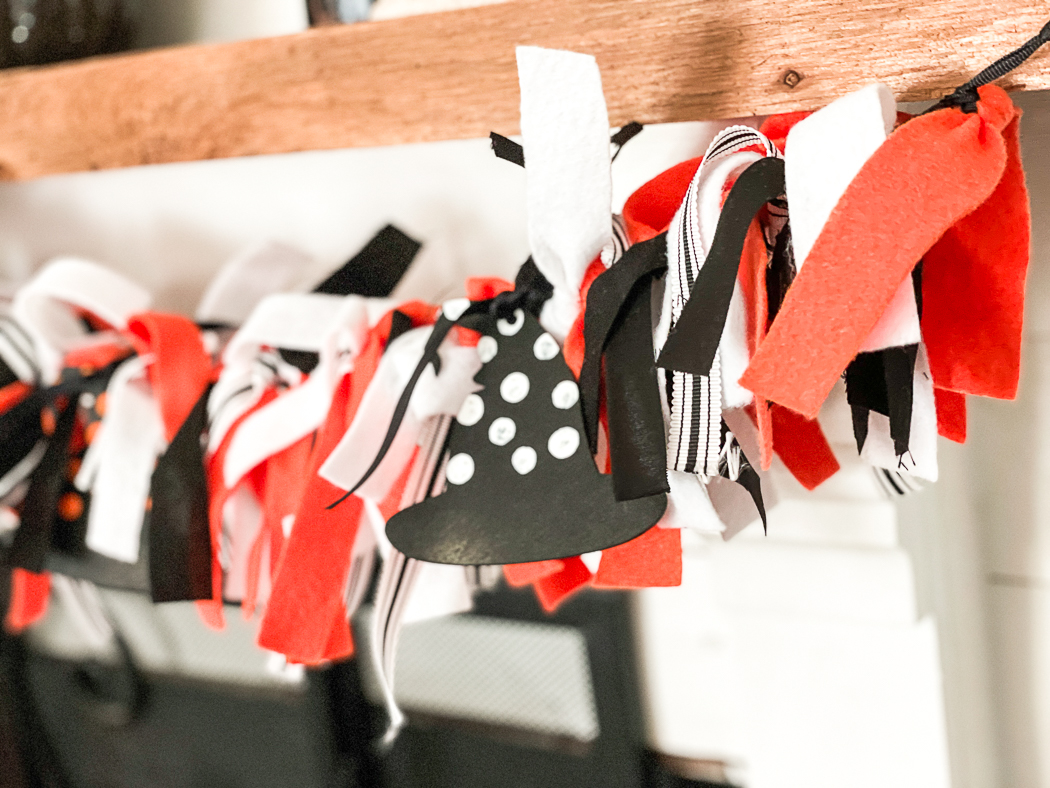
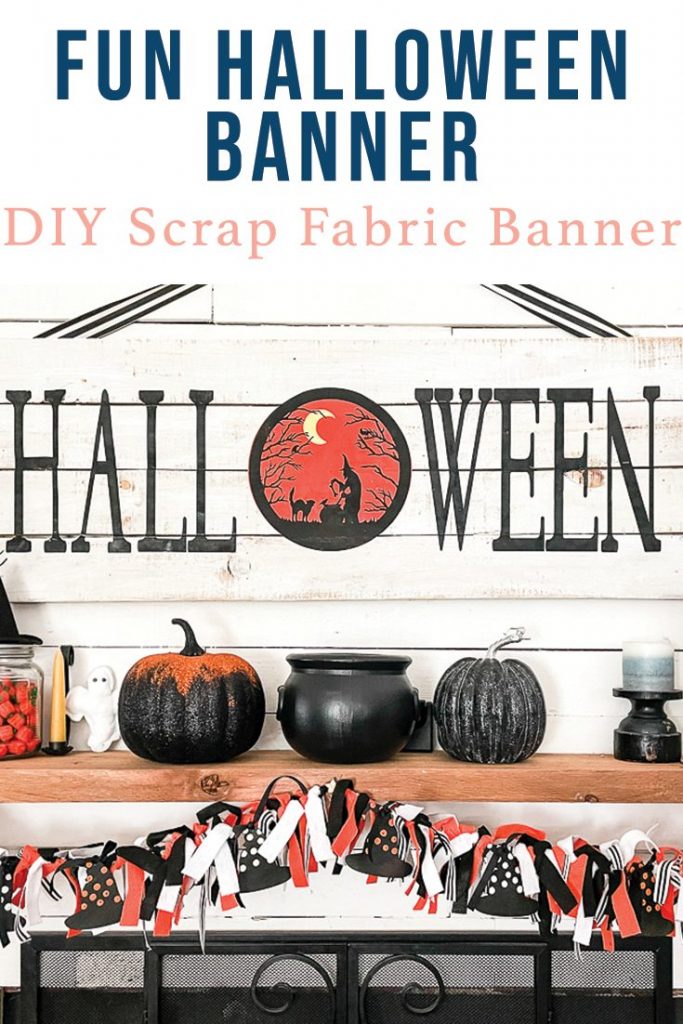
We recently rented a small apartment for my son to live in several hours south of our home in Central Florida. He is playing semi-pro hockey and the added expense has definitely stretched our budget pretty thin. So, I am trying my hardest to keep my spending to a small minimum, while still satisfying my desire to create and decorate. And, this Simple DIY Halloween Banner was so much fun to make and was less than $5!
If you decide to make a purchase through my links, I will be paid a small commission for it. This doesn’t cost you anything additional.
Halloween Decor
A few years ago I made this adora-BOO-le and Easy Ghost Halloween Decoration. And, I actually packed it up for our son’s apartment to help it feel a little more like home for him. I also sent this Easy EEK Halloween Decor piece with my husband to help decorate the apartment a little more. (Our son is only 17, and really has a hard time adjusting to change, so it’s nice for him to have pieces of home in his apartment)
Halloween Banner Supplies
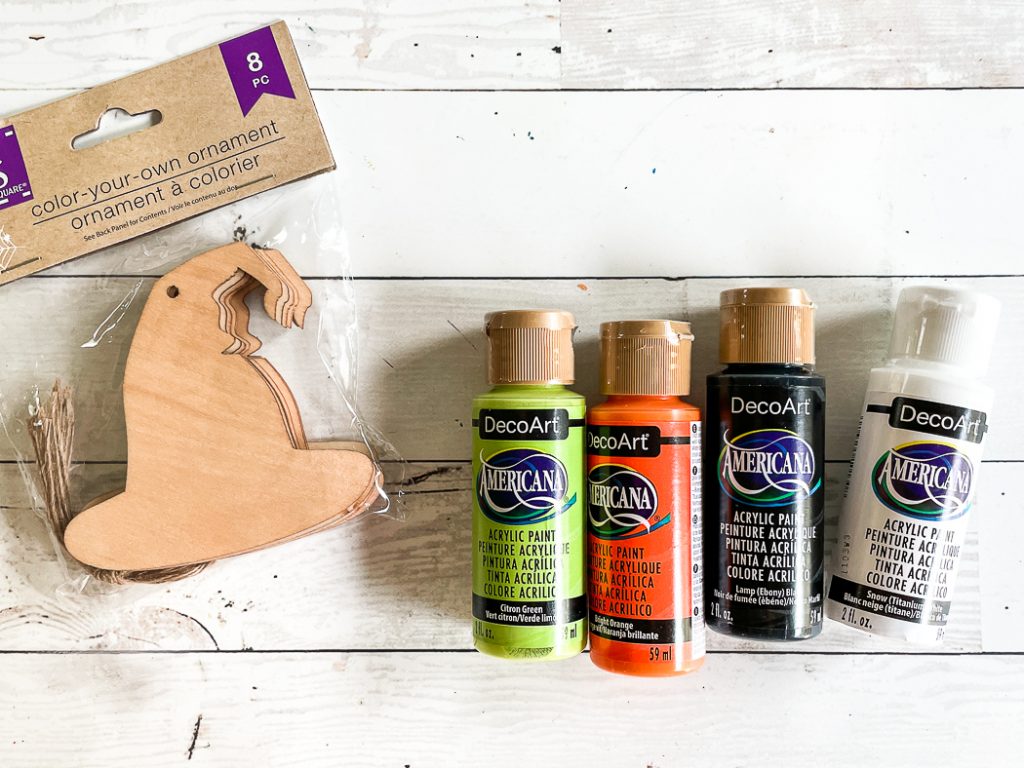
This banner was SO much fun to make, and it was super affordable. I used some things I already had at home, but I did buy a few inexpensive supplies. If you are crafty, you may have nearly everything you need at home already, if not, be sure to check out my Amazon Store, or just click the links below to buy what you need!
- Felt
- Ribbon – I used three kinds, but that is totally optional
- Fat quarters or fabric scraps
- Halloween ornaments
- Paint
Simple DIY Halloween Banner
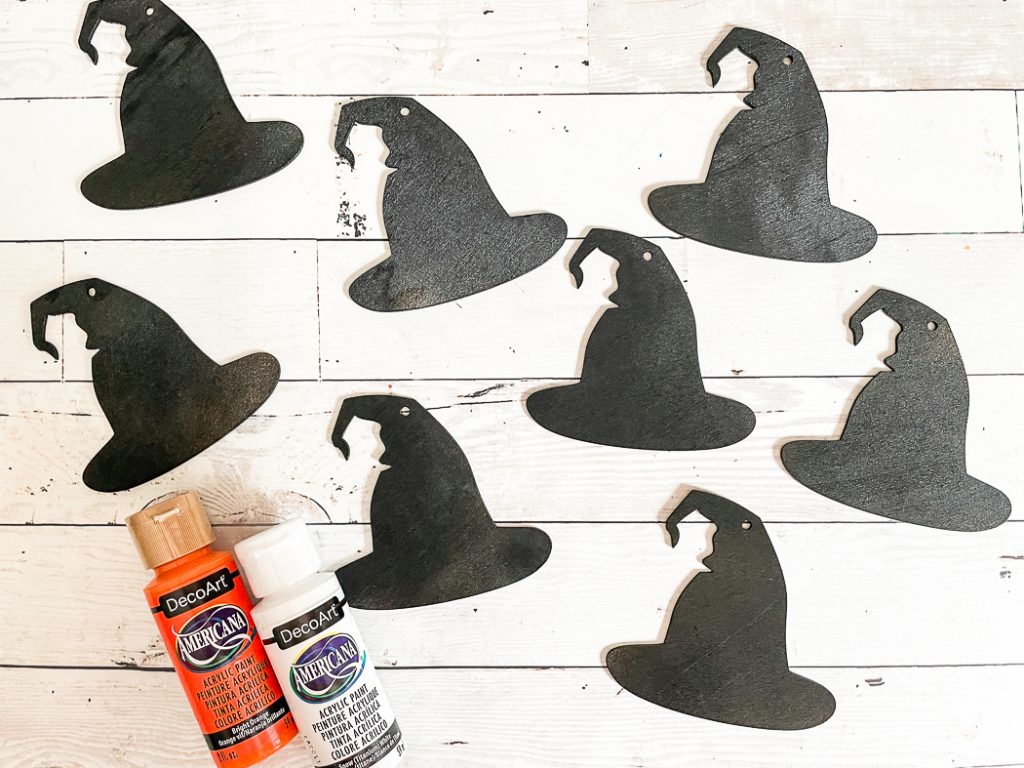
Begin by painting your Halloween ornaments. I picked up some witch hats at the dollar store (I linked something similar on Amazon above). I painted them all black and then added orange and white polka dots with a pencil eraser.
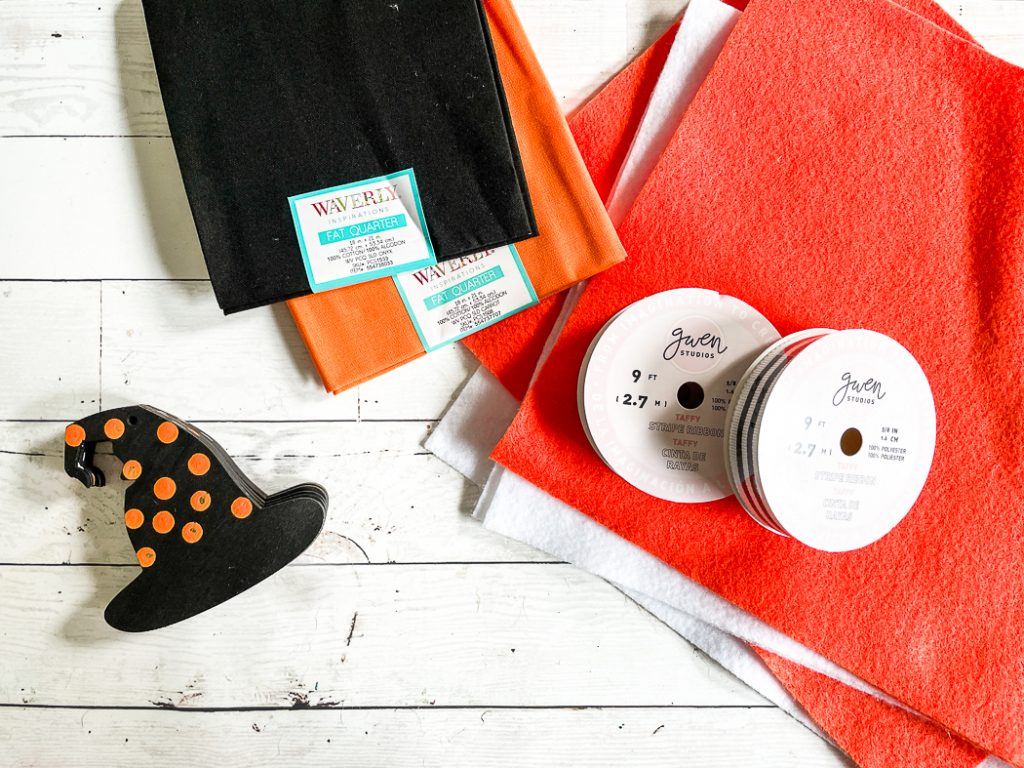
While I waited for the witch hats to dry, I started making the banner. First, I measured how long I wanted the banner to be, and then added an extra 12″ to that to make sure I had ensure I had enough ribbon to tie the ends off and tie onto hooks. My banner ribbon was about 6 ft long. Save the extra ribbon from this spool to hang the ornaments.
Next, I cut the felt and fabric into strips about 1/2-3/4″ wide. I was able to cut the fabric in half, but I left the felt. Then, I cut the ribbon. I wasn’t precise, I just cut two rolls of the ribbon to about 8″ inches long. The fabric, felt, and ribbon were all about the same length and width.
Once the fabric, felt, and ribbon pieces were cut, I tied them in knots onto the banner ribbon I cut first. I created a pattern and just tied ribbon, felt, and fabric onto the long pice of ribbon until it was full. I did tie a knot around the first and last pieces of felt on the banner to keep them from sliding off of the ribbon.
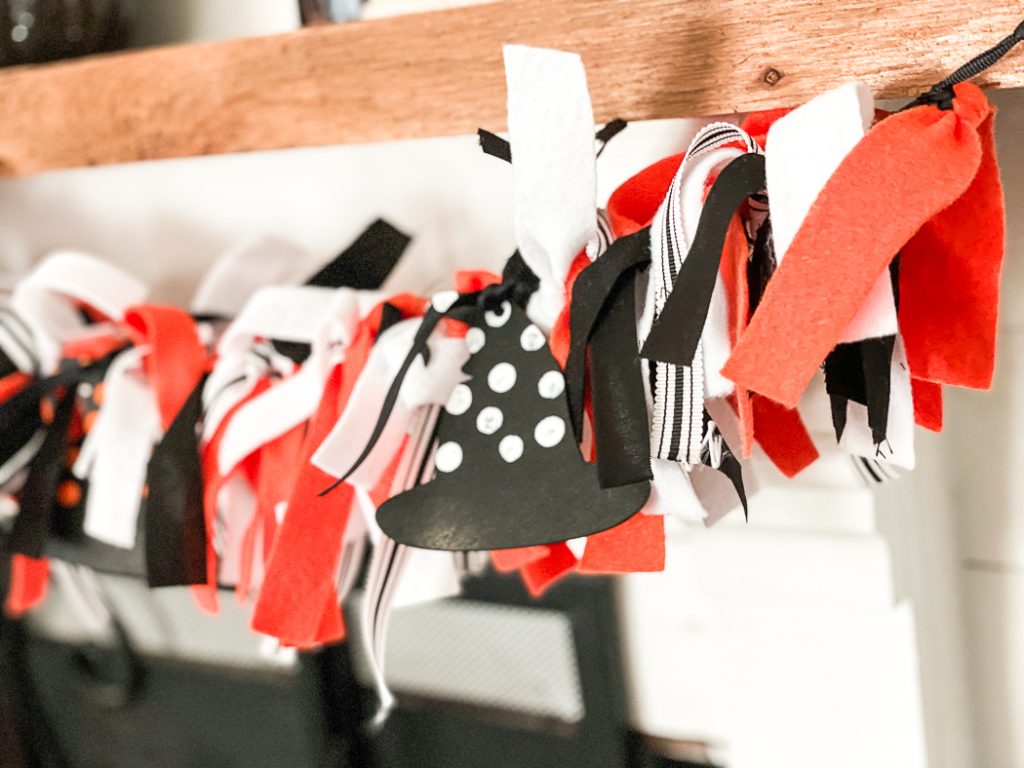
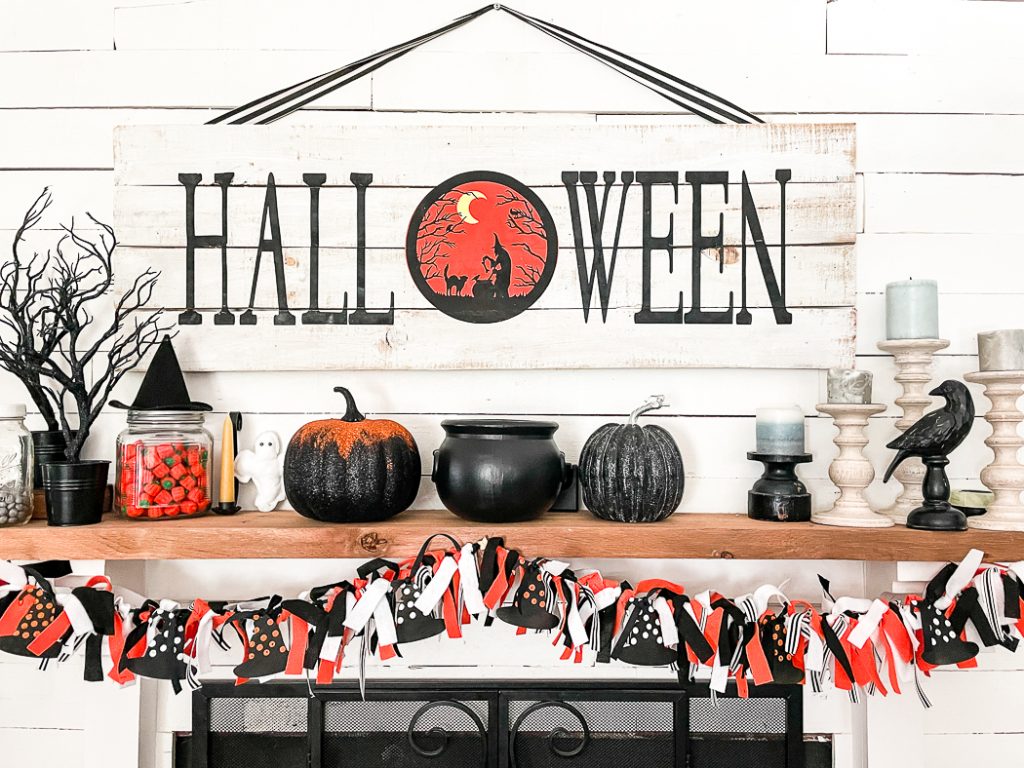
Finally, I used the excess banner ribbon I had and tied the witch hats onto the banner. Then, I hung it across my mantel.
I LOVE it so much and I cannot wait to make more holiday banners!
If you liked this Halloween DIY, be sure to check out these posts too!
Fifteen Minute Halloween Decor
Tags : DIY, Halloween, Halloween DIY

