Blog Fete
I recently had the opportunity to be a table sponsor at Blog Fete (again). I love the intimacy of Blog Fete, the smaller size conference makes it so much easier to be able to chat with everyone, attendees and other sponsors. Blog Fete was at a smaller, though very beautiful, venue, and just one day, instead of several days as in years past, and I really appreciated that! Since I was a table sponsor and not an attendee, I left before the actual conference began.
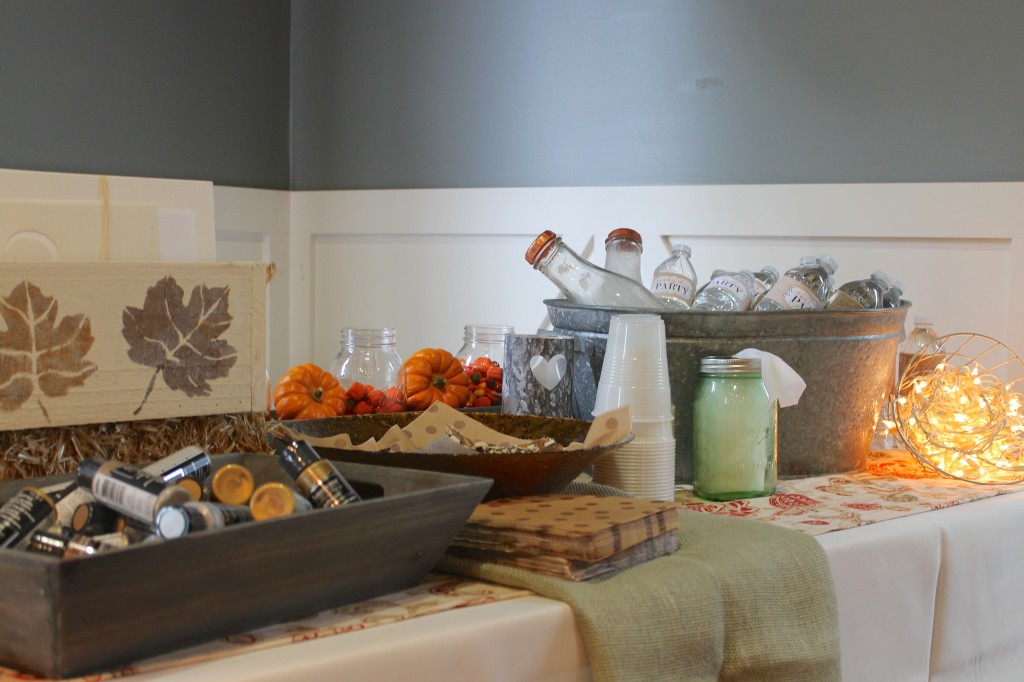
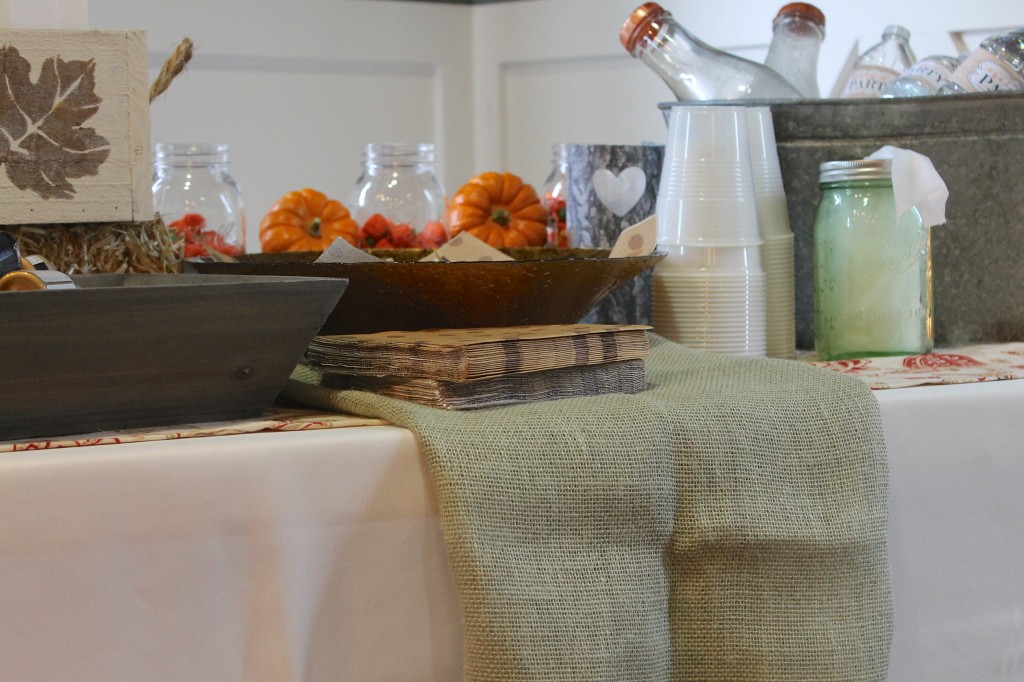
Being a DIY party magazine, I try to always style my sponsorship tables as a I would a party or dessert table. I always include drinks, snacks, and favors for the guests. I dress the table as I would for any party with table cloths, risers, and serving pieces to match the theme. The napkins are from Target, and I love the simple brown polka dots on brown kraft paper style napkins. The coffee was served from glass milk bottles. (My boys love Whole Foods Chocolate Milk, I love the dishwasher safe glass bottles…win-win) I used my Ball Canning jar HandiWipe dispenser on the table for messier messes. I added my Cricut Design Space Star challenge project to the table, as well as the mini hay bales from the Gold Rush party as well as a few other decorative items.
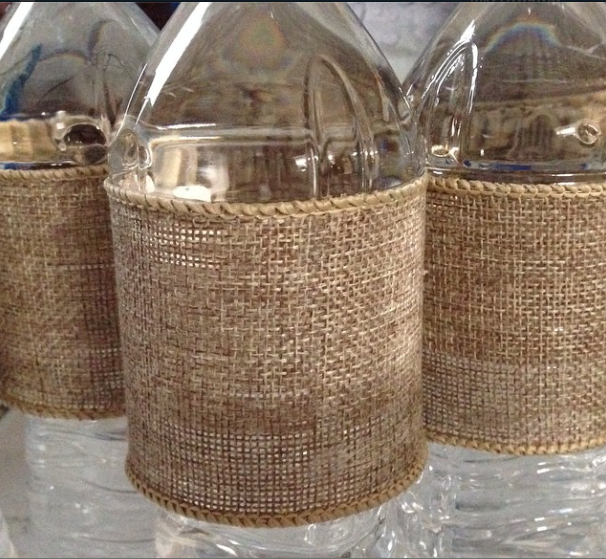
This year, I made Cracker Toffee using The Party Wagon’s recipe. This is a family favorite, and everyone at BlogFete seemed to enjoy it as well! I also had water bottles, wrapped with EPM labels or burlap ribbon. The burlap ribbon was a fabulous addition to ugly water bottles, and was both simple and affordable. I bought a spool of ribbon from Walmart for $1.97. I was able to wrap 12 bottles with one spool of ribbon. I simply hot glued the ribbon to the bottle in a few places to keep it from sliding around on the bottle. I LOVED the way the bottles turned out!!! I also served my nearly famous iced coffee, and I made a bottle of pumpkin spice syrup to add to the coffee if the guests wanted it.
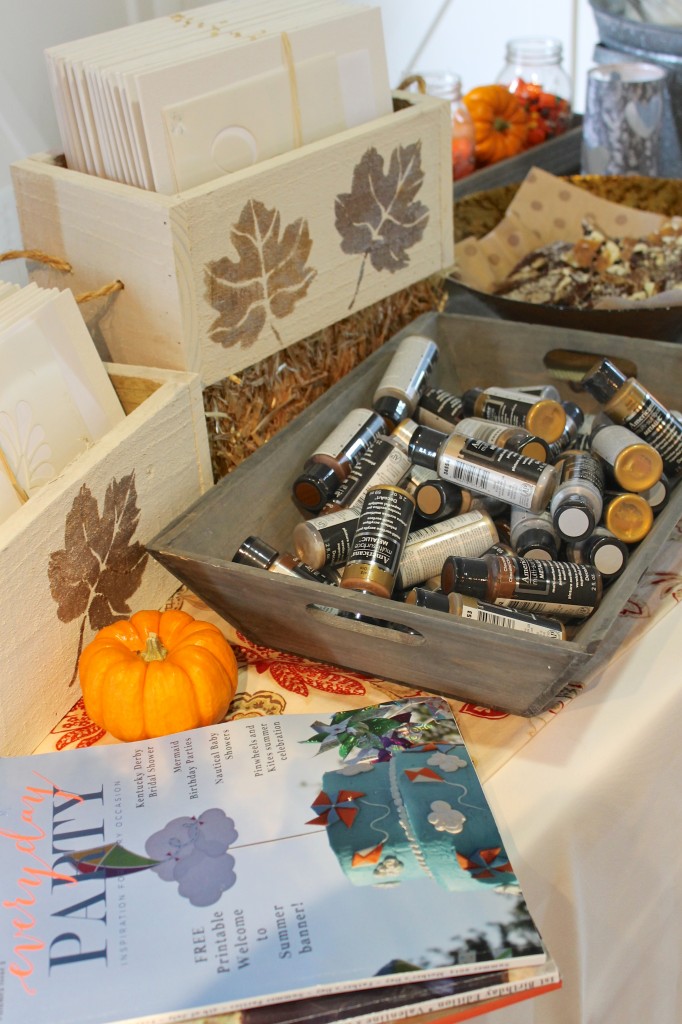
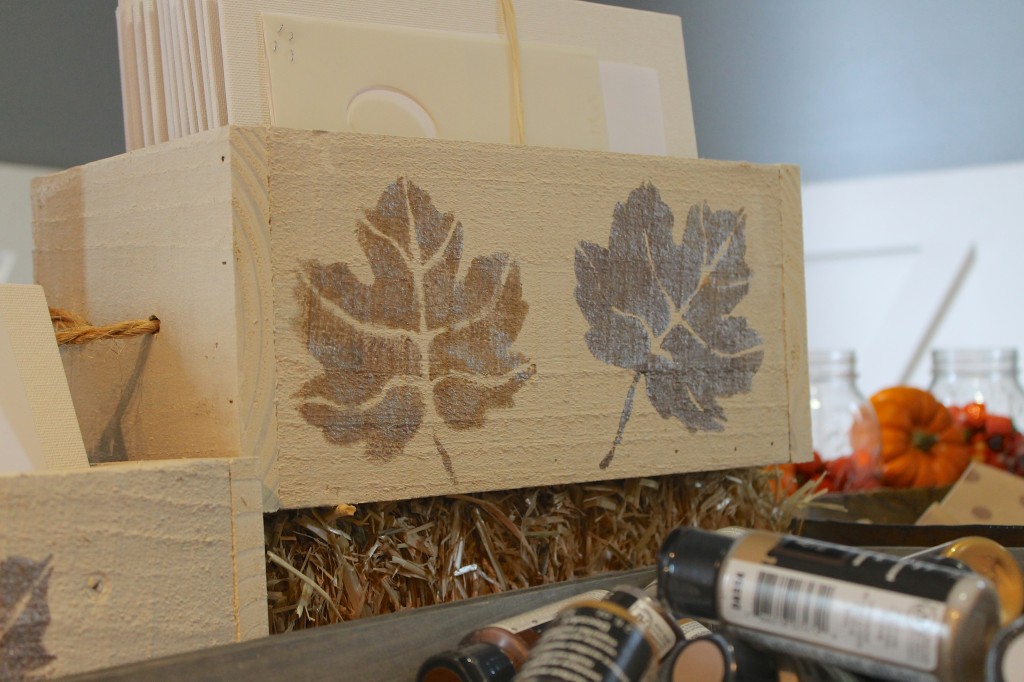
Most of my favors for this event were generously donated by both Royal Design Studio and DecoArt. Royal Design Studios sent over several stencil designs, and I can honestly tell you I wanted to keep one of each! They also included a small Wallternative sample with each stencil. (We all know how much I love Wallternatives) Since a stencil is no fun without paint, I reached out to DecoArt. DecoArt has a fabulous selection of paints for every need. I chose their Americana Multi-Surface Metallic Paint in Gold, Silver, Champagne, and Chocolate. I used raffia to tie a stencil to a canvas board, and placed them in homemade boxes with a stenciled leaf on them. I placed the paint bottles in a wooden box from Target. The guests were thrilled to be able to choose a stencil kit and bottle of paint!
I was able to make simple wooden boxes to hold the canvas and stencil kits using left over fence wood from my son’s Gold Rush party. I simply cut three boards to 11” long and two to just less than 7”. I made a “U” shape with the 11” boards and capped them with the 7″ boards. (Your sizes can be altered to fit your needs and wood size. My wood pieces were dog ear fence board replacement pieces from Home Depot) I used Elmer’s wood glue and our nail gun to secure the boards. I roughly painted each box with Miss Mustard Seed’s linen paint. I drilled holes in the end pieces for rope handles. Finally, I used a mixture of all four colors of the DecoArt Paint and stencil painted a leaf or two on the front of the boxes. I don’t stencil often, and I think I may have had too much paint on my brush, but I really like the end result, and that is what matters.
I didn’t take photos of the DIY for the box, but, it can be made using whatever wood you have at your house…or if you have to buy wood, the fence pieces are less than $2 each and I was able to make nearly 5 boxes with 3 boards that had been cut down already for another party. Just be sure to use glue and nails, or pre-drill for small screws. But, if you enjoy building, I cannot encourage you enough to go buy an inexpensive battery operated nail gun. I can’t even tell you how often we use ours!
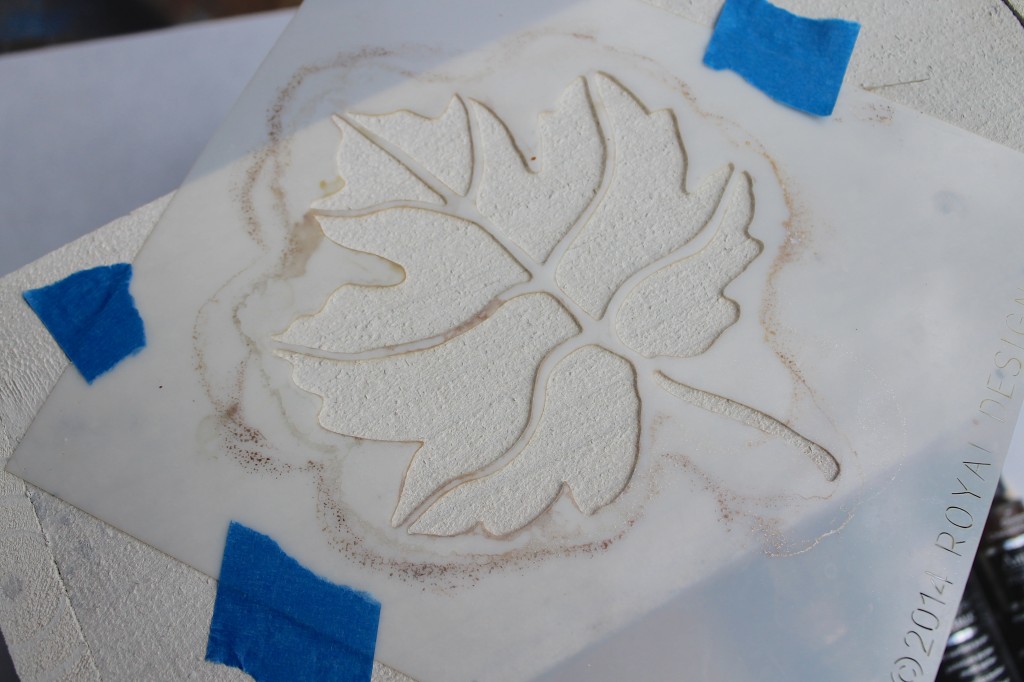
Tape the stencil in place using painter’s tape. The stencil was just a tiny bit larger than my box, so I put it at an angle. Trust me, there is no right or wrong way to do this!
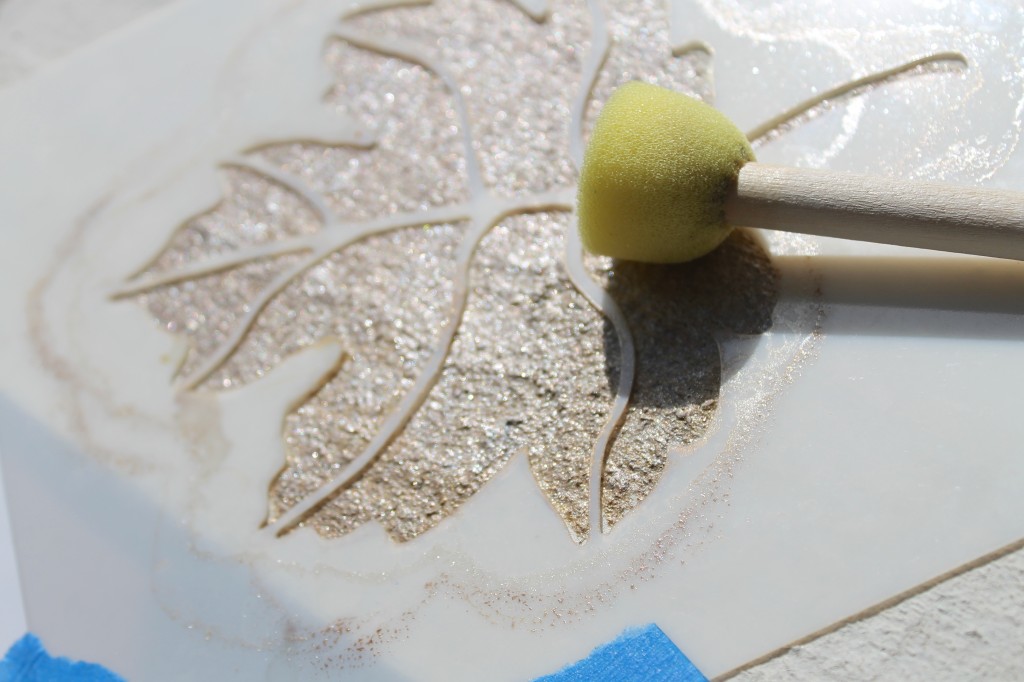
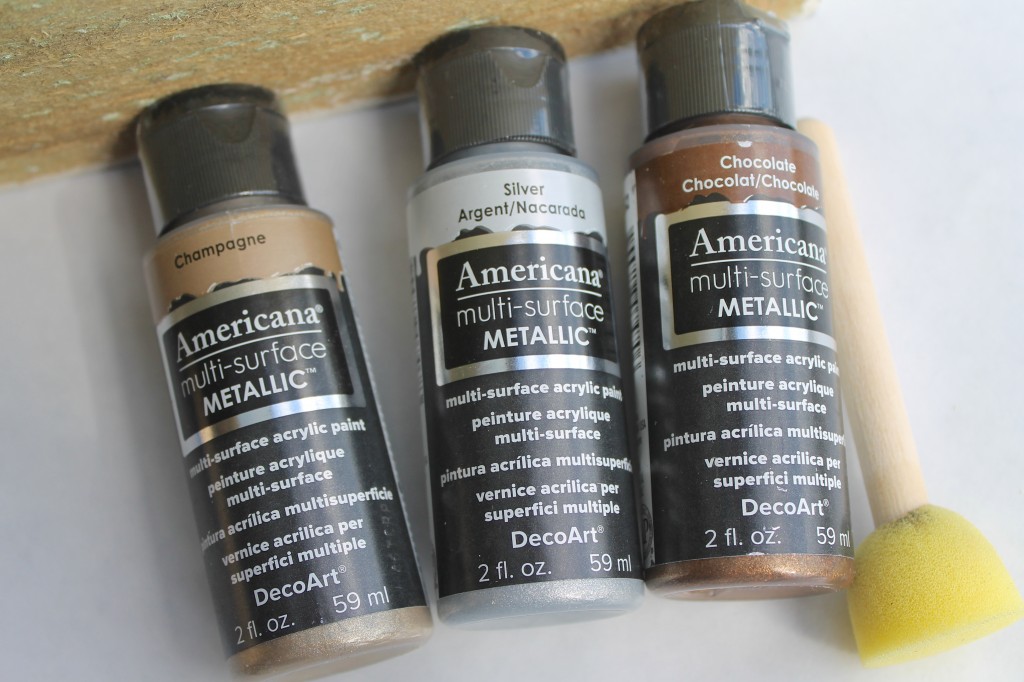 I used a mixture of the paint colors…I literally just squirted a little of each color in to a tray and mixed as I wanted…again, no right or wrong way, as long as you are happy with the results!
All done adding the paint. Carefully pull up the stencil, and you can be done…or you can add more stencils.
This review is based strictly on my opinion. Others may have a different opinion or experience with the product listed above. I was provided the sample free of charge by the company or PR agency and I have given my honest opinion. No other type of compensation was received for this review.
Tags : Blog Fete, Blogfete, Everyday Party Magazine, fall

